In Win 909 ATX Case Review
Welcome back to another Extreme Rigs review. Today we will be taking a look at In Win’s 909 case. First off a big thank you to In Win for sending this case out to review!

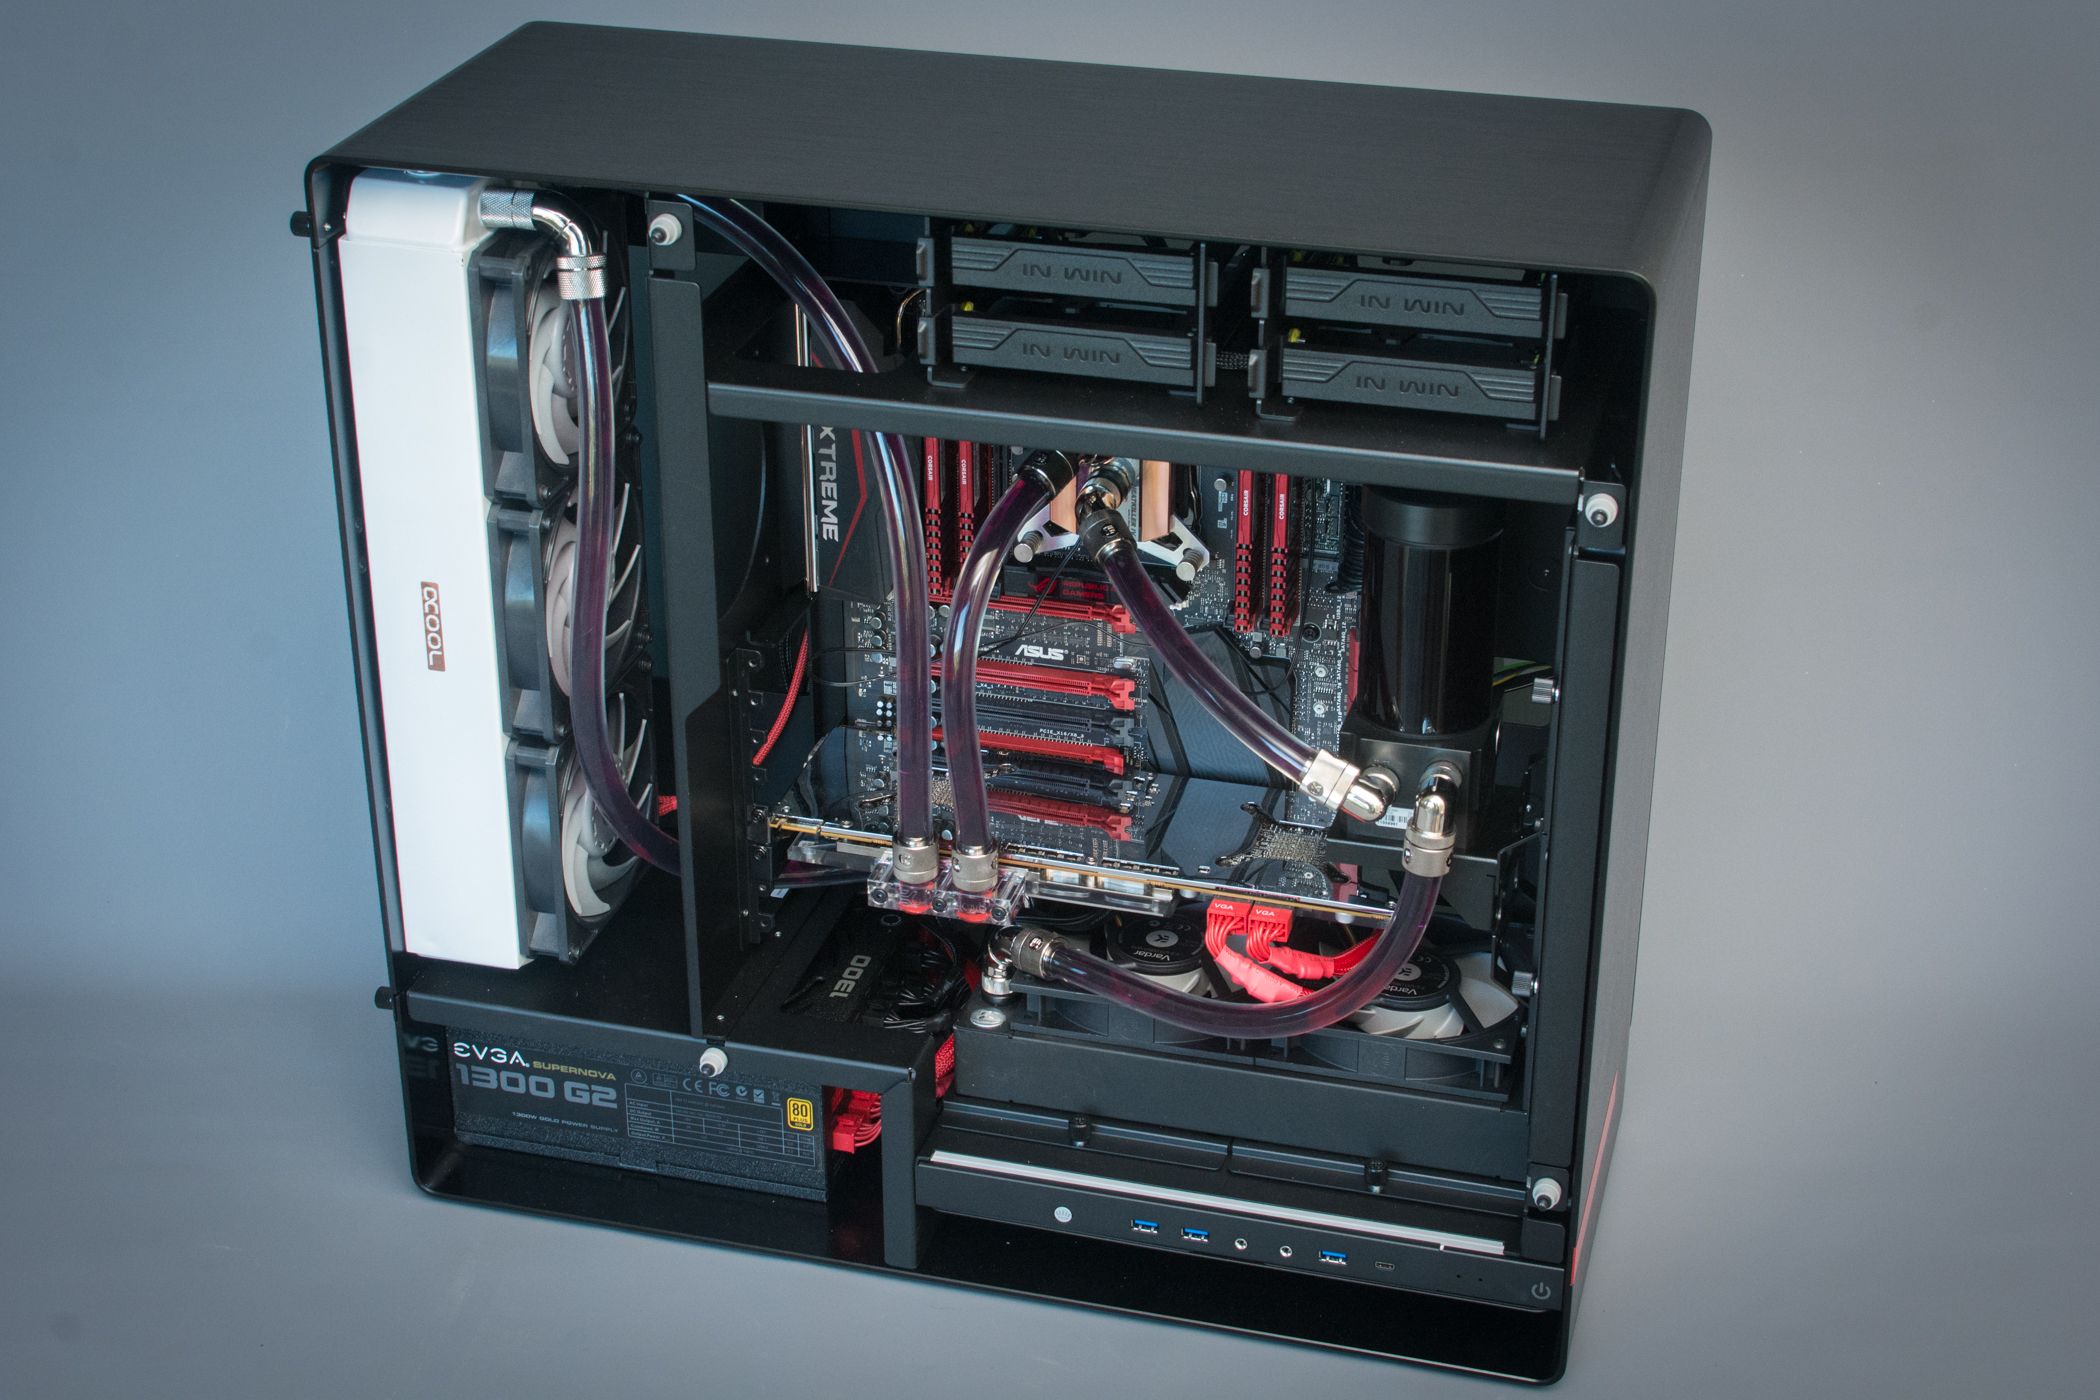
In Win have been pursuing a contemporary design aesthetic where the “look” of the case and the use of high end materials really trumps all other considerations. The 909 is part of this line up of beautiful designs.
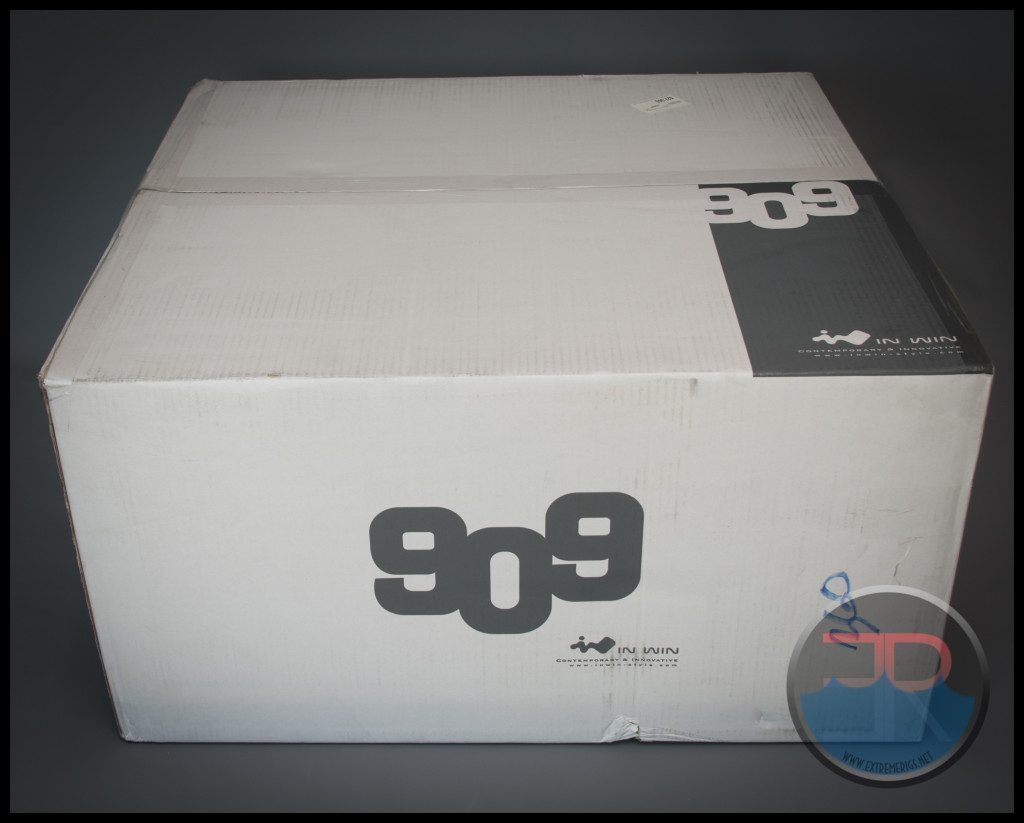
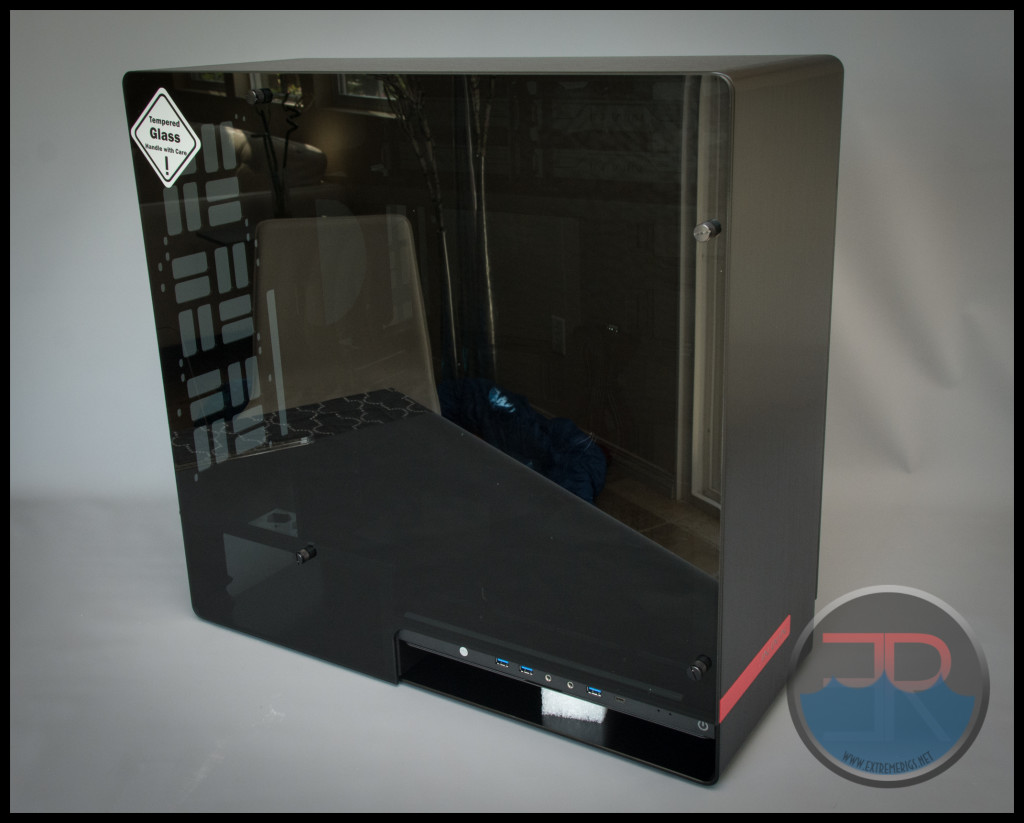
Let’s get this baby unboxed:
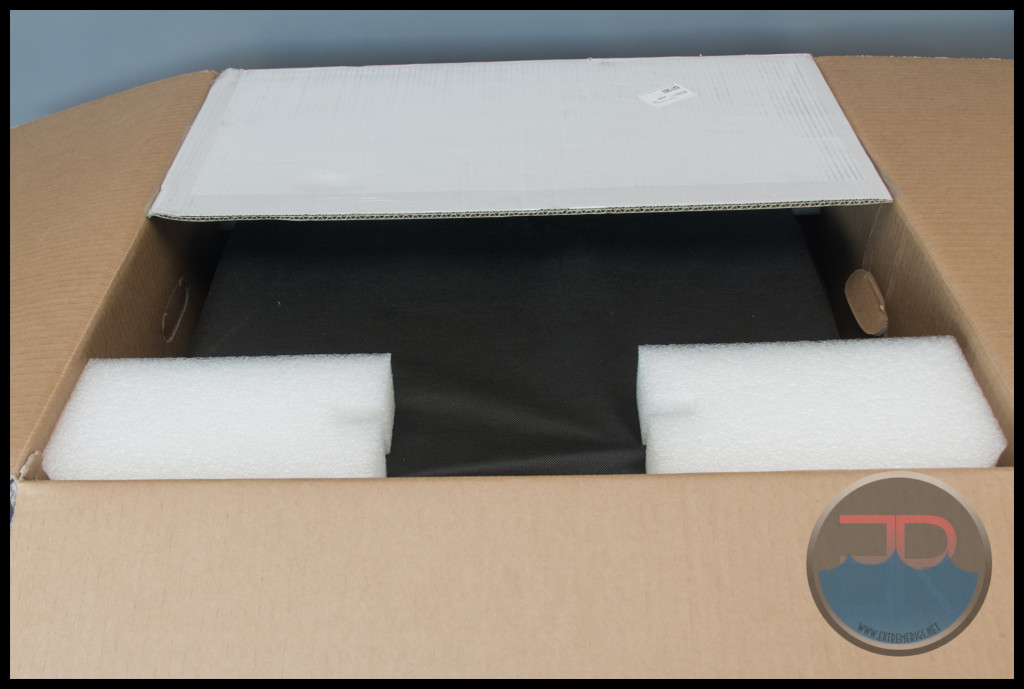
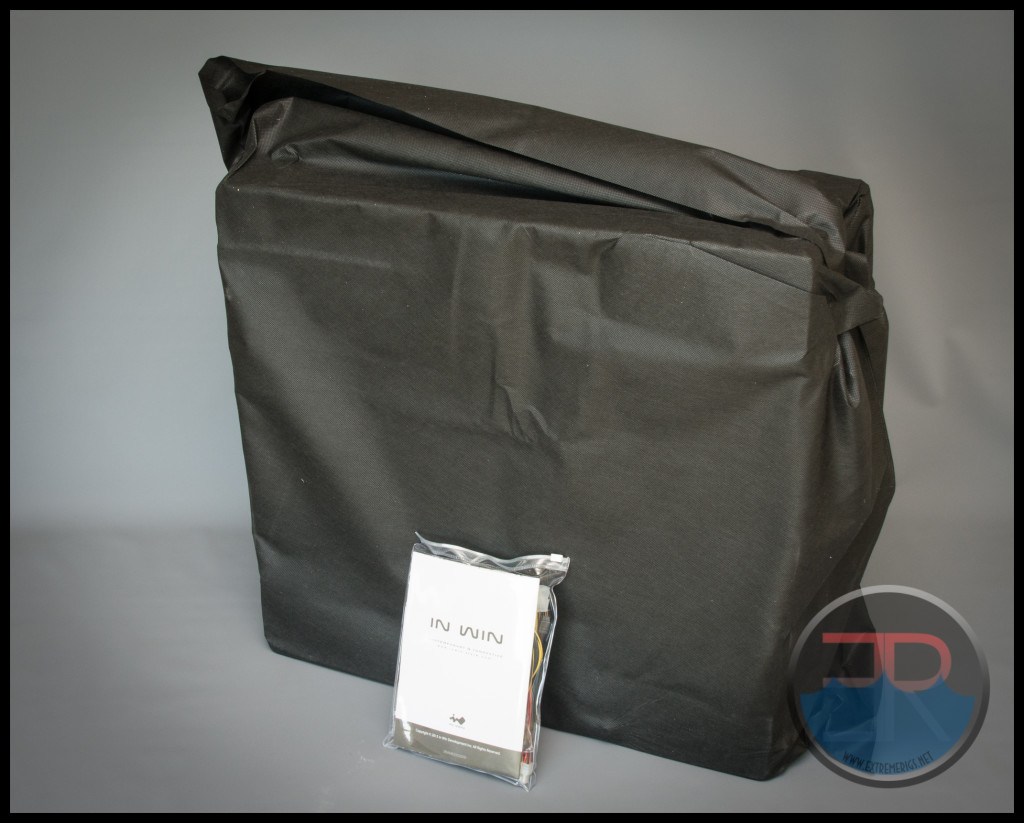
Like the 805 case which we also reviewed here – the case is protected by foam blocks on the corners and a premium fabric “bag”. The worry here of course is that the box could be damaged in the middle and there is little protection for the glass should anything poke through a hole. Luckily the gap between the box and the case is quite large.
The only other item in the box apart from the packaging and the case is a small bag of accessories. Lifting the case out of the box you realize just how heavy it is. In Win claim it’s 17KG or 37.5lbs, but it feels heavier than that. Part of that maybe however maybe the size. Although this is an ATX case, it is certainly not compact.
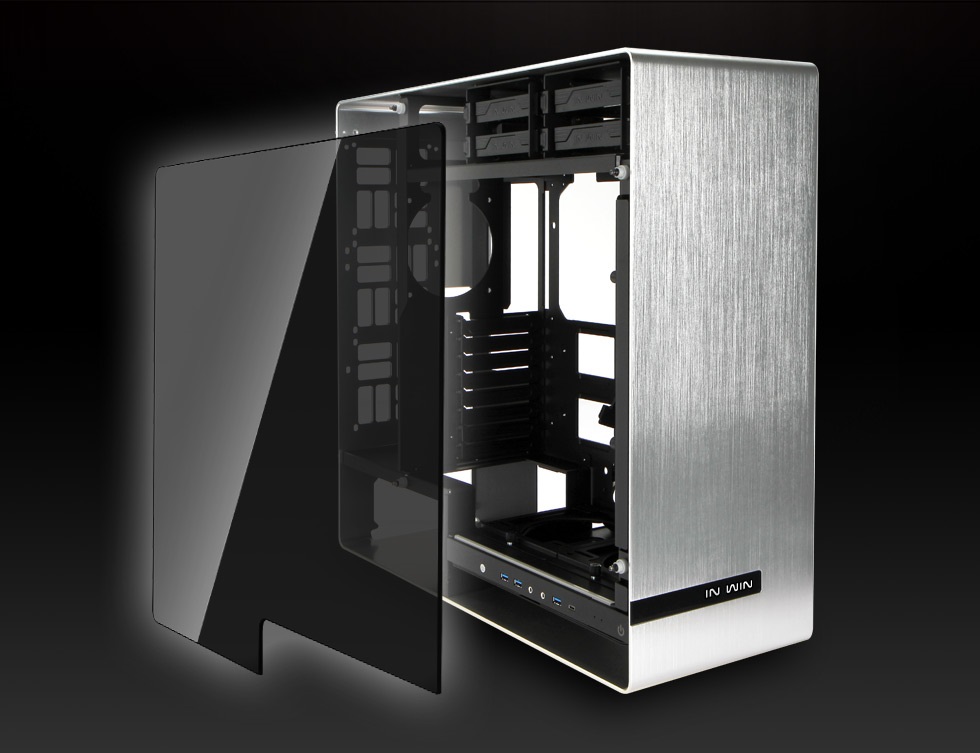
This case comes in two different versions. This is the other version, picture courtesy of In Win:
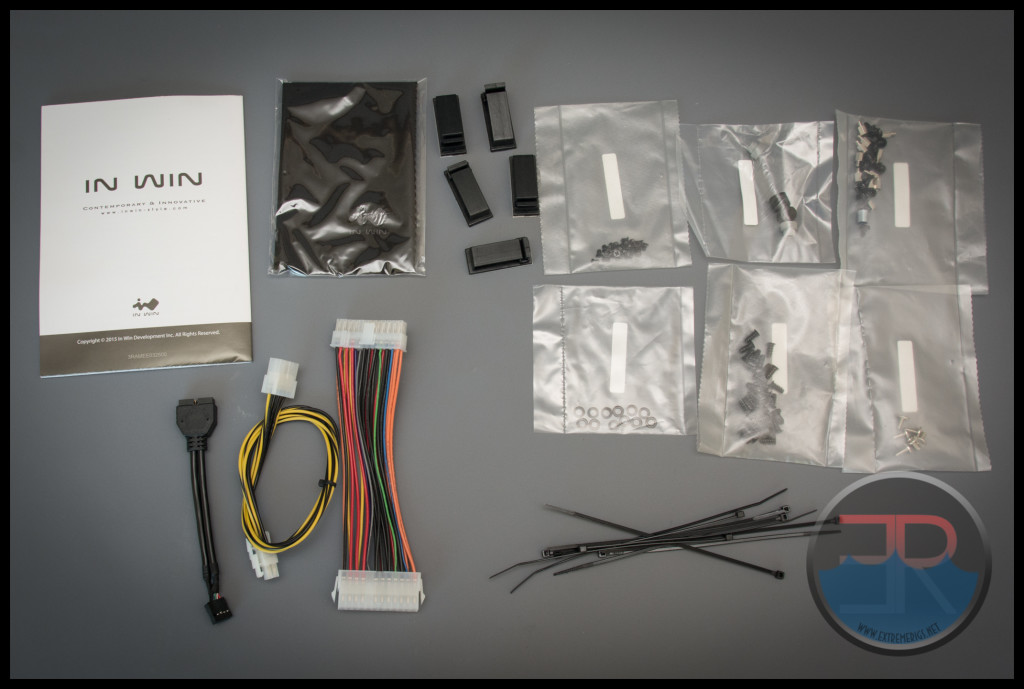
Before getting stuck into the case itself though let’s take a look at the accessories:
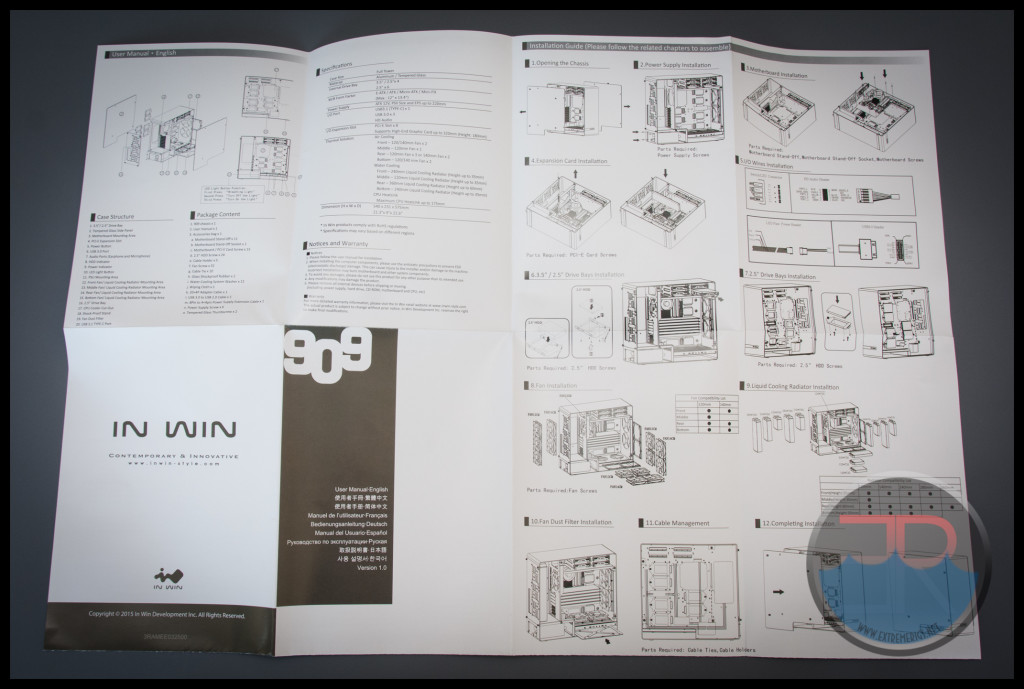
Included in the bag of accessories are various screws, washers and spares. There is also a manual, a lint free cleaning cloth, cable ties and sticky backed clips and some cable extensions. The manual comes in a bunch of languages and has lots of drawings:
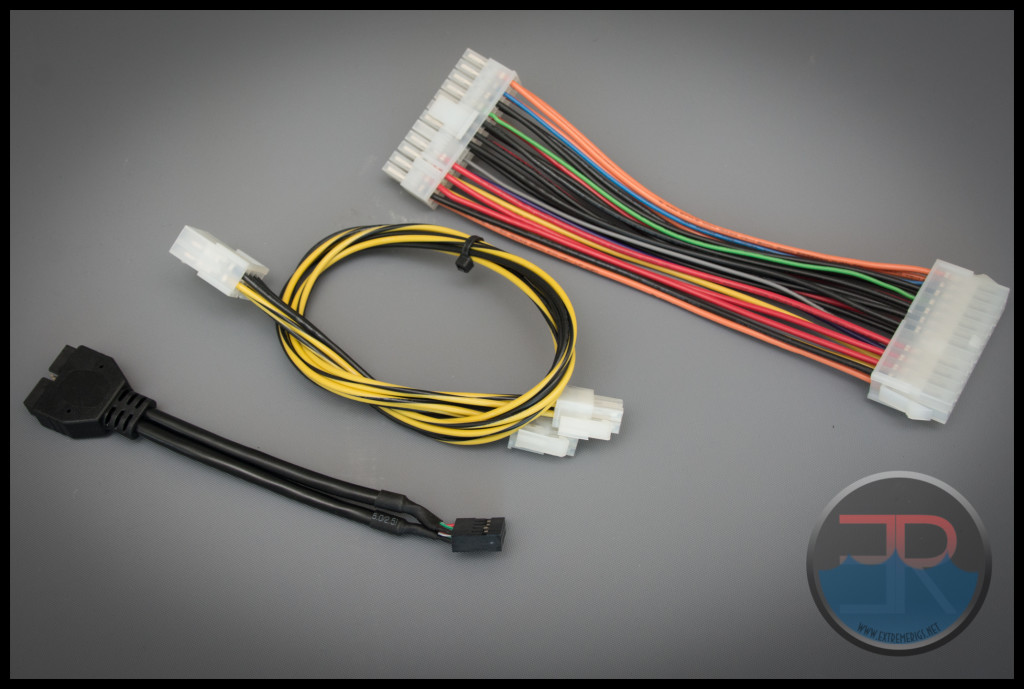
The cable extensions on the other hand are not sleeved and this is very disappointing for a case that is quite pricey:
In this day and age only the cheapest power supplies have cables that are multicolored like this. I truly did not expect his from In Win. The cables are a USB2 to USB 3 header adapter which is a least black. Then a CPU 8 pin extension and a 24 pin extension. Hopefully you won’t need to use these.
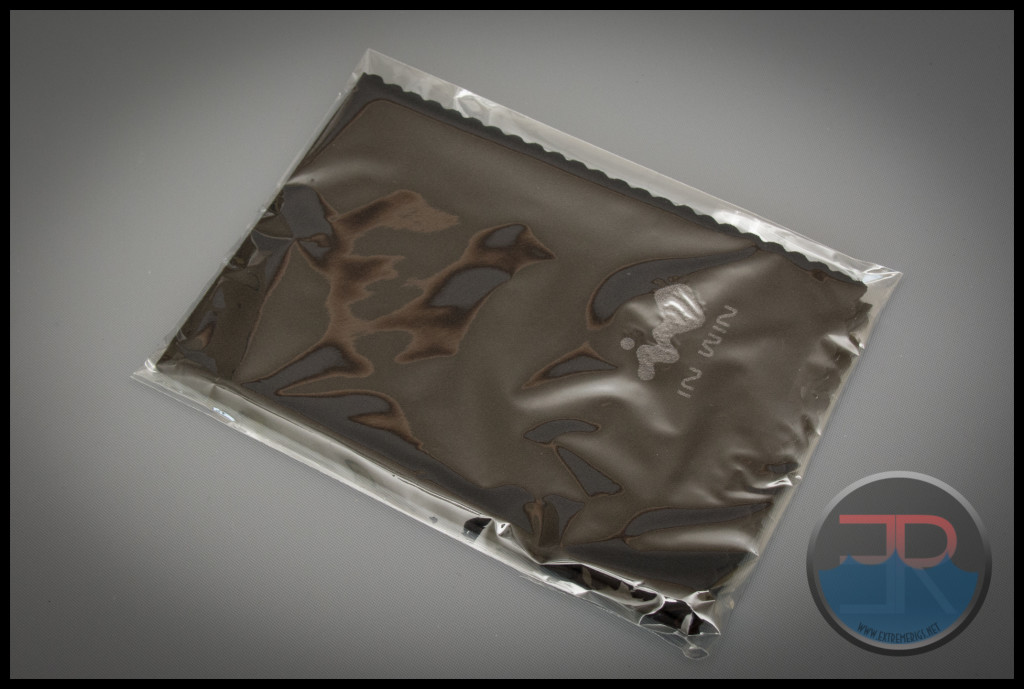
The lint free cloth is black with an In Win logo and feels great – no skimping here:
Let’s now take a closer look at the case…




That’s a very nice case and I’m probably going to build by next computer with that. But I have 2 questions.
I’m going to have 2xMSI 980 Ti LIGHTENING SLI in the computer, which is a tri slot card. What exactly is the problem that I will run into if I mount one of them at the lowest 2 slots? Is is possible to stuck it in there with some slight mods?
Also, is it possible for me to mount the PSU in the HDD compartment at the top? Thanks
If they are a full three slots then no, if they are 2.5x then they might work
PSU, haven’t measured, but yes maybe, worst case you might have to mod it a bit
Thank you for this review. I actually ordered this case prior to reading but you gave me some ideas for designing my loop. Question – how would I remove the HD bays – they take up space (as you noted) and it would be great for the reservior.
I believe they screw in from the underside, i.e. the top panel of the motherboard chamber I’m out of the country right now so can’t check sadly.
I am actually building on one of these cases now. I have two questions;
1. Is the IN WIN front logo supposed to light up? I can’t figure out if I have one of the LED plugs plugged in wrong or if it doesn’t come on until after post or… not at all. My Side LED works with all of its flashing glory.
2. What are the clearances on the top and bottom of the Main Motherboard Bay with a 280mm radiator? I’m attempting to put a custom water reservoir on the bottom that comes flush with the PSU cover.
1. – Yes – although my side LED strip had managed to unplug itself in shipping, so you may want to poke around where all the wires come out to see if you have a loose cable in there.
2. top and bottom? Do you mean the side of the board? The bottom I think you’d be best off with a very slim/narrow 240 at the bottom. I was able to fit an EK PE radiator in there, but that’s really the limit and it was already causing some interference getting in the bottom cables to the motherboard. If you want an easy life I’d suggest something like an EK SE radiator (narrow/slim) or a Hardware Labs Nemesis GTS N series (narrower version than regular GTS – Same as Bitspower Leviathan Slim). For the front mounted 280 – you won’t get a lot of air to the rad so the size isn’t critical and the space you have for it also depends on if you’re getting a super long GPU or also trying to mount a Pump in there. If you’re not running a super long GPU or pump in that area then my guess would be that a 60mm with push only fans would be ok. Let us know how your build goes!
Hi, am in the processing of designing my own 909 build, and I was wondering -> is there room for a push/pull configuration in the back radiator block with a 60mm thickness radiator?
I was thinking it looks quite tight, but if you abandoned the bottom fan (where the gpu might be), you might be able to get away with it… thoughts?
I haven’t measured it but yes I’m pretty sure you can do 60mm with push/pull The review has a 60mm UT60 in there and there’s definitely space for a 2nd row of fans. Worse case you might need some cable adapters I suppose
I appreciate the response; I’ve since put in my radiators/reservoirs into my build. I’ve got an ek-xres 100 mounted horizontally in the empty space near the drive cages. My Msi gtx 1080 Seahawk ek x has about a 25mm clearance from CE 280 front mounted rad and fans. I’m in the process of custom making a reservoir that will sit in the 185mm space over the USB ports. I am very interested in seeing the results of the restricted airflow in the front of the case; in waiting on the ML140s from corsair to release in the US.
Comments are closed.