EK Supremacy sTR4
 EK were kind enough to send three samples of their latest version of the Supremacy for Threadripper. By our count this is version 3. So let’s have a quick review of the versions.
Version 1 Oct 2017– This took the existing Supremacy EVO design and simply extended the cooling plate to cover the threadripper IHS:
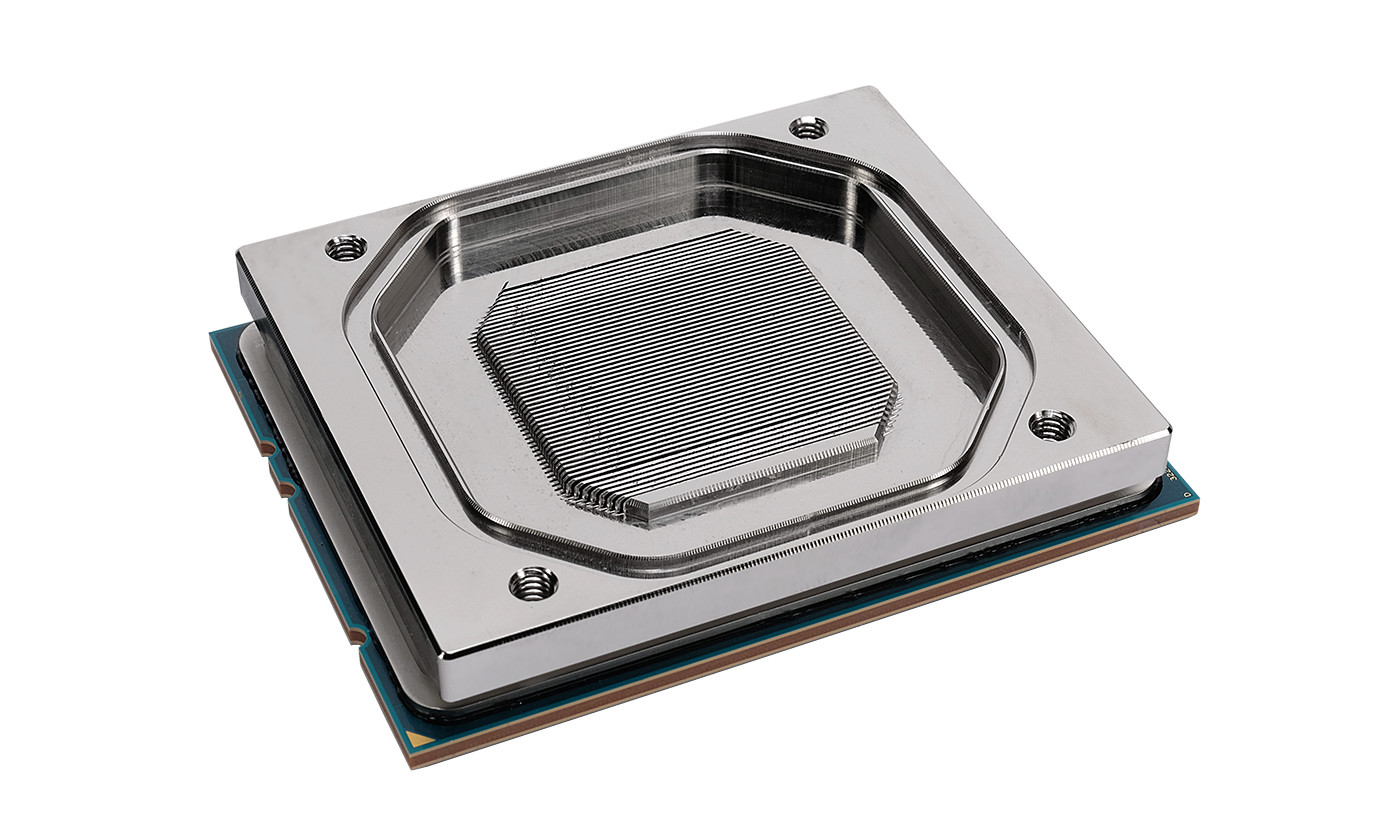 While the extended cooling plate ensured even mounting pressure and slightly better thermal performance than otherwise, the cooling engine was optimized for a much smaller CPU.
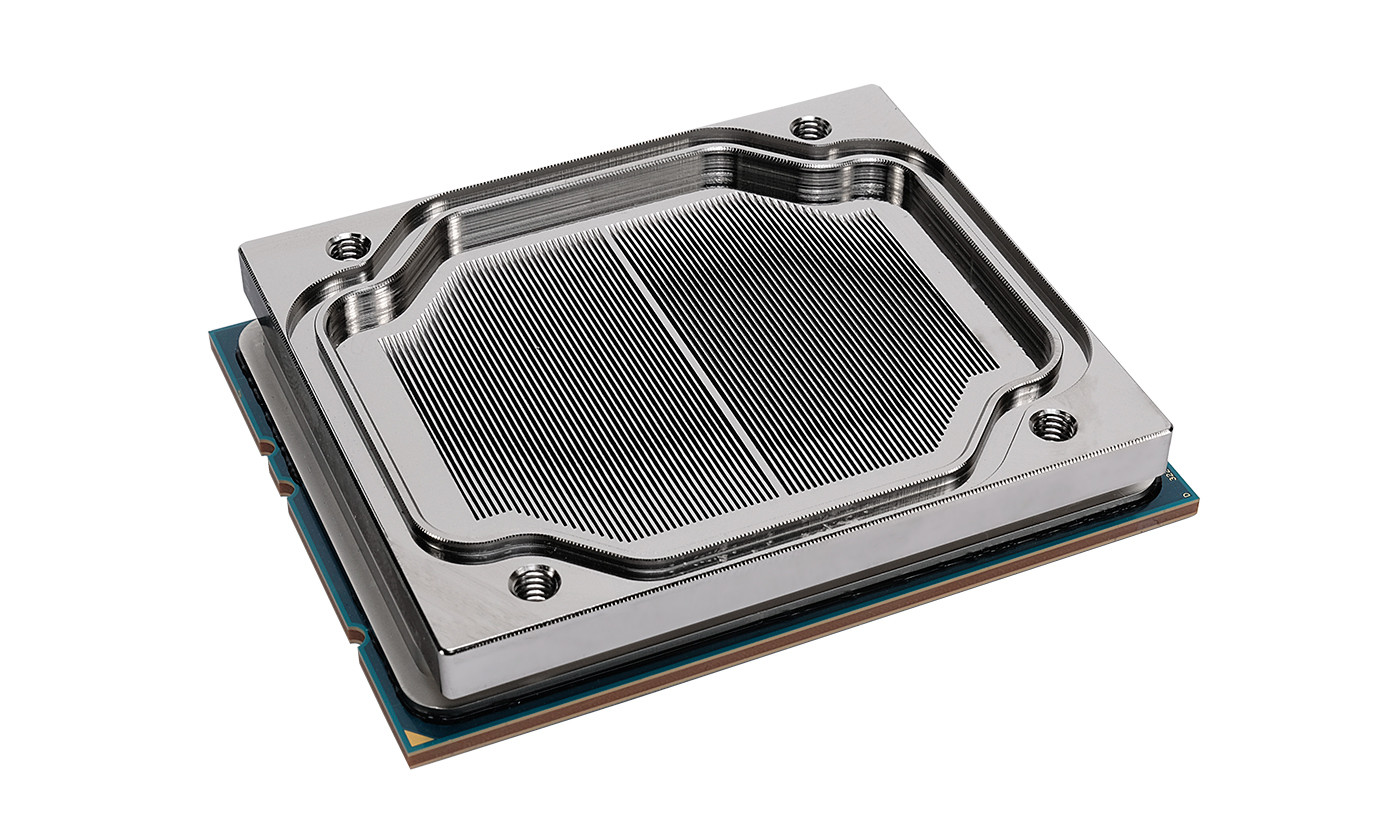
Version 2 Feb 2018 – EK improved the cooling engine on V2, but kept with the same base:
Far more of the metal is now covered in cooling channels, in addition, the orientation of the channels has rotated to provide the dies with as much cold coolant as possible. So let’s take a look at what the latest sTR4 version (aka V3) really consists of. 
The back of the box includes relevant information and is much better suited for a retail store than some of the alternatives.
Opening up the box reveals the instructions plus the block wrapped in sealed plastic. Only the cardboard is used to protect the block. There is no bubble wrap or foam.
None of our samples however showed damage. We like that EK have the block attached to cardboard with the mounting screws pre attached. There is no worrying about the precise order of washers, simply apply TIM and mount the block.
We also like that EK now supply Thermal Grizzly TIM. We’ve heard good things about it, and it is presumably better than the rebranded paste that EK used to include. We prefer to at least know what the TIM is rather having it as an unknown rebrand.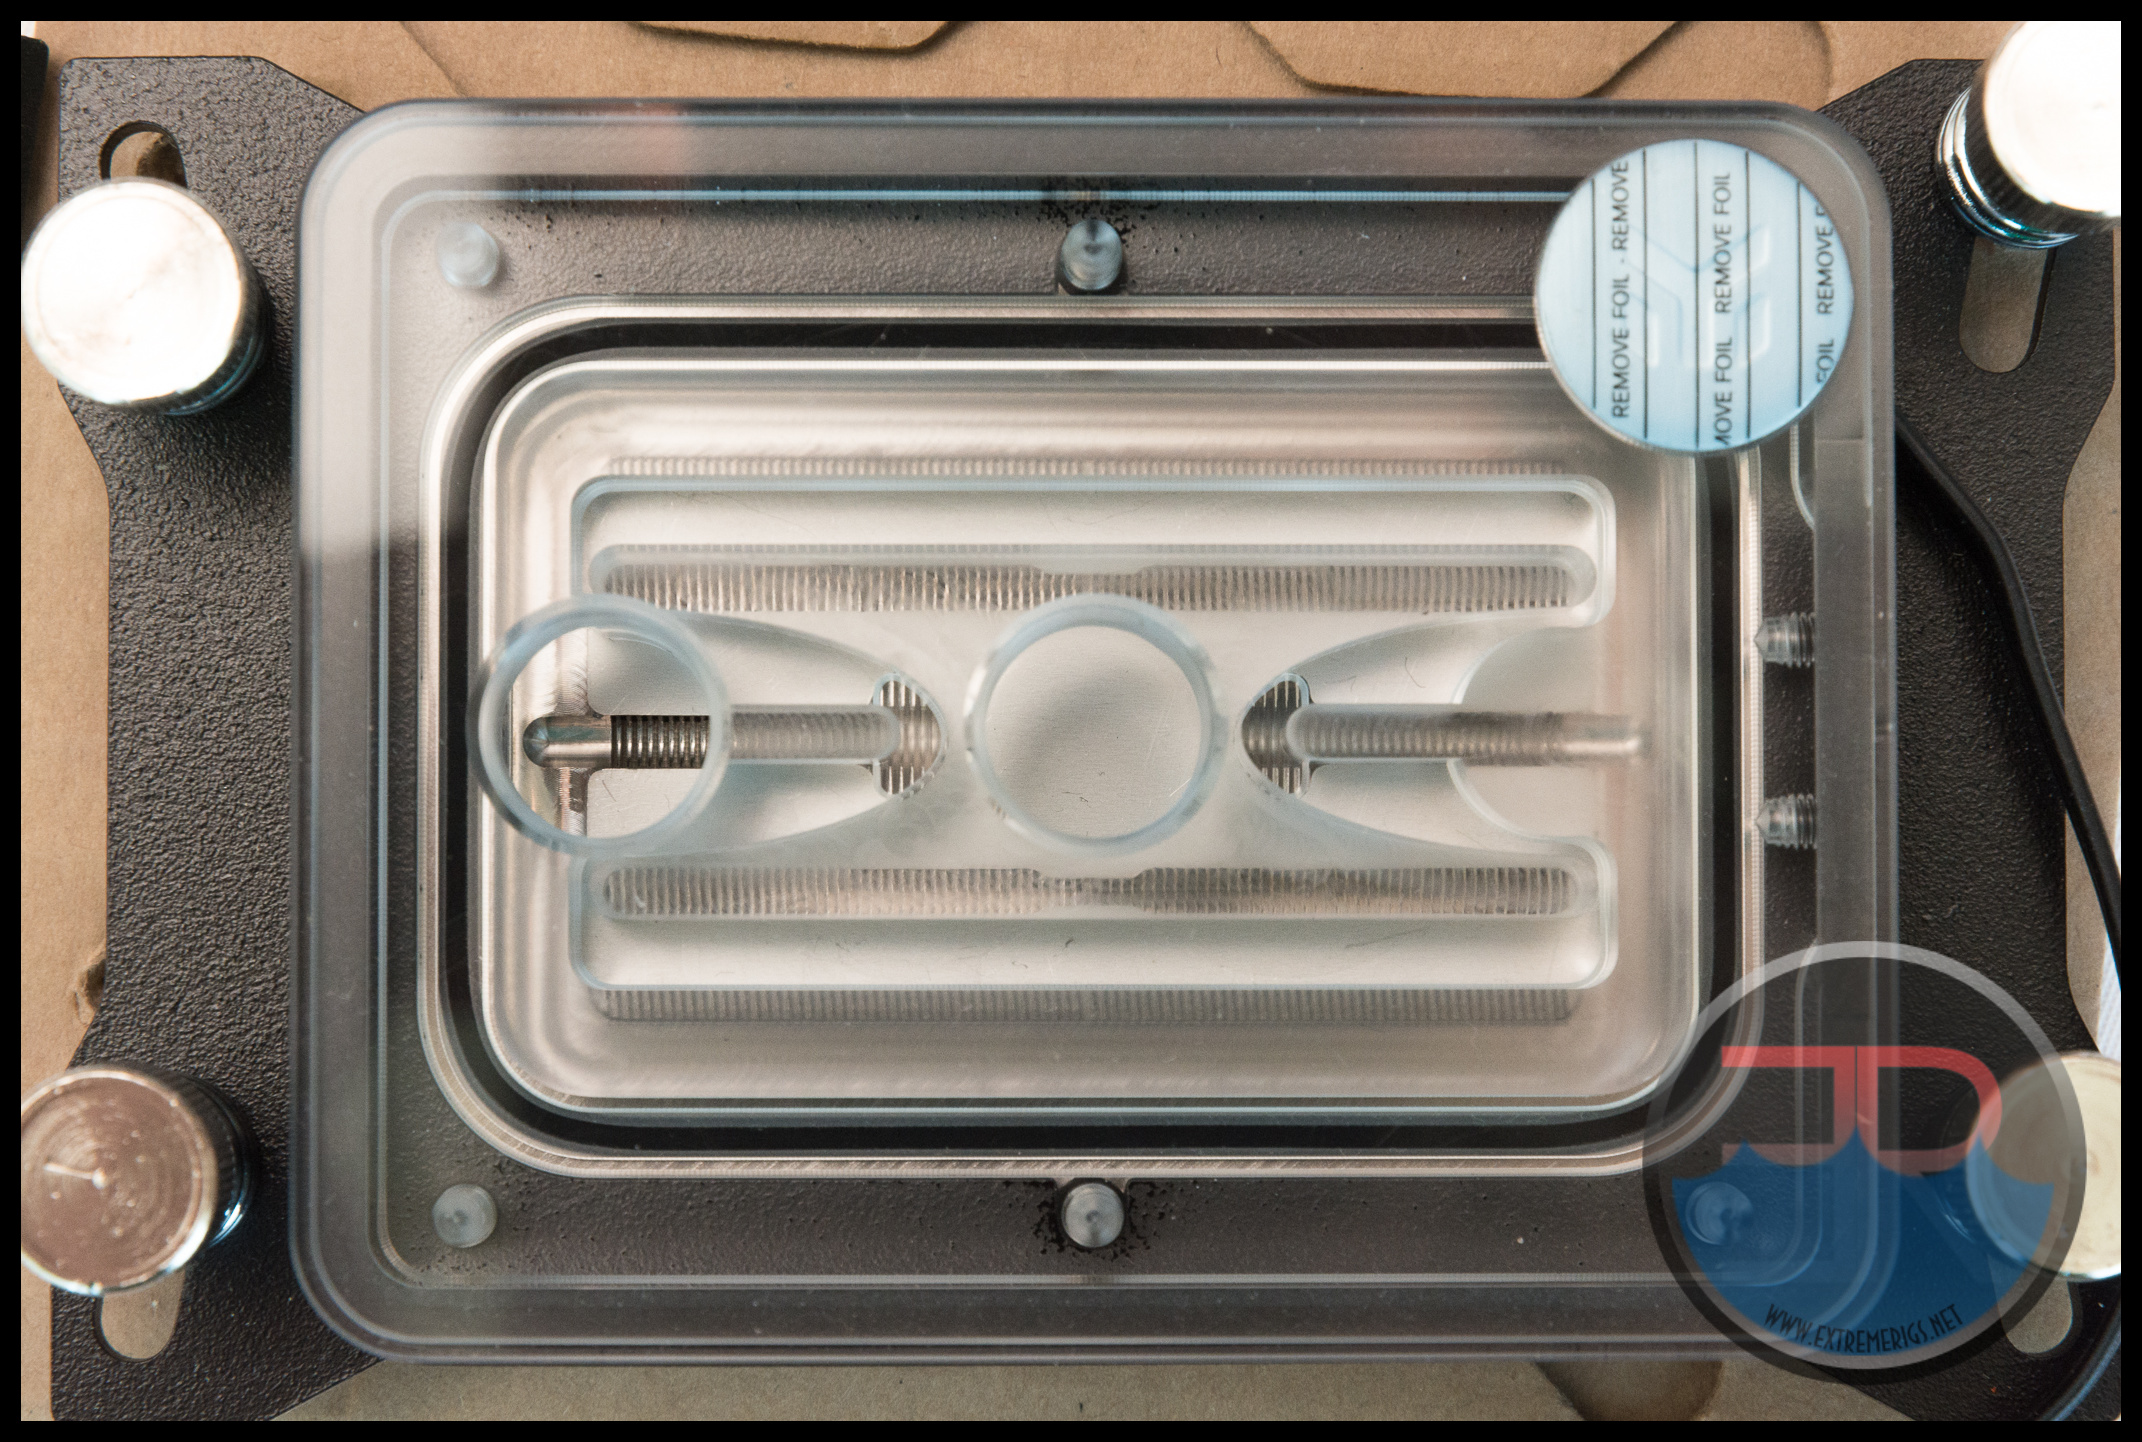 Zooming into the top of the plexi block shows an interesting configuration. The jetplate appears to have two input channels vs the usual single. We believe this should increase performance as the coolest water will be injected where the dies are located, rather than in the center of the IHS. Typically we see water temperatures increase about 1C from input to output of a CPU block, so the benefit would probably be less than half of this. Multiple parallel jetplates can also lower restriction and lower the requirements or strain on a pump.
EK protect the back of the block with a very obvious sticker. We prefer this over unmarked clear stickers which can be easy to miss (XSPC). Interestingly EK have opted to to with a dull nickel plated finish for the base. Typically we see manufacturer’s polish the base to a mirror. EK claim this will help thermal performance, however the most important thing is getting a thin layer of TIM between the block and the IHS which is usually combination of mount pressure and bow of the block base.
Here we see the 6 hex head screws that seal the block and also the circlips which keep the mounting screws attached to the mounting plate.
Trying to take a selfie in the reflection of the base shows just how much of a rougher matte finish the block has. The acetal and full metal versions look similar, albeit without the 4 pin RGB LED Header. All versions use a copper base with nickel plating. The full metal also uses a nickel plated copper top and is substantially heavier.
Typically the metal top doesn’t give directly better thermal results as it’s thermally quite decoupled from the CPU itself. However performance is usually different because the base is often more bowed than the equivalent plastic topped block. Whether the CPU prefers more or less bow usually determines if the full metal does better or worse.
Overall the design is simple and clean for the acetal and full metal. The Plexi is busier by necessity of the jetplate design, but we approve of the 4 pin RGB lighting and the block still looks great.
After testing is complete we dissassemble the block to inspect the internals:

The block is easy to take apart, although you must bring your own allen key as EK no longer provides one:
Removing the base reveals the large cooling channel area and the interesting jetplate design that we had seen on the plexi block.
There are no o-rings to fully seal the jetplate to the top of the block. This potentially risks “blow by” fluid that skips the cooling channels, but it does lower cost. With such a complicated jetplate it would be almost impossible to put additional o-rings in anyway.
Inspecting the jeplate and channels shows how little channel area is actually under the jetplate. It seems like at least 50% of the cooling channels are really input and outputs. It’s possible that narrower jetplate channels would increase performance at the cost of increased restriction.
The cooling channels are not super wide or narrow and shouldn’t be too restrictive. The width of the entire cooling engine area is as large as any block we looked at. However the channel length is not as big as it could have been:
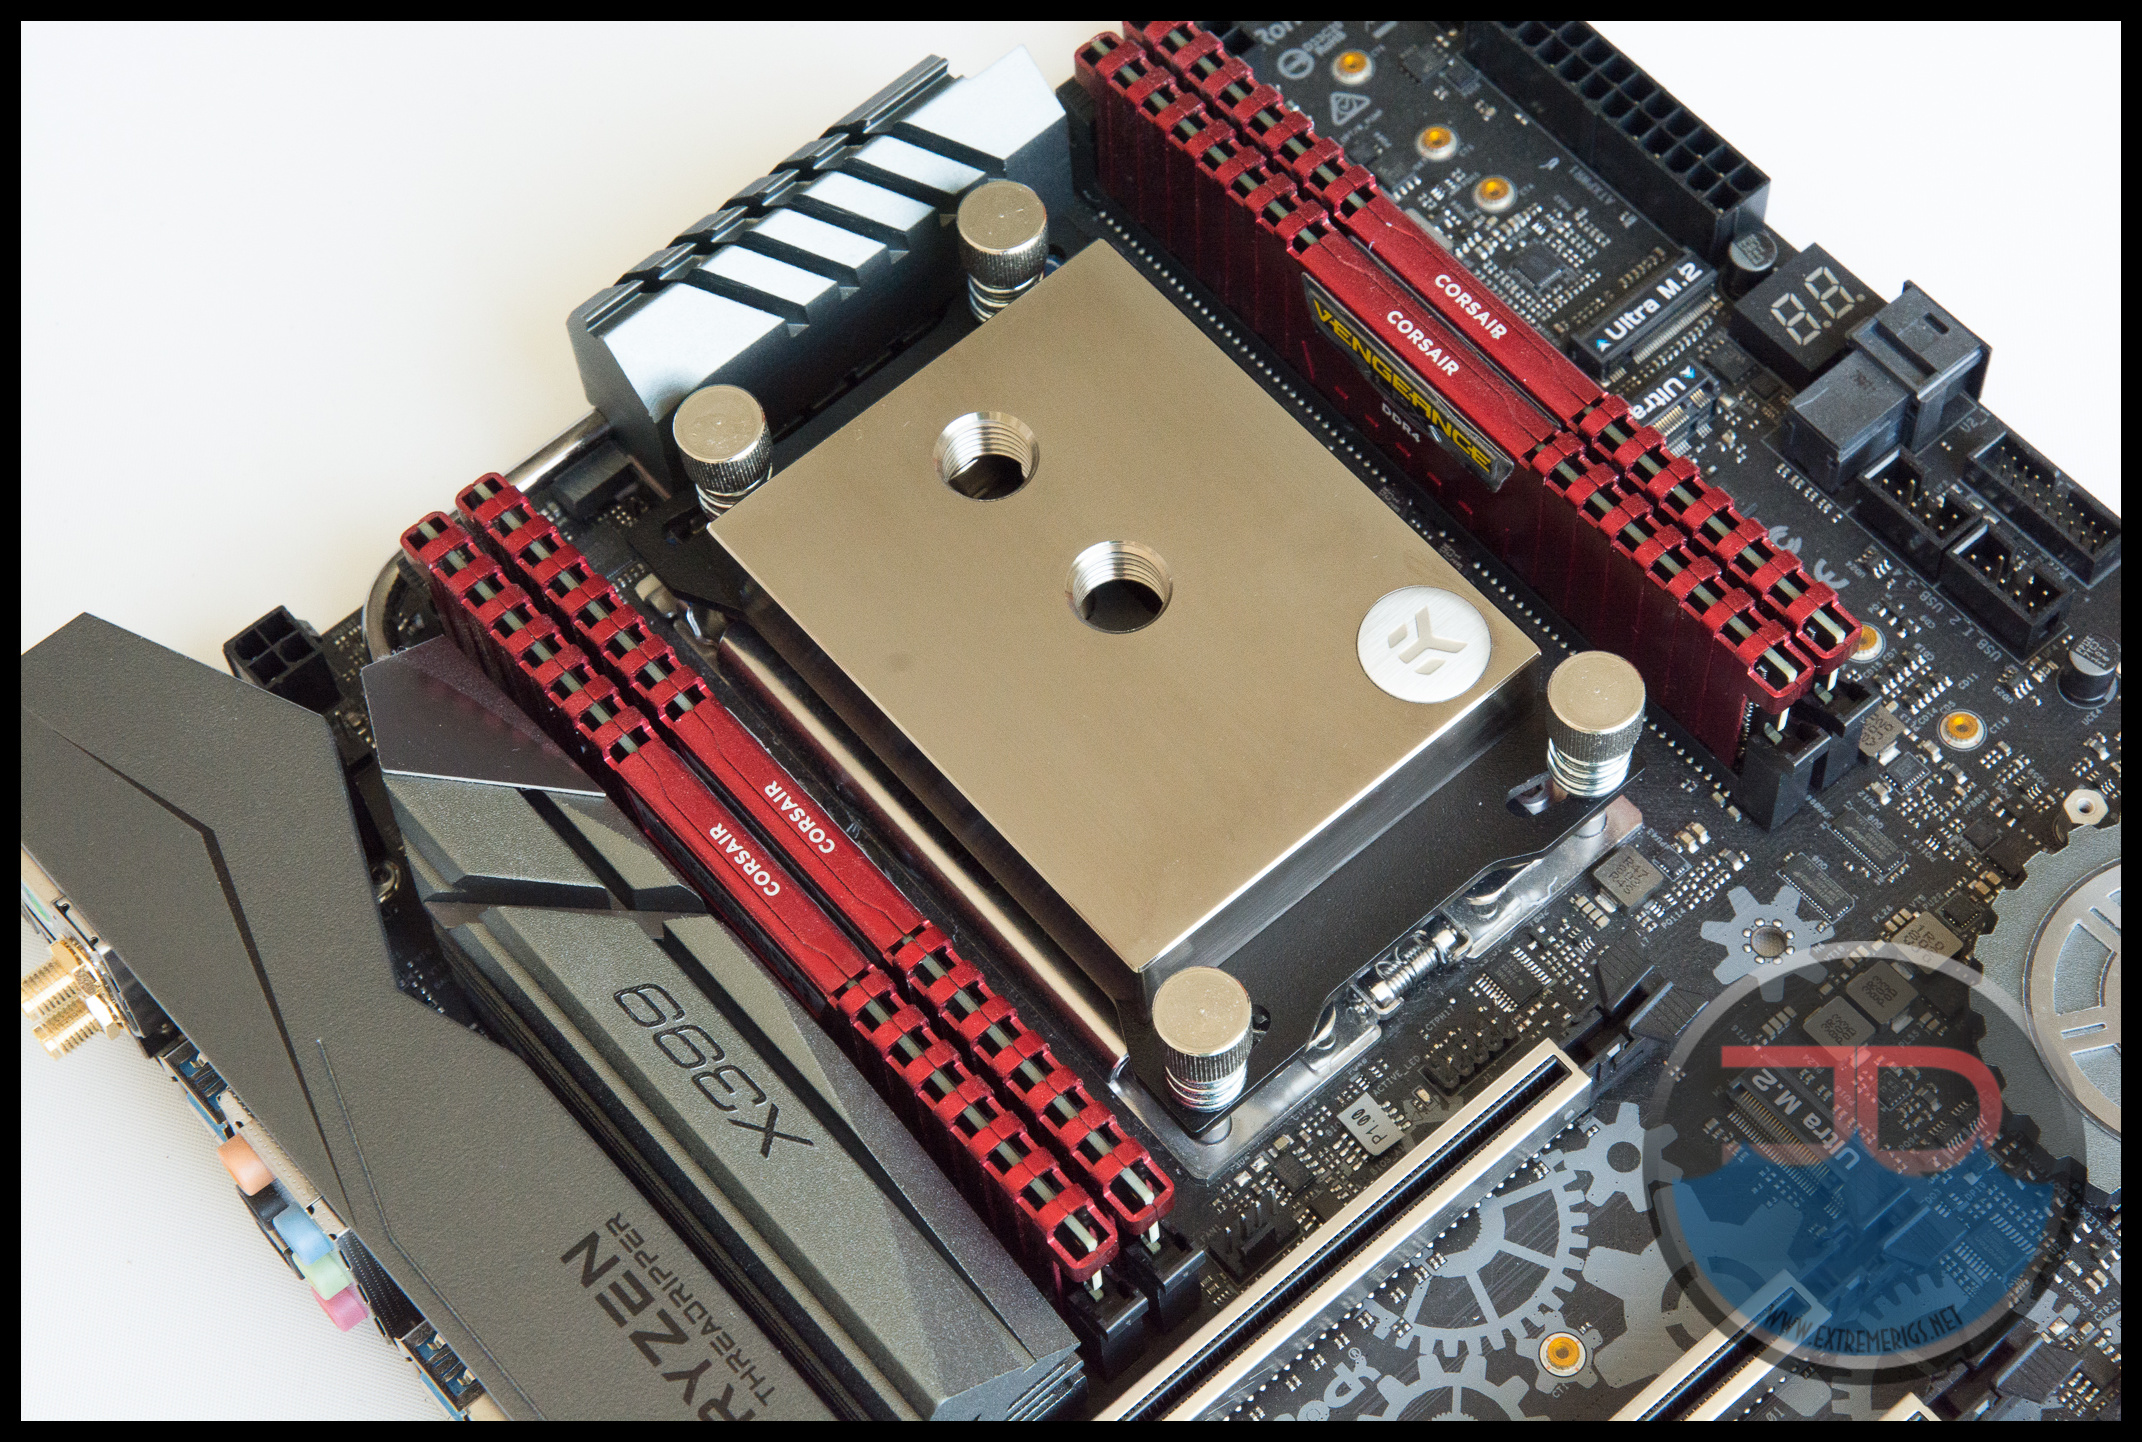
We like the look of the block on the board:
The mount also tries to blend in, and is more successful with the full metal block:
So EK have an interesting and different design. You have to be impressed with their commitment to keep improving their designs and for trying new ideas.







Awesome reviews and love how detailed and simple the articles are, it really helps a lot when coming in choosing different parts which I am currently building, and I am glad I have chosen heatkiller too, athou I am a little worried about the acrylic version overtime while 2990 is in OC status (hot stuff..). fingers crossed.
Comments are closed.