Technical Details and Features listed by Alphacool.
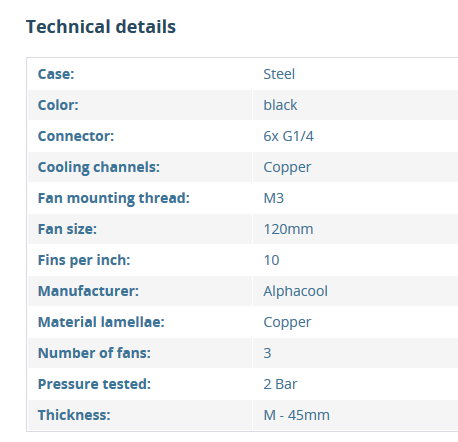 It is not unusual for Alphacool to list their specifications in two ways as we see above and below. In the case of the Eisbrecher Pro it may be quite useful if they would label each correctly such as “External Enclosure” and “Radiator Within” and populate the details accordingly. Doing so would eliminate the confusion in the currently listed details such as the number or ports, is it 2 x G 1/4 ports or is it 6 ? and what is the thickness, 45mm or 56mm? You probably worked out as we did that the above information mostly relates to the radiator inside the enclosure, while the details below are more about the enclosure itself (sort of); i.e external dimensions.
Technical Details:
- Dimensions (LxWxH): 411 x 132 x 56mm
- Material casing: Aluminum/Steel
- Colour: black
- Threads: 2x G1/4″
- Fan size: 120mm
- Radiator thickness: 45mm
- Pressure-tested: 2 Bar
Dimensions Measured on the Radiator Tested:
First we have the external enclosure dimensions. + ~2mm needs to be added to the enclosure length or thickness, depending on which ports the port extenders are fitted to. While six port cut-outs are present, only 2 port extenders are fitted, which is part of the confusion in the listed specifications above.
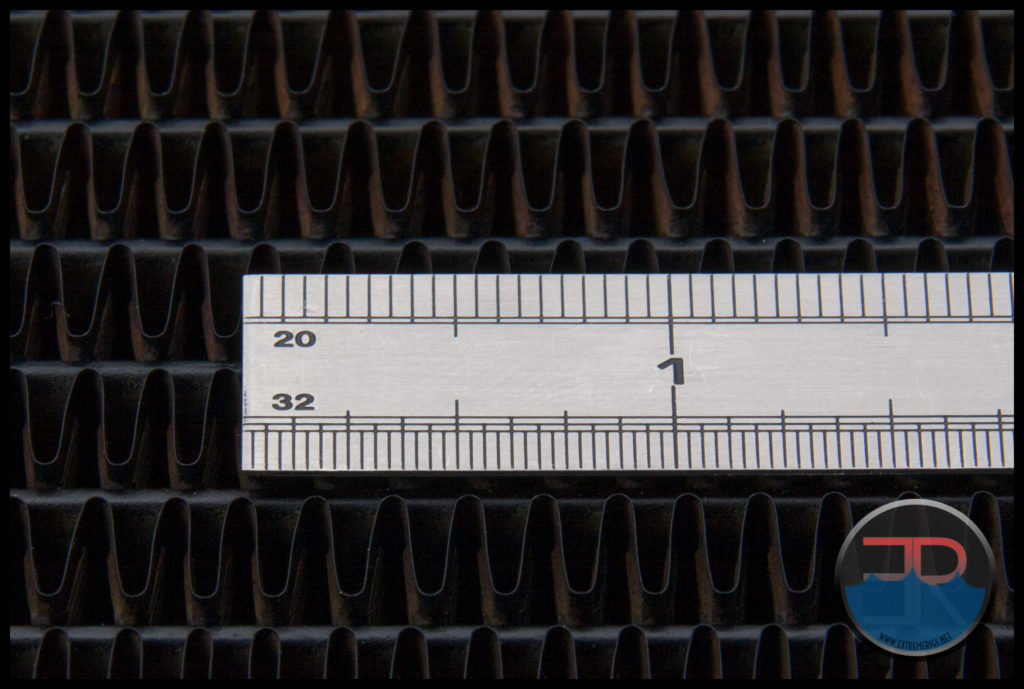
 The most notable difference between our sample and the listed specifications is the fin count. While Alphacool list 10 FPI, our sample is definitely higher having an FPI count of 11 – 12 FPI.
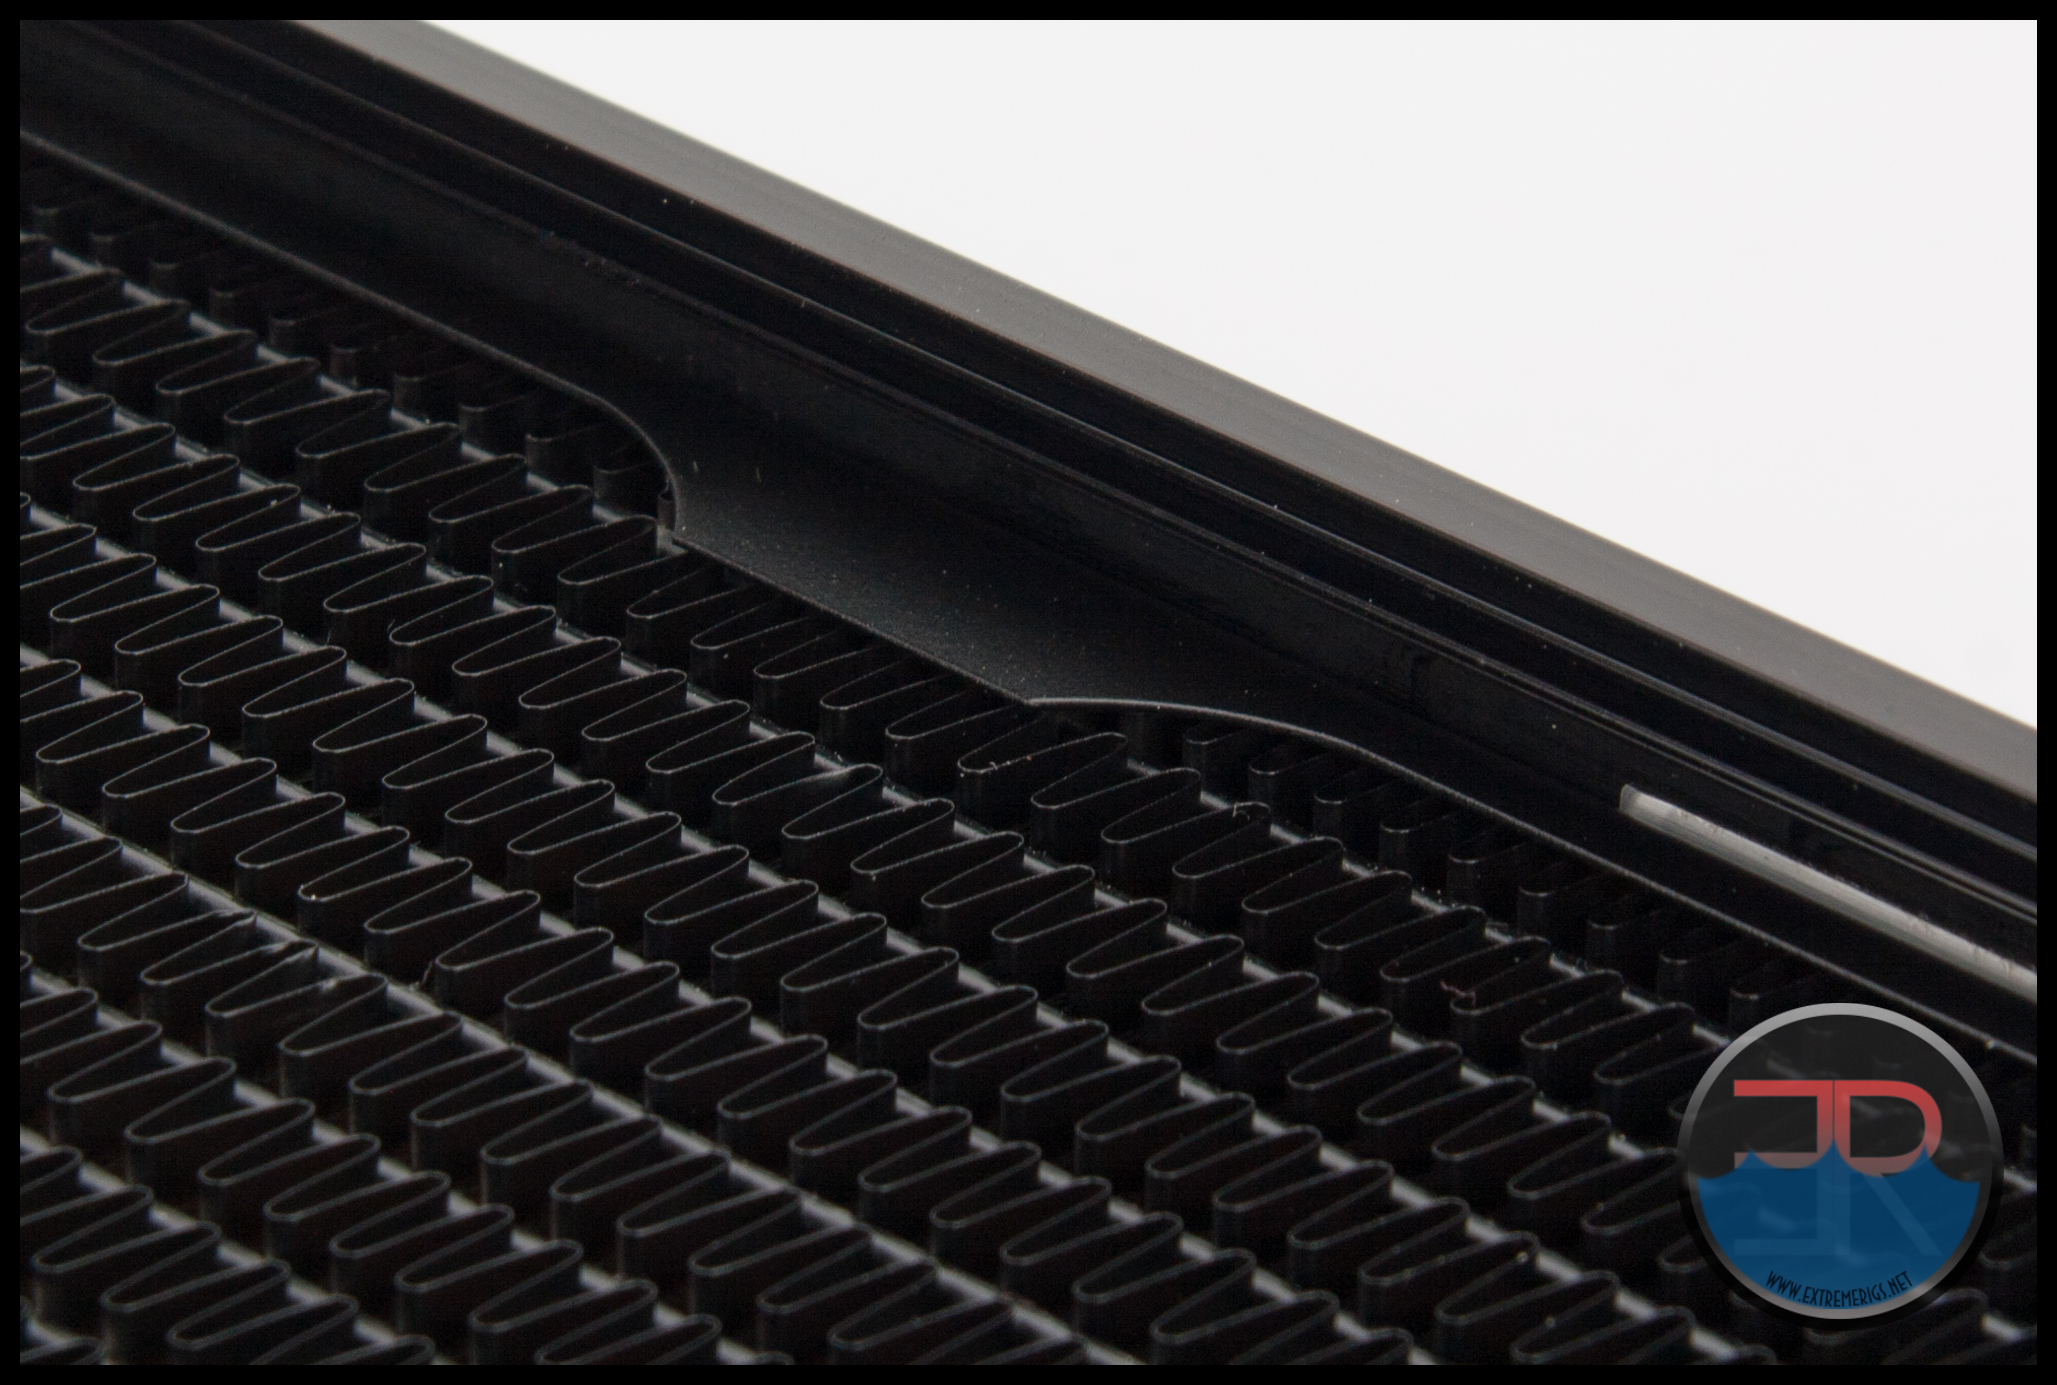
The 34mm thick core is based on two layers of twelve 2mm thick tubes arranged in the standard 2 pass U-Flow configuration. The fin arrangement consists of single, finely louvered fins which have a 12 FPI count. This medium thick, low density core does not seem designed for extreme performance, but we won’t know for sure until we analyze the thermal testing data.
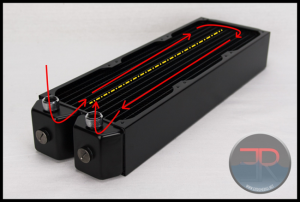
The following picture is a reference which shows a typical U-Flow coolant flow path, where the coolant travels up all the tubes on one side (left in pic) of the rad and then returns down the other side. U-Flow is most easily recognized when the port end has 2 separate tanks, which the Eisbrecher Pro does have, just that they are hidden inside the enclosure.
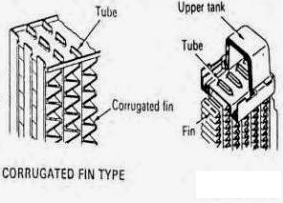
The fins are spaced very evenly between the tubes as we should expect on a core with a reasonably low fin count.
Finish and Features
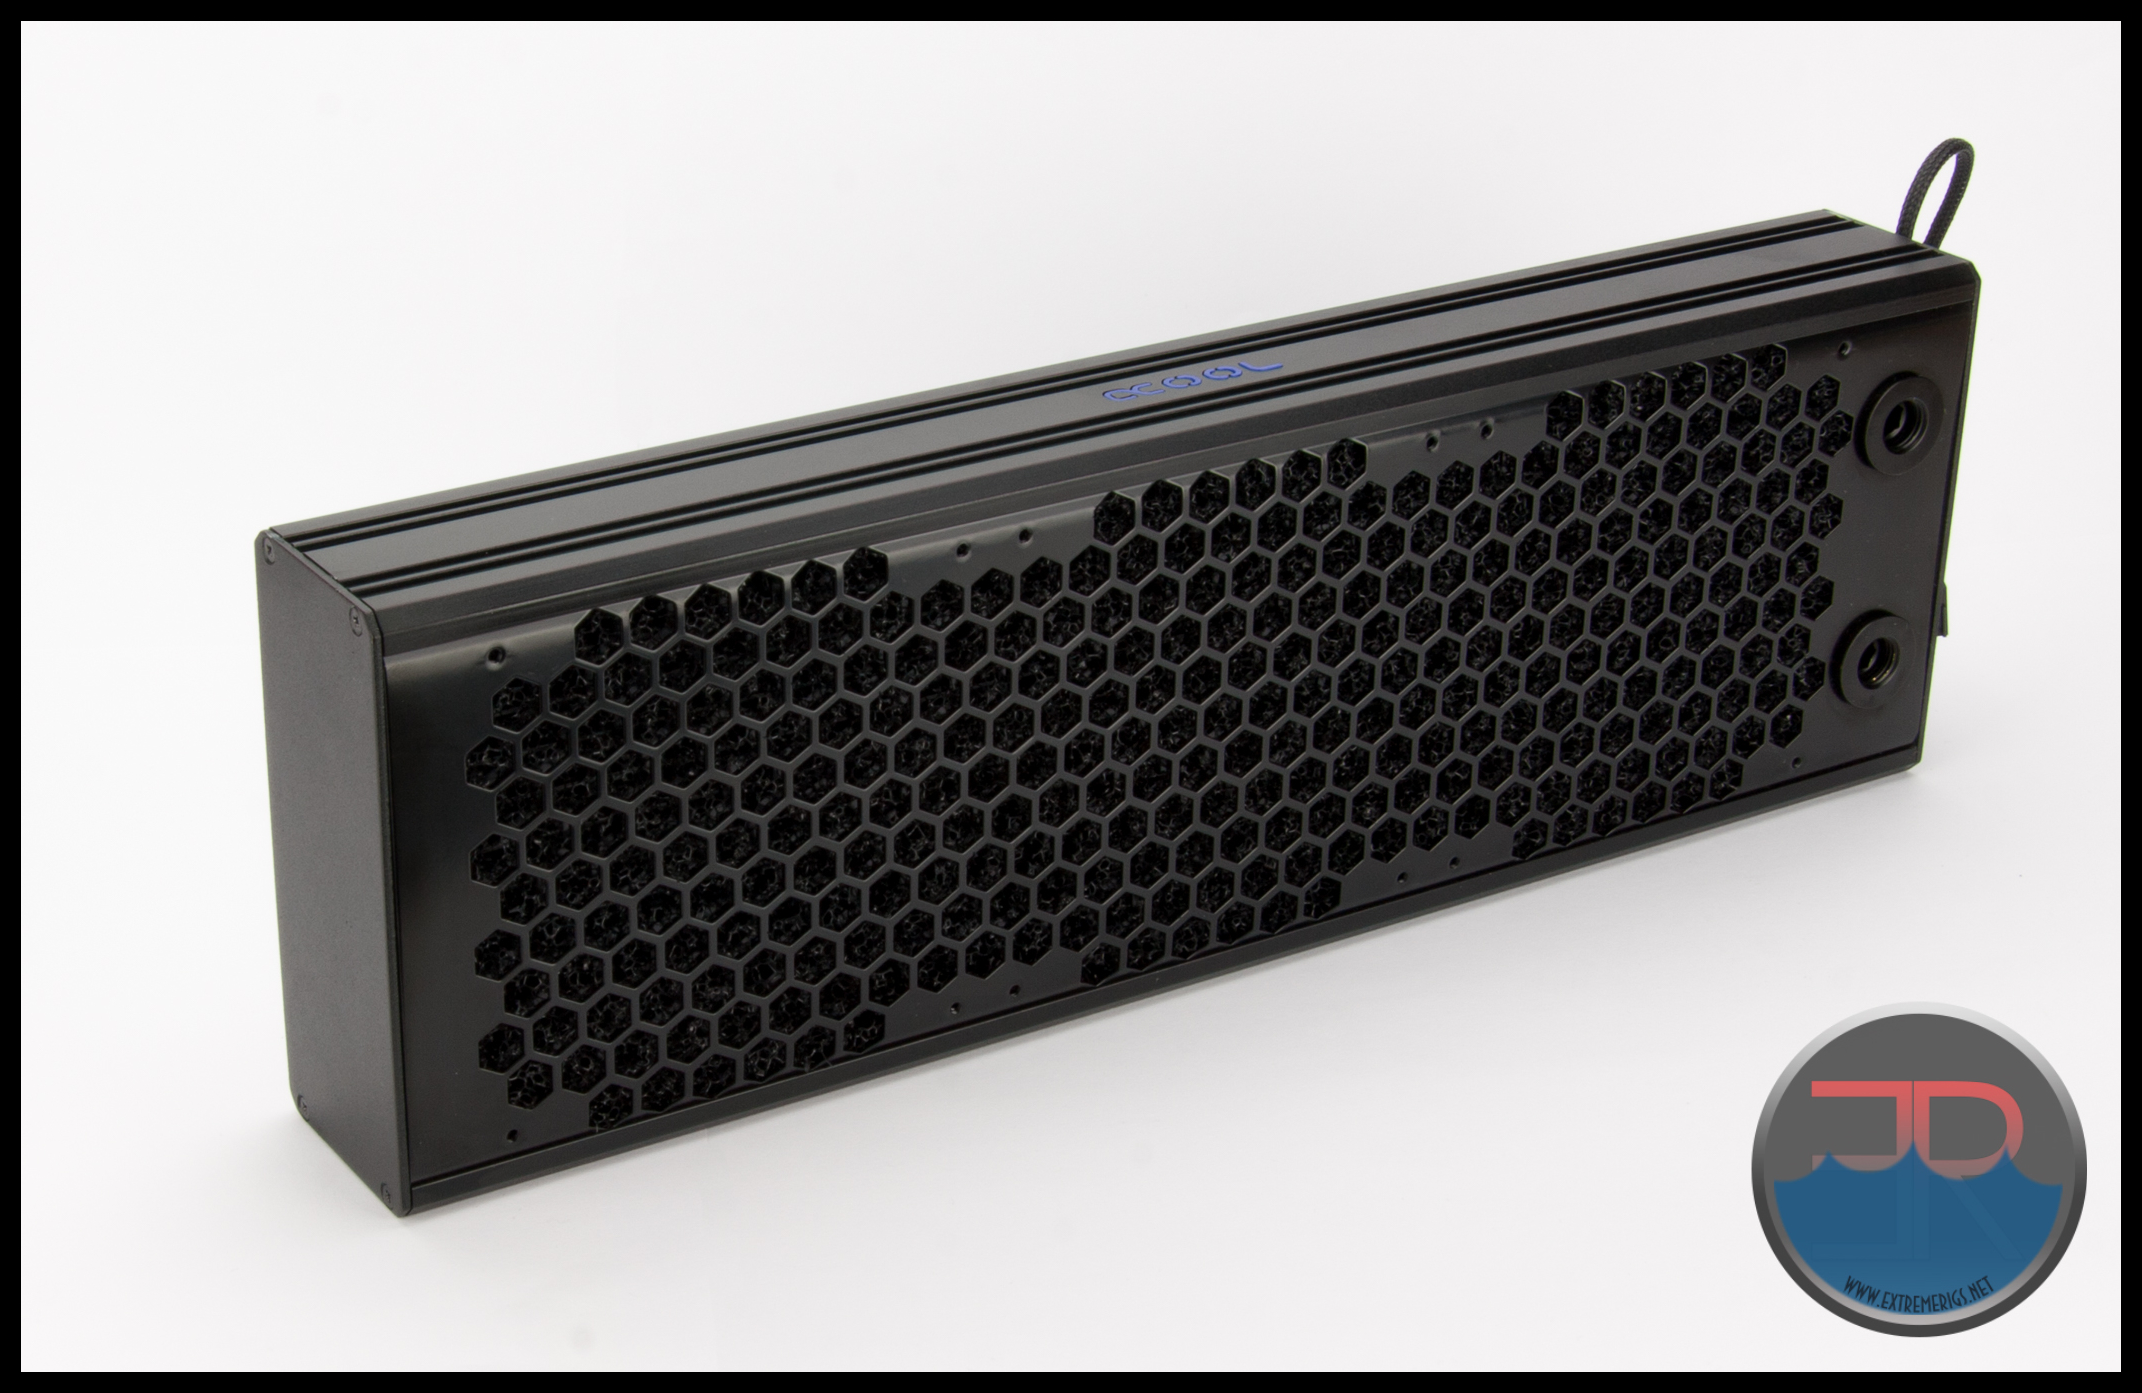
The striking feature of the Eisbrecher Pro is of course the external enclosure.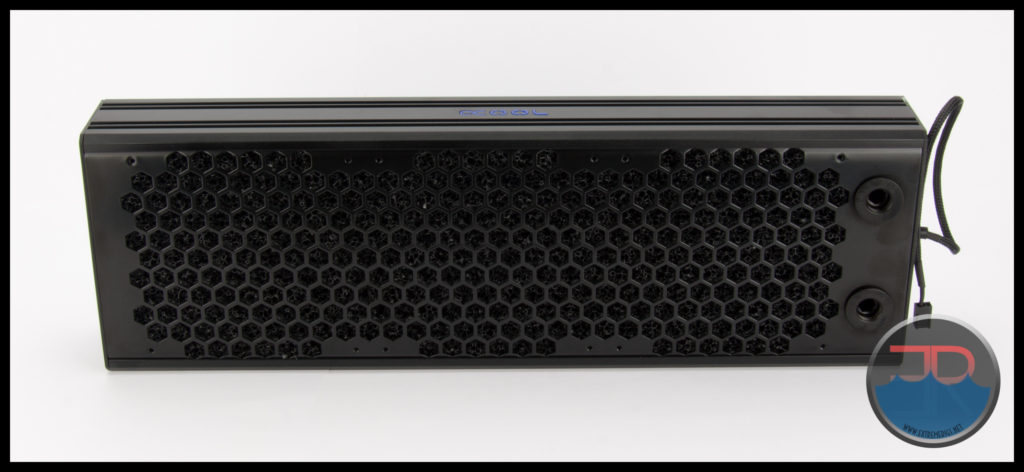 The two long side panels and both end plates are painted aluminum while the honeycomb mesh panels on each are painted steel.
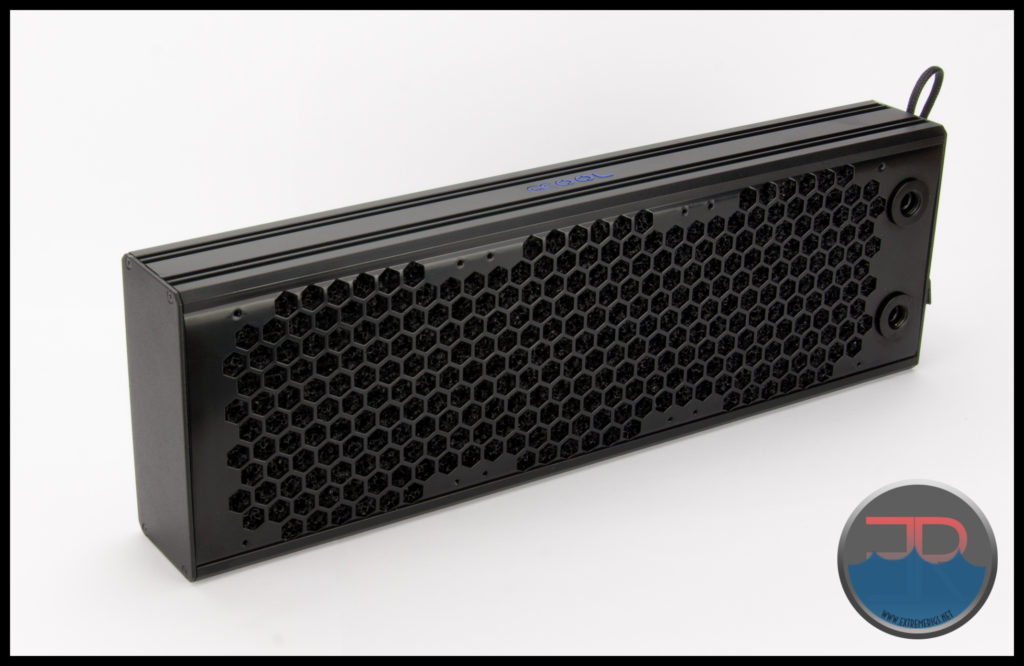 The casing feels rock solid, largely on account of the 2mm thick aluminum end plates and side moldings which are screwed together and keep the enclosure in shape. That happy premium quality buzz returns as we begin to inspect the Eisbrecher.
The paint finish was excellent, however not perfect, as part one corner of an end plate seems to have missed being painted at all.
The elephant in the room: What is that cable protruding from the port end plate ?
Perhaps the wires for a temperature sensor or two ?
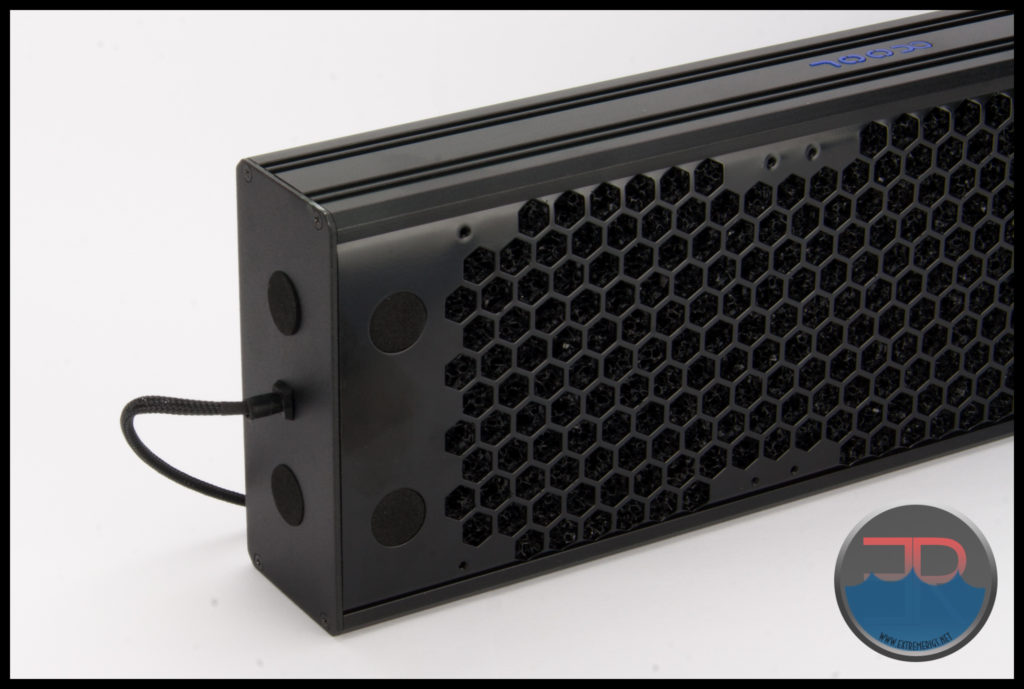 Sadly it is not a temperature sensor related as it has a 3 pin fan connector at the end of the neatly sleeved cable, indicating that something internally requires power.
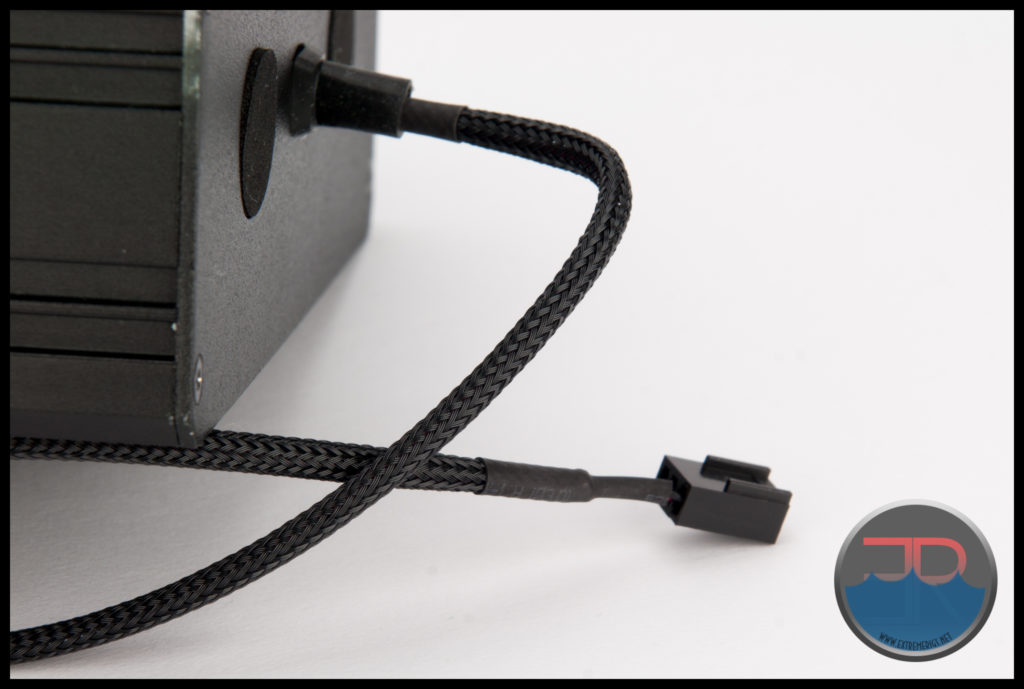
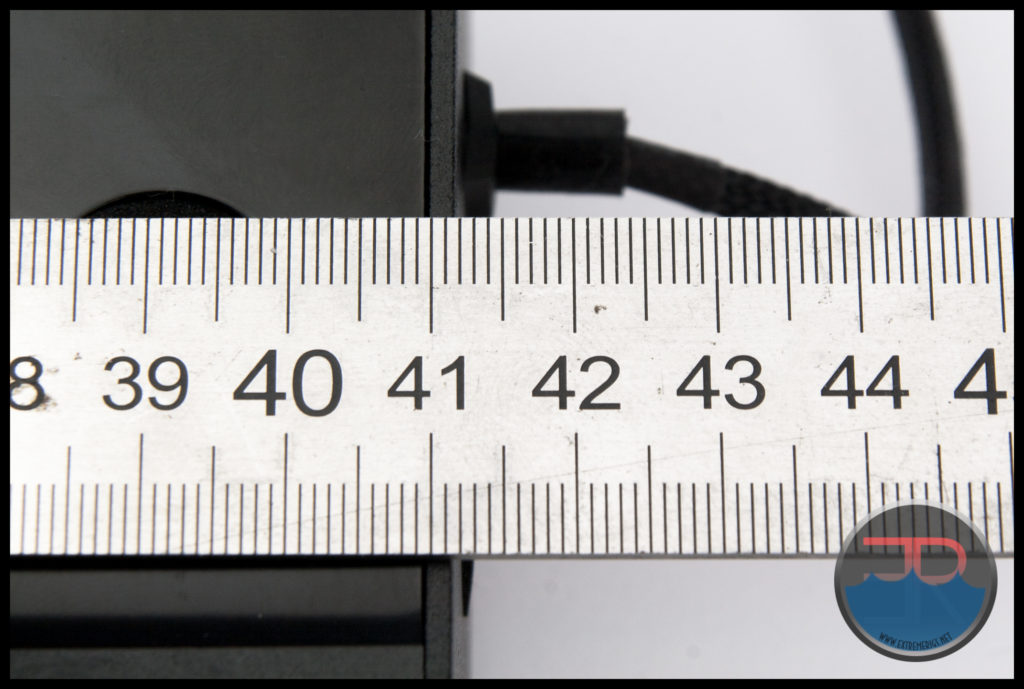
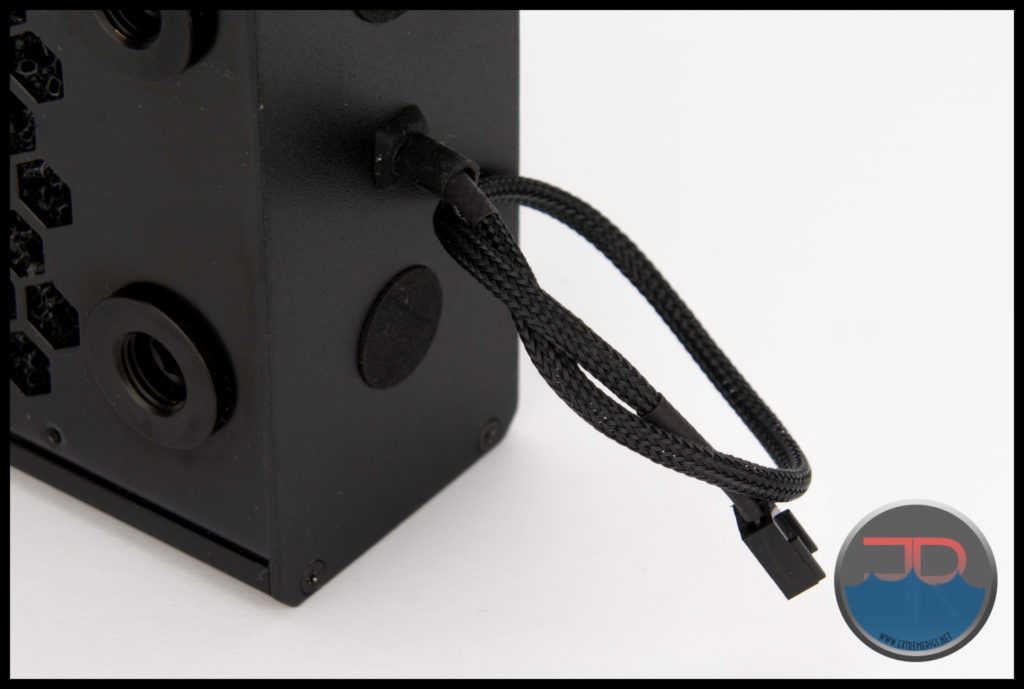 The rubber pass through which the cable exits the enclosure looks great, but adds additional length to the enclosure. Even if bending it over, you’ll want to allow ~10mm for the wire and rubber pass through making the overall length at least ~420mm. At 420mm this is the longest of the thirty four 360mm radiators that we have tested.
Company logos in conspicuous places is not something we favor, especially when they are placed so that there is a 50/50 chance that the logo will be upside down when the component is installed. The Eisbrecher Pro has the “acool” cut out into both side panels which has a blue plastic insert on the inside.
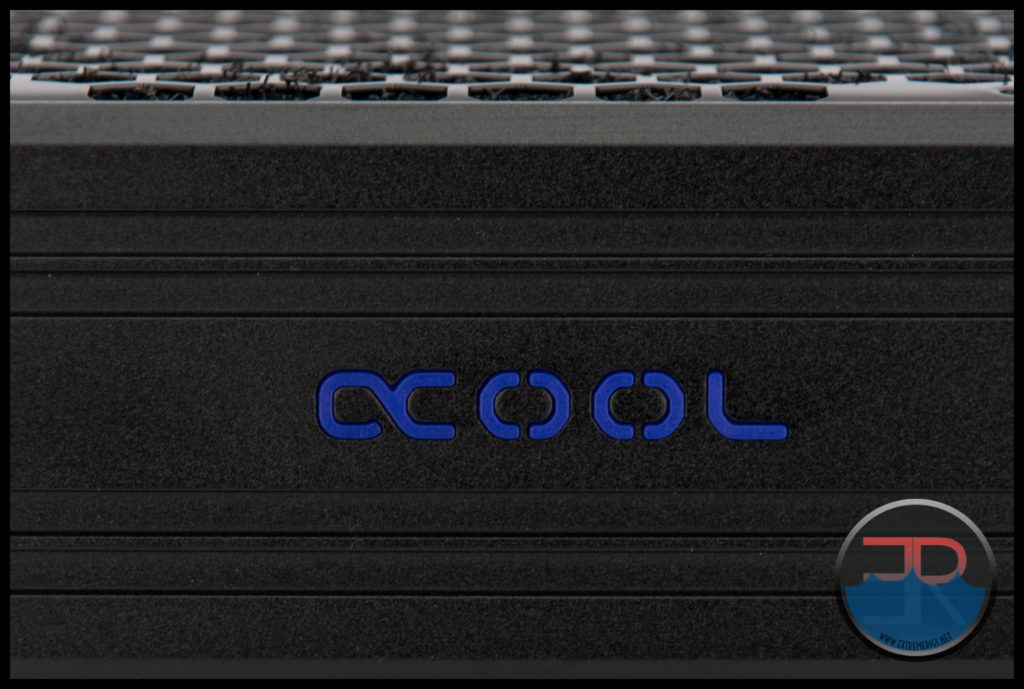 That sleeved cable runs to some thin/flat LEDs behind the logo on each side panel. While some purchasers may find these LED lit logos appealing, our opinion is that it’s on the cheap and tacky side of things and actually detracts from what we think is a premium quality enclosure.
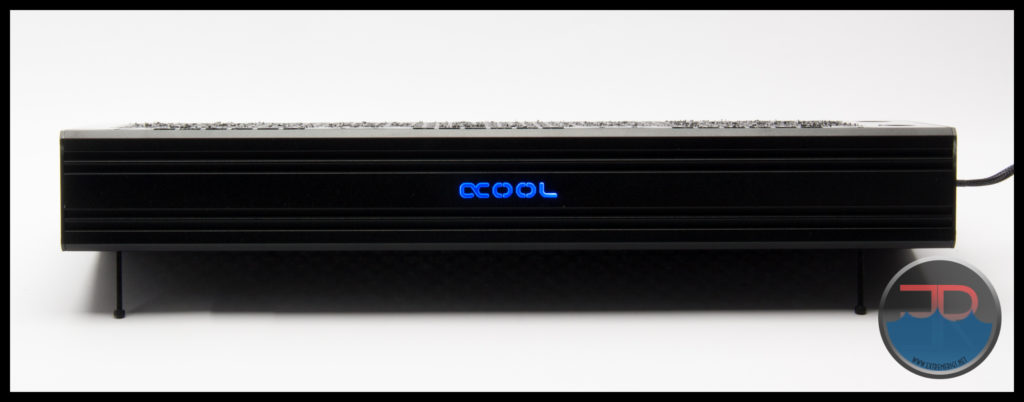 In a bright or dimly lit environment the brightness is not overpowering and actually represents the Alphacool logo color very well.
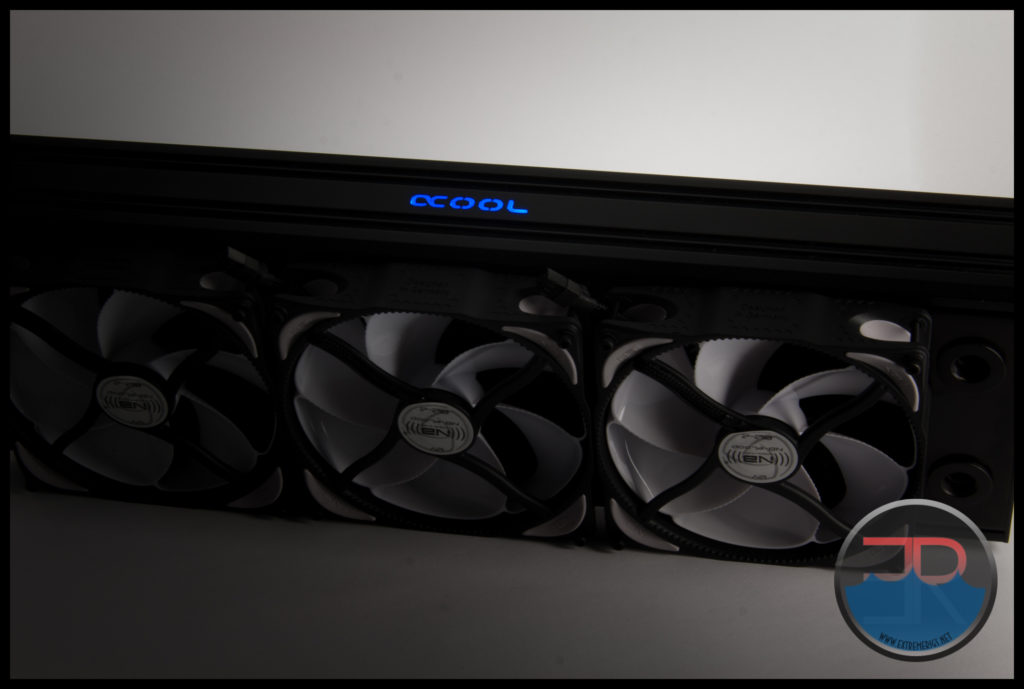 In a dark environment however, the color appears more white than blue when looking directly at the logo.
 Some may think we are being a bit harsh about the inclusion of LEDs because the end user can choose not to plug them in and we recognize that is an option. However we feel the slick and stylish enclosure has been made less attractive by having the logo there at all and that including LED lights makes it even worse.
Let’s discuss the available ports on the Eisbrecher Pro.
Out of the box the Eisbrecher Pro has just 2 usable ports which is a big let down.
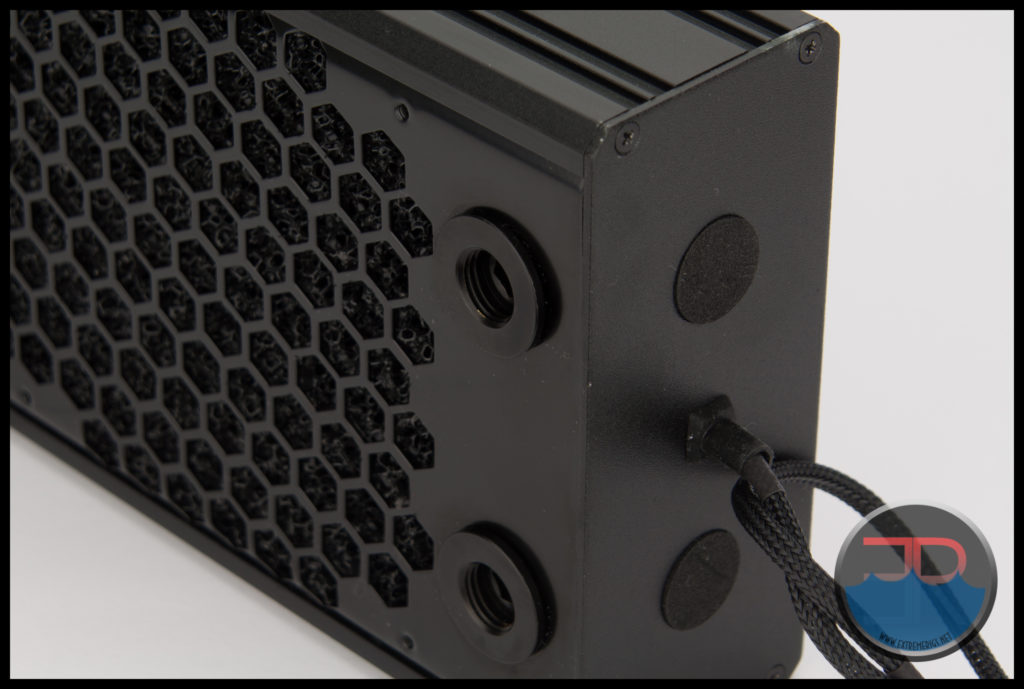 There are 4 other port locations, but they are not fitted with the required port extenders to be able to use them.
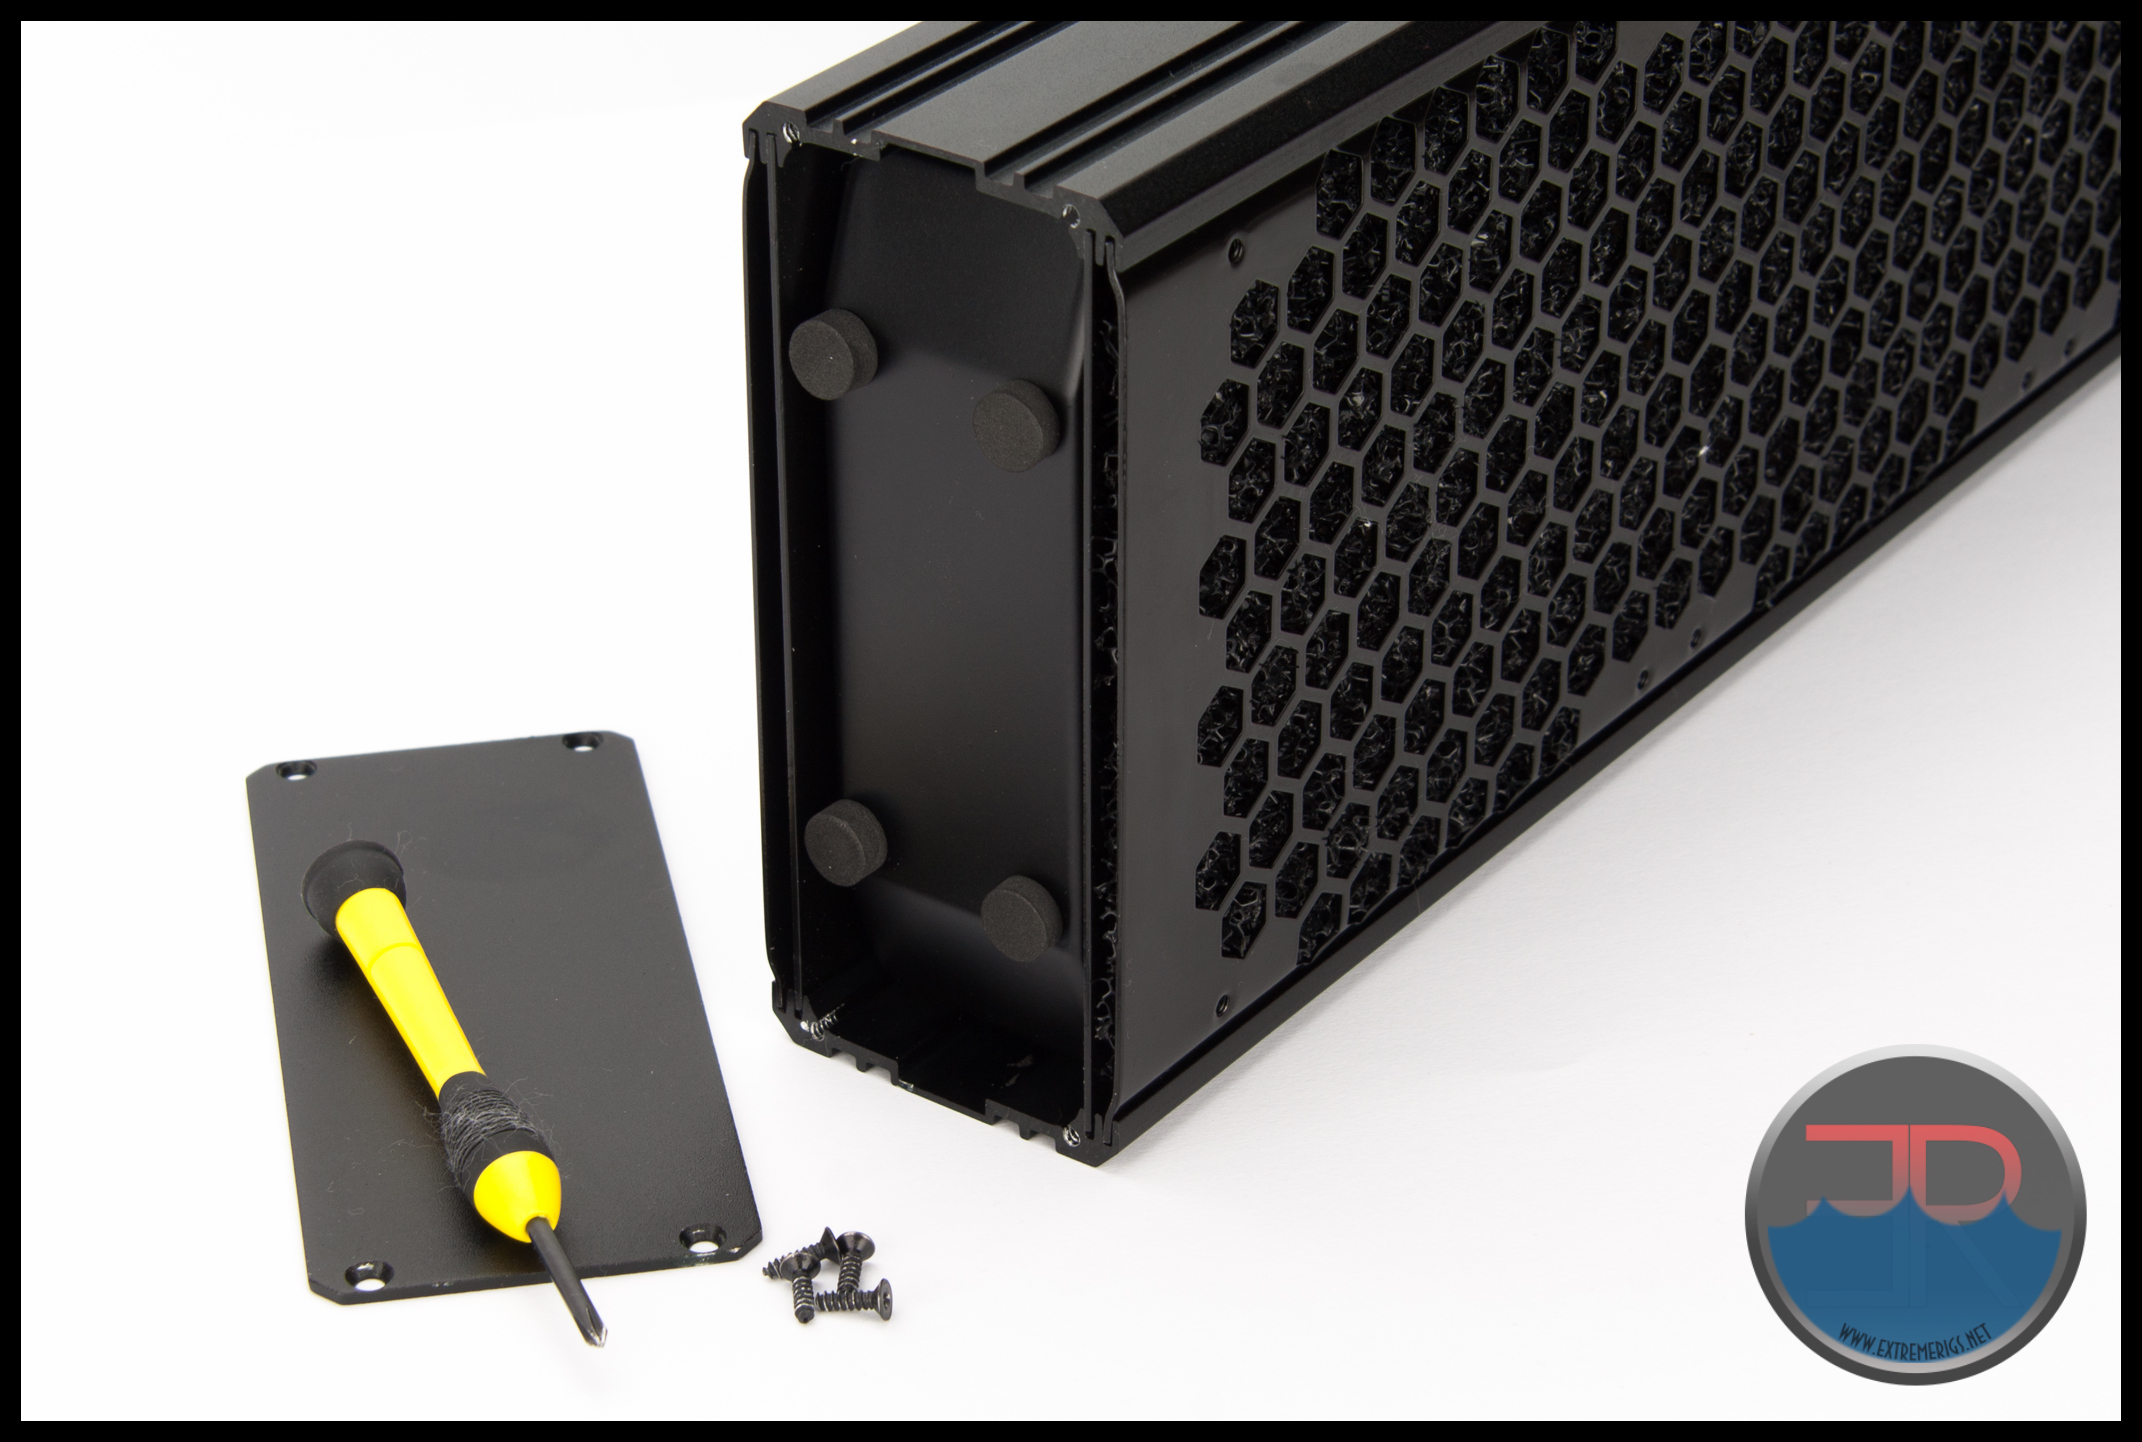
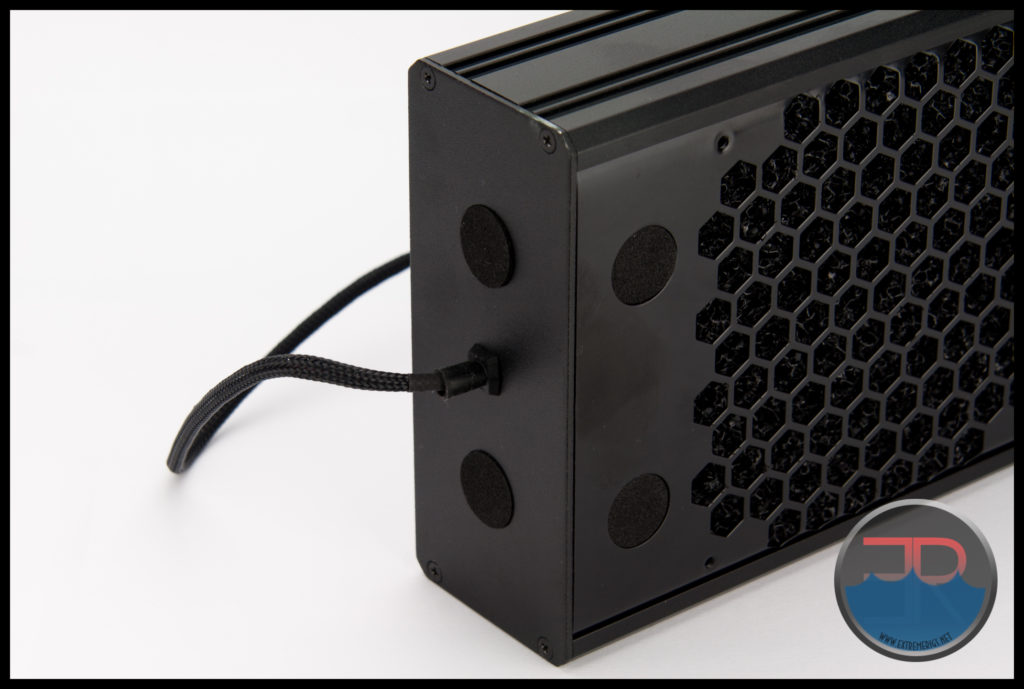 Those round foam pieces in black box #1 are looking pretty familiar right about now. They are spare “blanking pieces” to “fill” the unused ports.
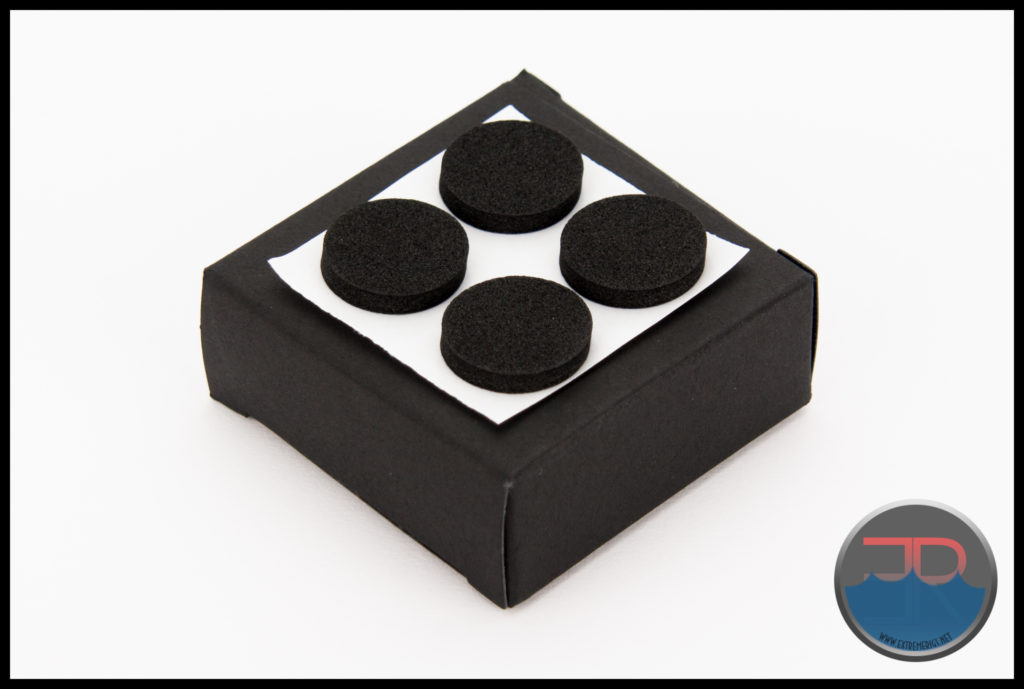 Let’s skip ahead and take a quick look inside to see what these foam pieces are stuck to and how the other ports may be used. Below we see that the Eisbrecher Pro does indeed have the the addition ports fitted to the radiator in/out tanks. The 4 unused ports are capped off with pre-installed stop plugs that the foam circles are stuck onto.
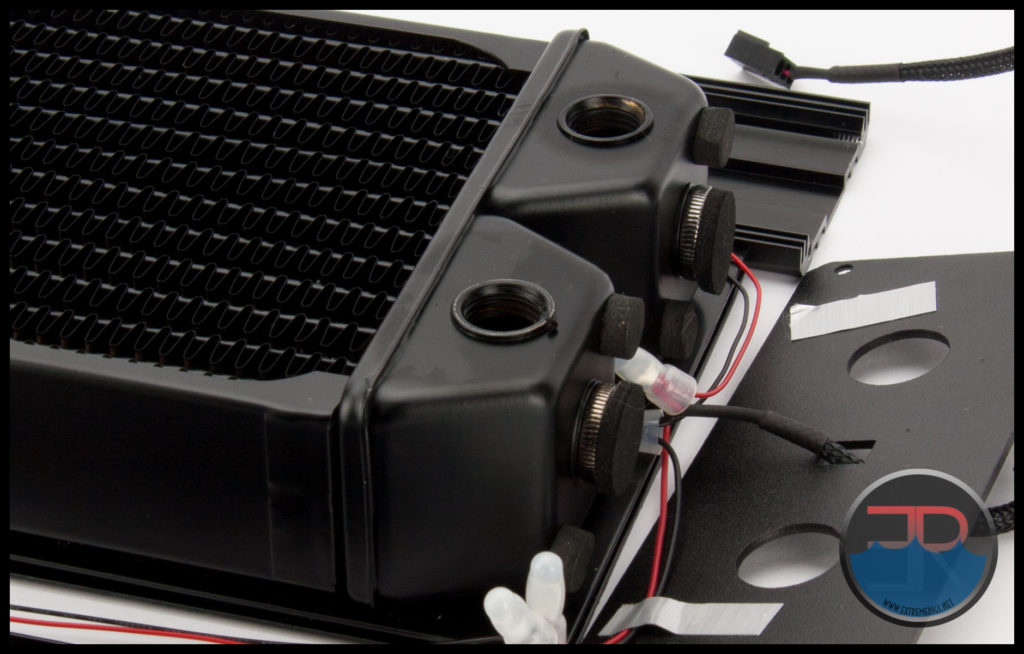 We are in two minds about this. One the one hand it’s great because you can attach the Eisbrecher Pro directly to a case panel or mounting bracket because there are no port extenders and stop plugs to get in the way. On the other hand, in our opinion port extenders and stop plugs look much more professional and offer an easy way to use those extra ports. But having addition extenders with the stop plugs externally would increase the width and/or length which could effect some installation scenarios.
What may be better is the best of both worlds, port extenders on the end and only one side of the radiator with the foam inserts on the other side. We expected to be able to use all of the ports should we choose to do so and without taking apart the whole darned thing. You can probably remove the stop plugs without disassembly the enclosure by using a flat blade screwdriver, you just need to feel your way into the slot of the stop plug through the foam blank.
Without additional port extenders installing accessories such as drain and fill ports or temperatures sensors is really hard to do. It still could be achieved by removing the stop plugs and screwing your fittings directly into the radiator through the hole/s in the enclosure panel. But that’s difficult (or even impossible without some modding) on the Eisbrecher Pro because the round cut-outs on the panels are 18mm OD which is exactly the standard OD of an extension fitting.
To make matters worse, at the time of writing additional port extenders are not listed for sale, so without some modding you are stuck with just two usable ports.
It’s a premium product and we expect better than this. Even if Alphacool provided just two additional port extenders in the Eisbrecher package (boxed separately as accessories) our concerns about this would disappear.
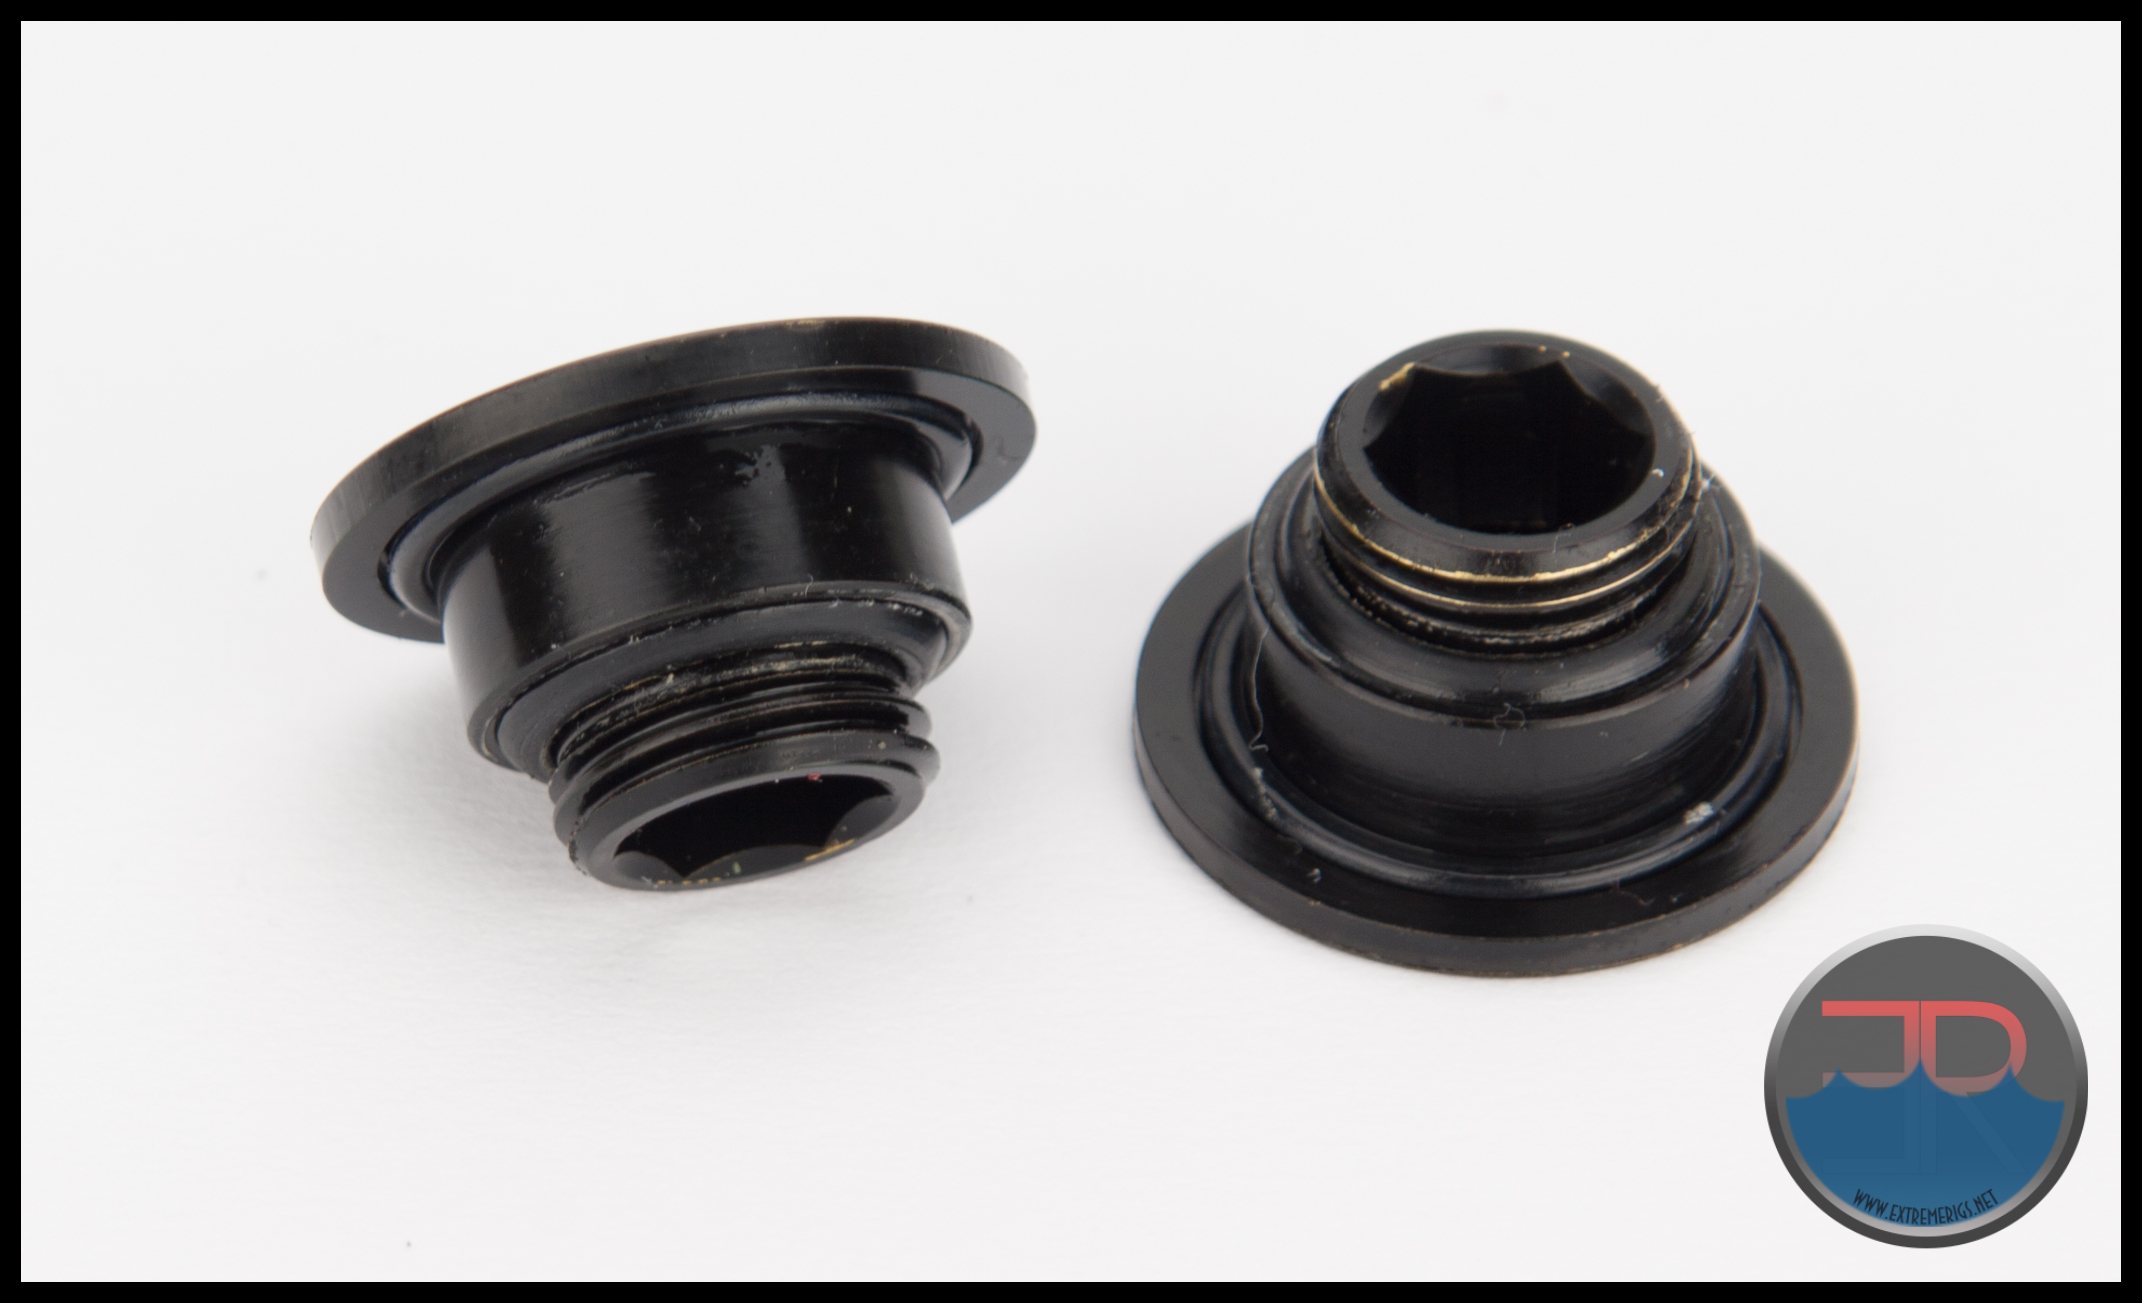 While we’re complaining, the threads on the port extenders have been painted. This of course leads to paint chipping or scraping off when they are installed. Not good when you are switching port locations after you have already flushed the radiator out.
Not providing extra port extenders with the package may simply be an oversight, but the sooner they are provided, the more user friendly this radiator will become.
As with the regular XT45 360 there is no dedicated fill/drain port on the return end of the Eisbrecher Pro.
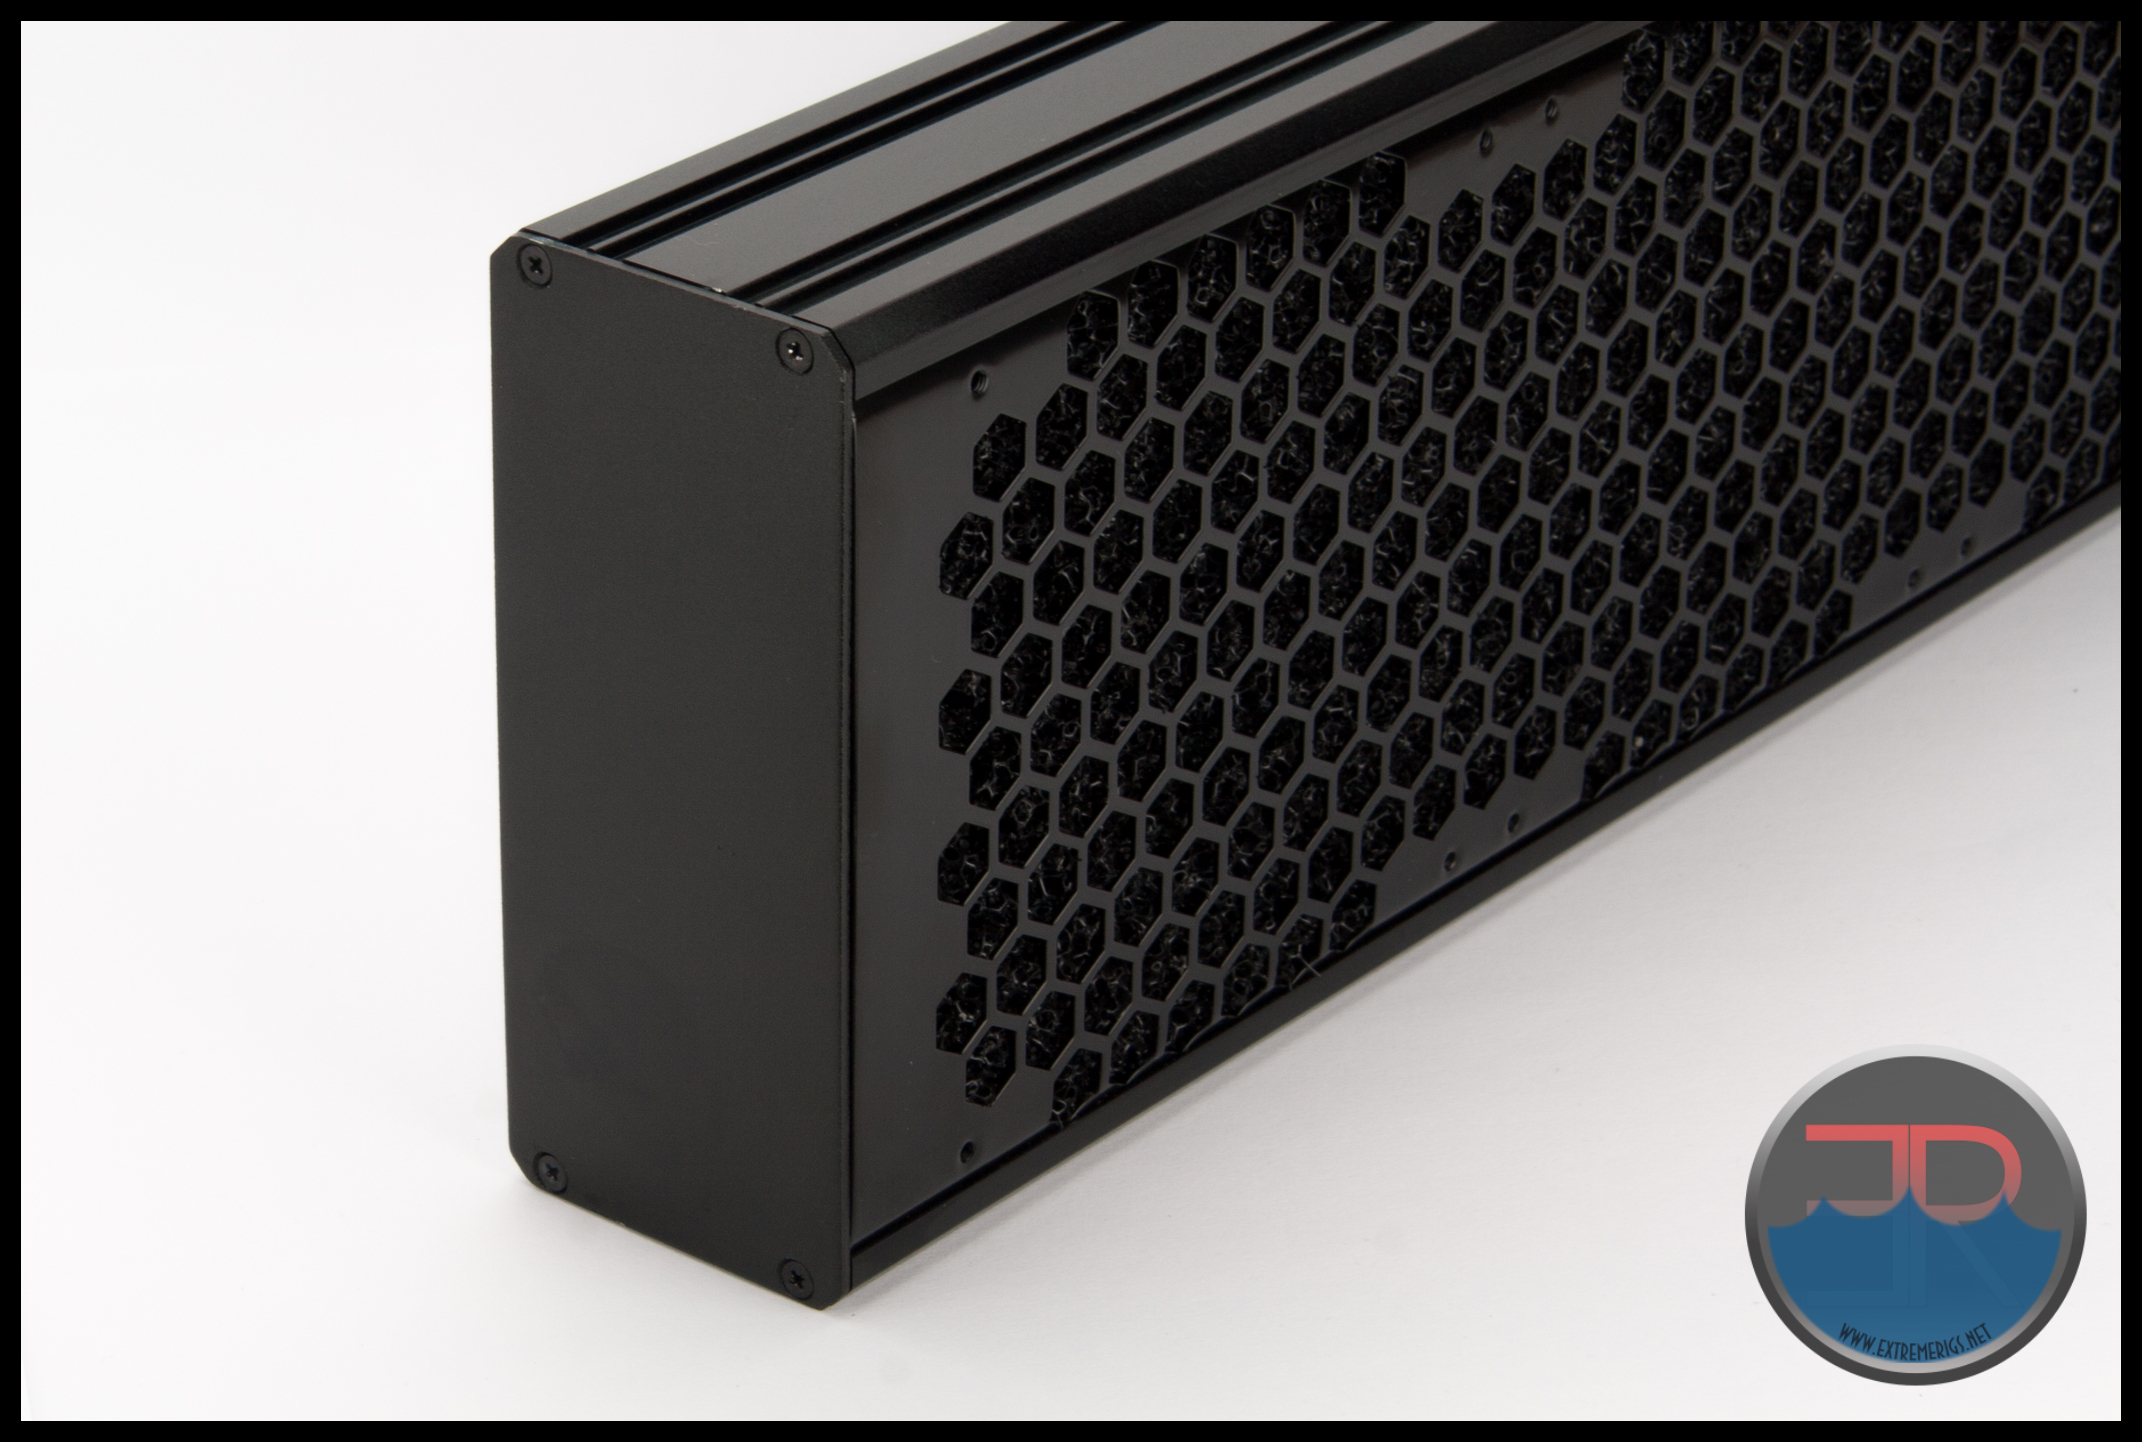 No hidden port exists inside the enclosure either.
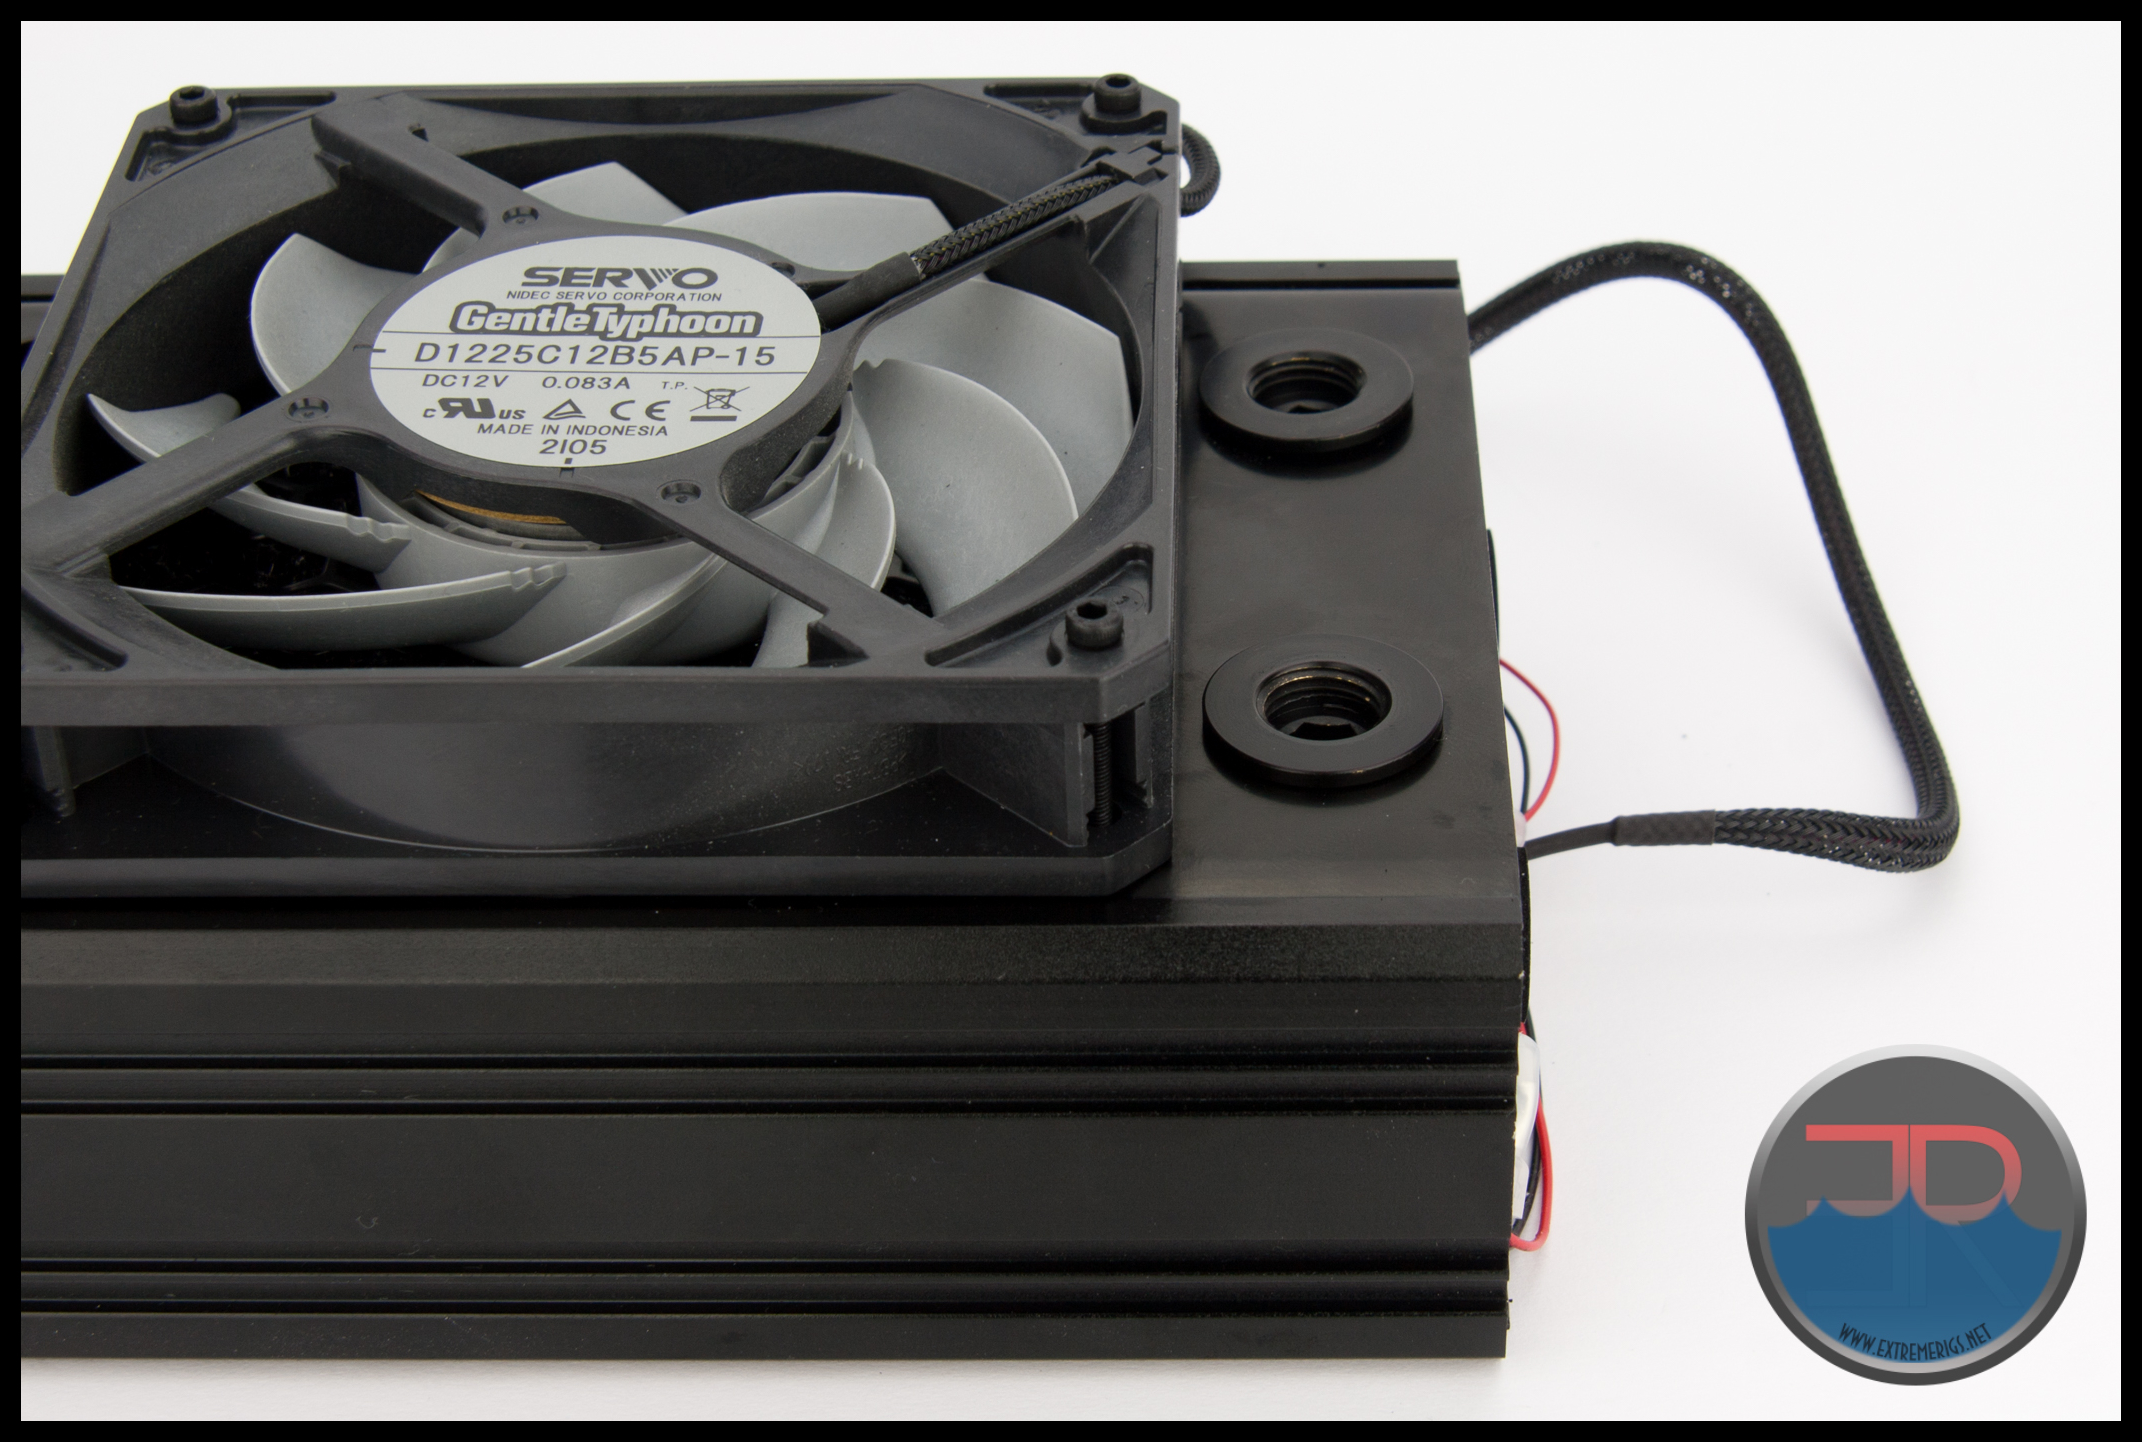
 The port extenders have a very low profile, adding just ~2mm to the width or length depending on which panel they are installed through.
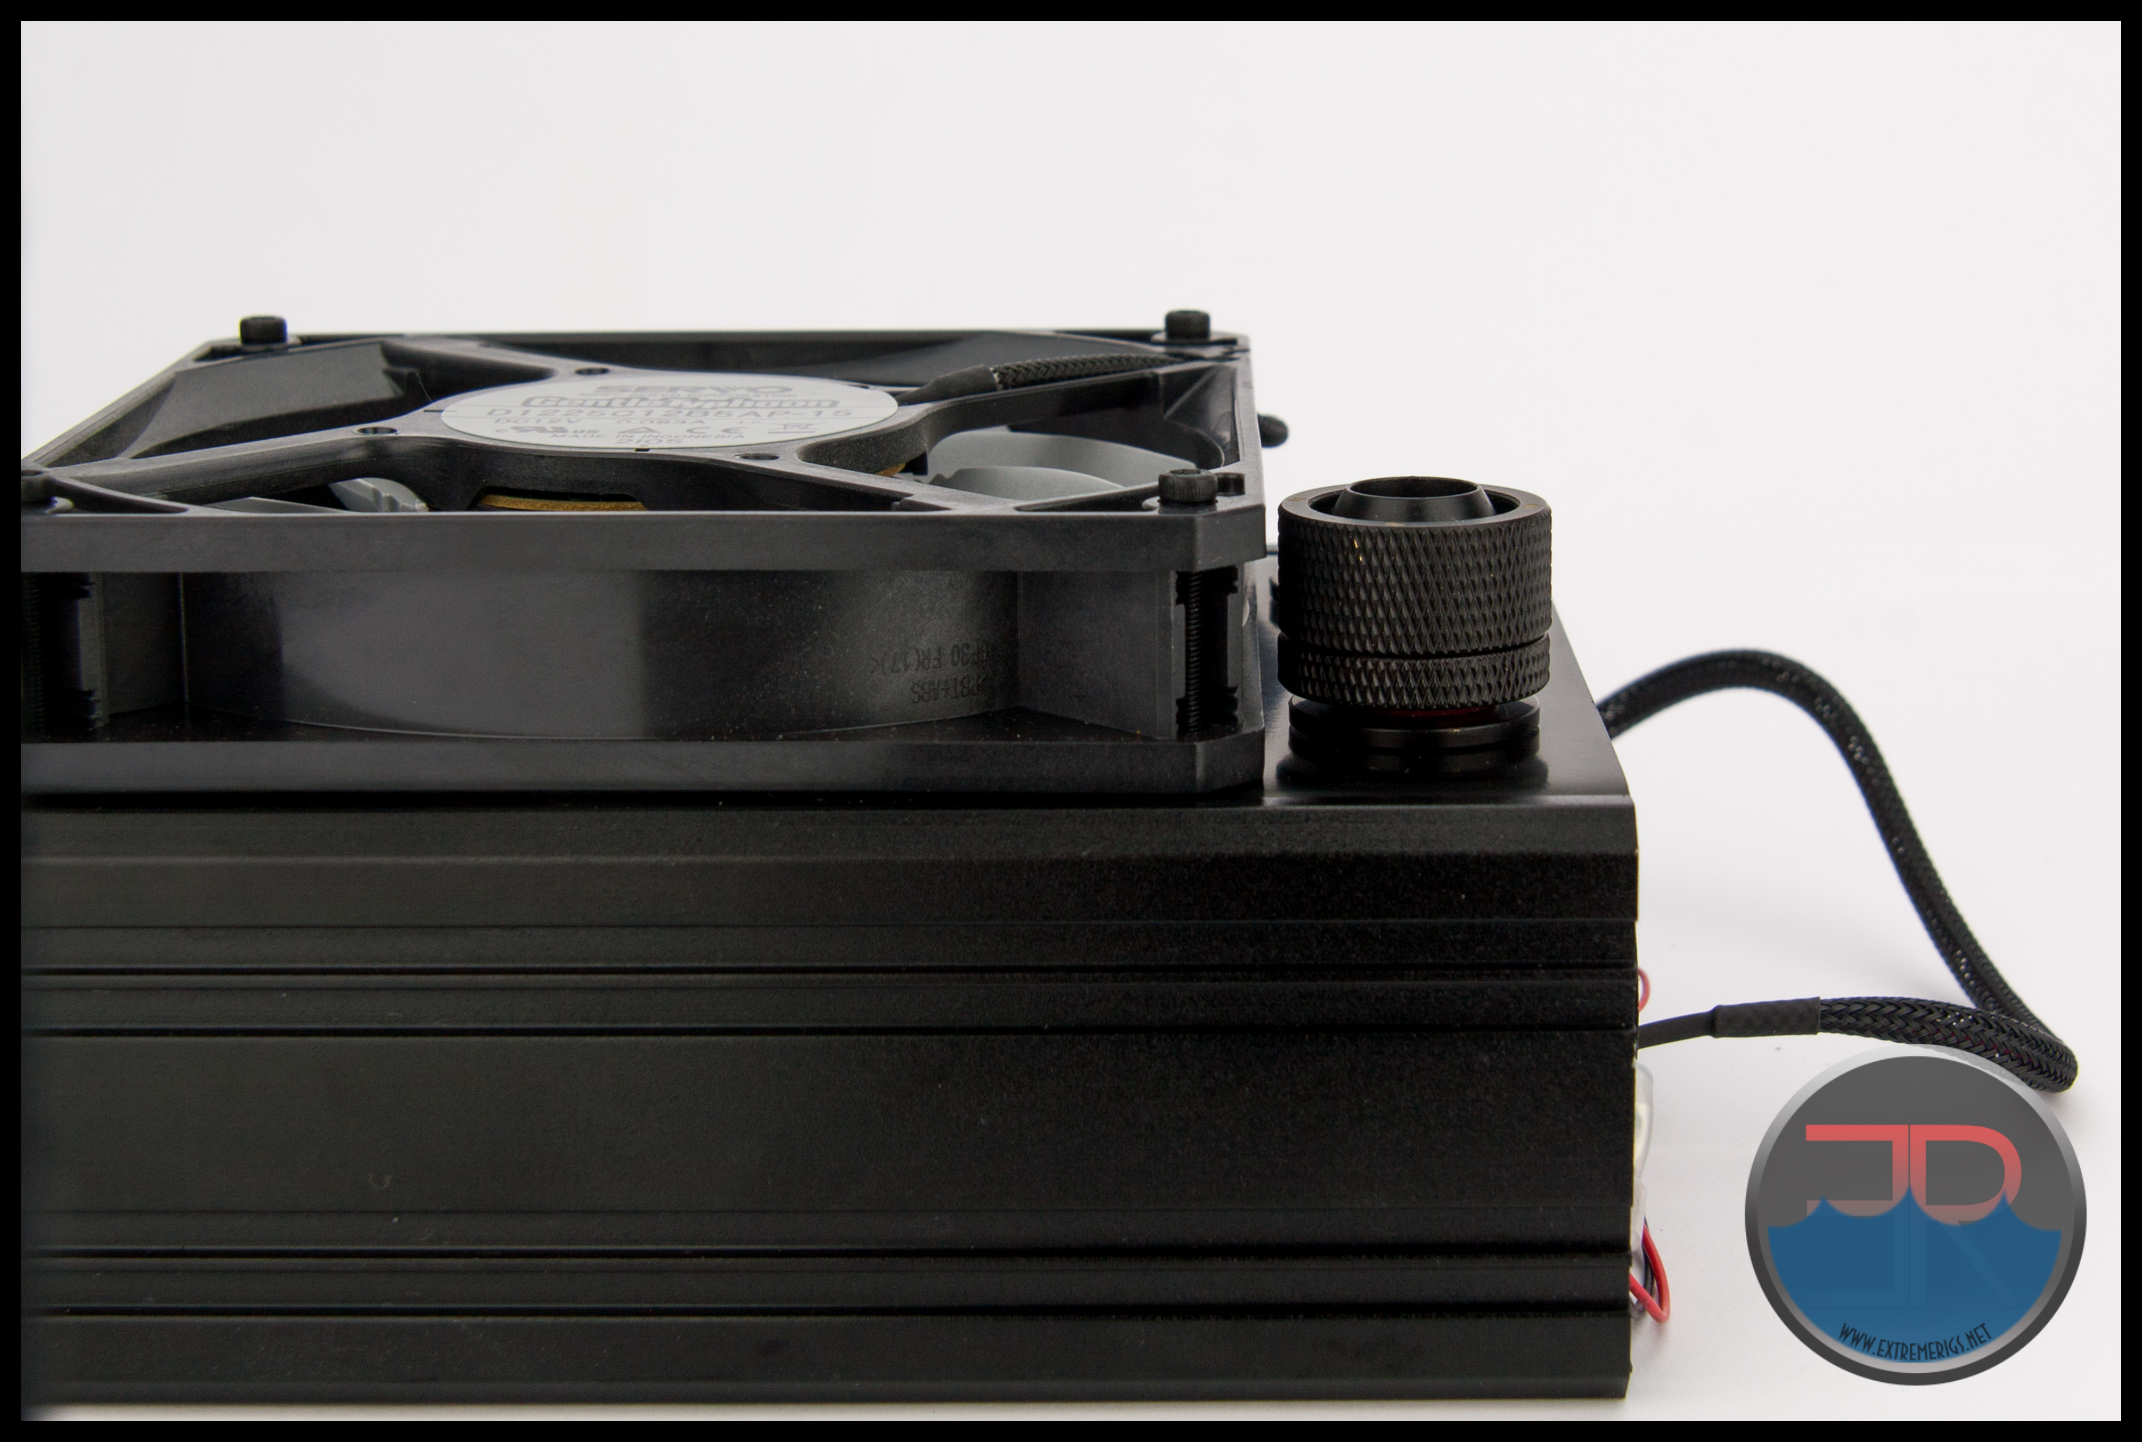
 The port positions are sensibly located, allowing for installation of even the largest fittings such as the 26mm OD Bitspower 1/2″ x 3/4″ compression fittings.
 A square fan frame just covers the outermost of the honeycomb cut-outs of the grill, meaning there should be no lost or wasted air pressure.
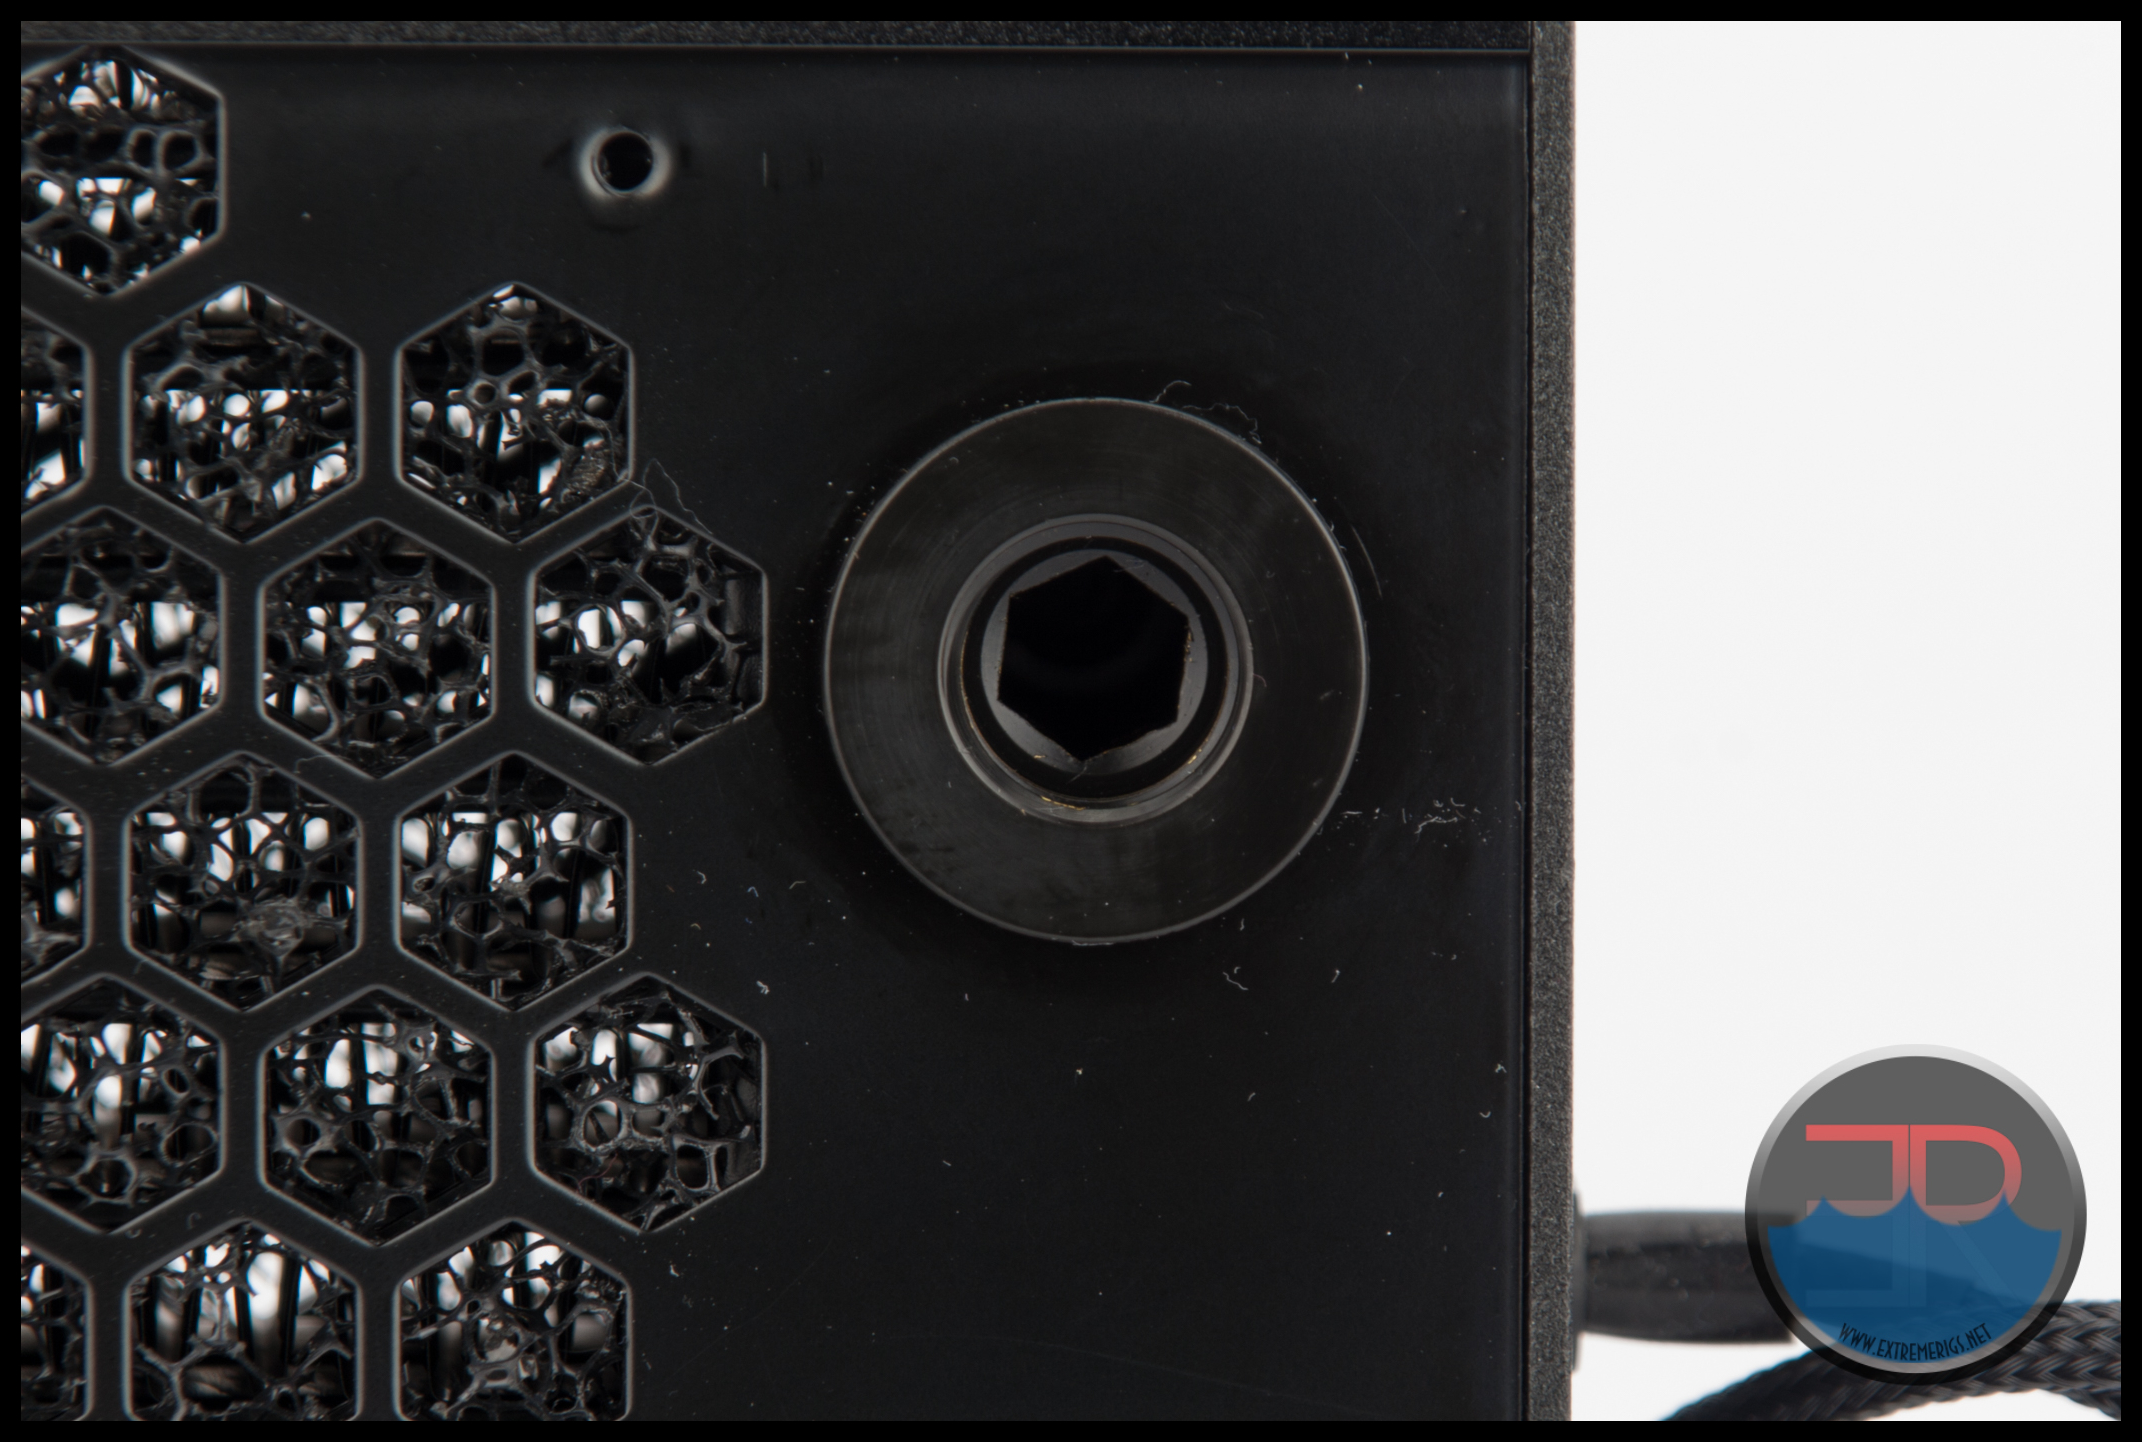
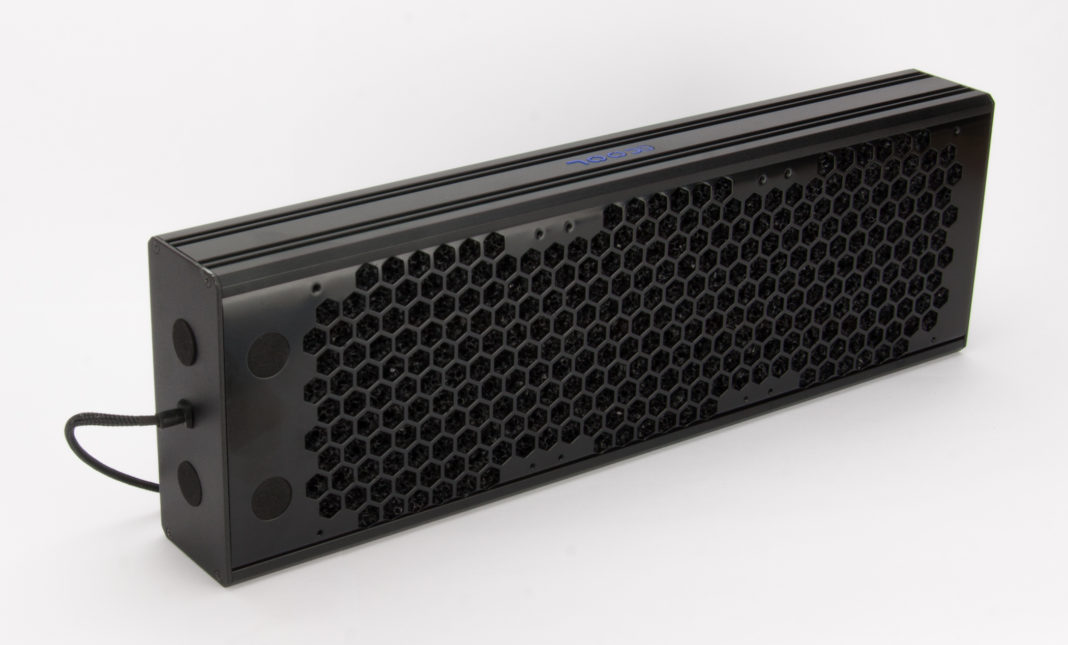
The honeycomb grill is what sets the Eisbrecher Pro apart visually from every other radiator on the market. We think it would be a very harsh critic to say they were not impressed with the aesthetic appeal of the Eisbrecher Pro’s enclosure. Needless to say then, we think this is one very sexy looking radiator.
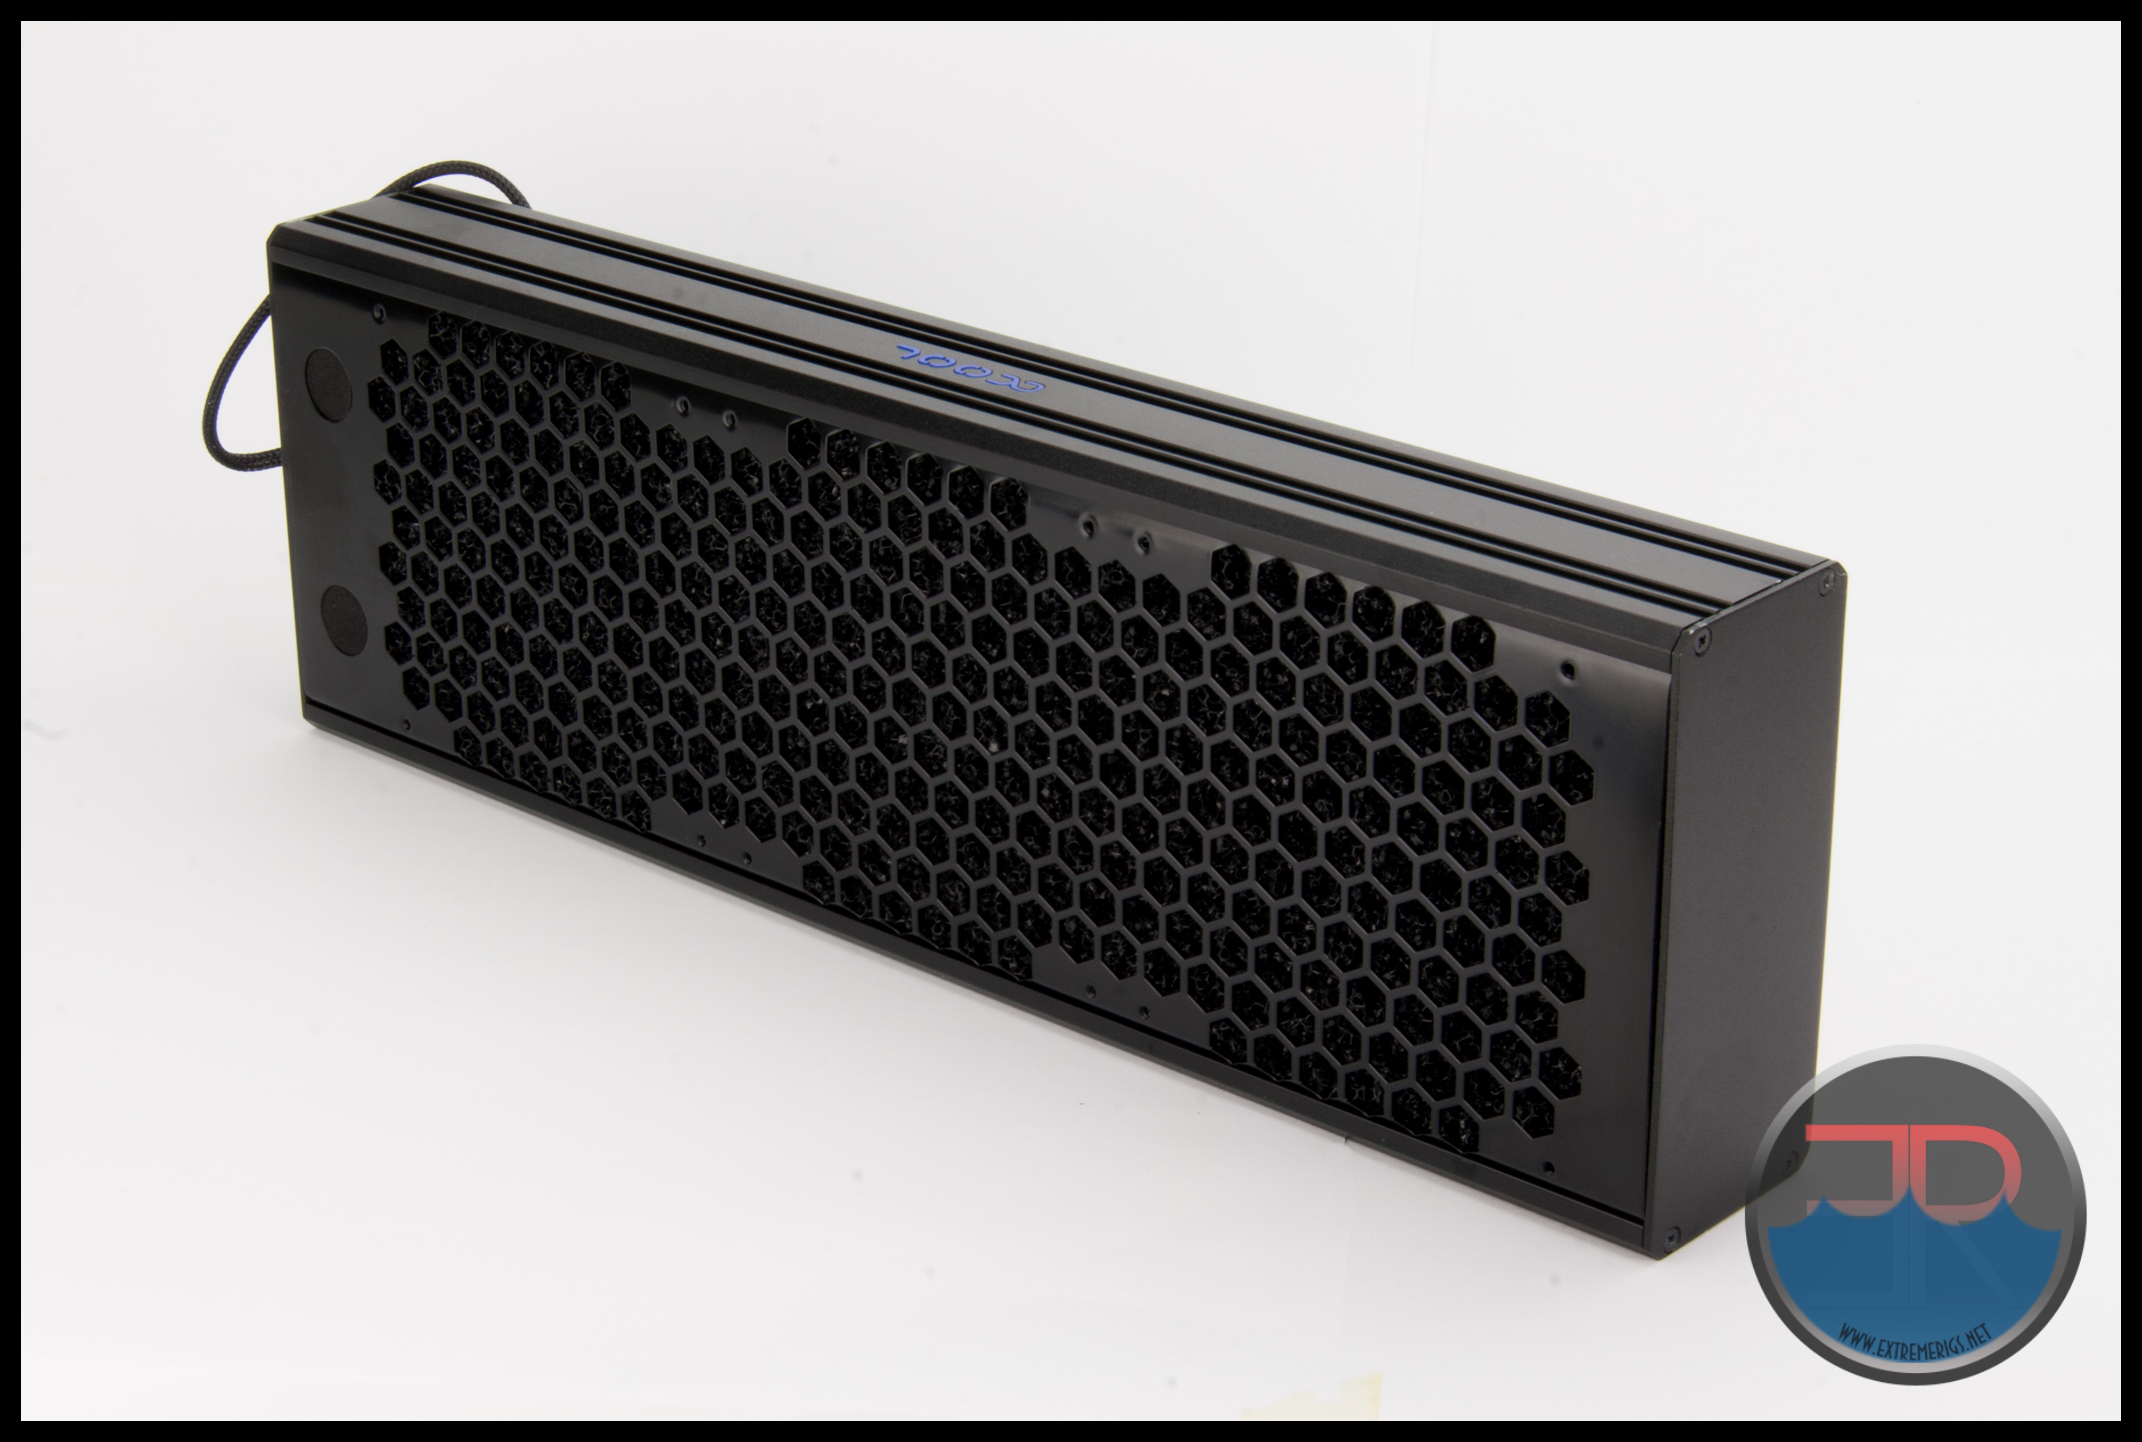 Both sides of enclosure have the grill.
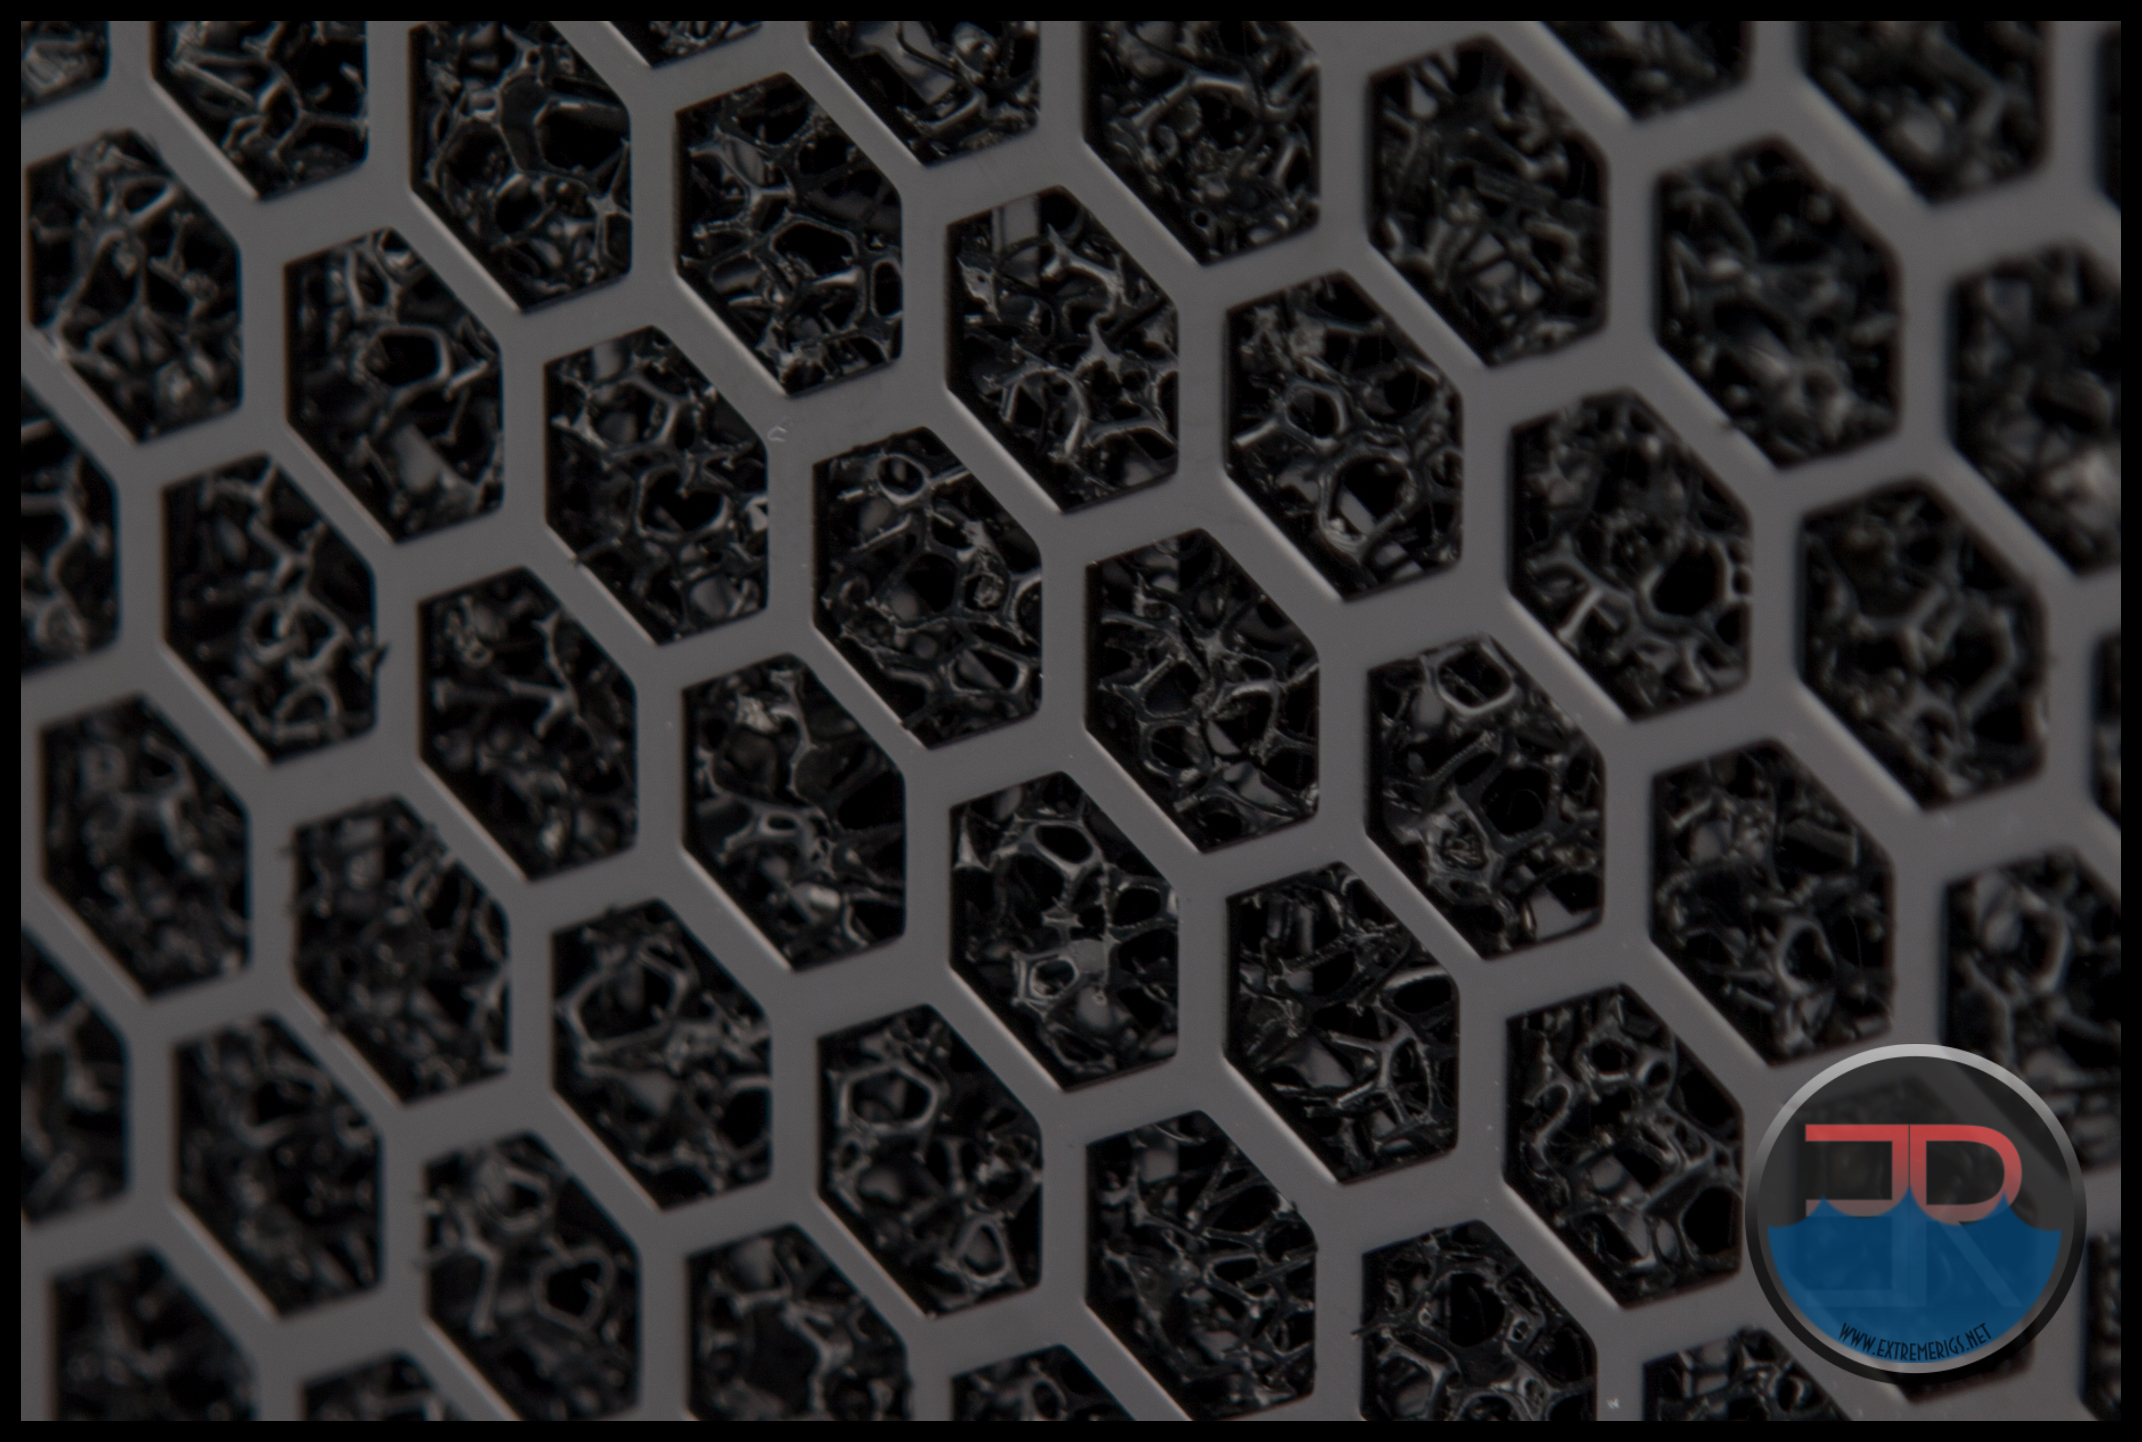
 Upon closer inspection a mesh of some type is fitted under the grill on each face of the radiator. This is the ABM (Air Breaker Mat) that Alphacool are pitching as a performance improvement.
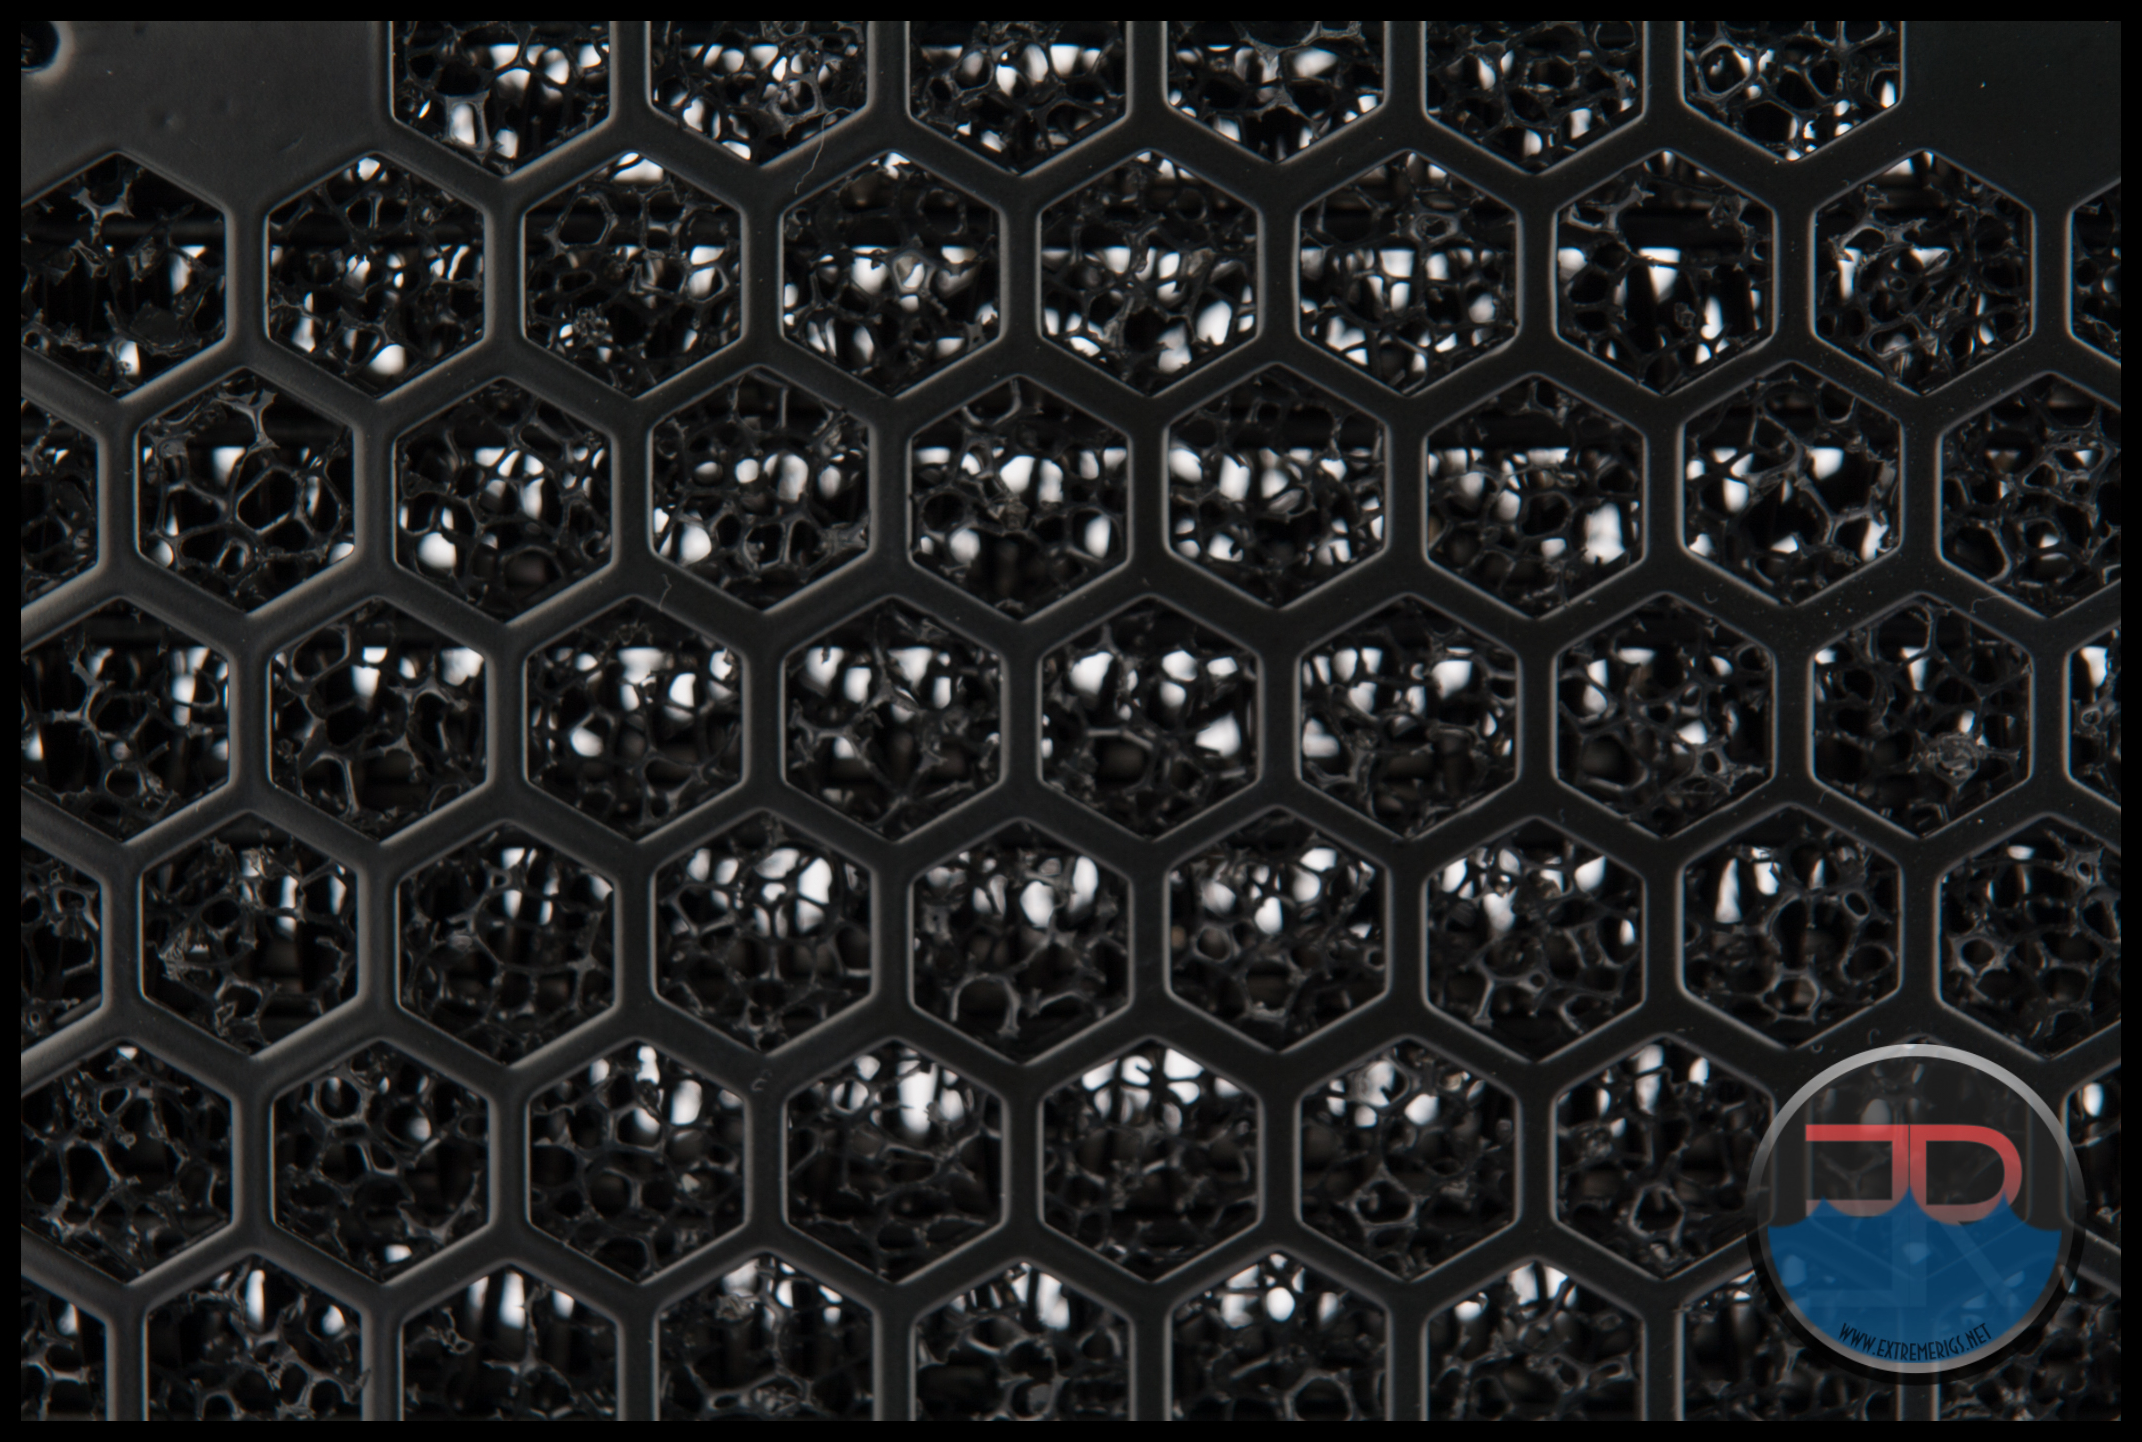
 The ABM appears to be quite low in density. It is fitted to both sides of the radiator, yet we can pretty much still see through the the entire assembly.
 Let’s break down the enclosure to see exactly what we have inside.
The first step is to remove the port extenders using the supplied 8mm Allen Key.
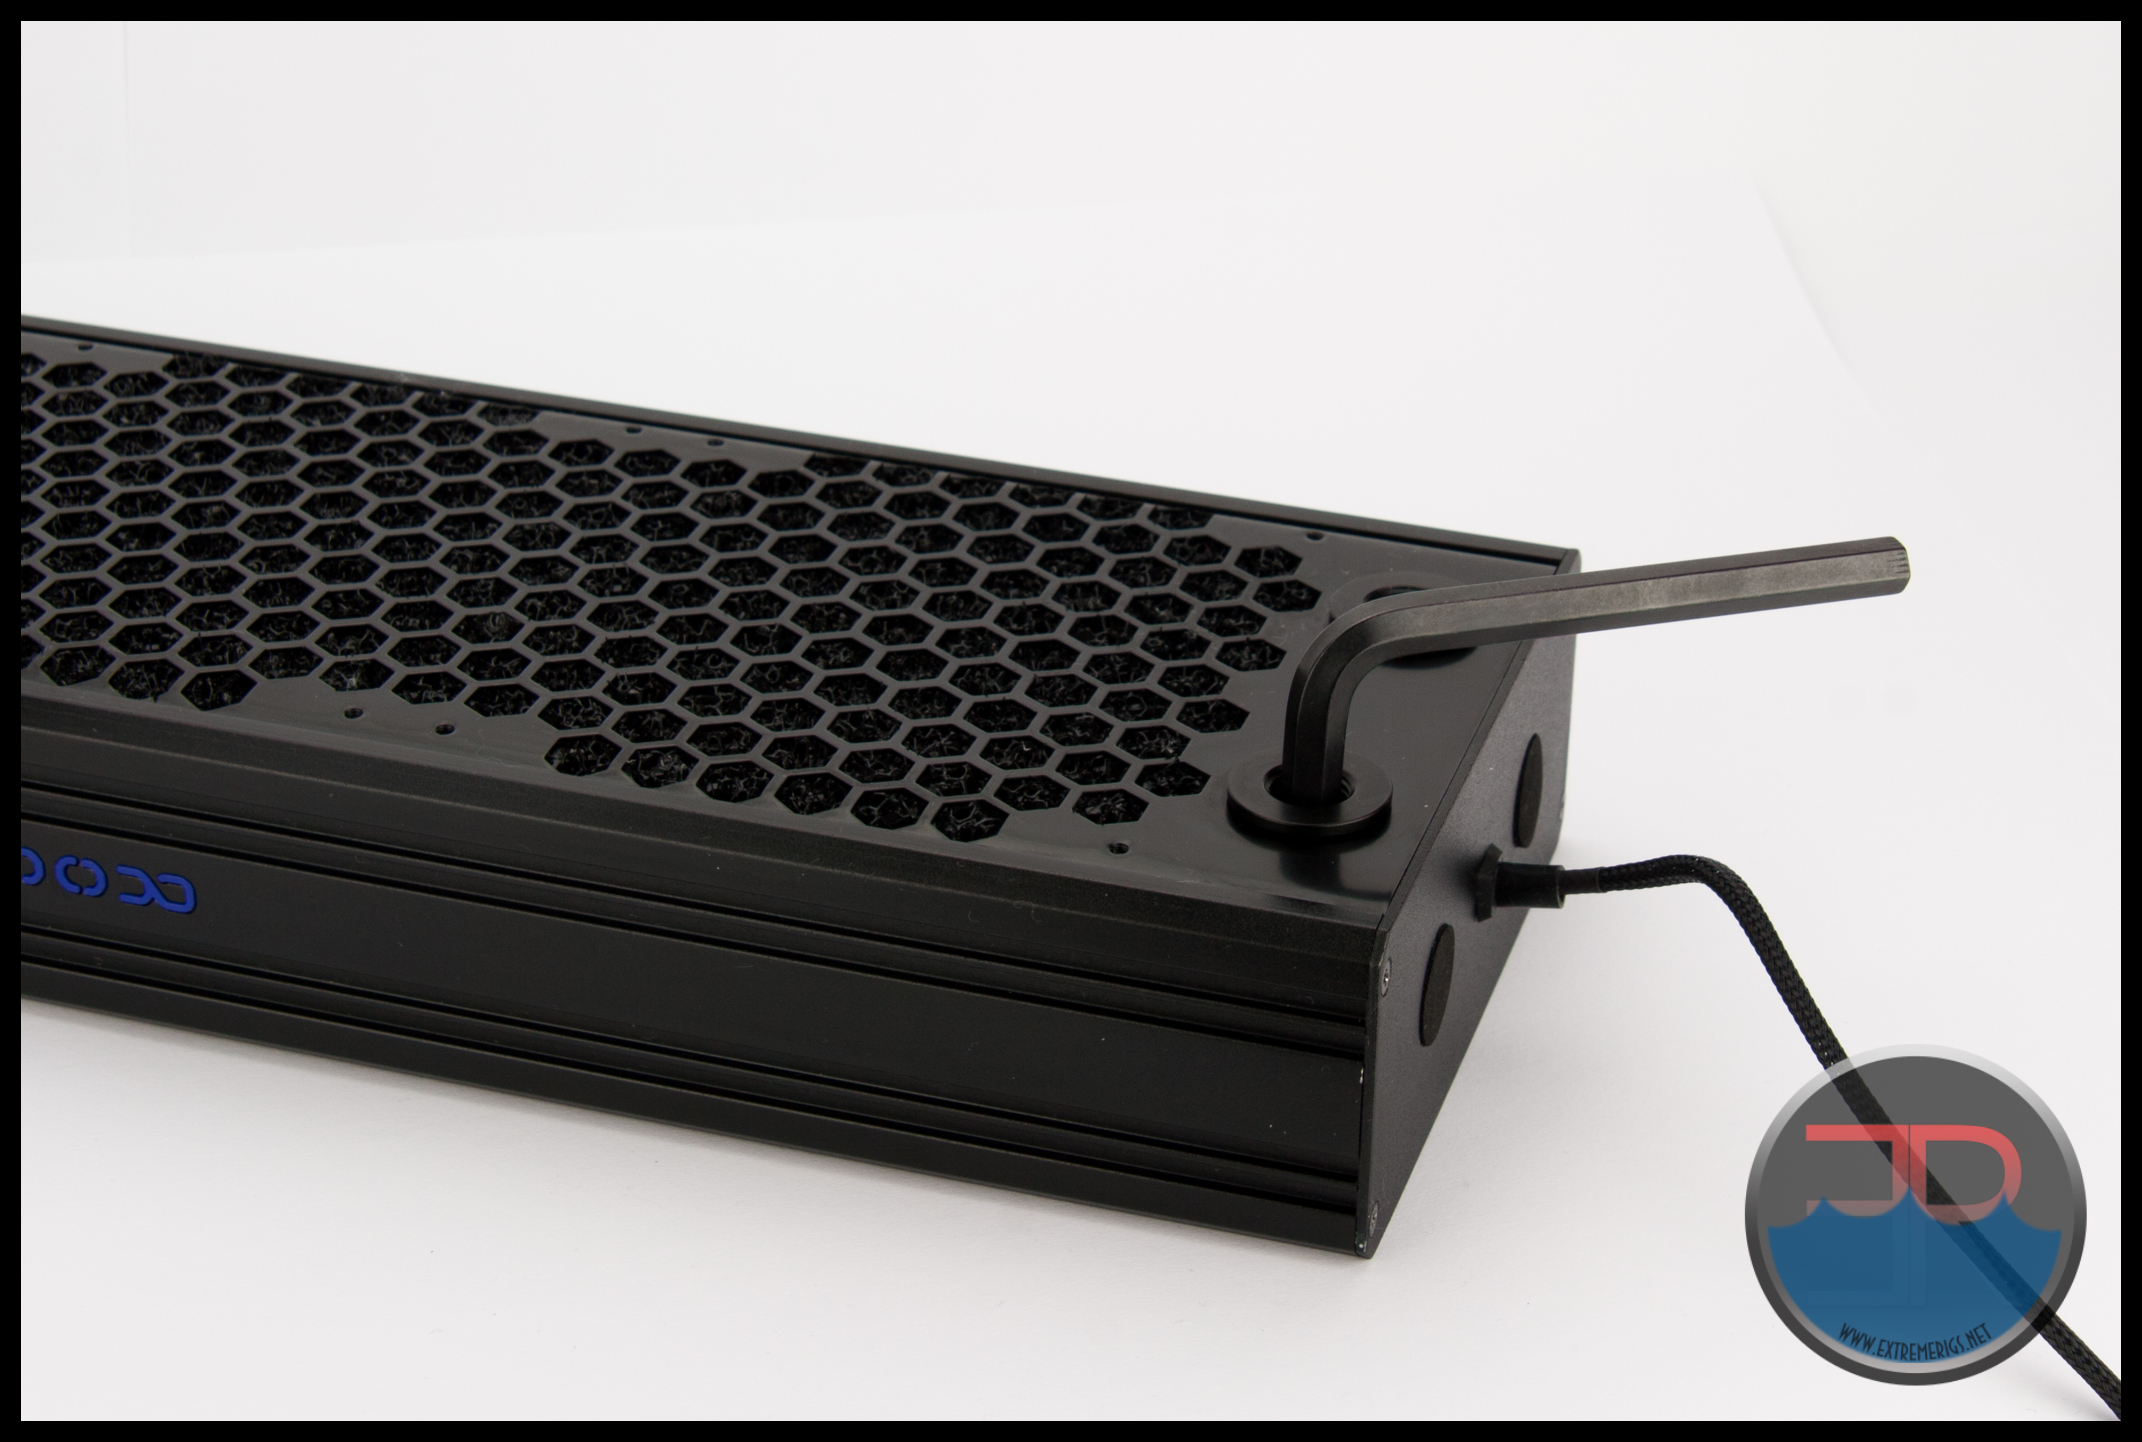
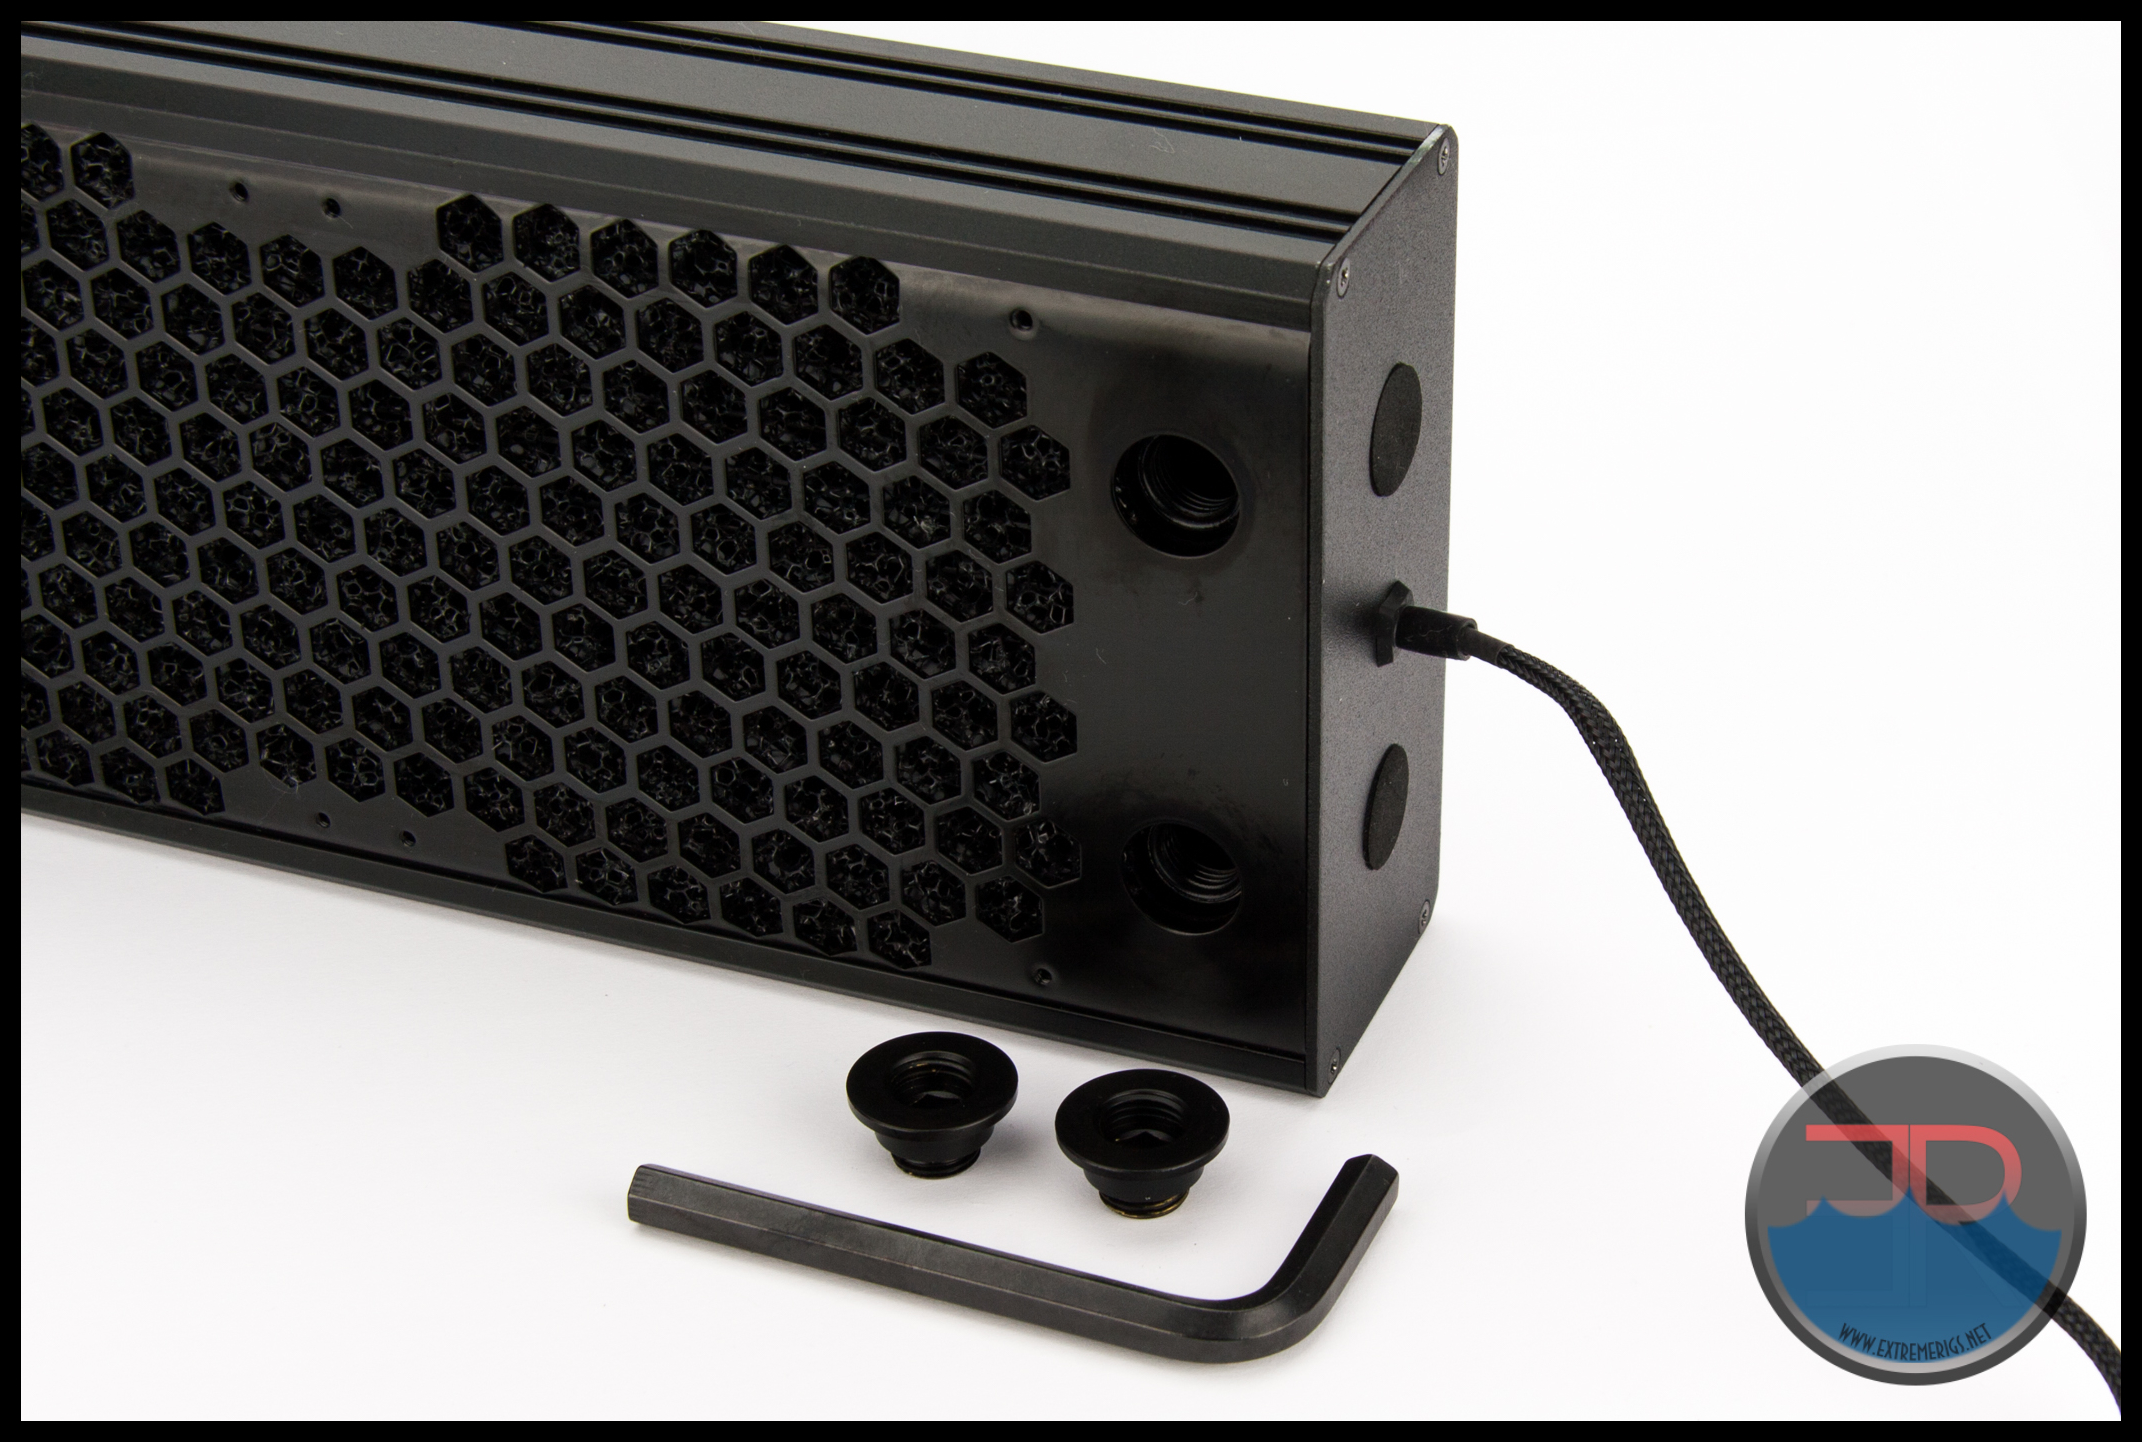 We took the return end plate off first, but later discovered this was not actually required. So we suggest not removing this end plate when you have to dismantle the Eisbrecher Pro for cleaning/maintenance or switching port locations. Foam pieces are stuck onto this end of the radiator which assist in keeping the floating radiator in the correct position inside the enclosure.
 The ABM we mentioned previously is not intended as a dust filter but it will inevitably collect dust and will require cleaning.
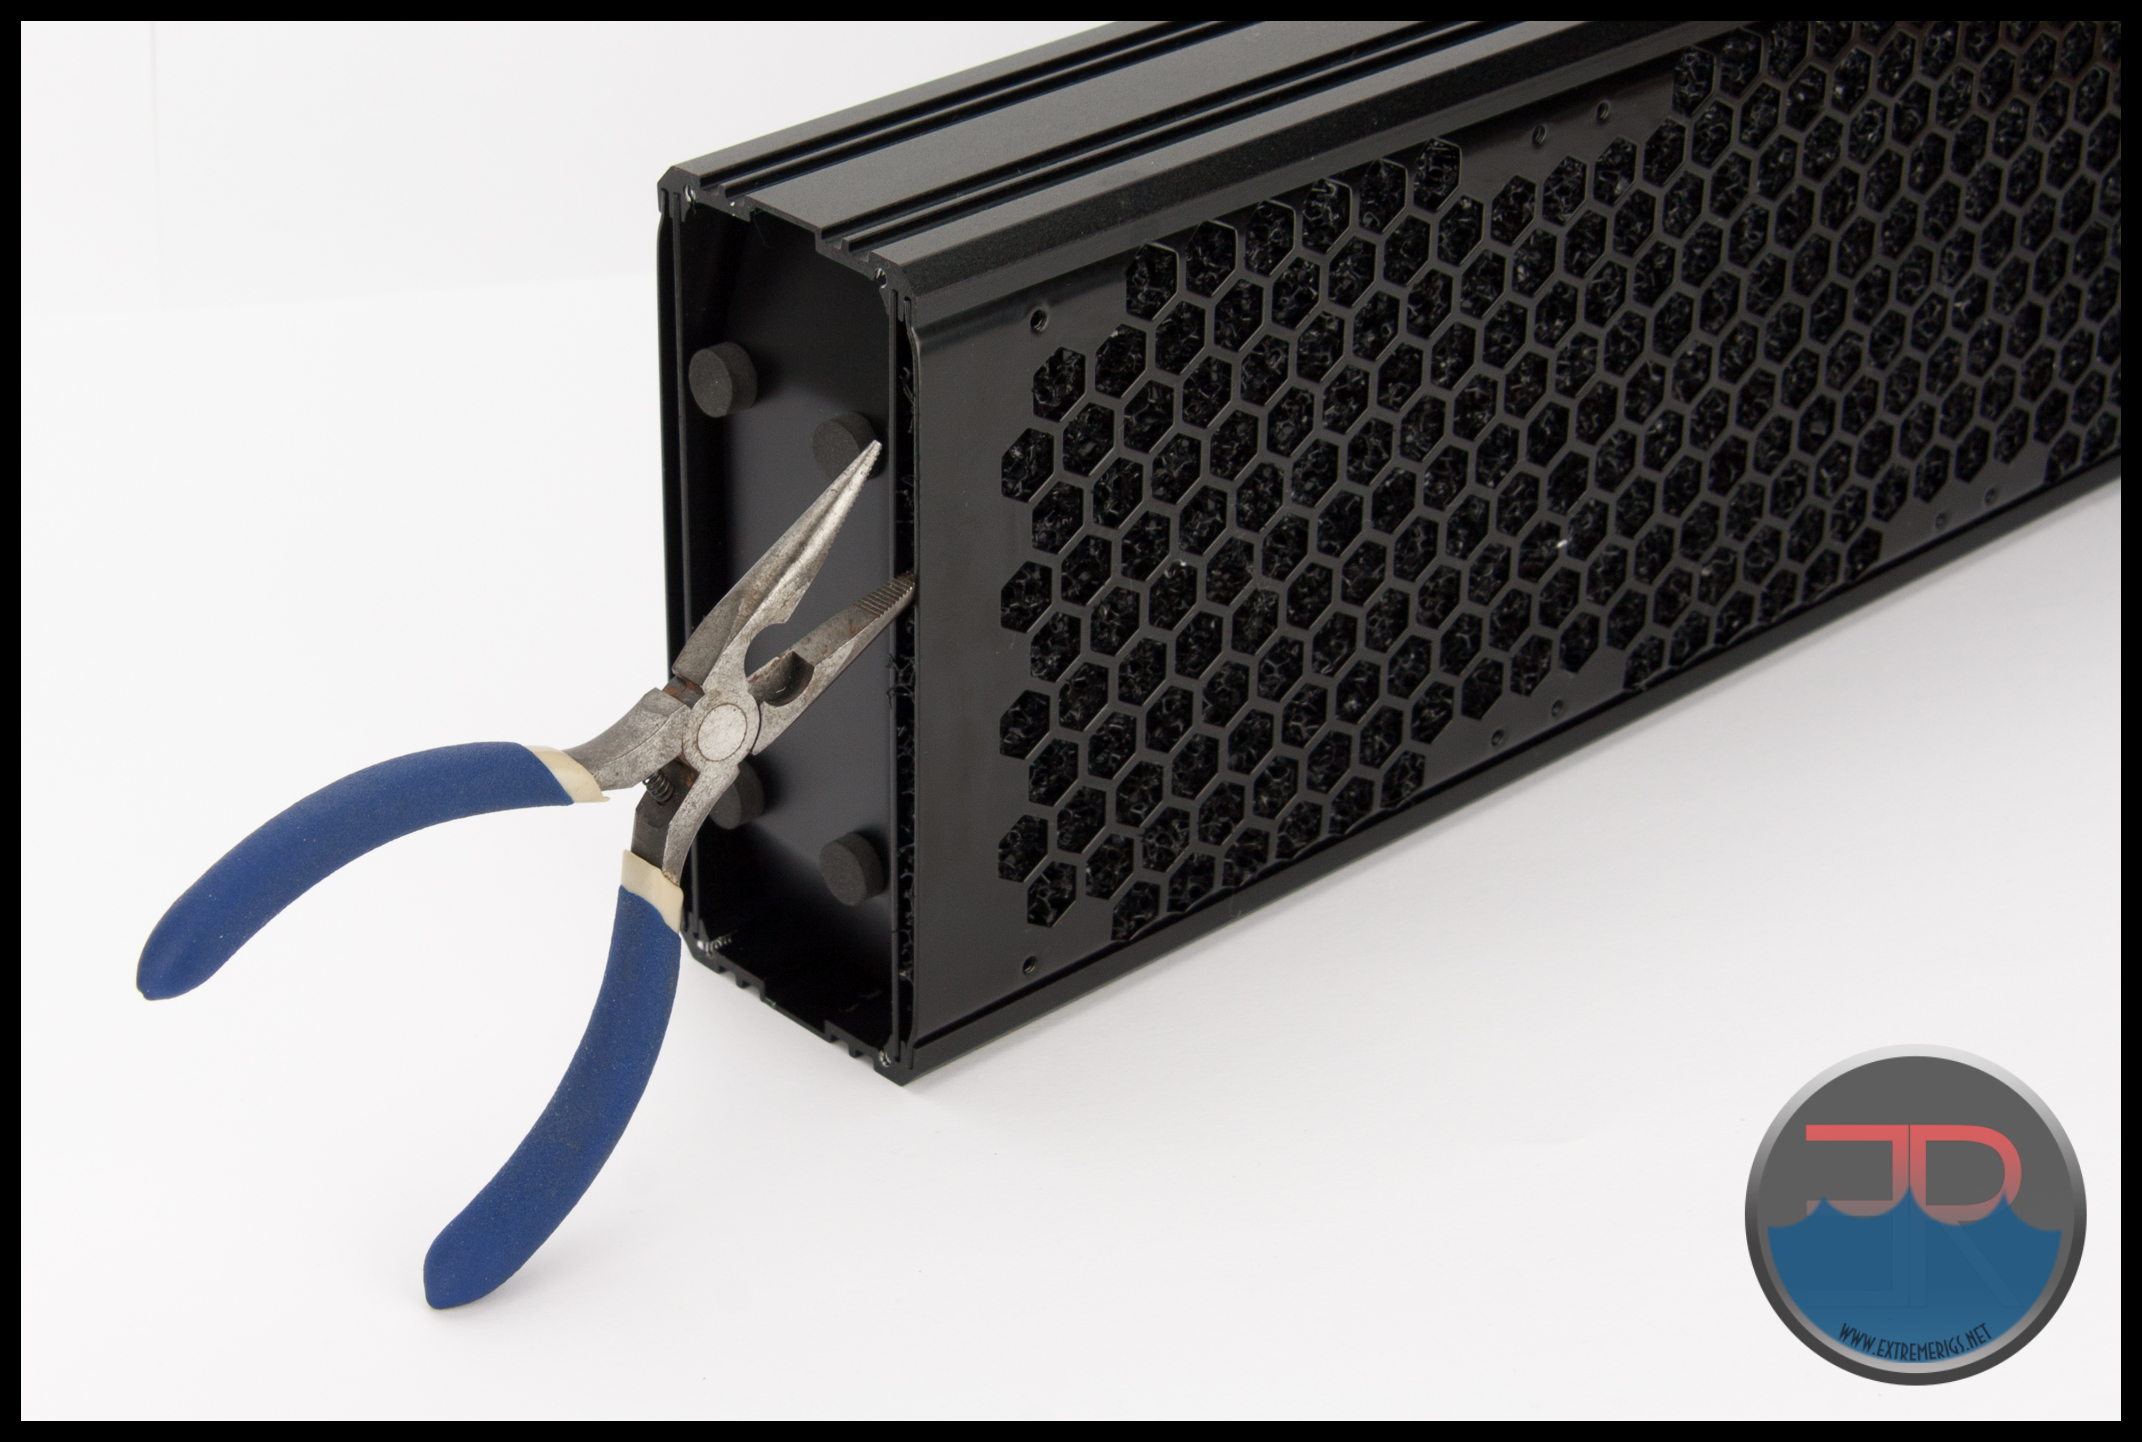 We tried a shortcut to remove the ABM, knowing that it would be nigh on impossible to get it back into position this way, but it can not even be removed from this end. The port end plate must be removed.
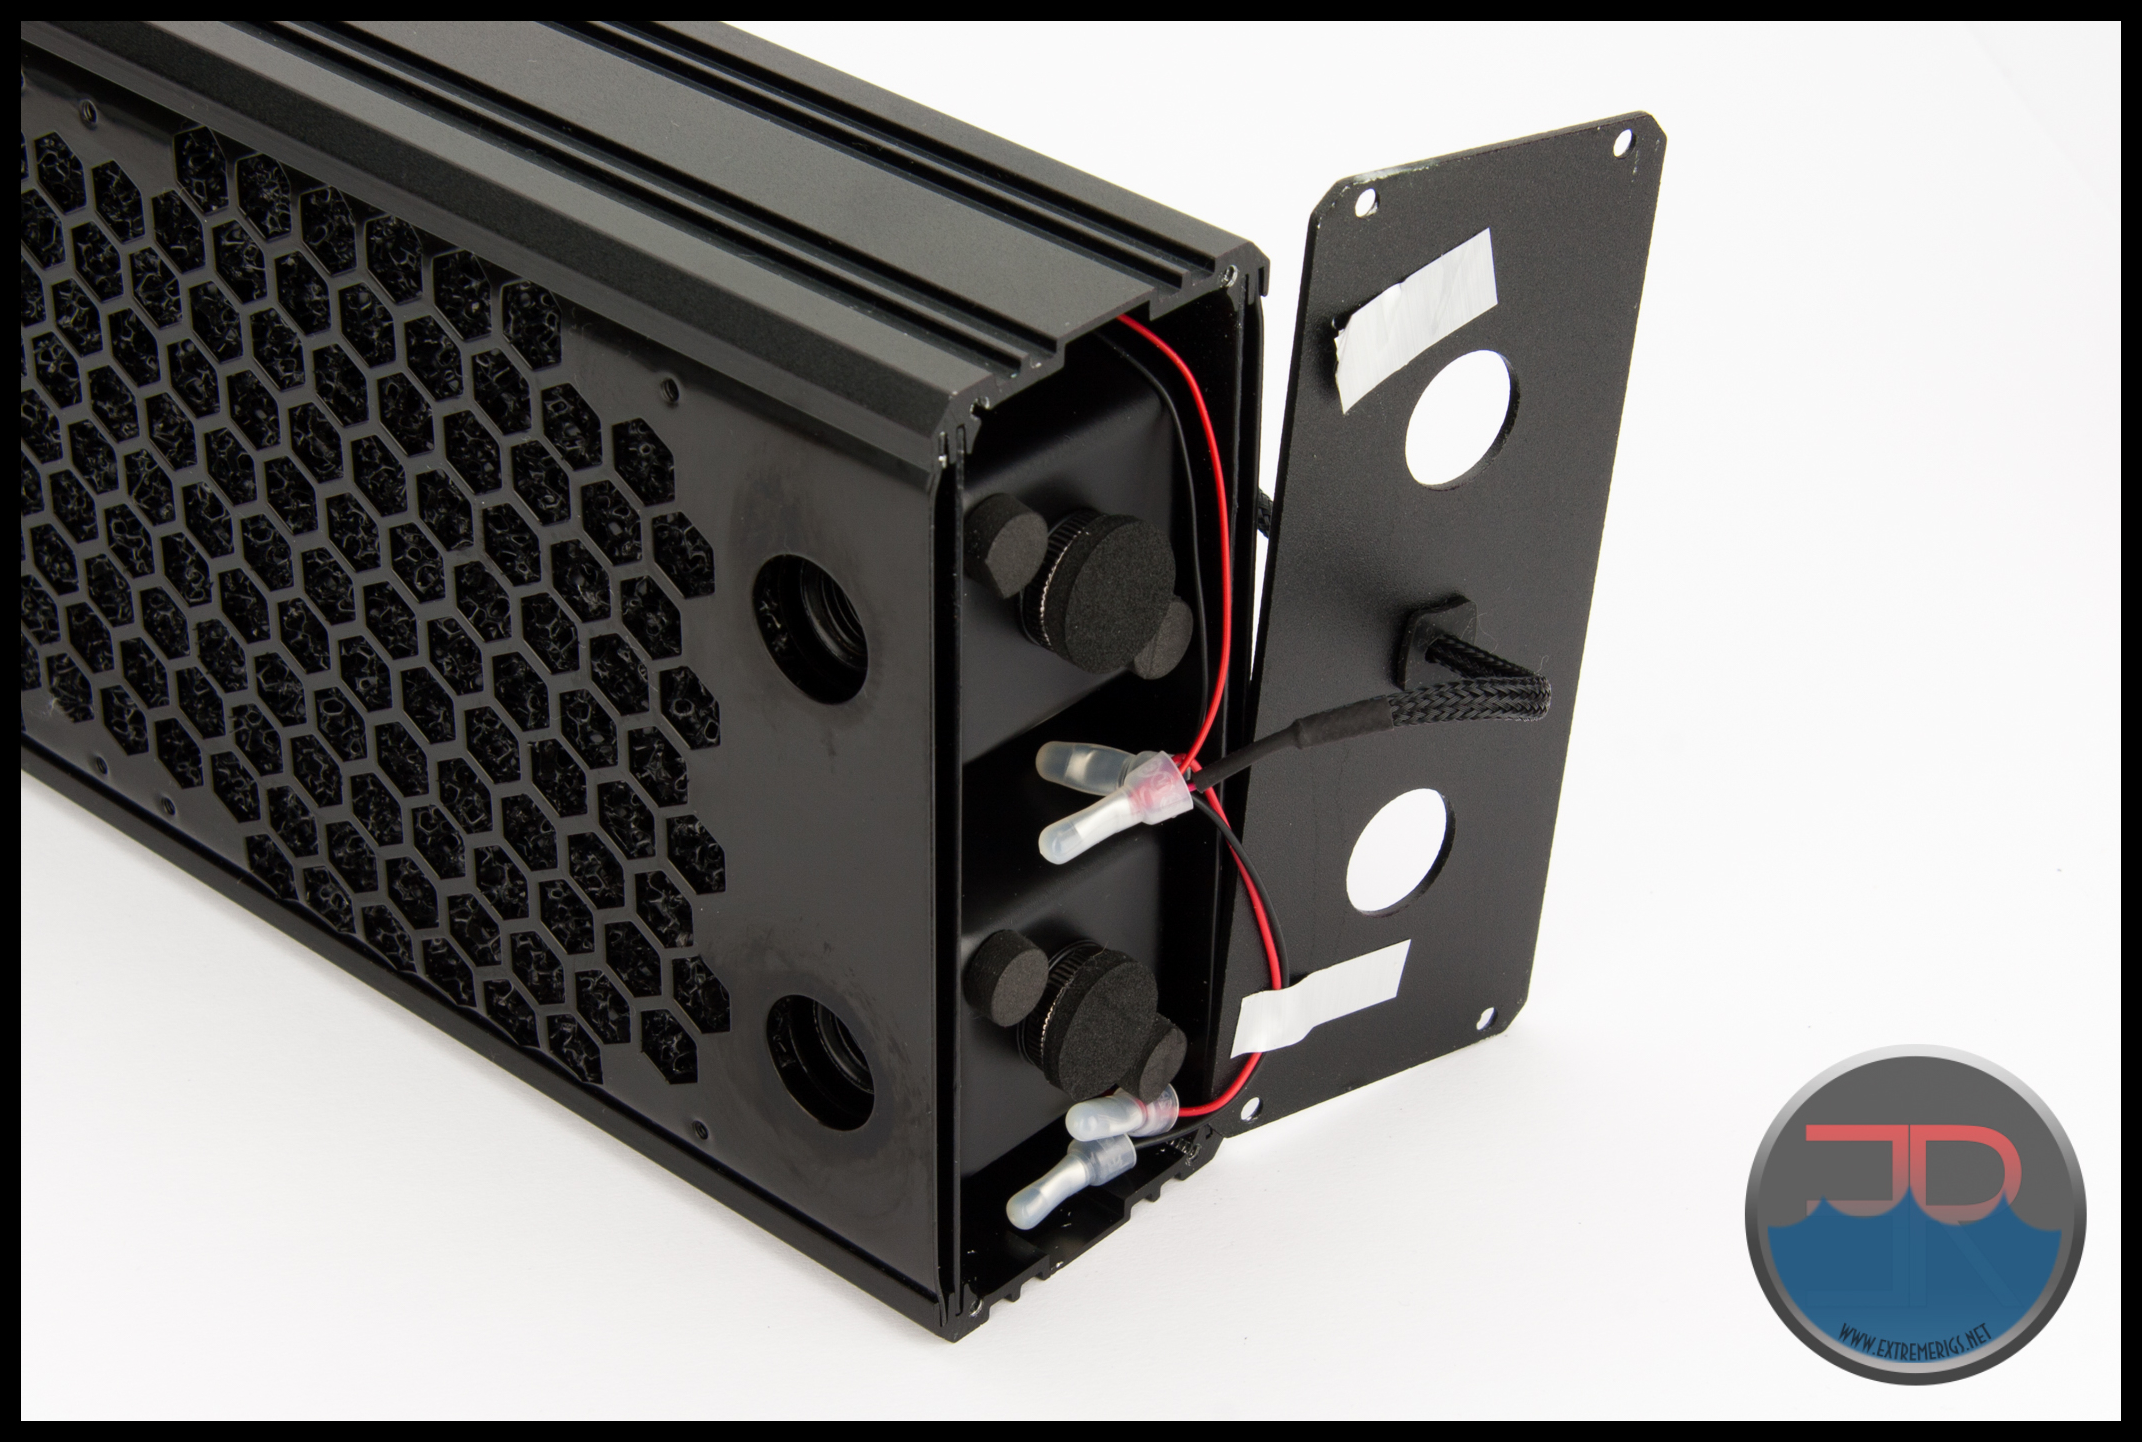 Once the port end cover plate is unscrewed the first thing we notice is the crimped connectors on the power cable to the LED lights. Be careful of the wires when removing the end plate. Almost certainly you will have to take the wires out from under the tape, if you didn’t pull them out already when taking off the end plate.
Plugable connectors here would have been much better for maintenance purposes because otherwise the two side panels are tied together and can’t be moved very far apart from each other.
A full breakdown including radiator removal can be done with the LED power connector still on the wires but it is frustrating to reassemble later on.
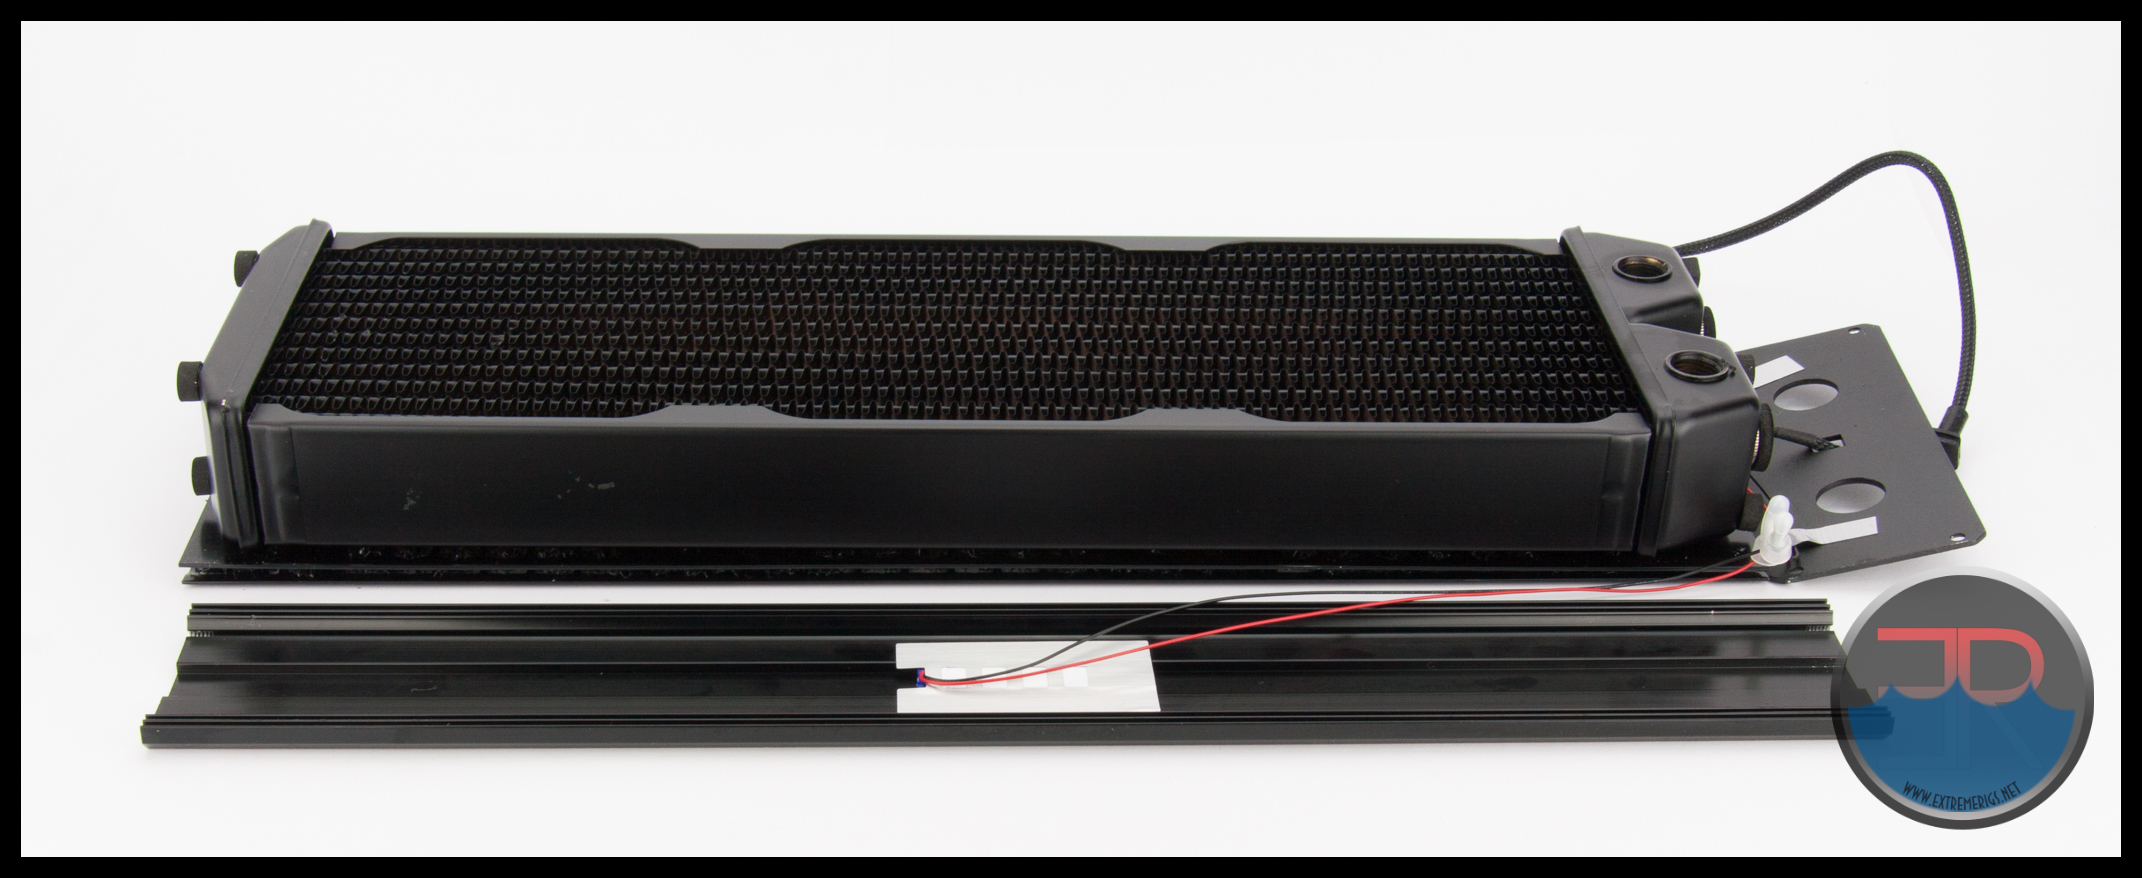
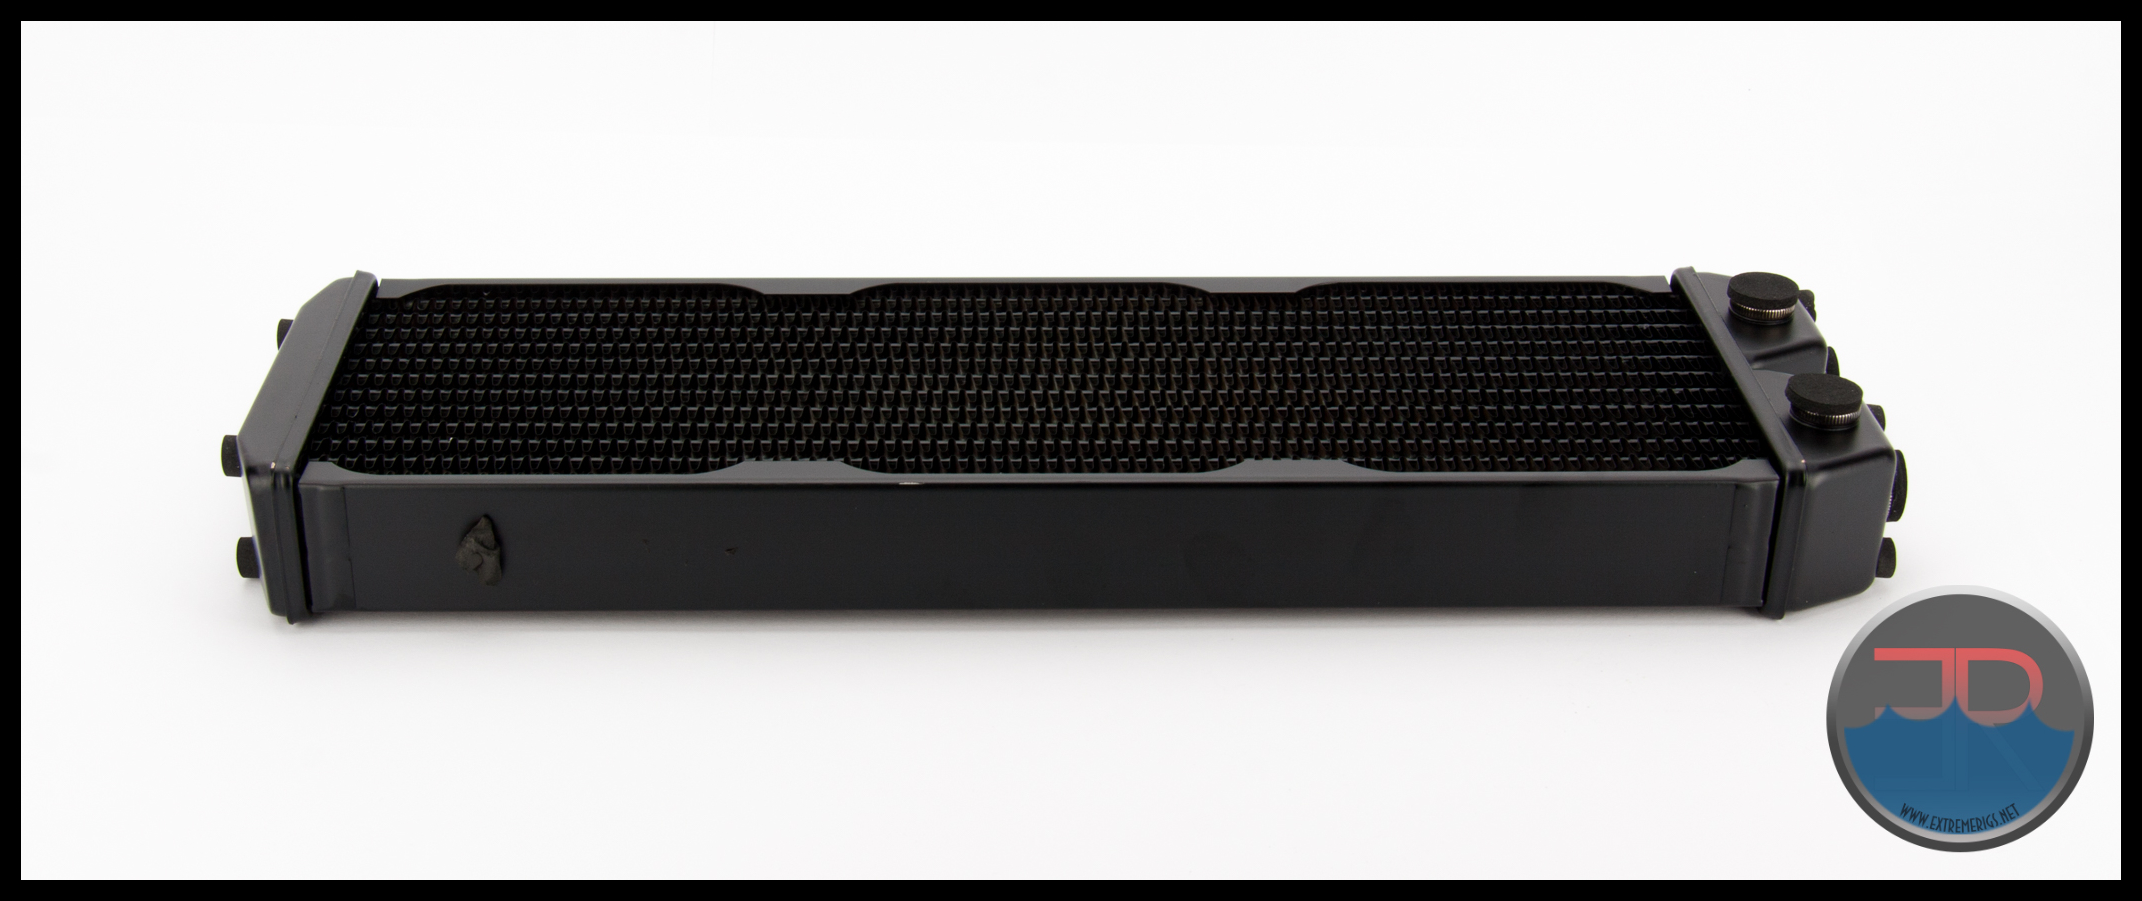
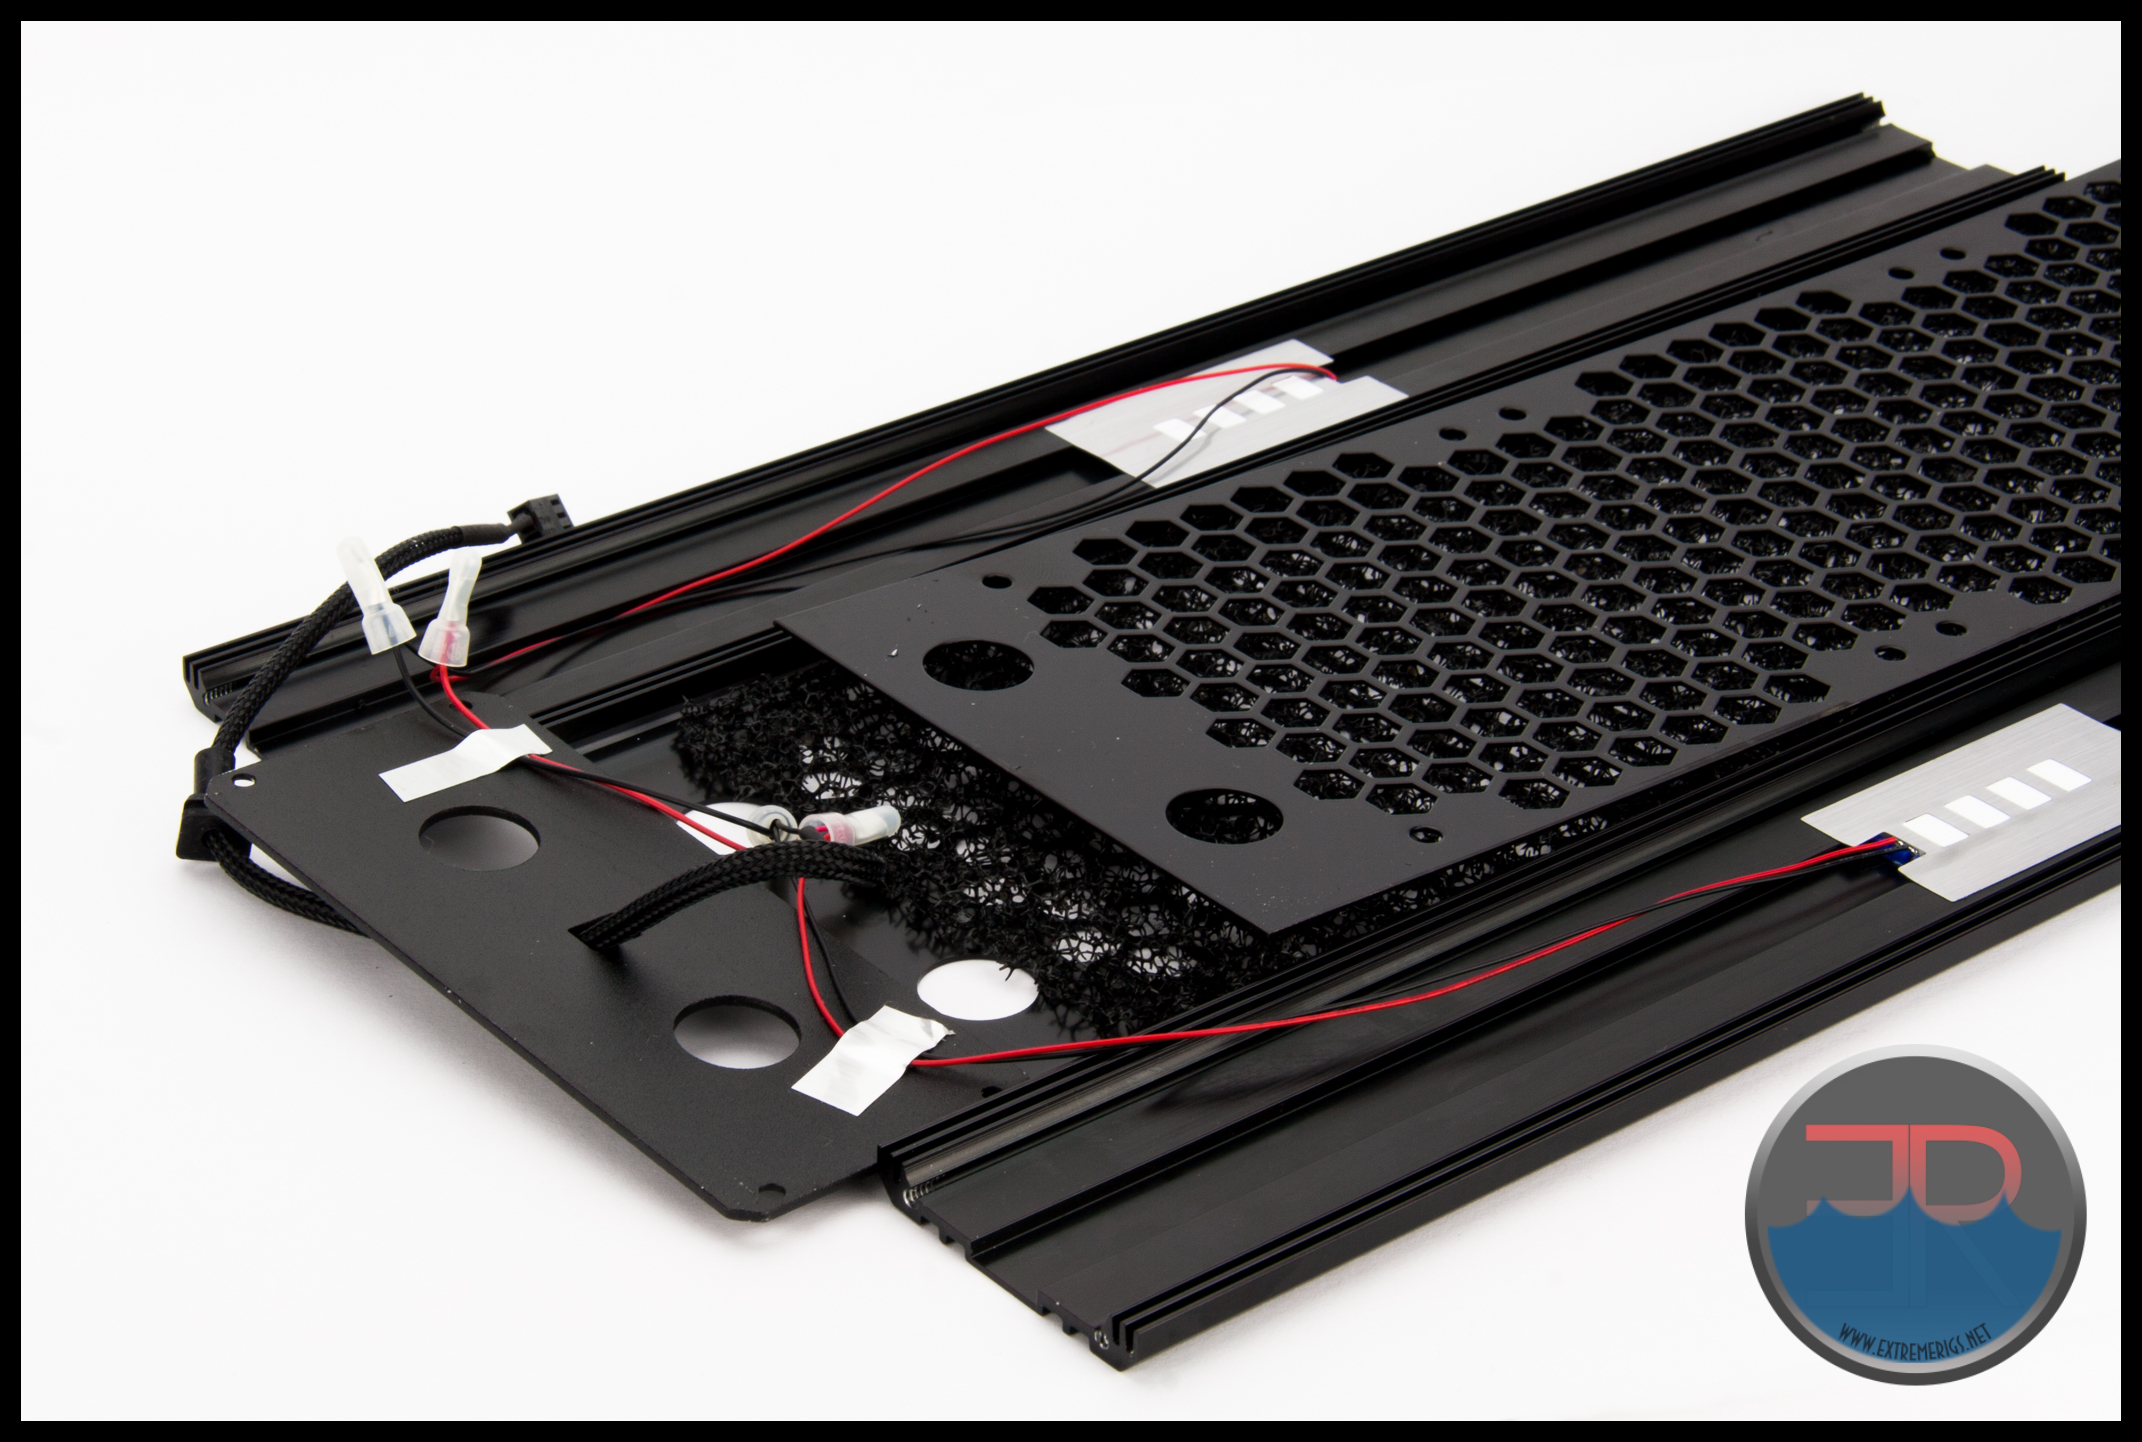 When removing panels to clean the mesh and core we found it easier to remove the power connector and slide the sleeved wires through the end plate, which can then be put aside until reassembly.
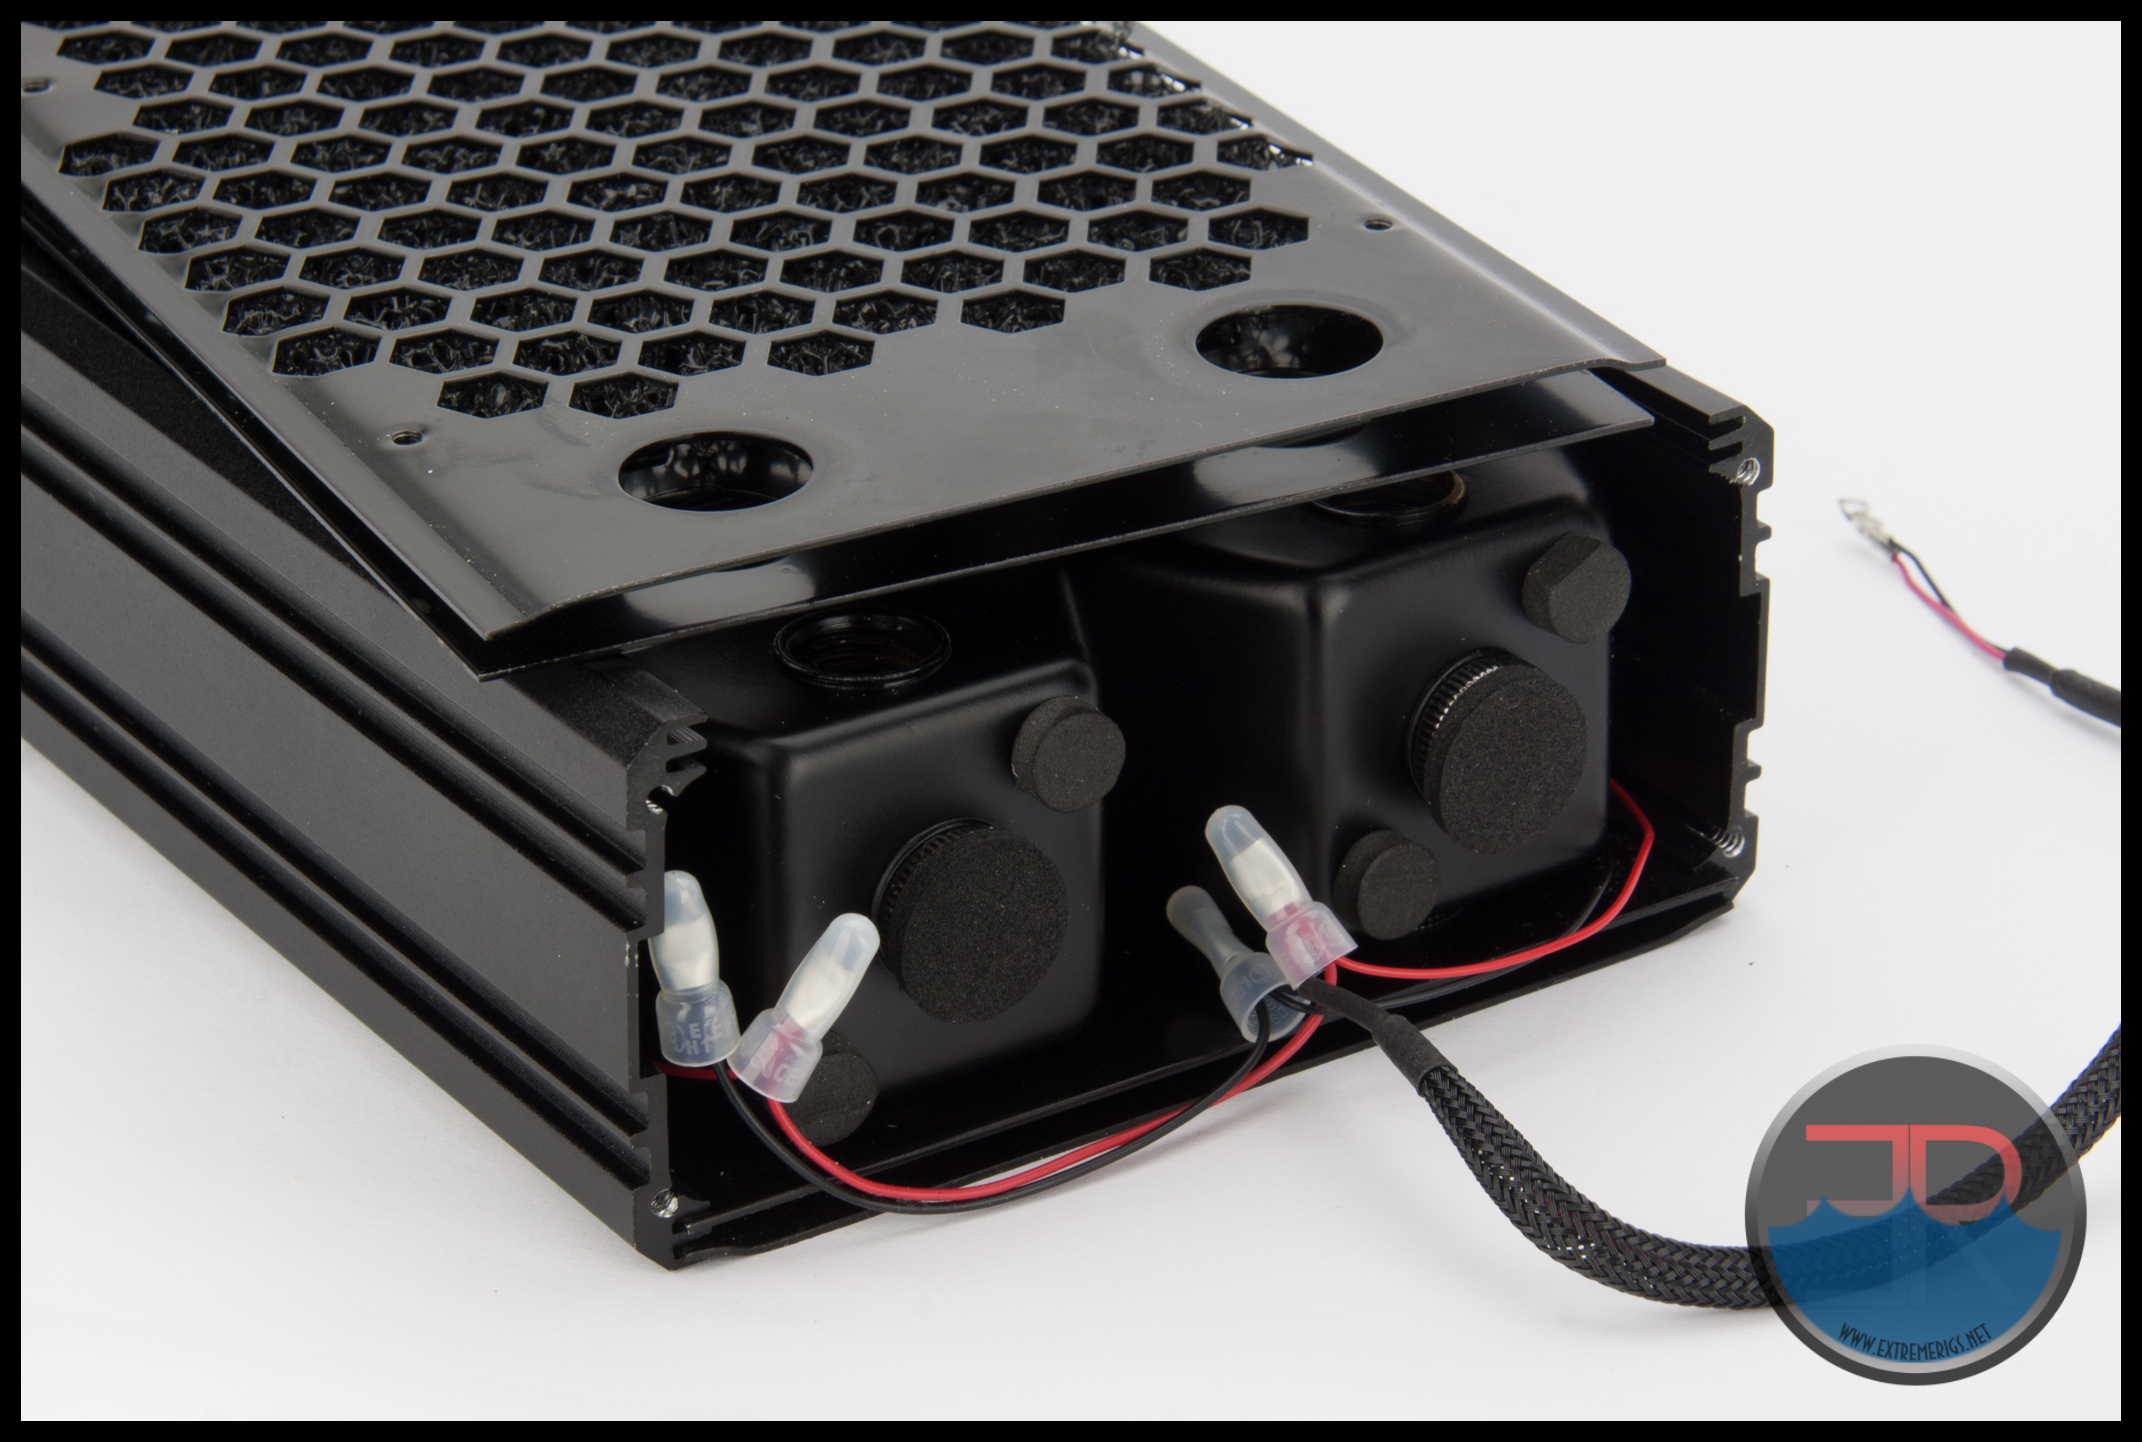 We realize that we’re going out of sequence here, but you may have noticed in previous images that there are actually two grill panels on each face. Both are painted steel.
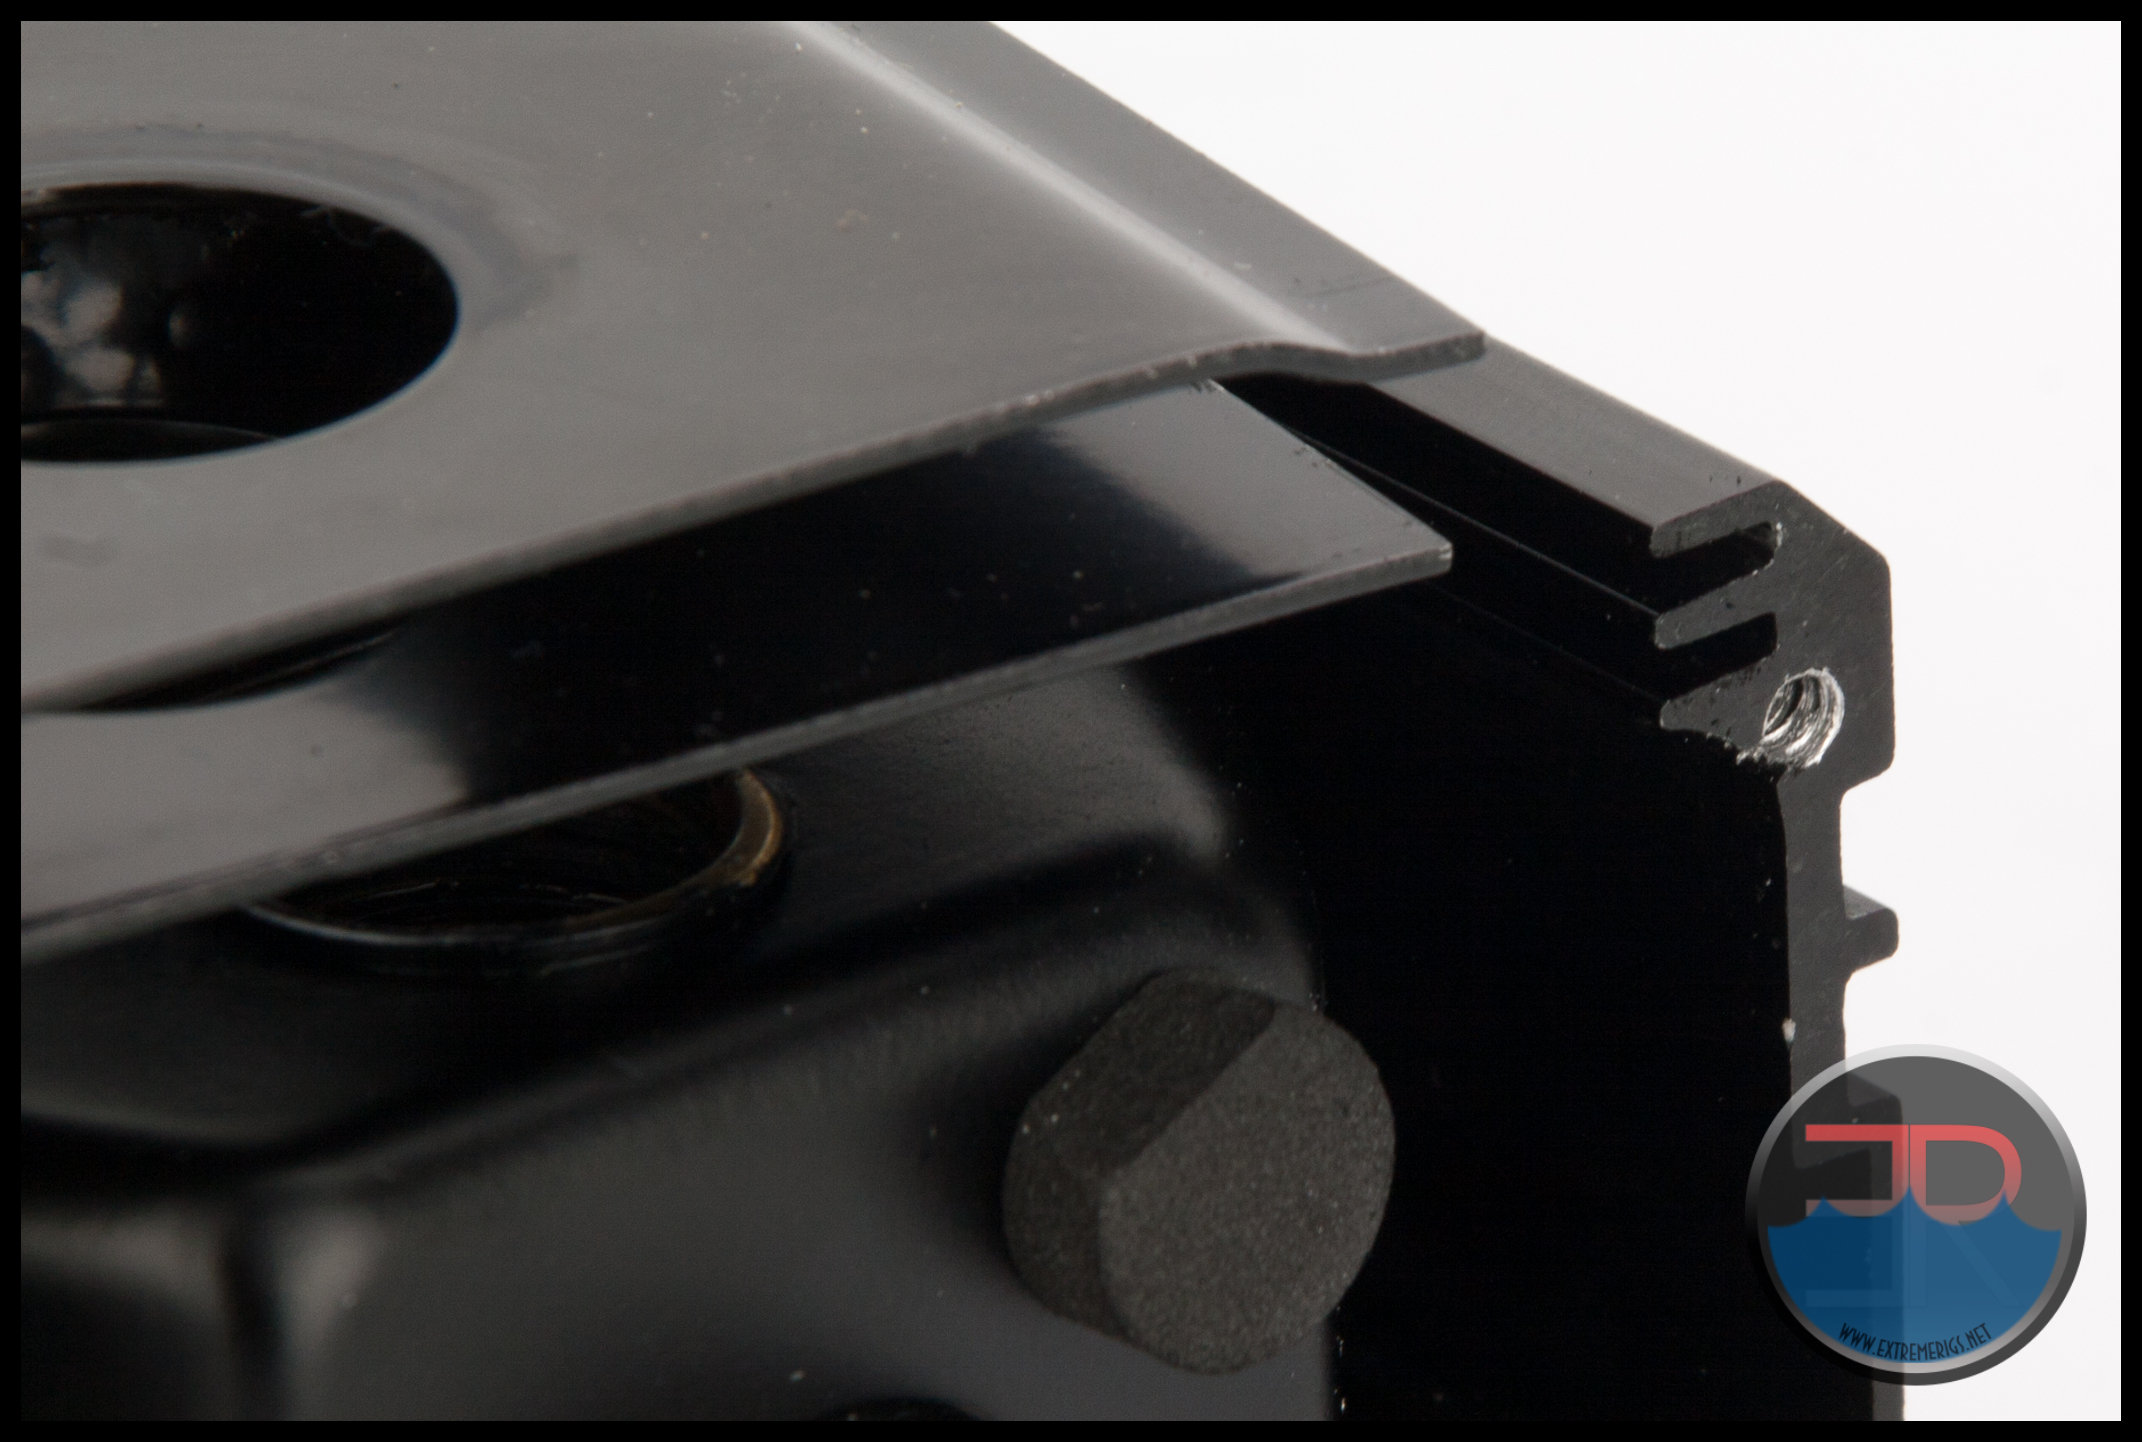 The outer grill panel has a small fold on each long edges where is sits in the recessed grooves of the side panels. The inner one is flat.
The inner grill has the same honeycomb design as the outer one and together they effectively sandwich the the ABM mesh in place.
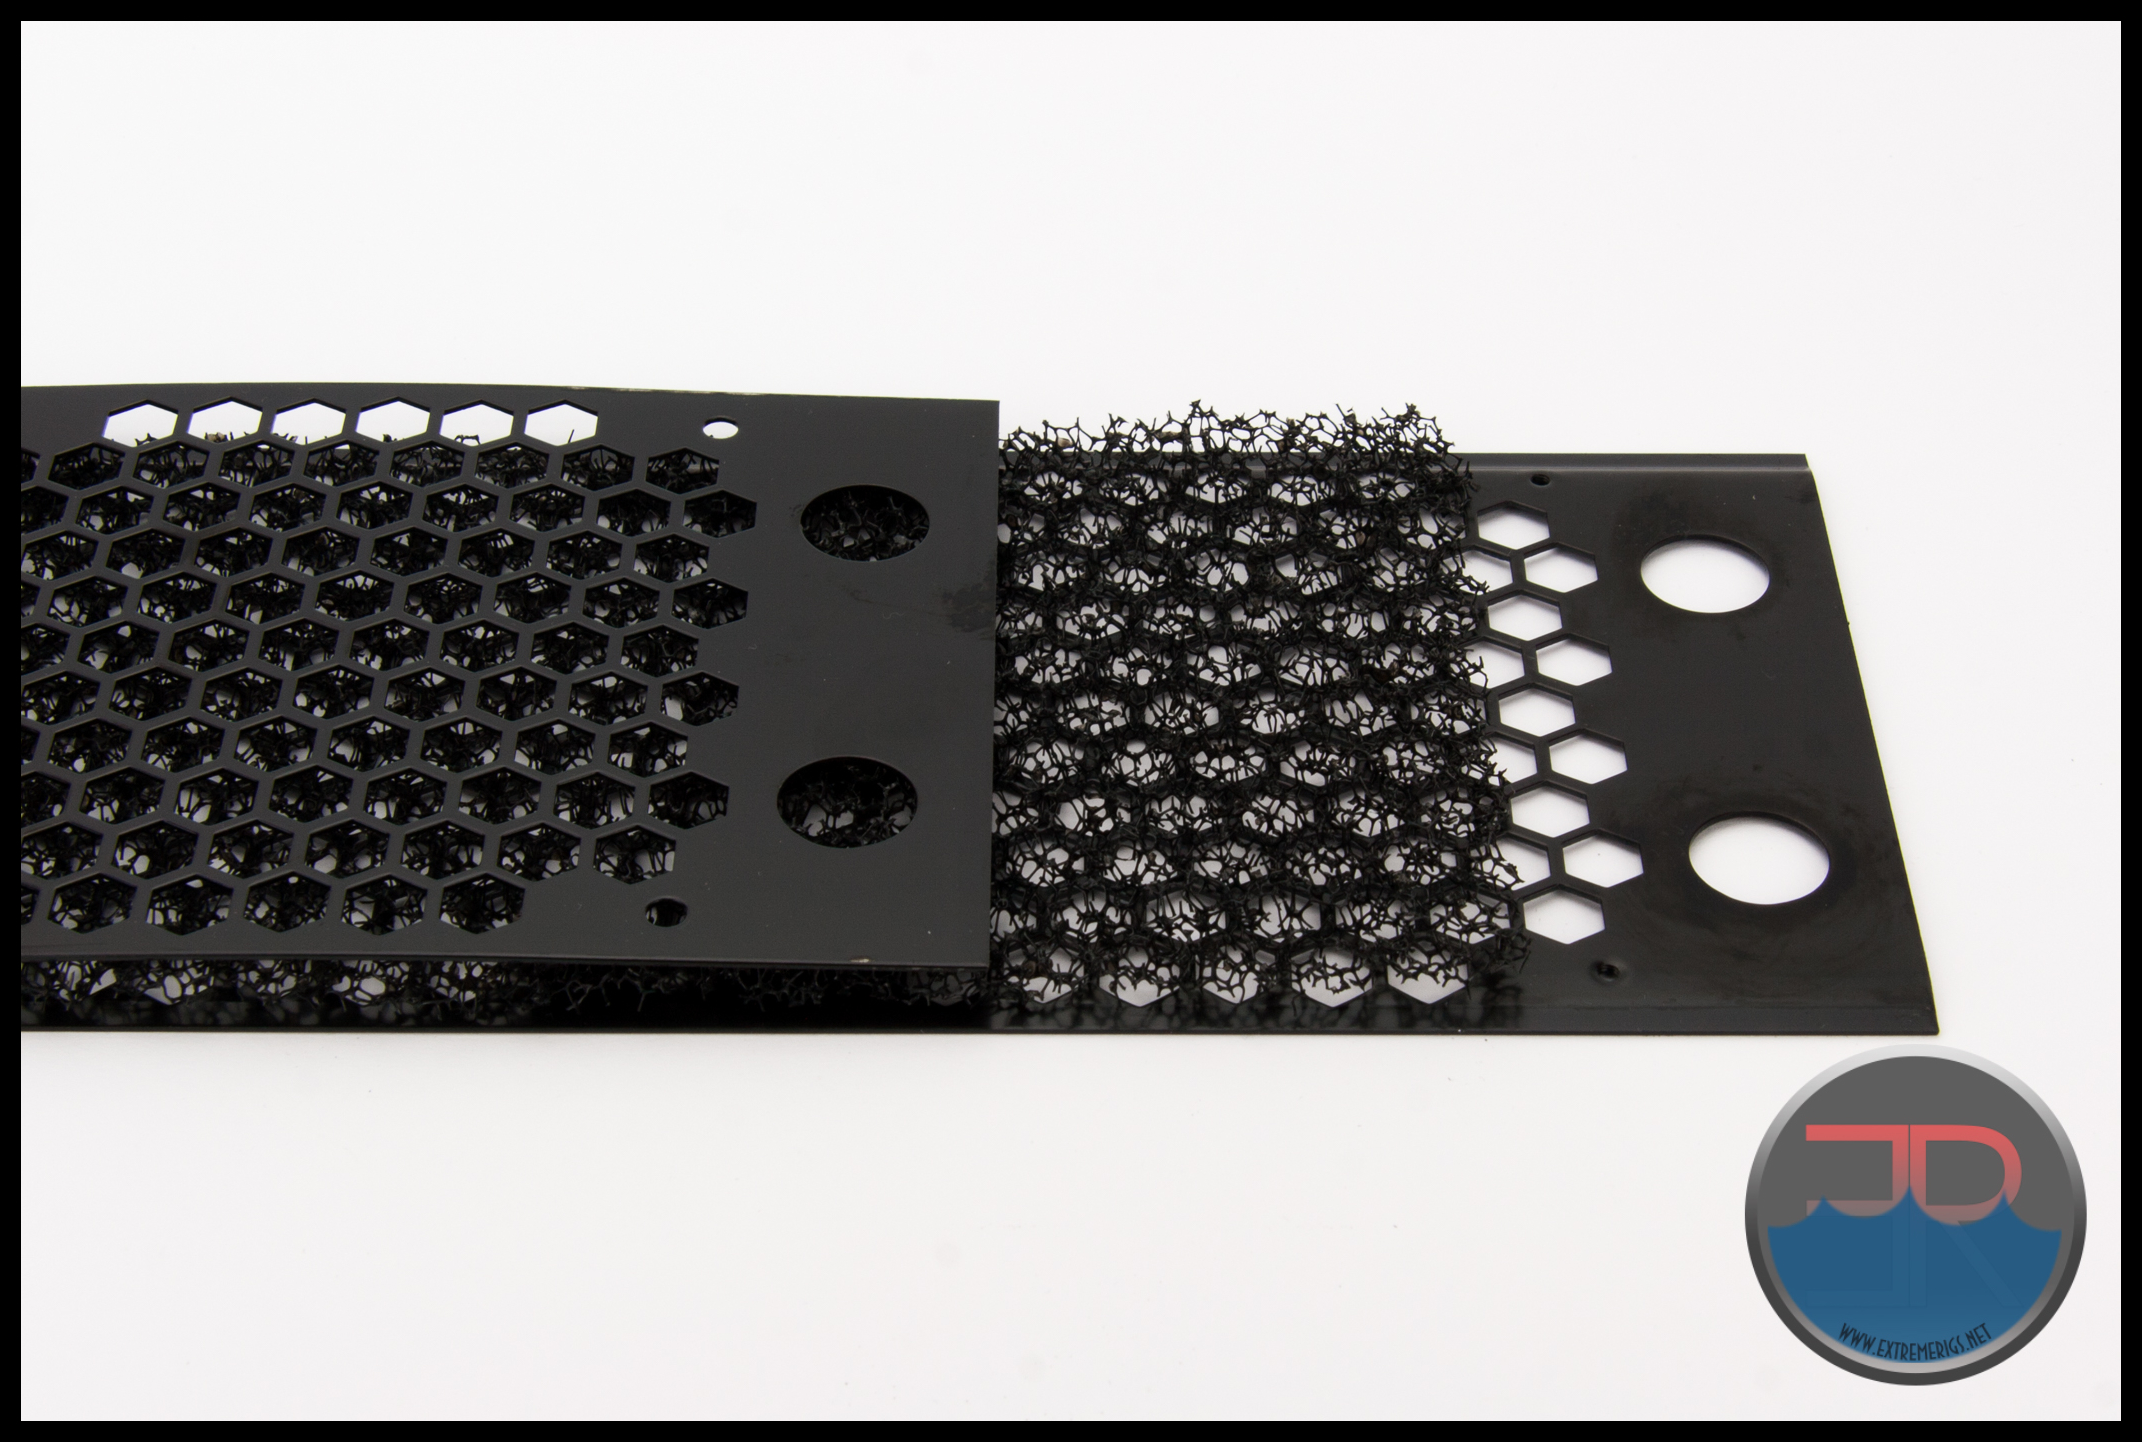 The mesh or ABM (Air Breaker Mat) as Alphacool name it isn’t actually foam at all, but a type of plastic that appears to have been spun while hot to form something which resembles mesh.
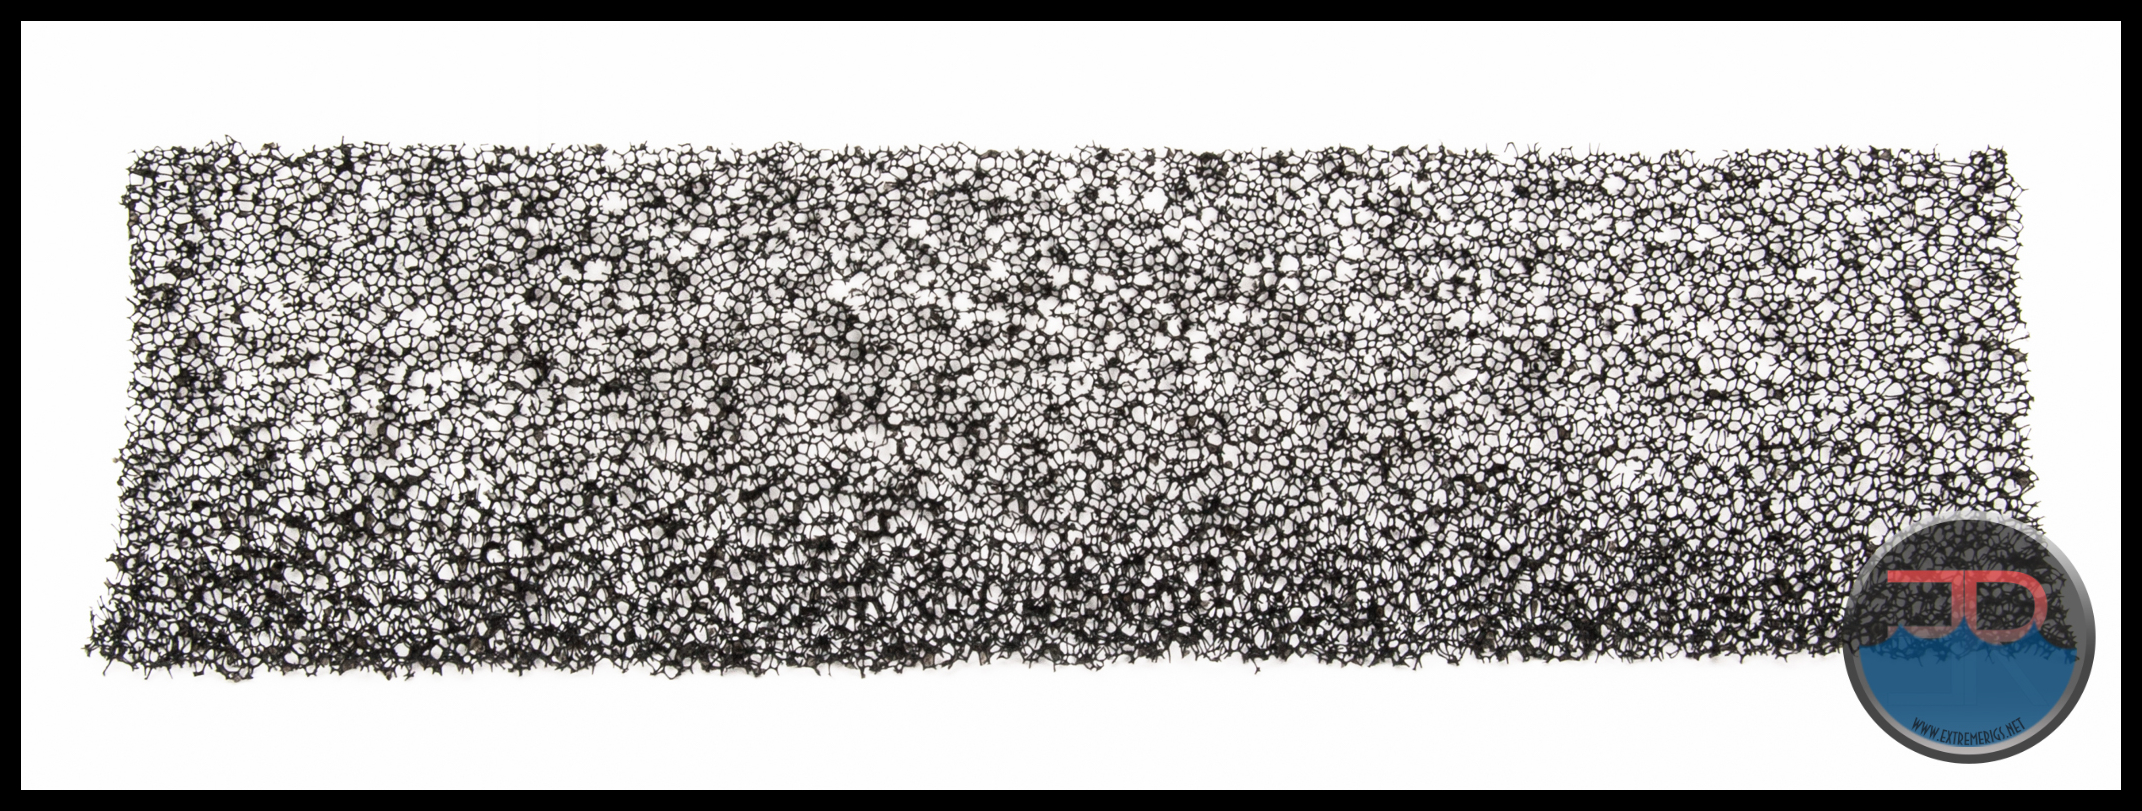 The following is quoted directly from Alphacool about the ABM’s function:
“The function of this mat is simple but very effective. The mounted fans have dead spots in the corners and directly under the fan hub. The air blown in by the fans breaks up inside the mat and is then distributed evenly over the entire radiator surface.”
Partly the deadzone will be reduced simply because the fans are mounted further from the core. However specifically for the ABM to help channel more air into the dead zone it would need to increase overall air resistance. The higher the air resistance the more even the airflow through the core will be. If the ABM has no impact on air resistance then it simply isn’t able to do anything to balance the air flow. So either the ABM doesn’t effect anything or it is increasing air resistance and we will have to see if the increased use of the dead zone outweighs the negative effect of the increase in air resistance.
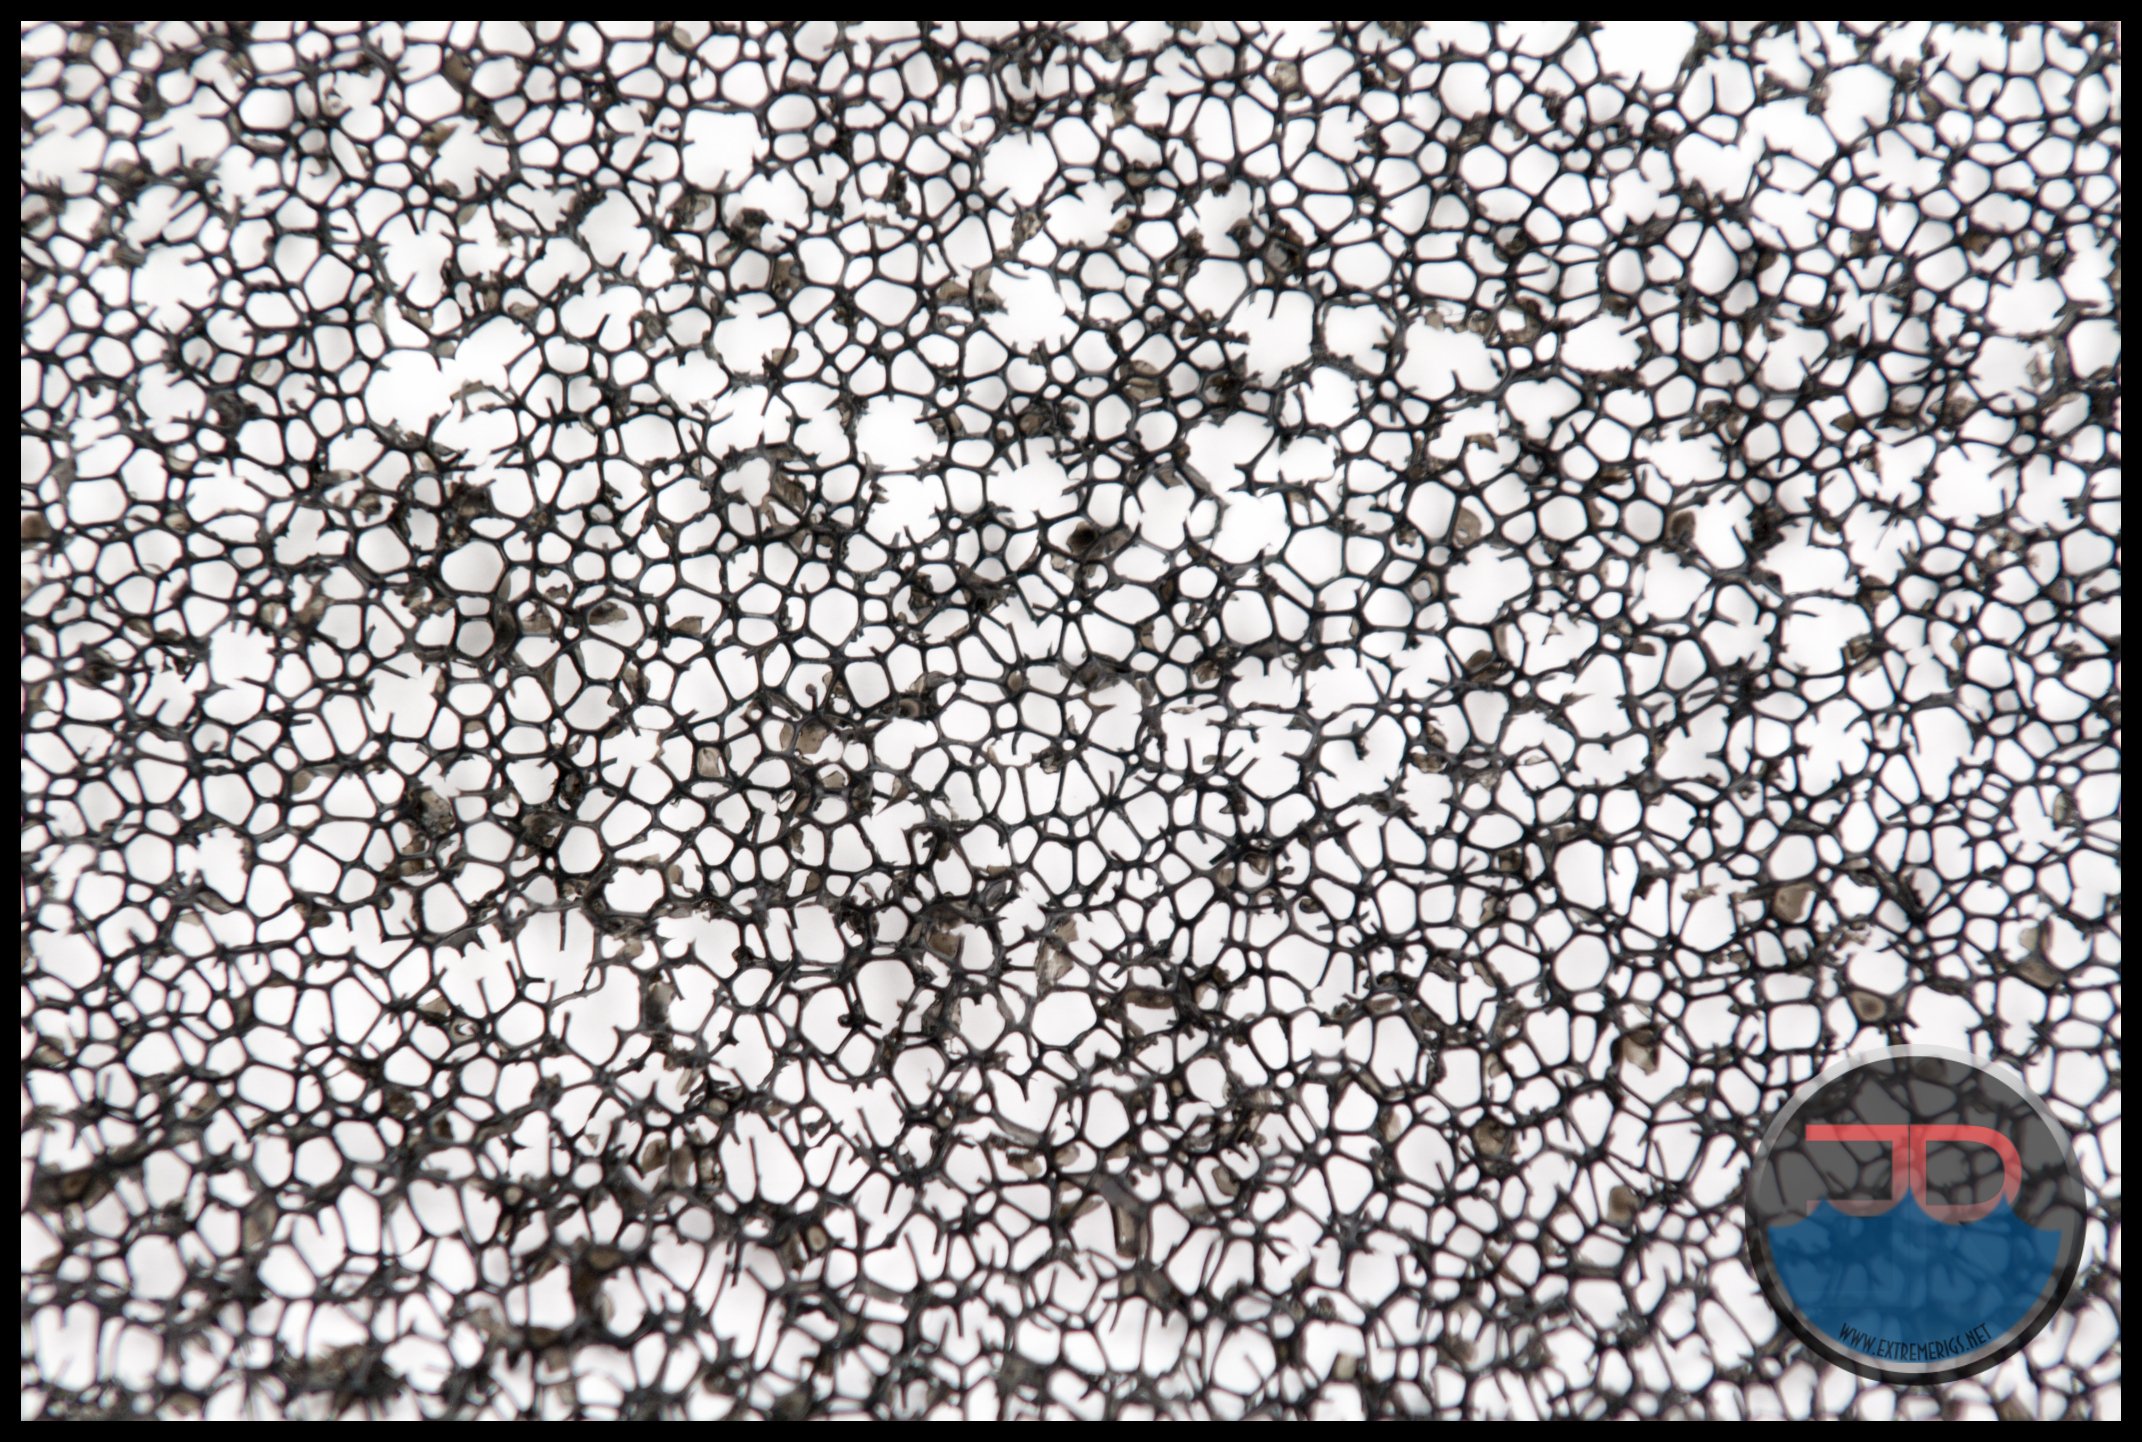
By introducing 2 x grills and the ABM between the fans and radiator core we are expecting that the ABM will make it significantly harder to get air through the core and performance may drop as a result. Hopefully we will be proved wrong when we put the Eisbrecher Pro into the thermal chamber and get to analyze some data.
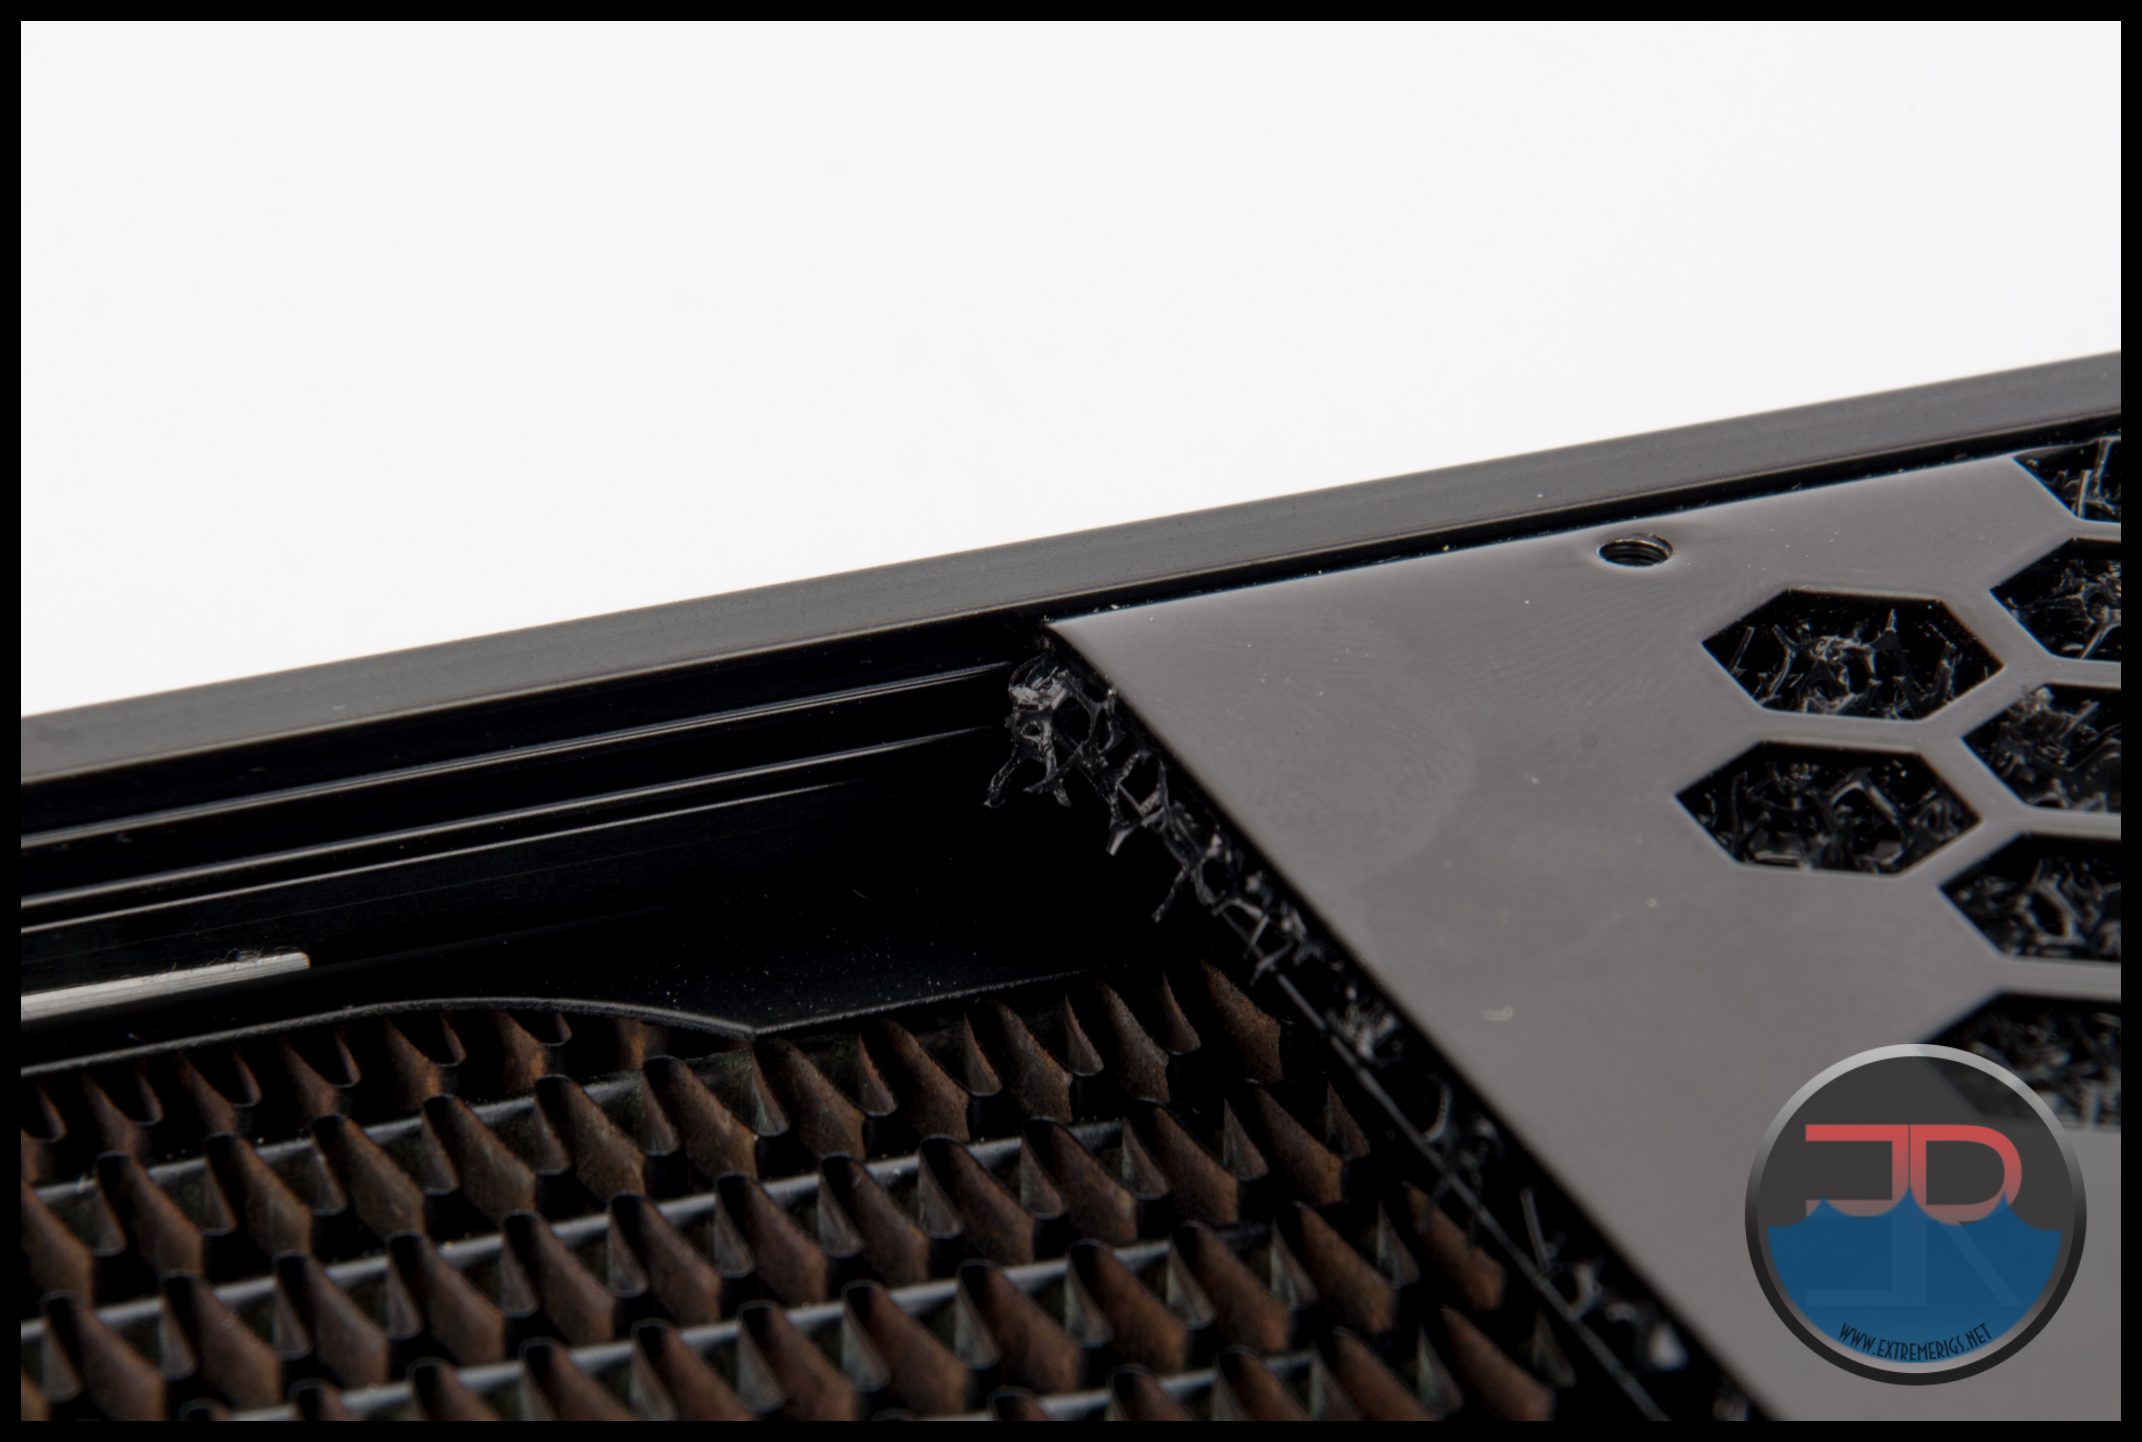 Now let’s continuing dismantling the enclosure. With the port extenders and port end cover plate removed the grills and ABM on one side can be slid out from the side panel grooves as pictured above.
This leaves the radiator inside free to be removed.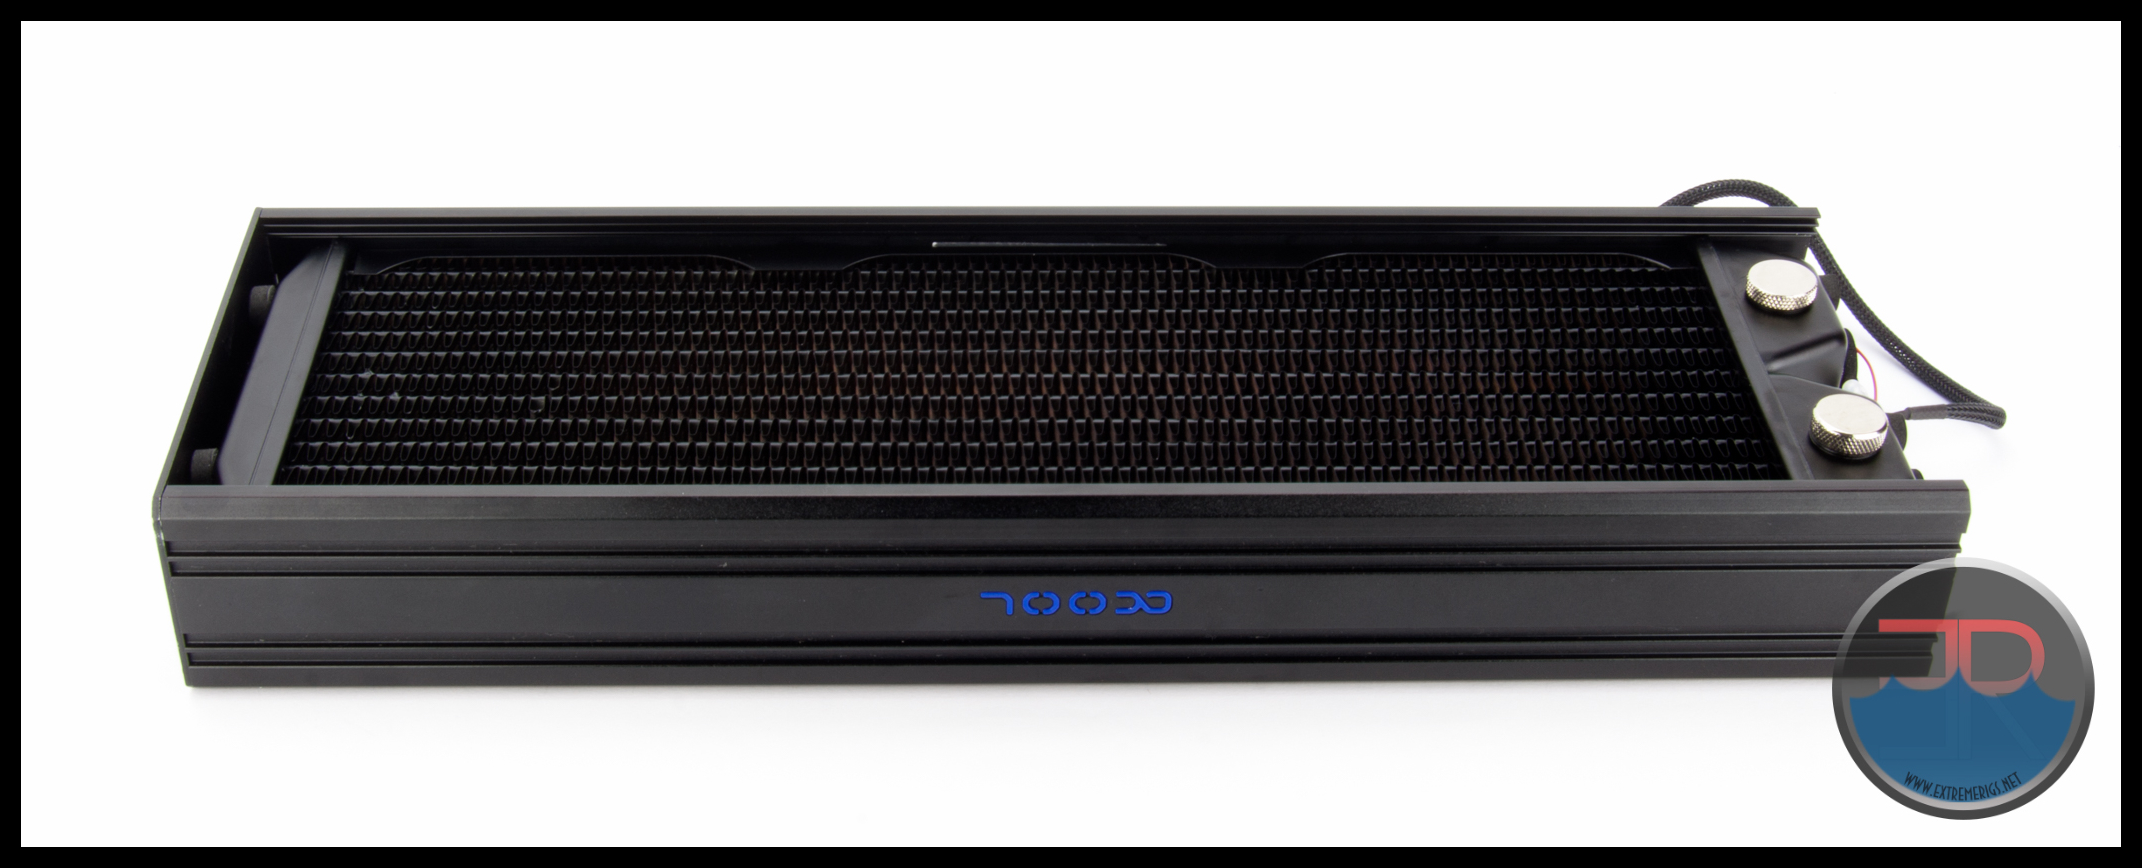 This is easiest when you slightly pushing apart the side panels at the open end so you can almost lift the radiator straight out rather than sliding it all the way.
On out first dismantlement we slid the radiator all the way as gently as possible, but it didn’t feel quite right. we discovered that there were foam pieces on the sides of the radiator also which we had dragged off as we slid it out (see below). Doing it this way could lead to some damage of the LED and or it wires, so slightly pushing apart the panels is the way to go, otherwise remove both end plates and do the full disassembly.
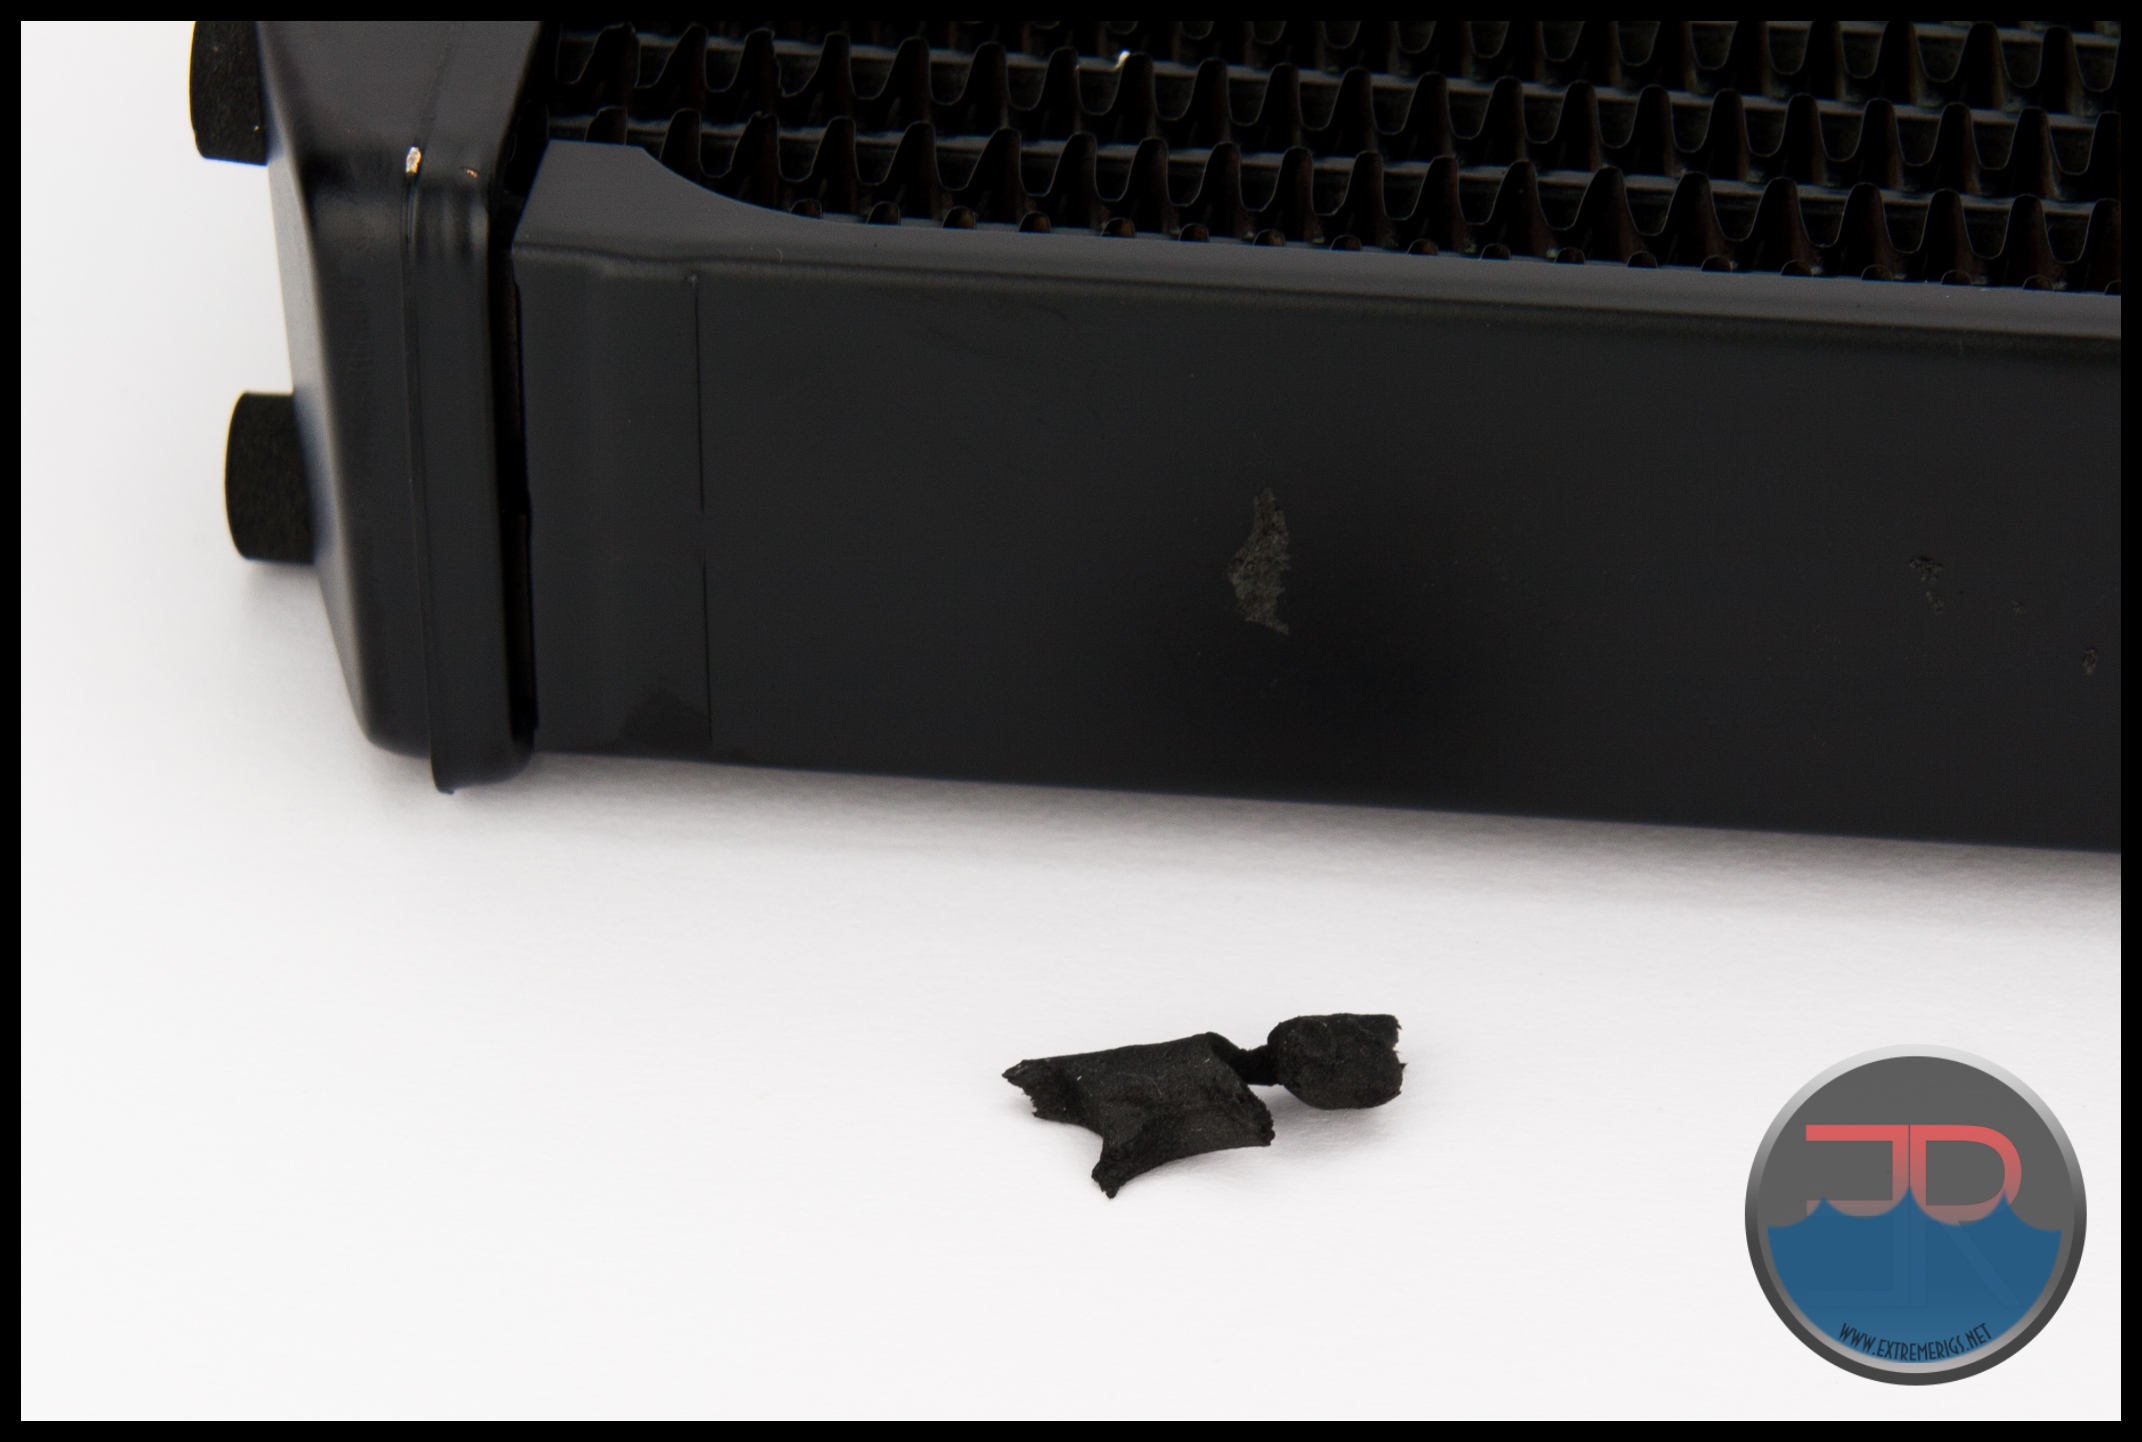
At the heart of the Eisbrecher Pro is a NexXxos XT45 radiator, although it is slightly modified to suit the external enclosure.
 The only difference we could tell was on the side panels. Firstly they are not joined to the the tanks at each end and the side panels themselves do not have the screw threads. The screw threads are now located on the outer grill.
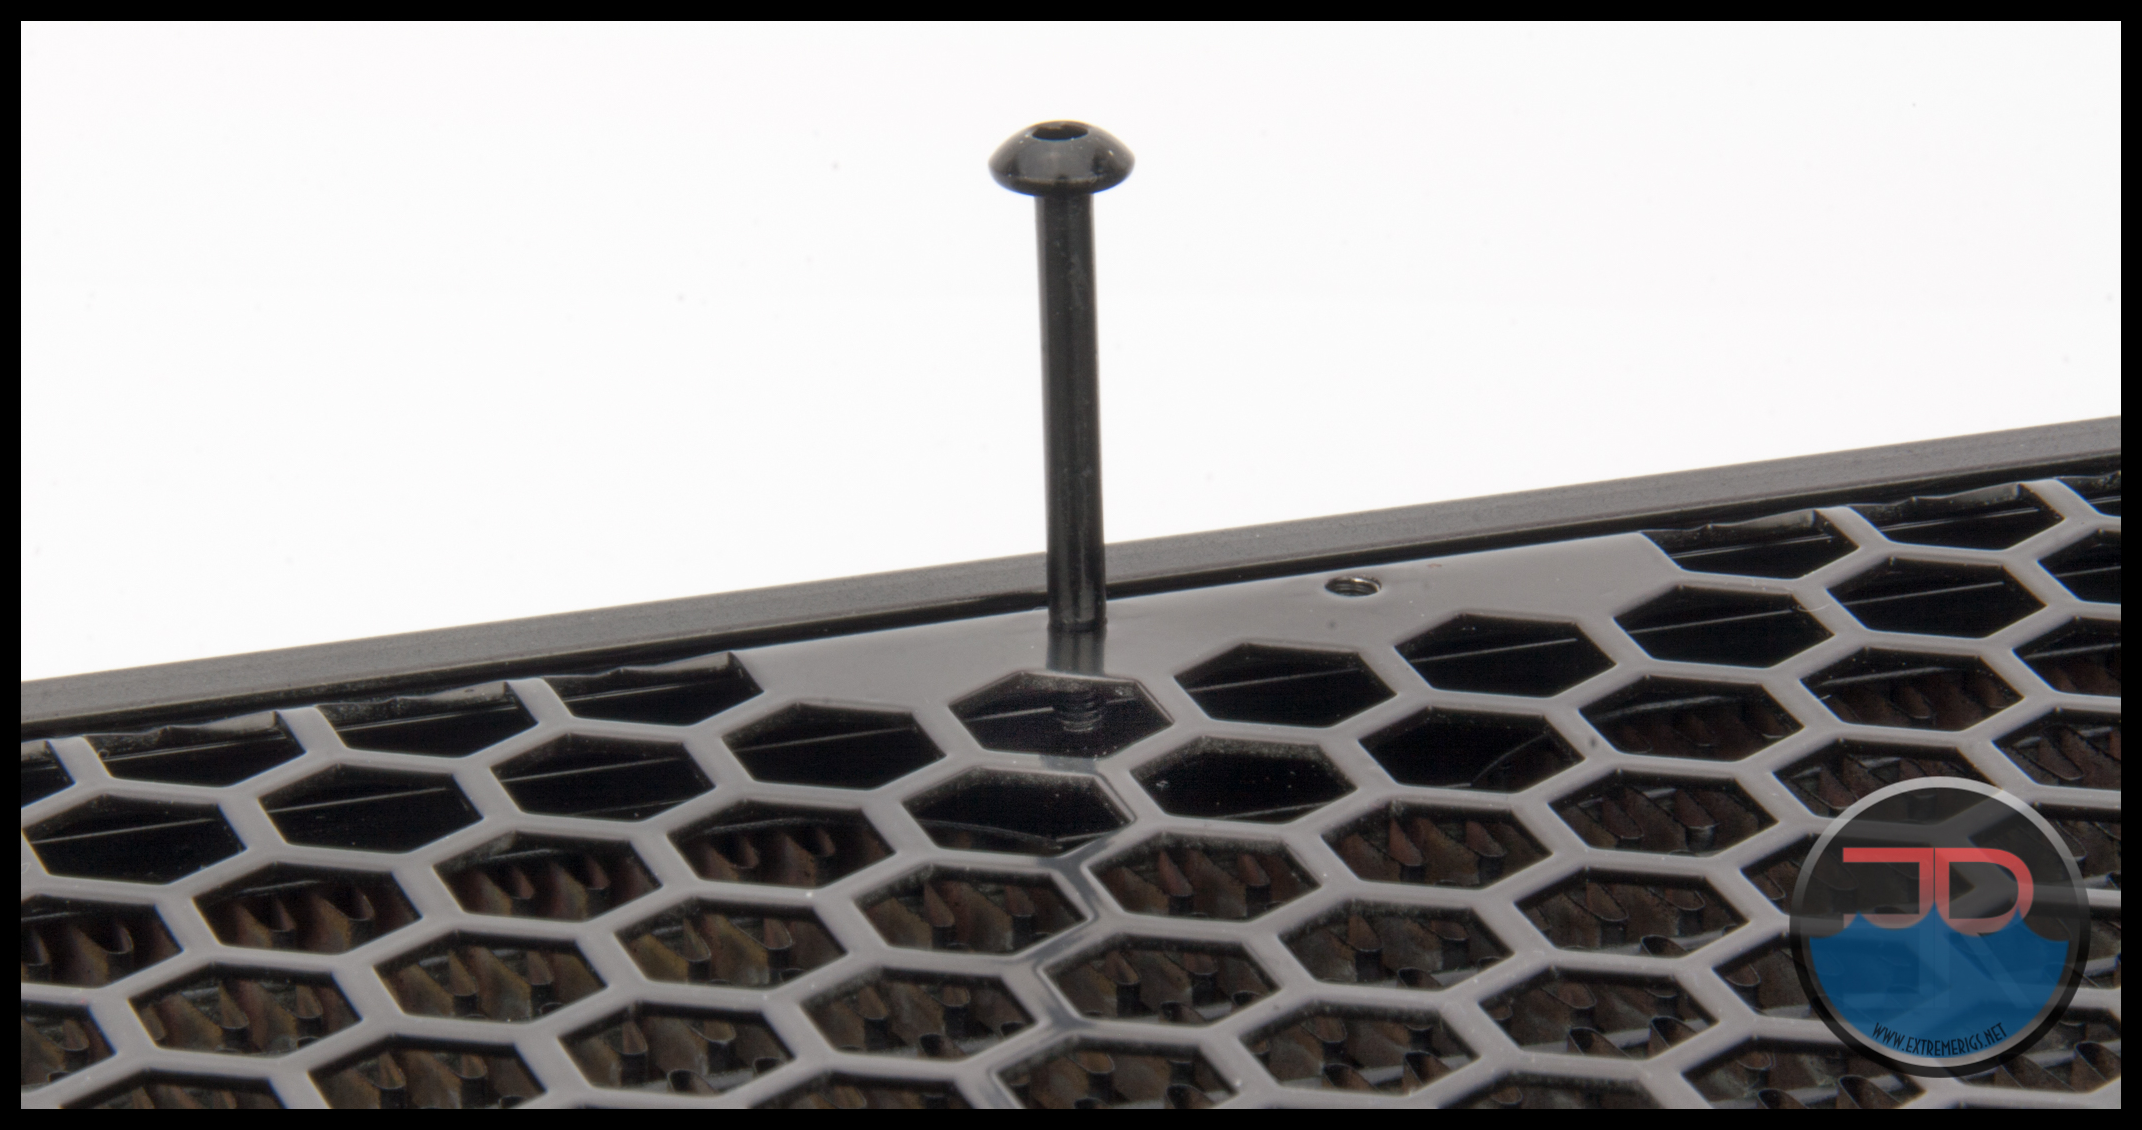
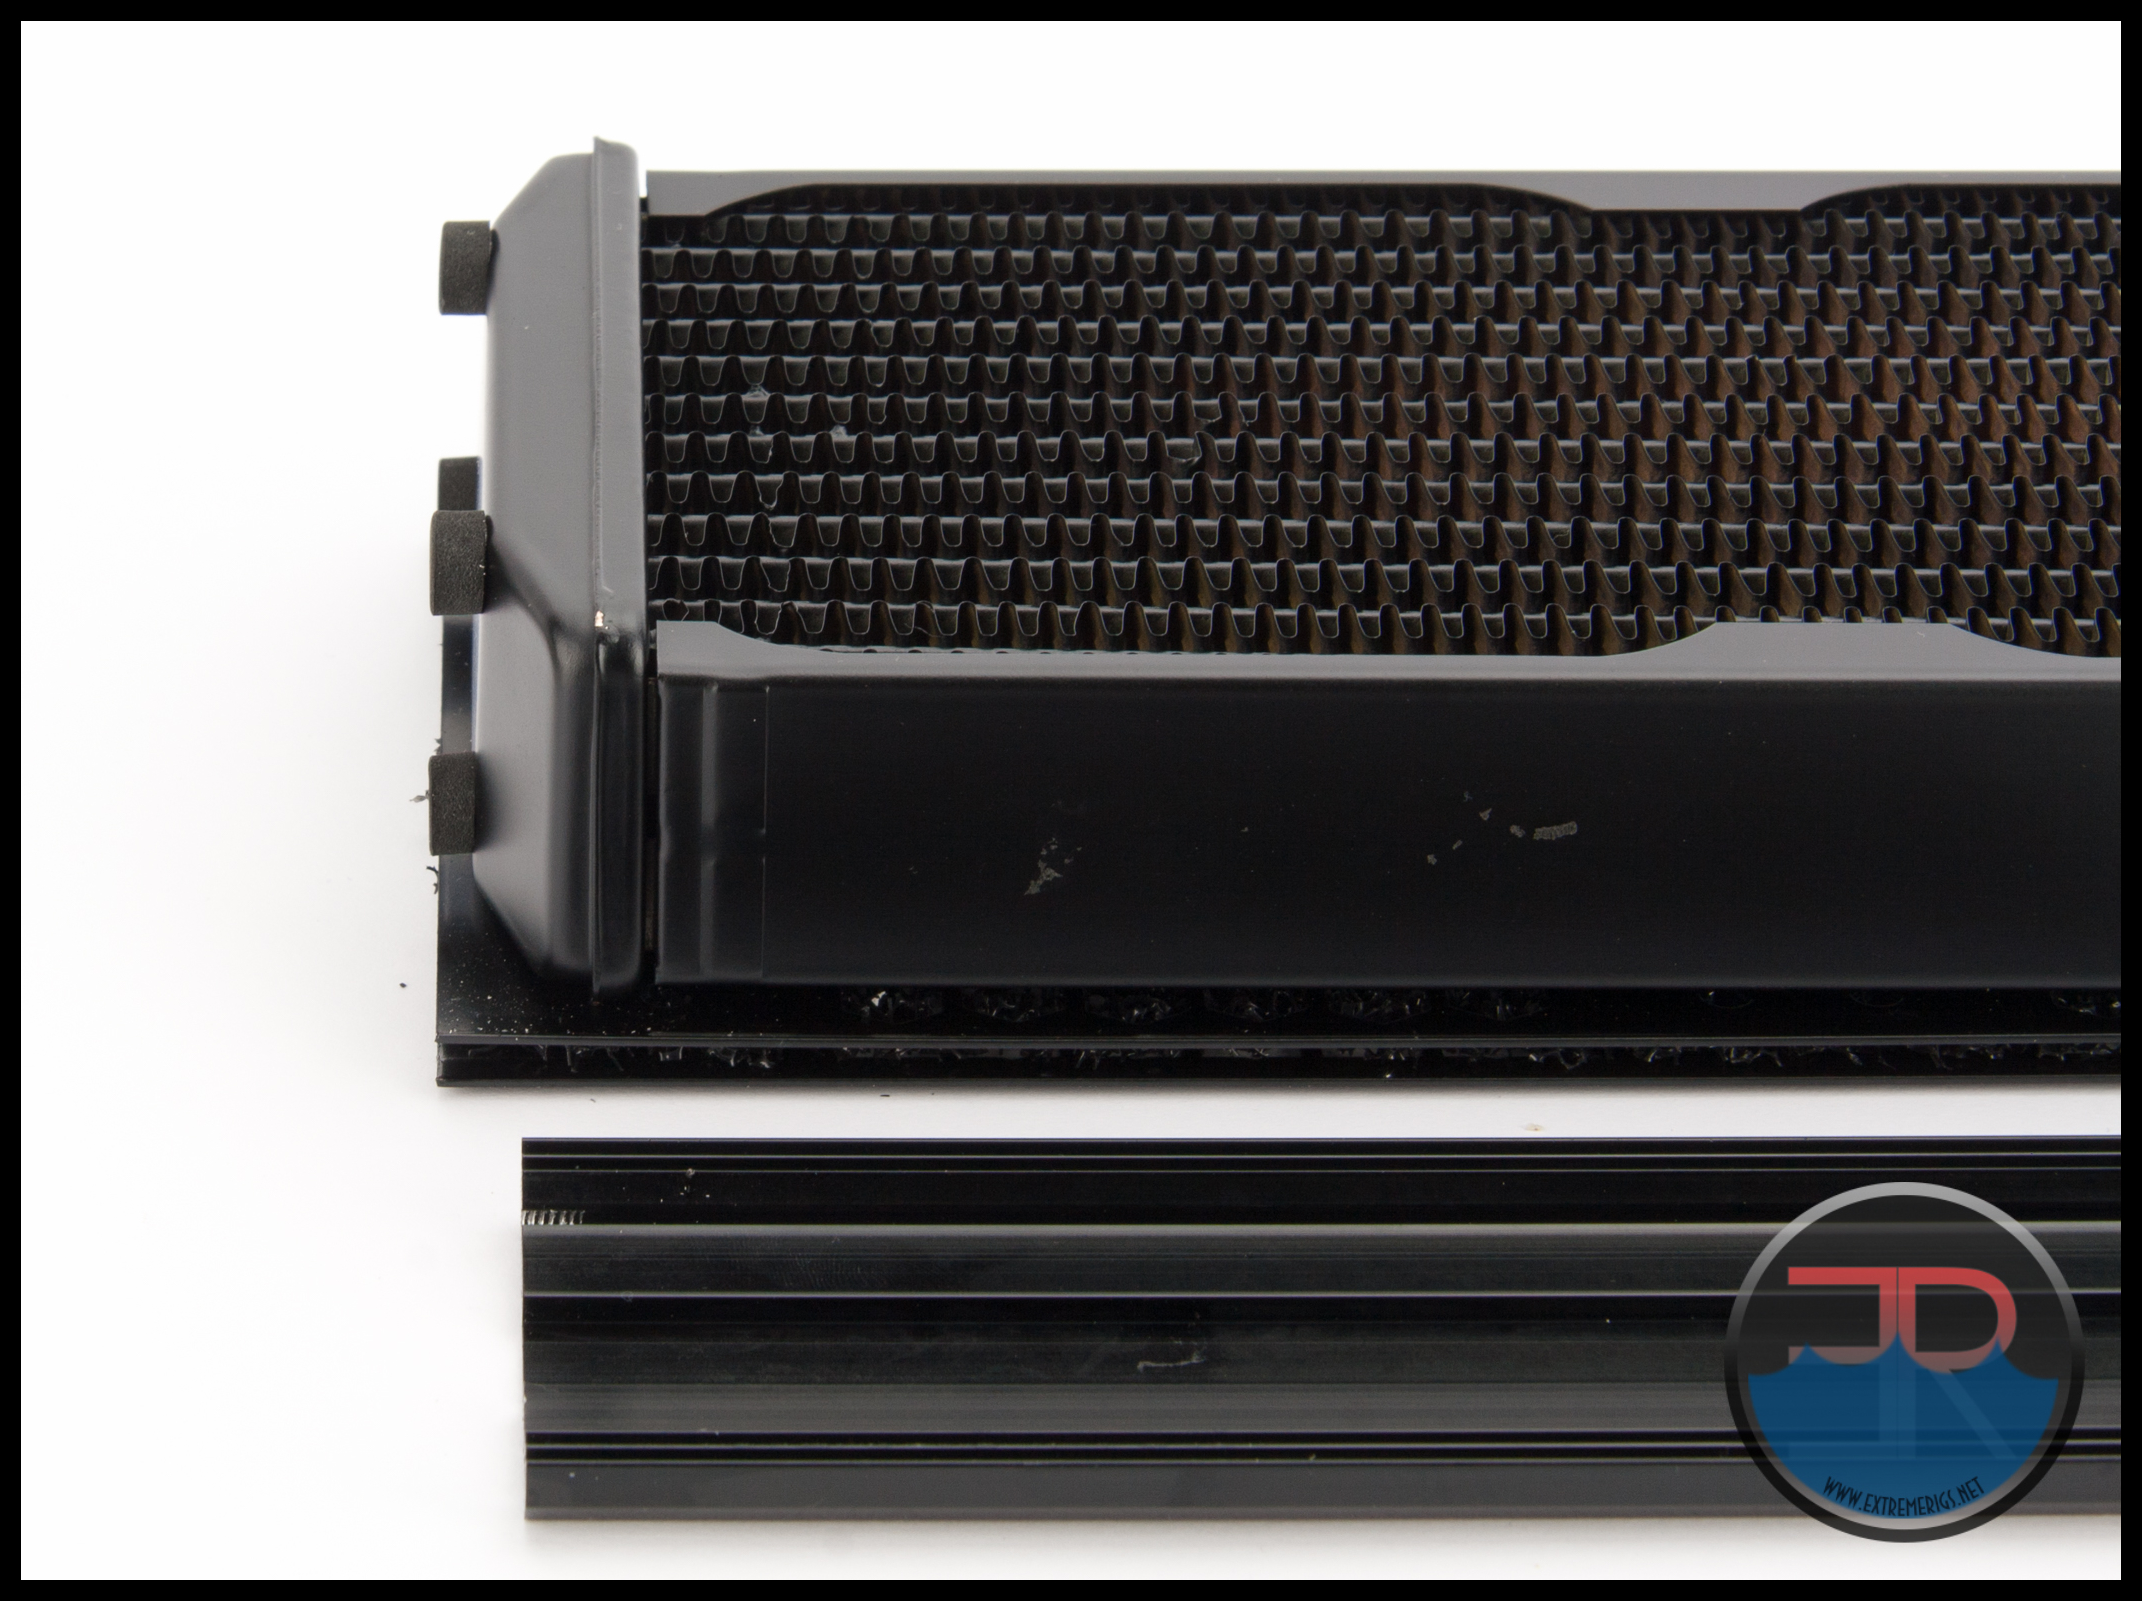 Screw protection plates are still in place though and is a great feature Alphacool continue to provide.
We measure the distance between the outer grill and the radiator core at ~11.5mm
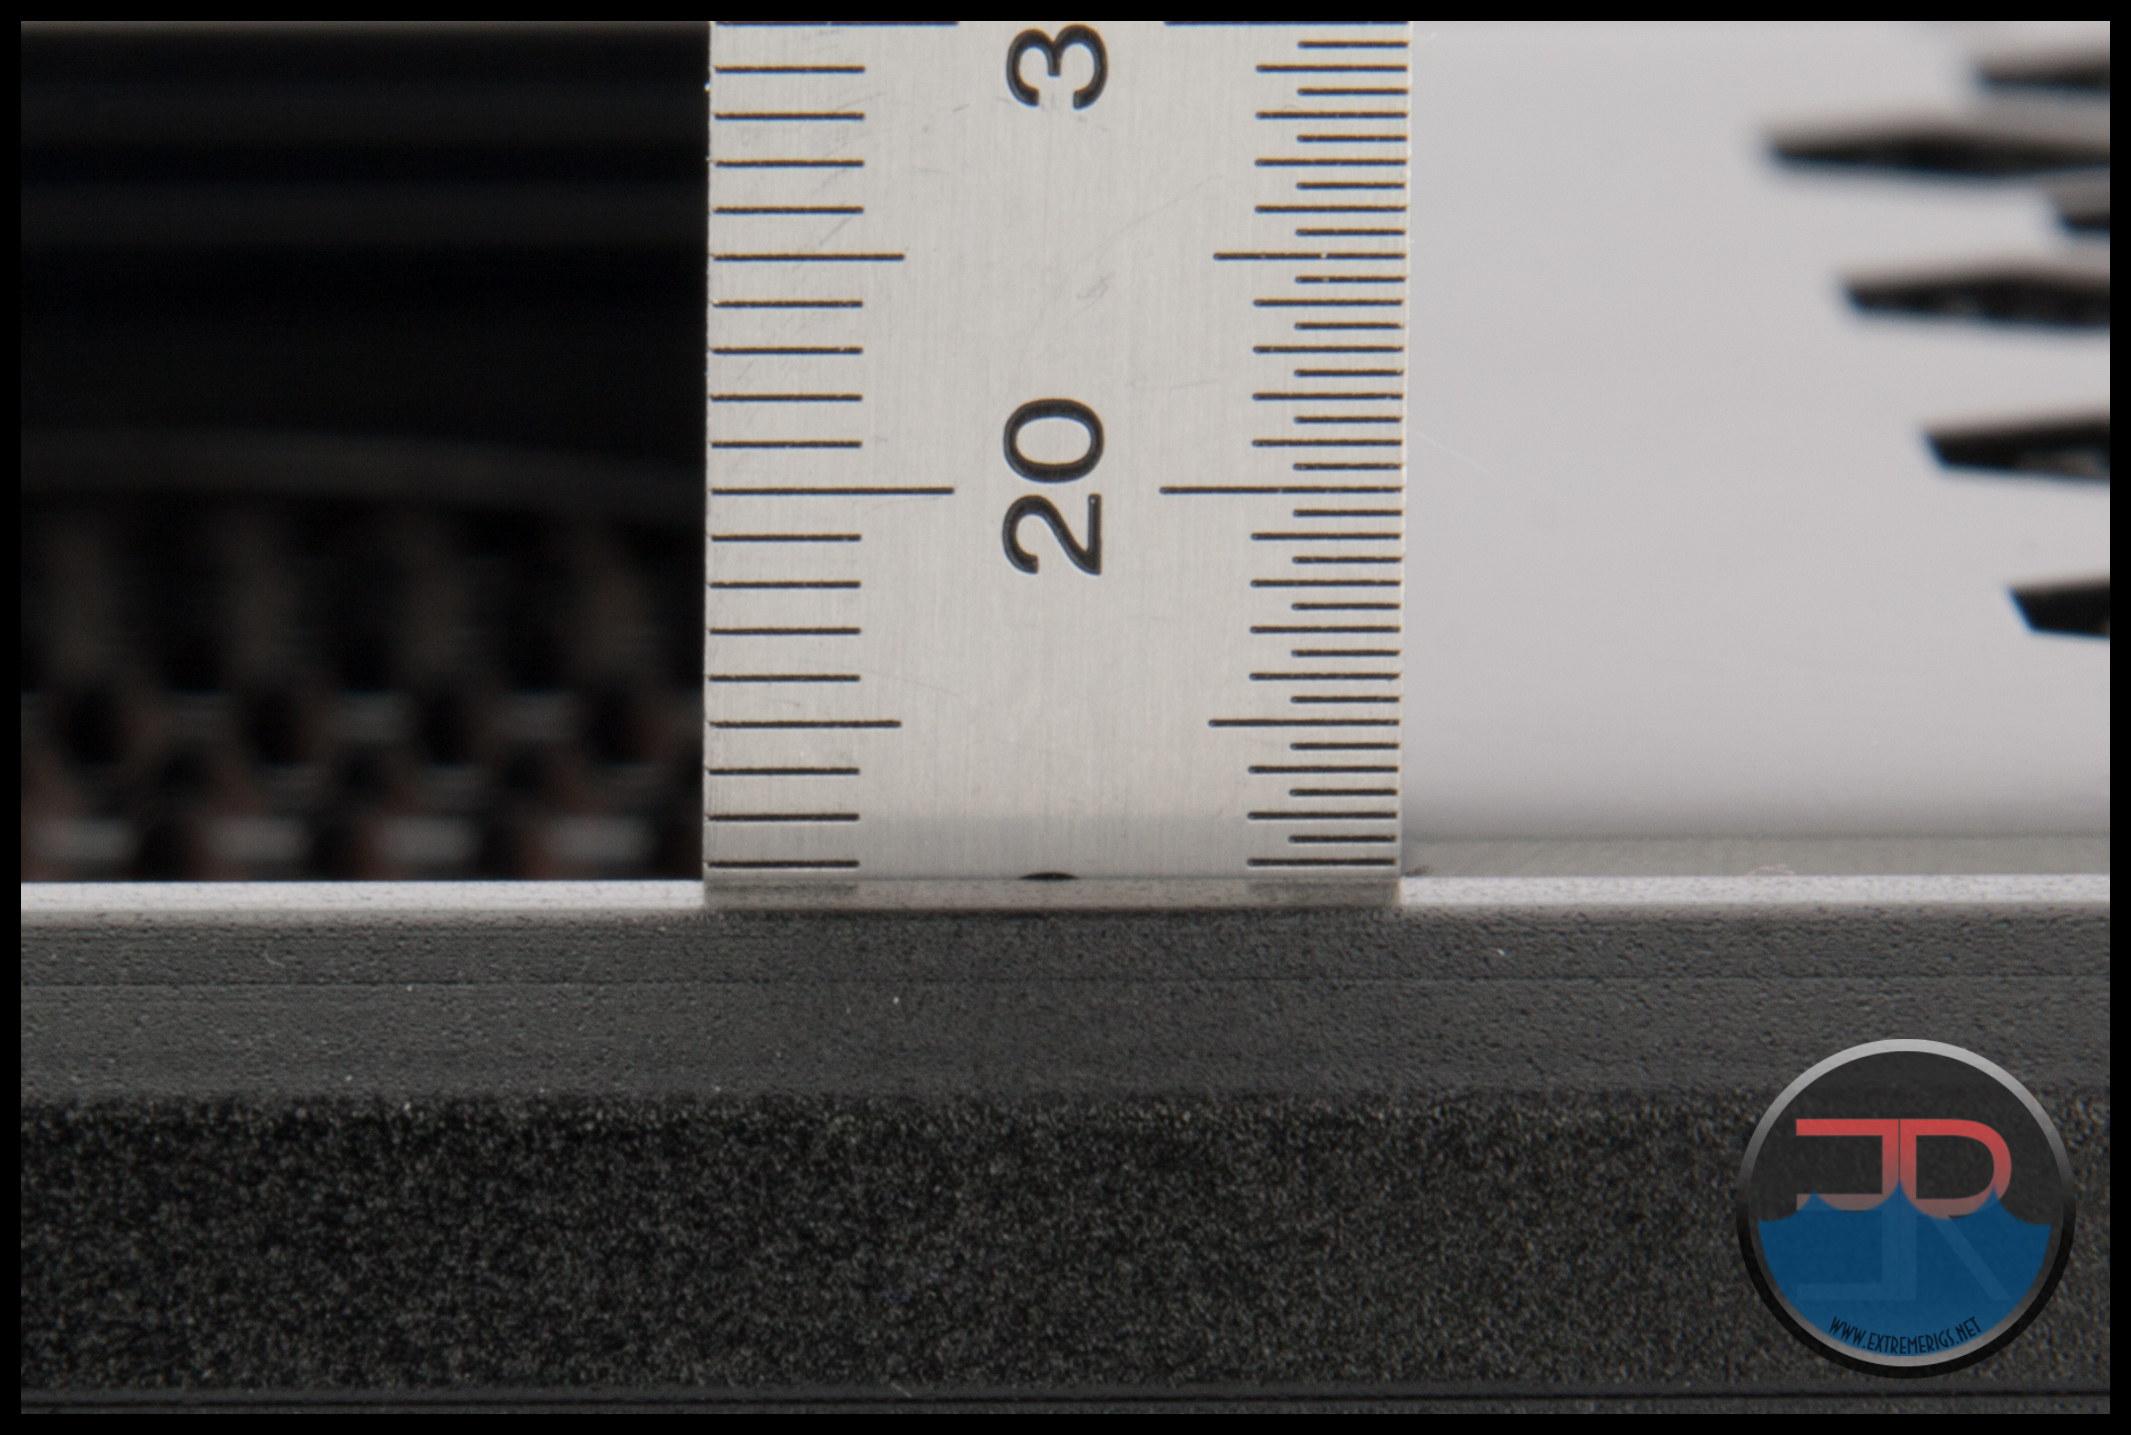 Using the provided screws we think it is absolutely impossible for a user to puncture a tube on the core. Perfect !!
The 15mm fan spacing on the grills is as good as one can hope for.
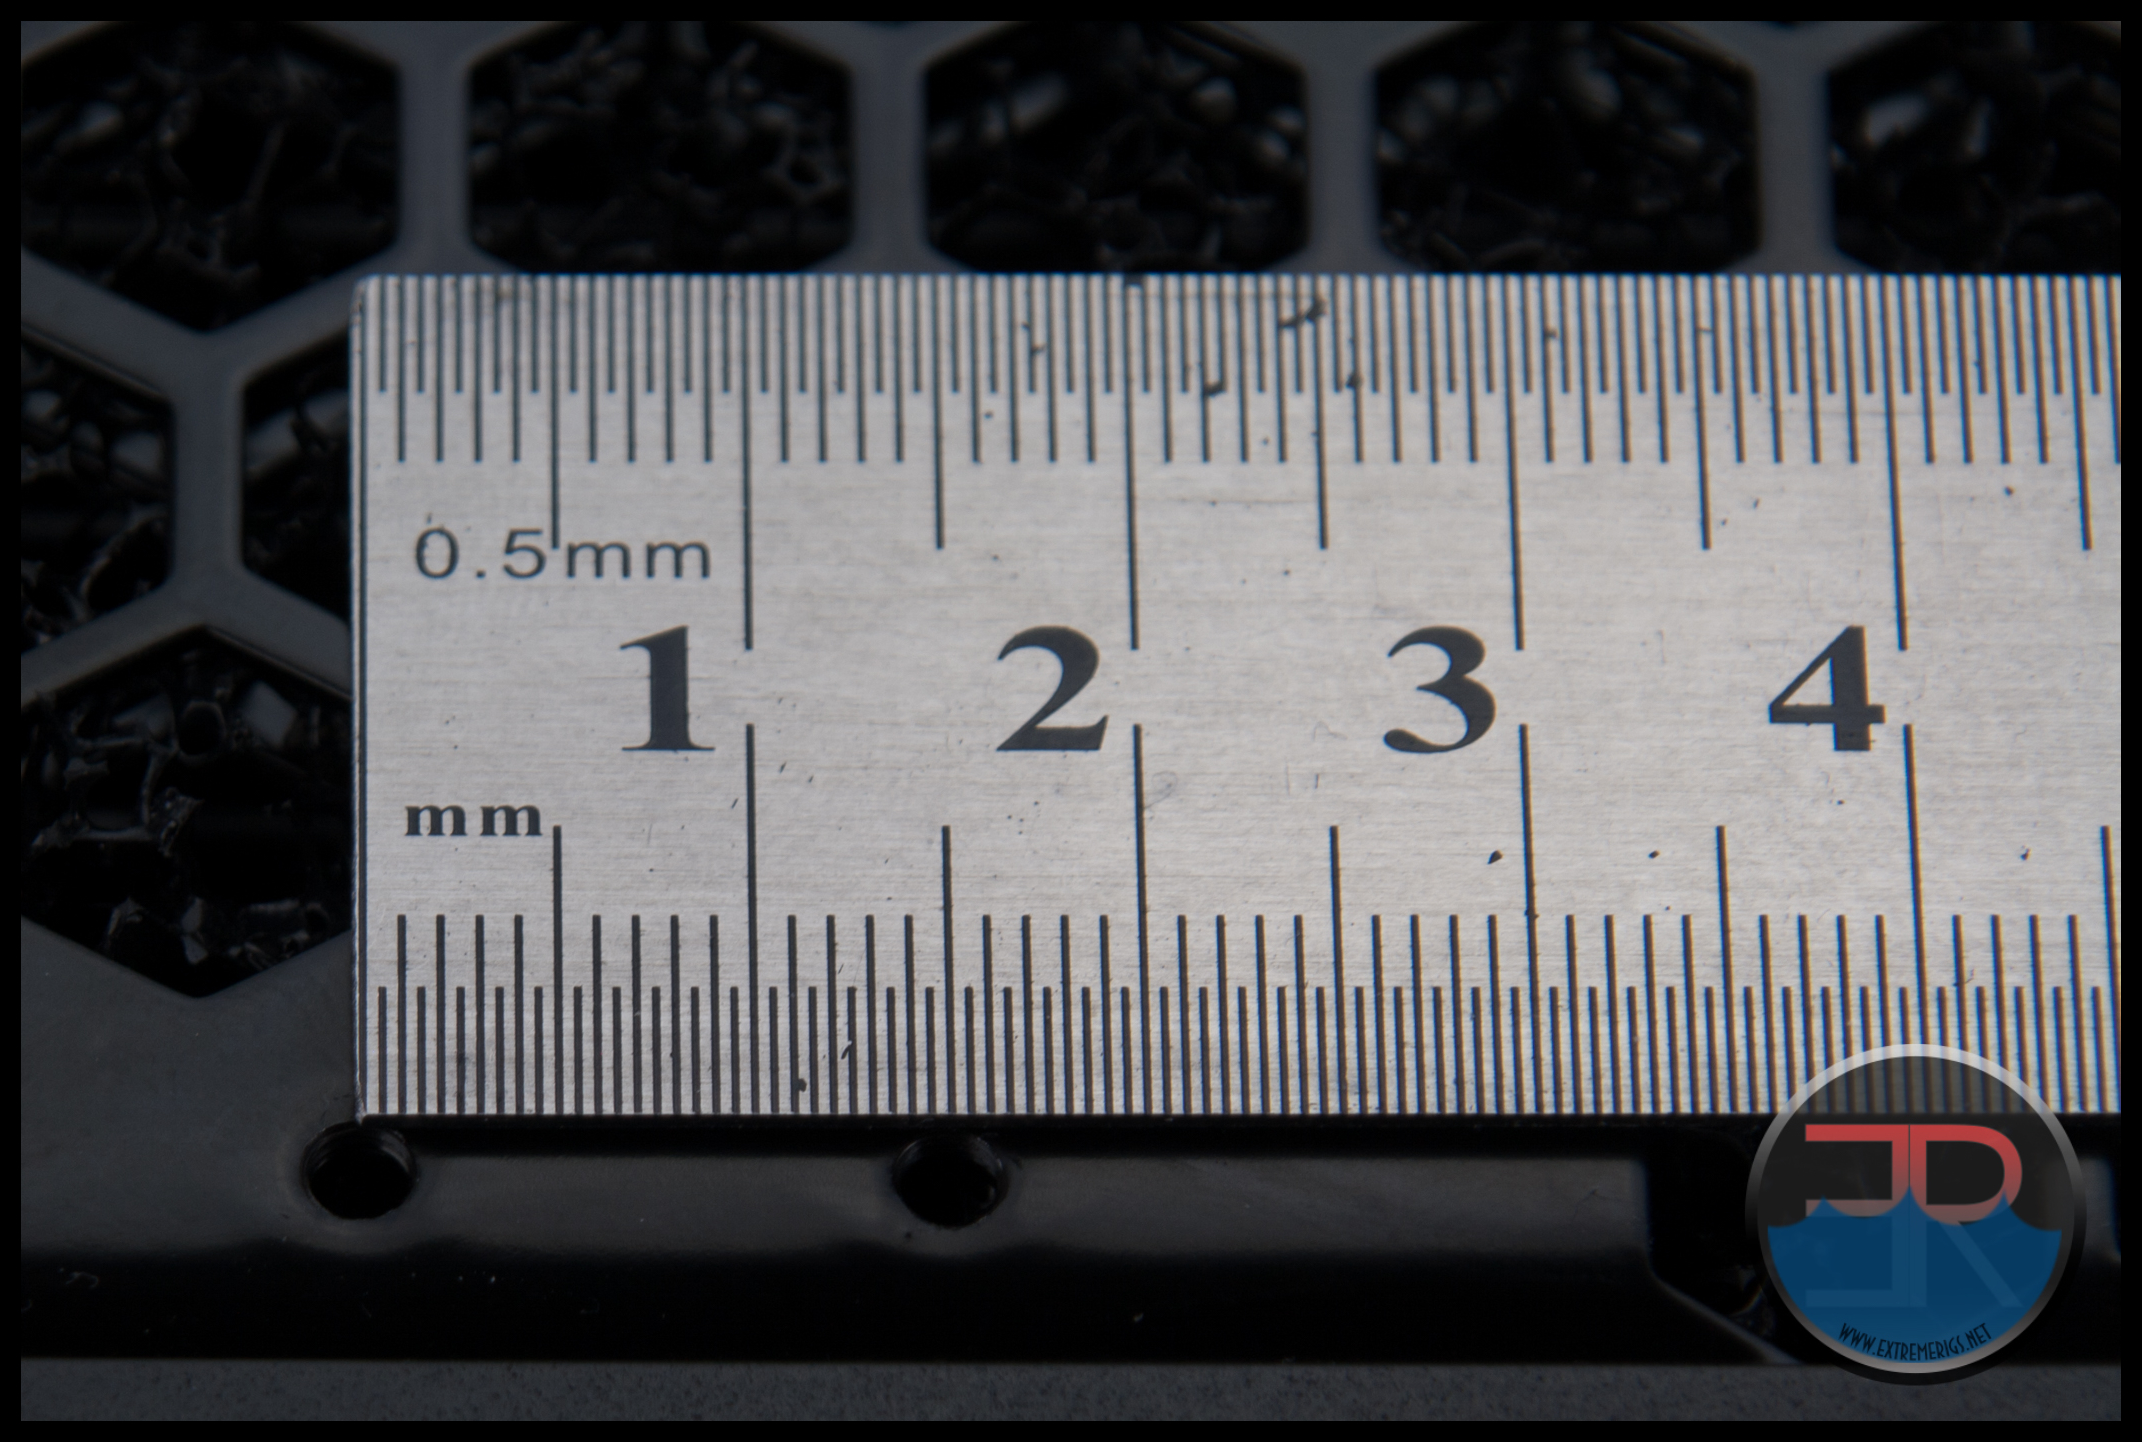 As we have seen a few of radiators with poorly located fan mounting holes, we also take these measurements to check that specs are being adhered to during manufacturing.
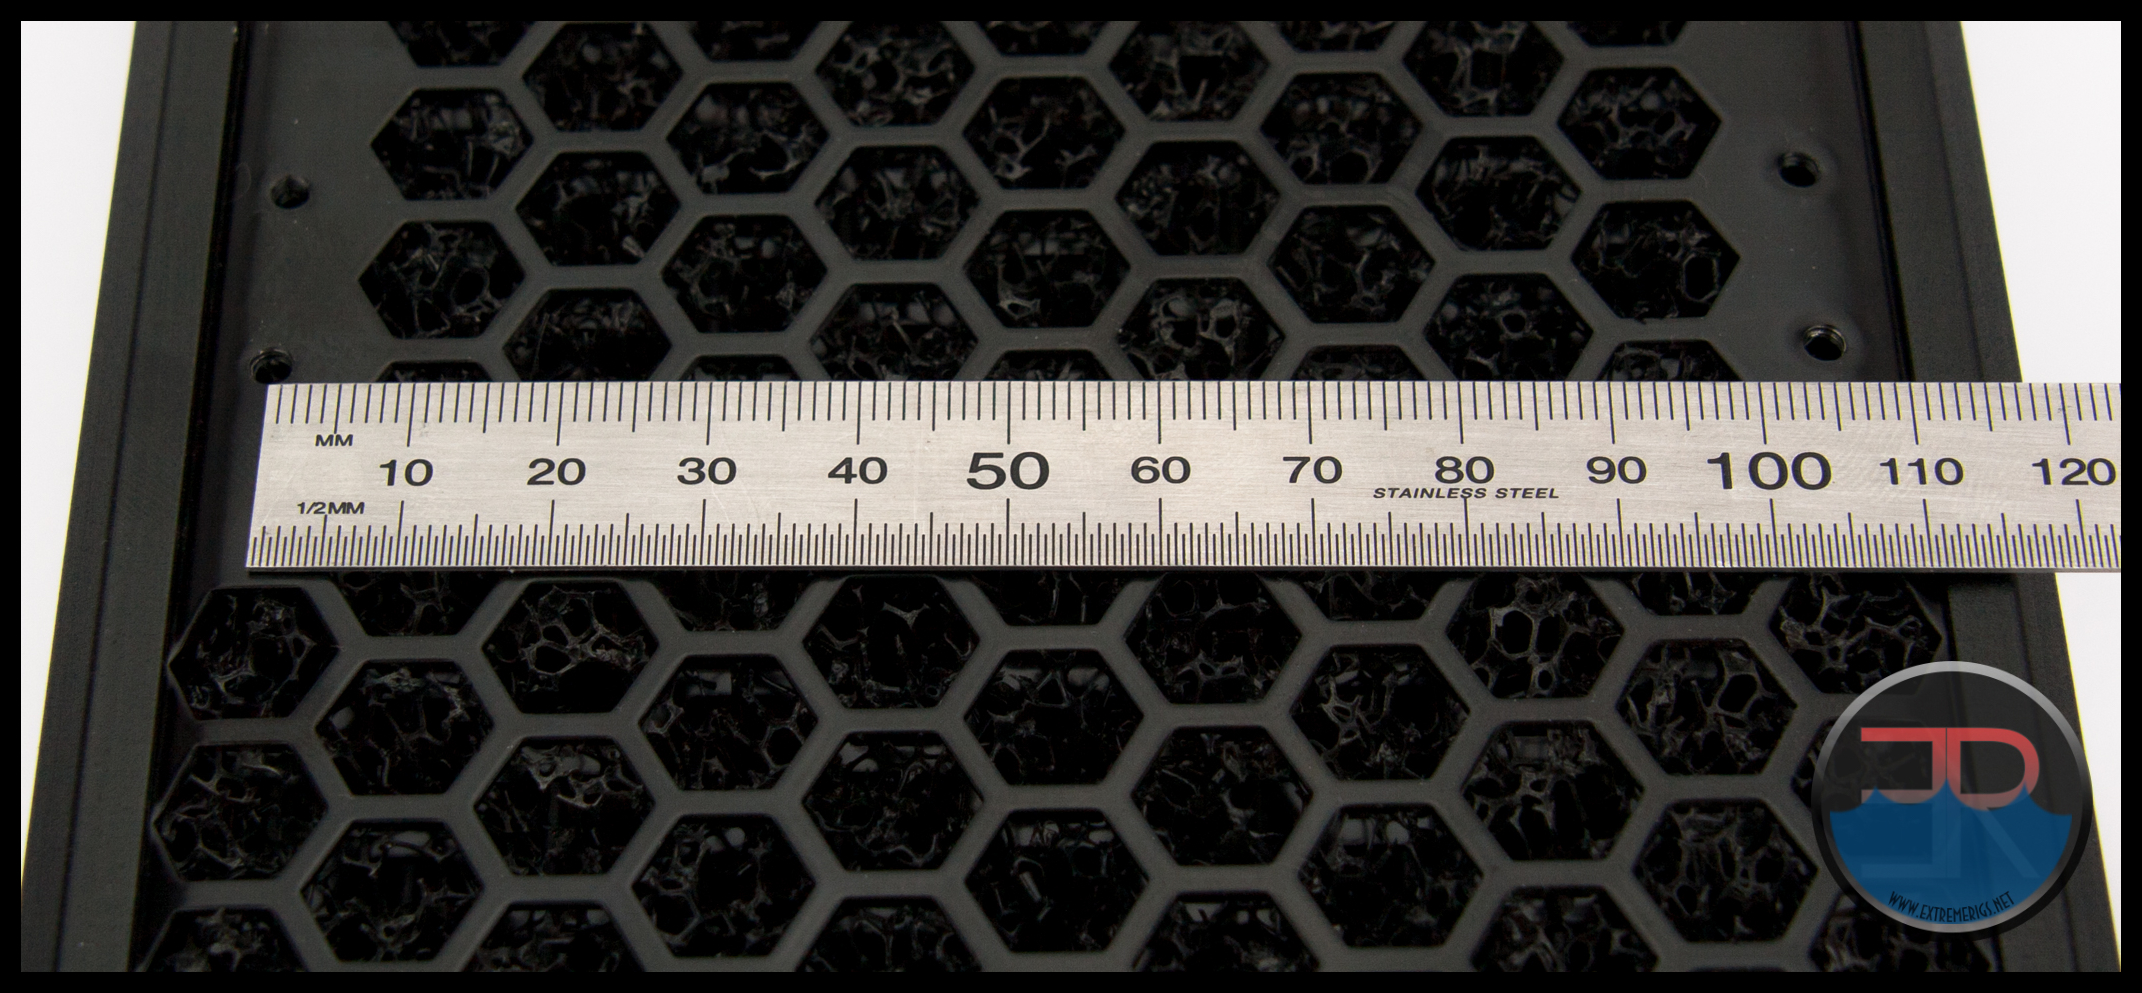 Fan mounting holes both across and lengthwise were also on the money at 105mm.
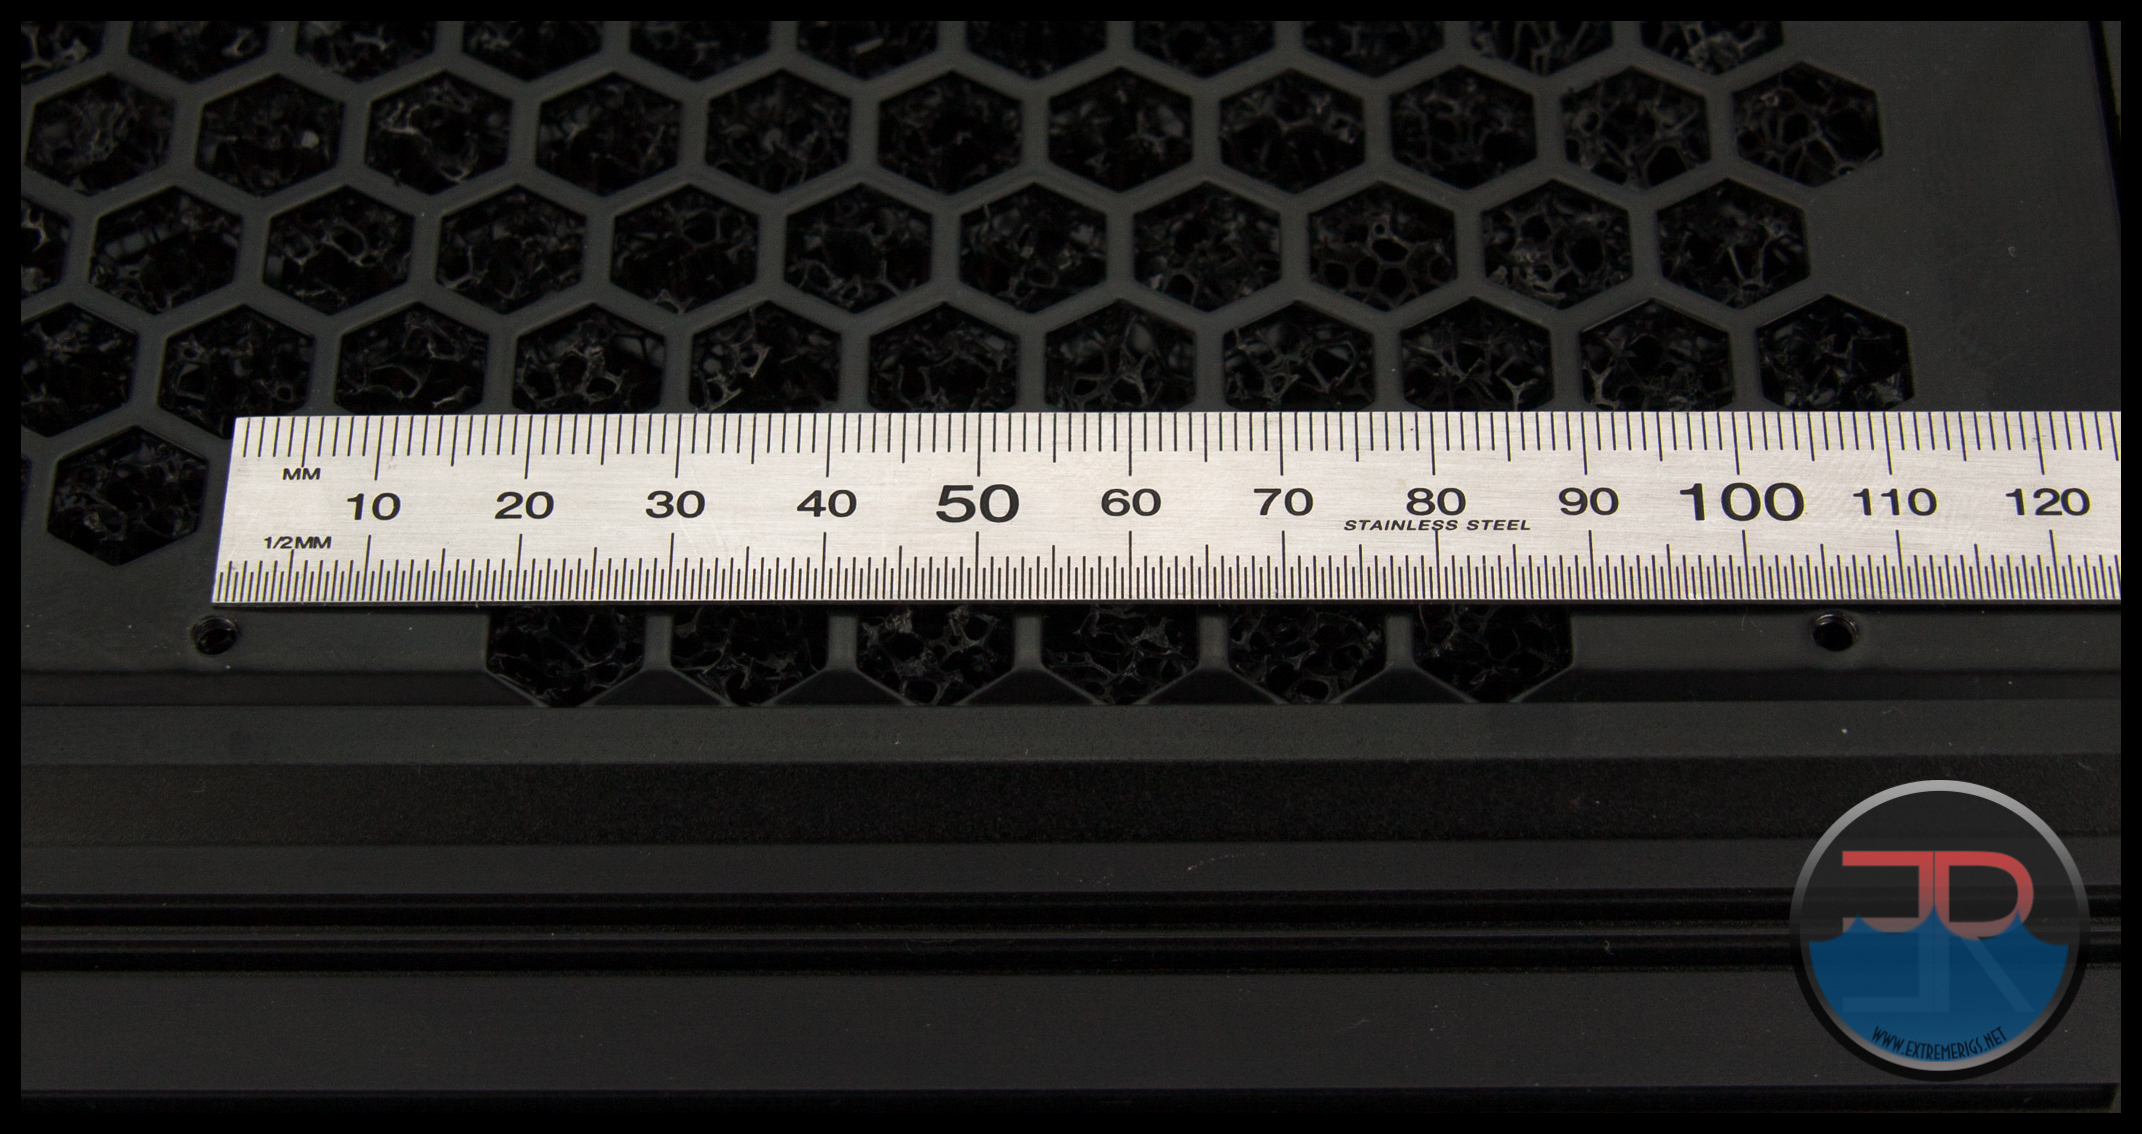 Given that the fan spacings were all good we had no problems fitting a few different sets of 120mm fans.
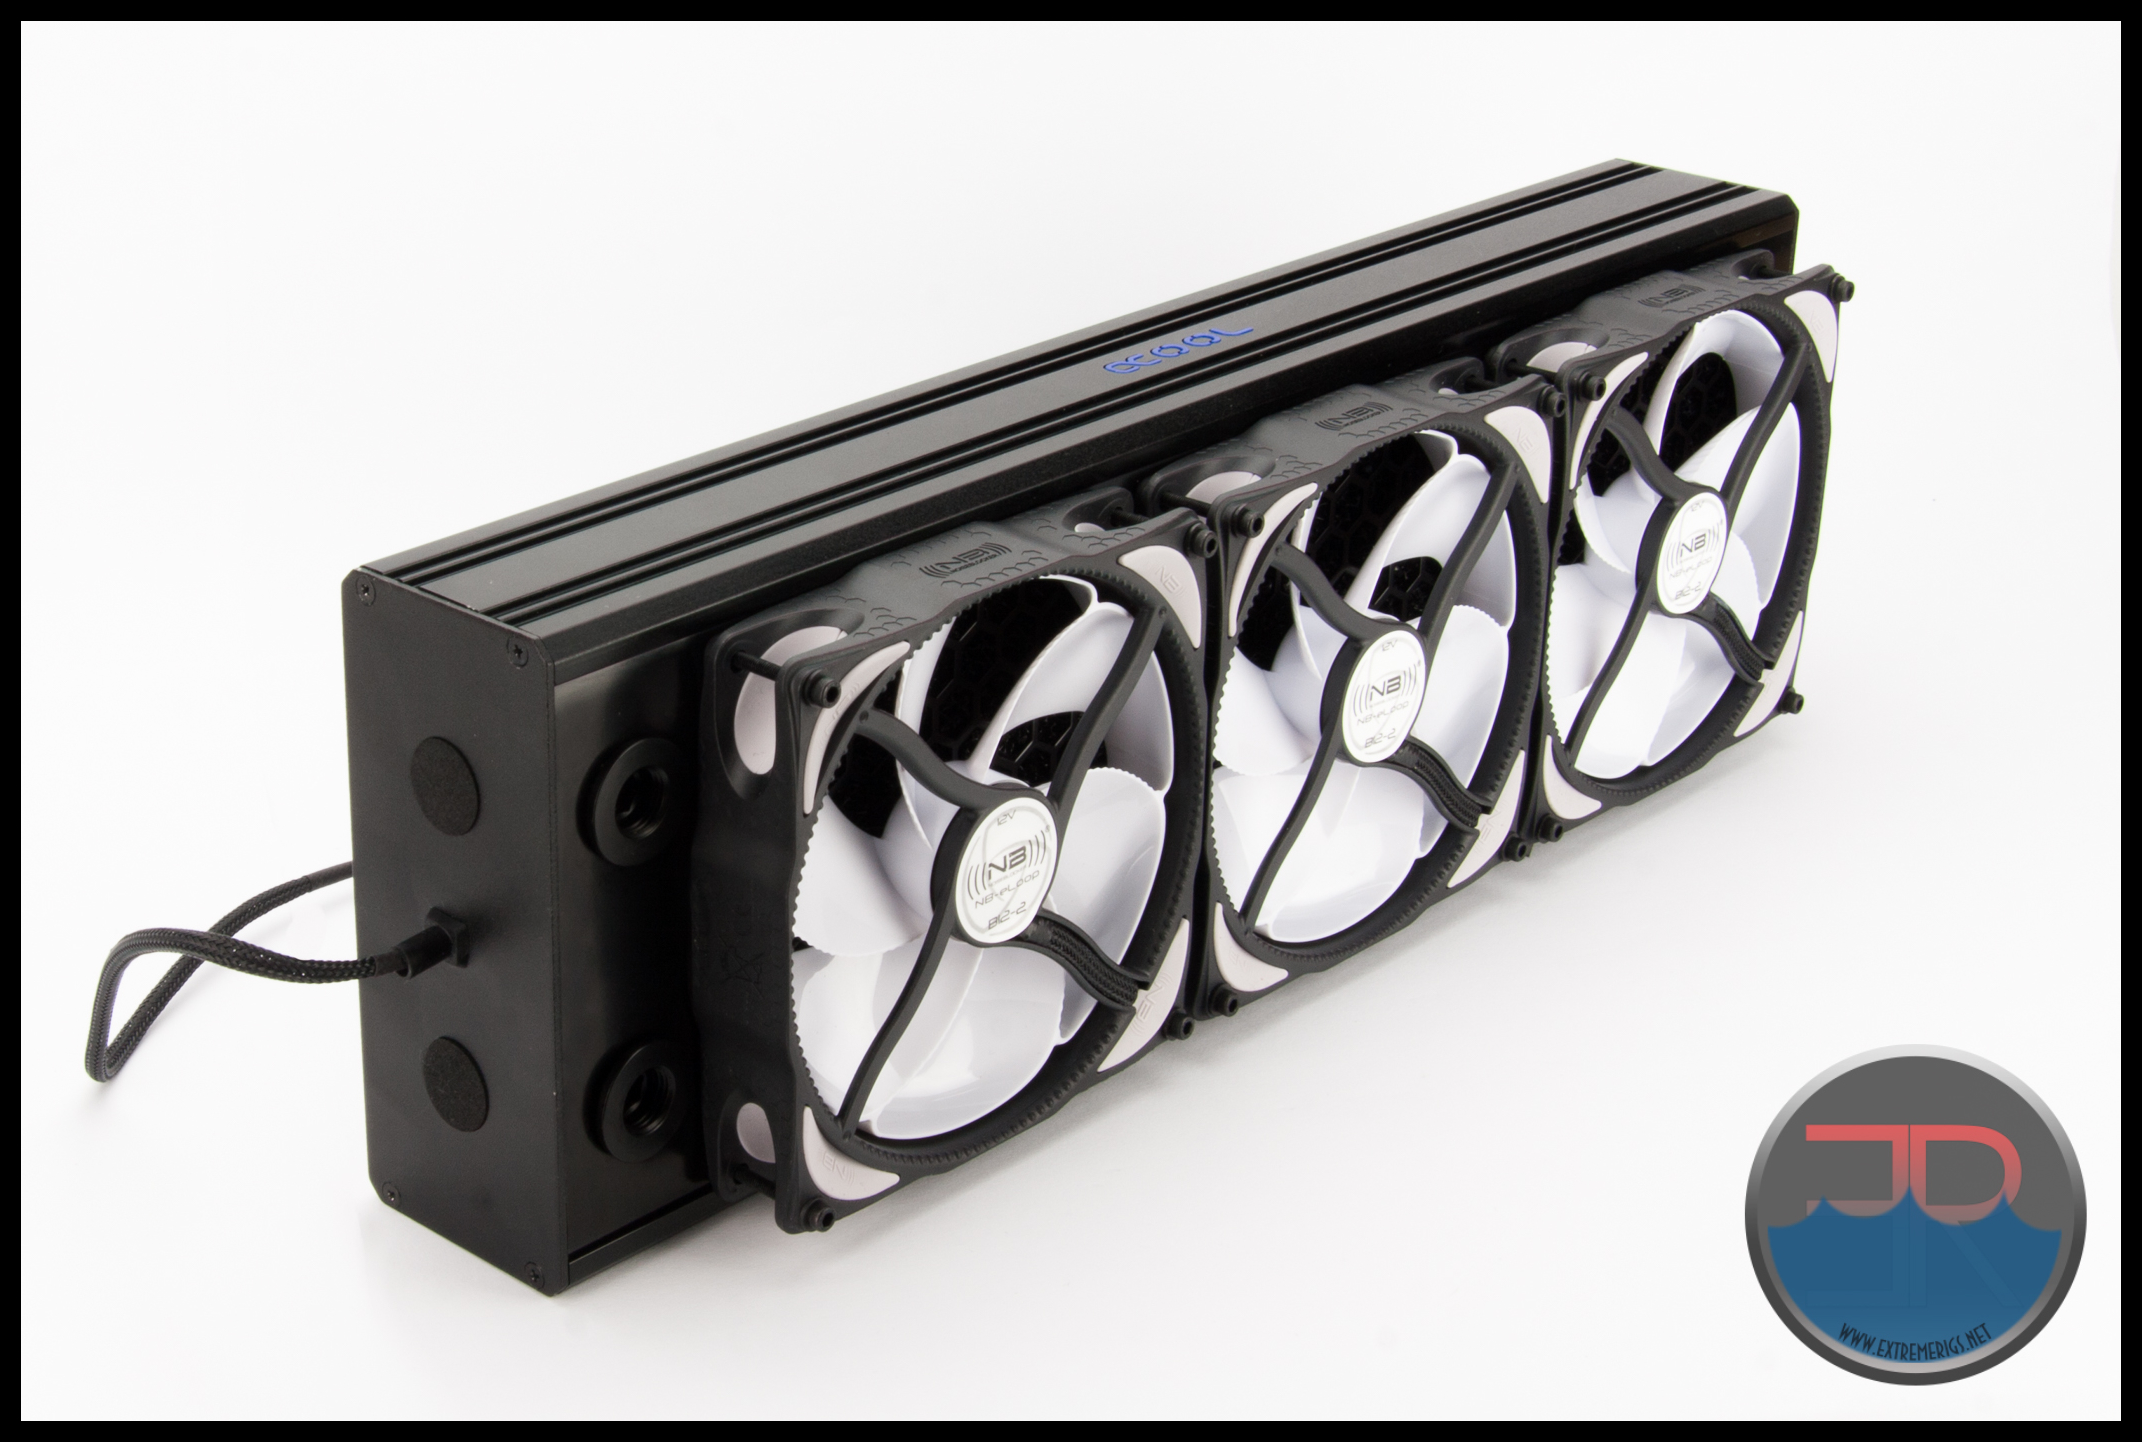 The unboxing experience with the Eisbrecher Pro got us excited and our first impression of the radiator itself was that it felt solid and looked awesome. However as we inspected the radiator and then dismantled it we found ourselves thinking of the old saying “don’t judge a book by it’s cover”. The alternate/extra ports are difficult to use (if at all usable), the LED logo detracts from the overall look and we can’t help but think that 4 grills and 2 ABM mesh pieces will impact on performance. This one has some work to do before it is back in our good books.

Let’s see how it performs…






I’m guessing they had to add the ABM cause the rads enclosure was generating noise as the fans pushed air through it.
Comments are closed.