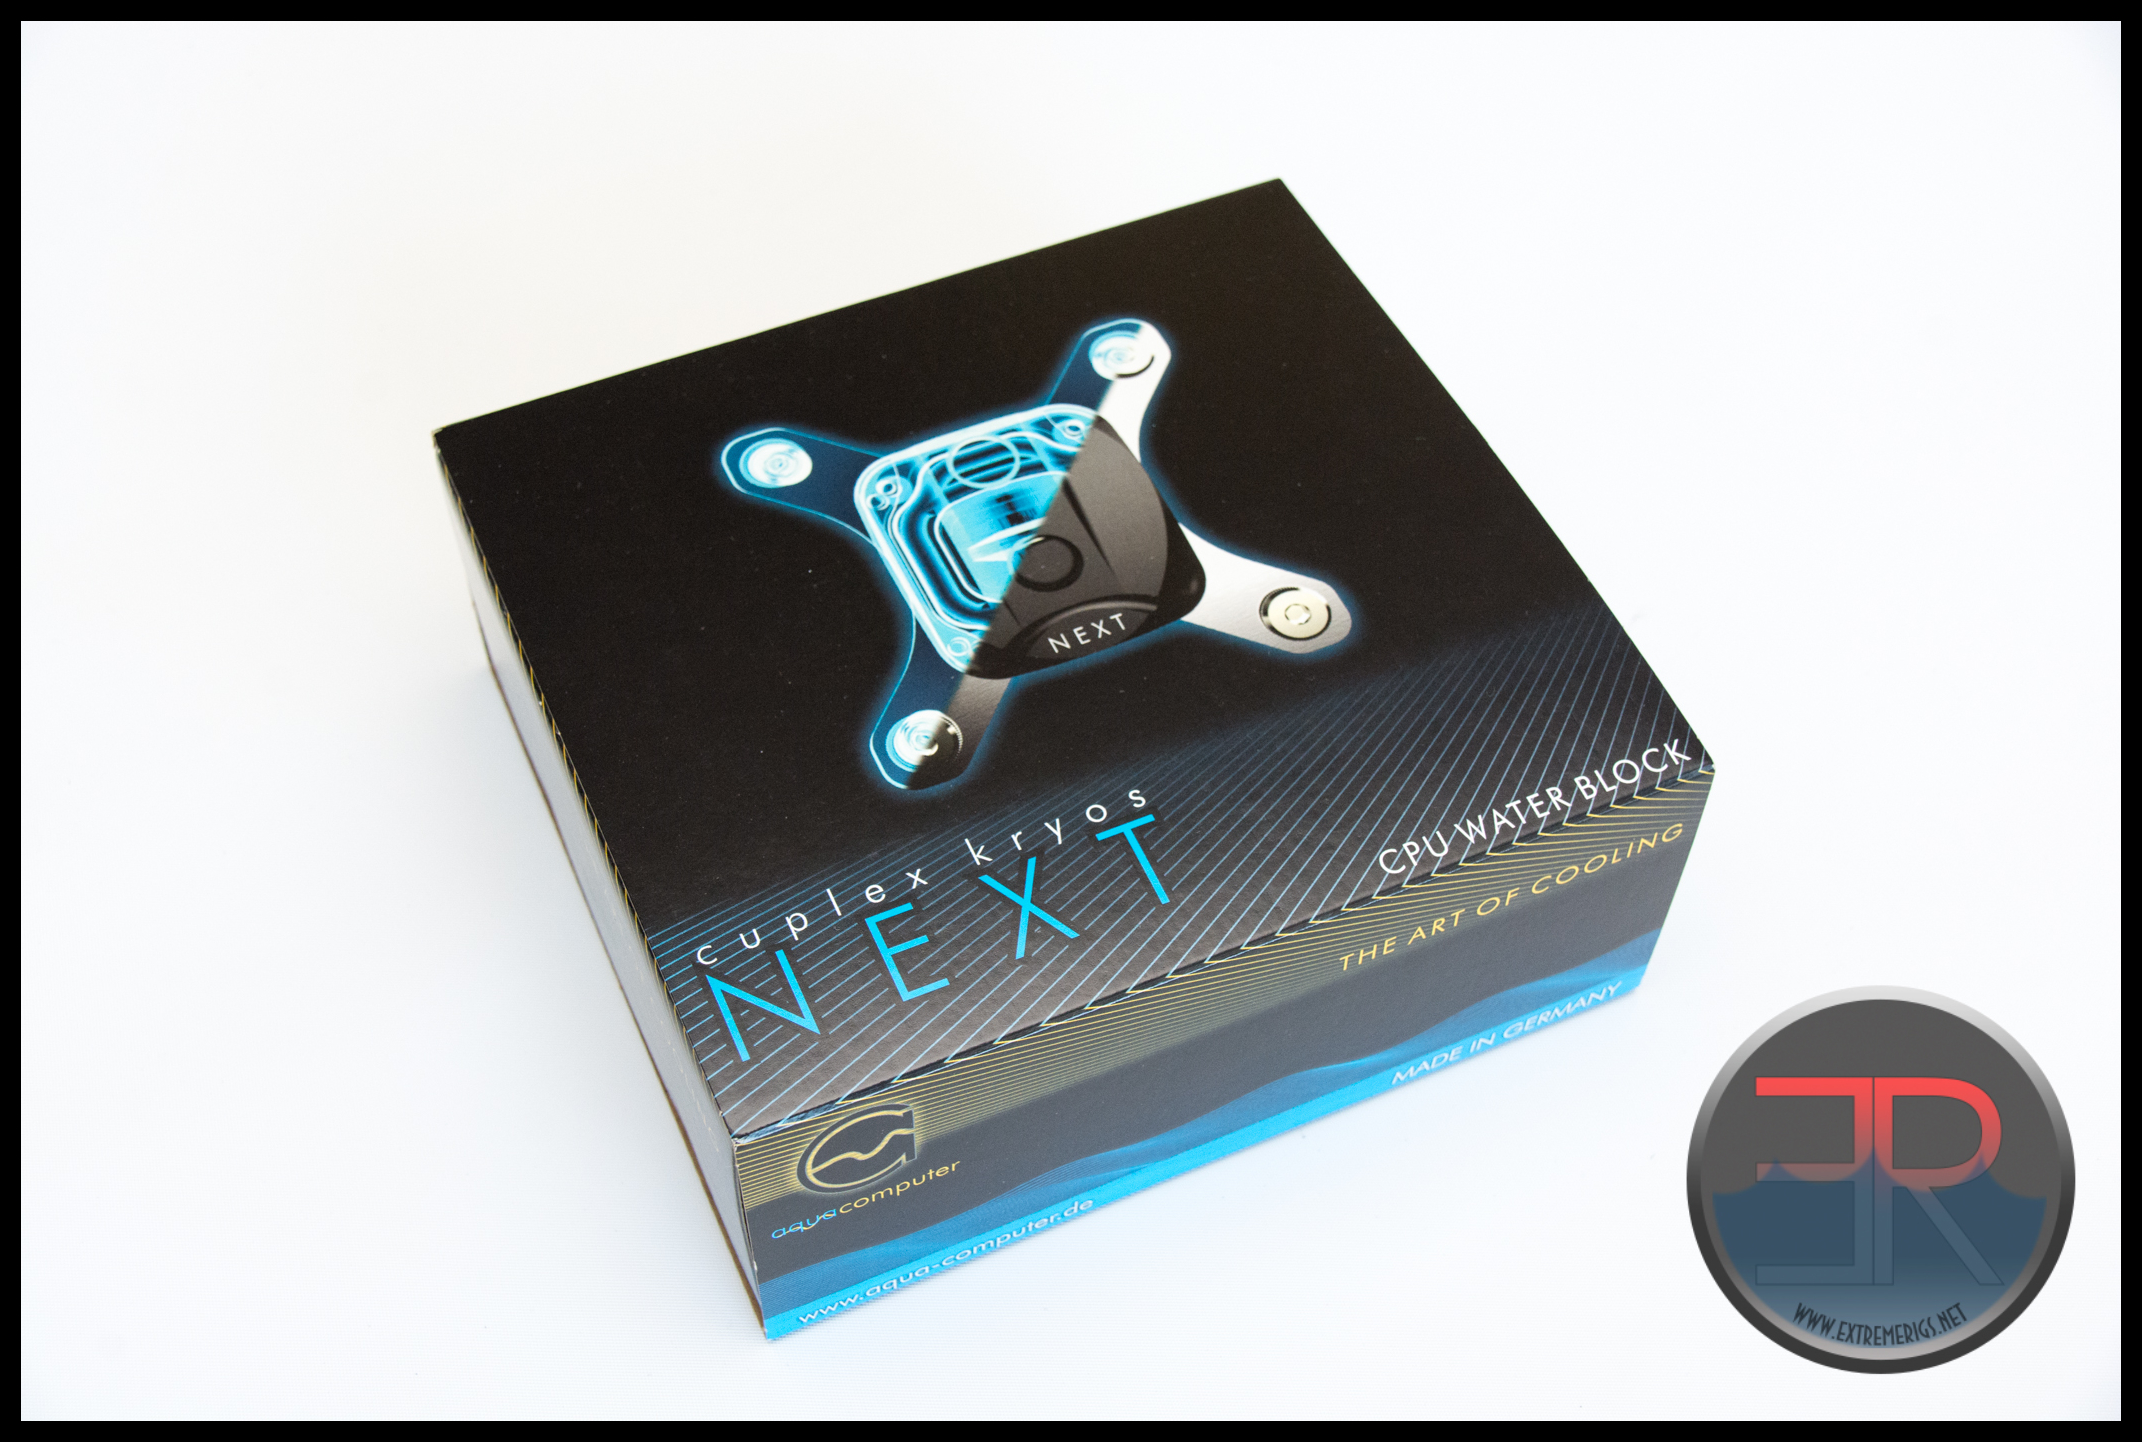
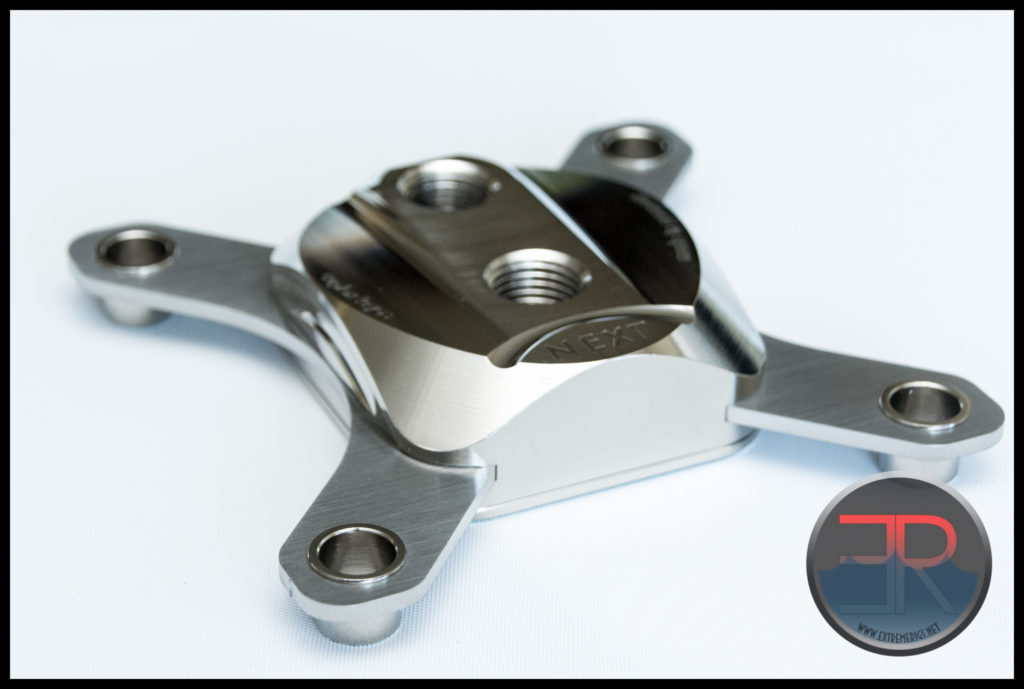
Welcome back to Extreme Rigs, today we will be looking at the new “Next” CPU block from AquaComputer whose NDA is lifted today. It’s been a while since the last version of the Cuplex Kryos launched back in 2010, so long in fact that we’ve never reviewed it, even in our earliest 2012 round up. The new block is still called the Cuplex Kryos, but adds on the “NEXT” suffix. Now there are a few different version of this new block, but today we will be looking at the simplest vanilla version. A big thanks to AquaComputer for supporting our efforts with a review sample:

As I’ve been traveling a lot with work and for vacations I didn’t have time to finish the data before the NDA was up, but rest assured we will have that for you very soon!
I have to admit I’m a bit of a fan of AquaComputer designs. The parts are always machined beautifully and you never feel like they cheaped out. It’s kind of like buying a Mercedes, it may not be the fastest on the race track, nor will it be cheap, but you’re going to enjoy the quality of the experience and workmanship no matter what.
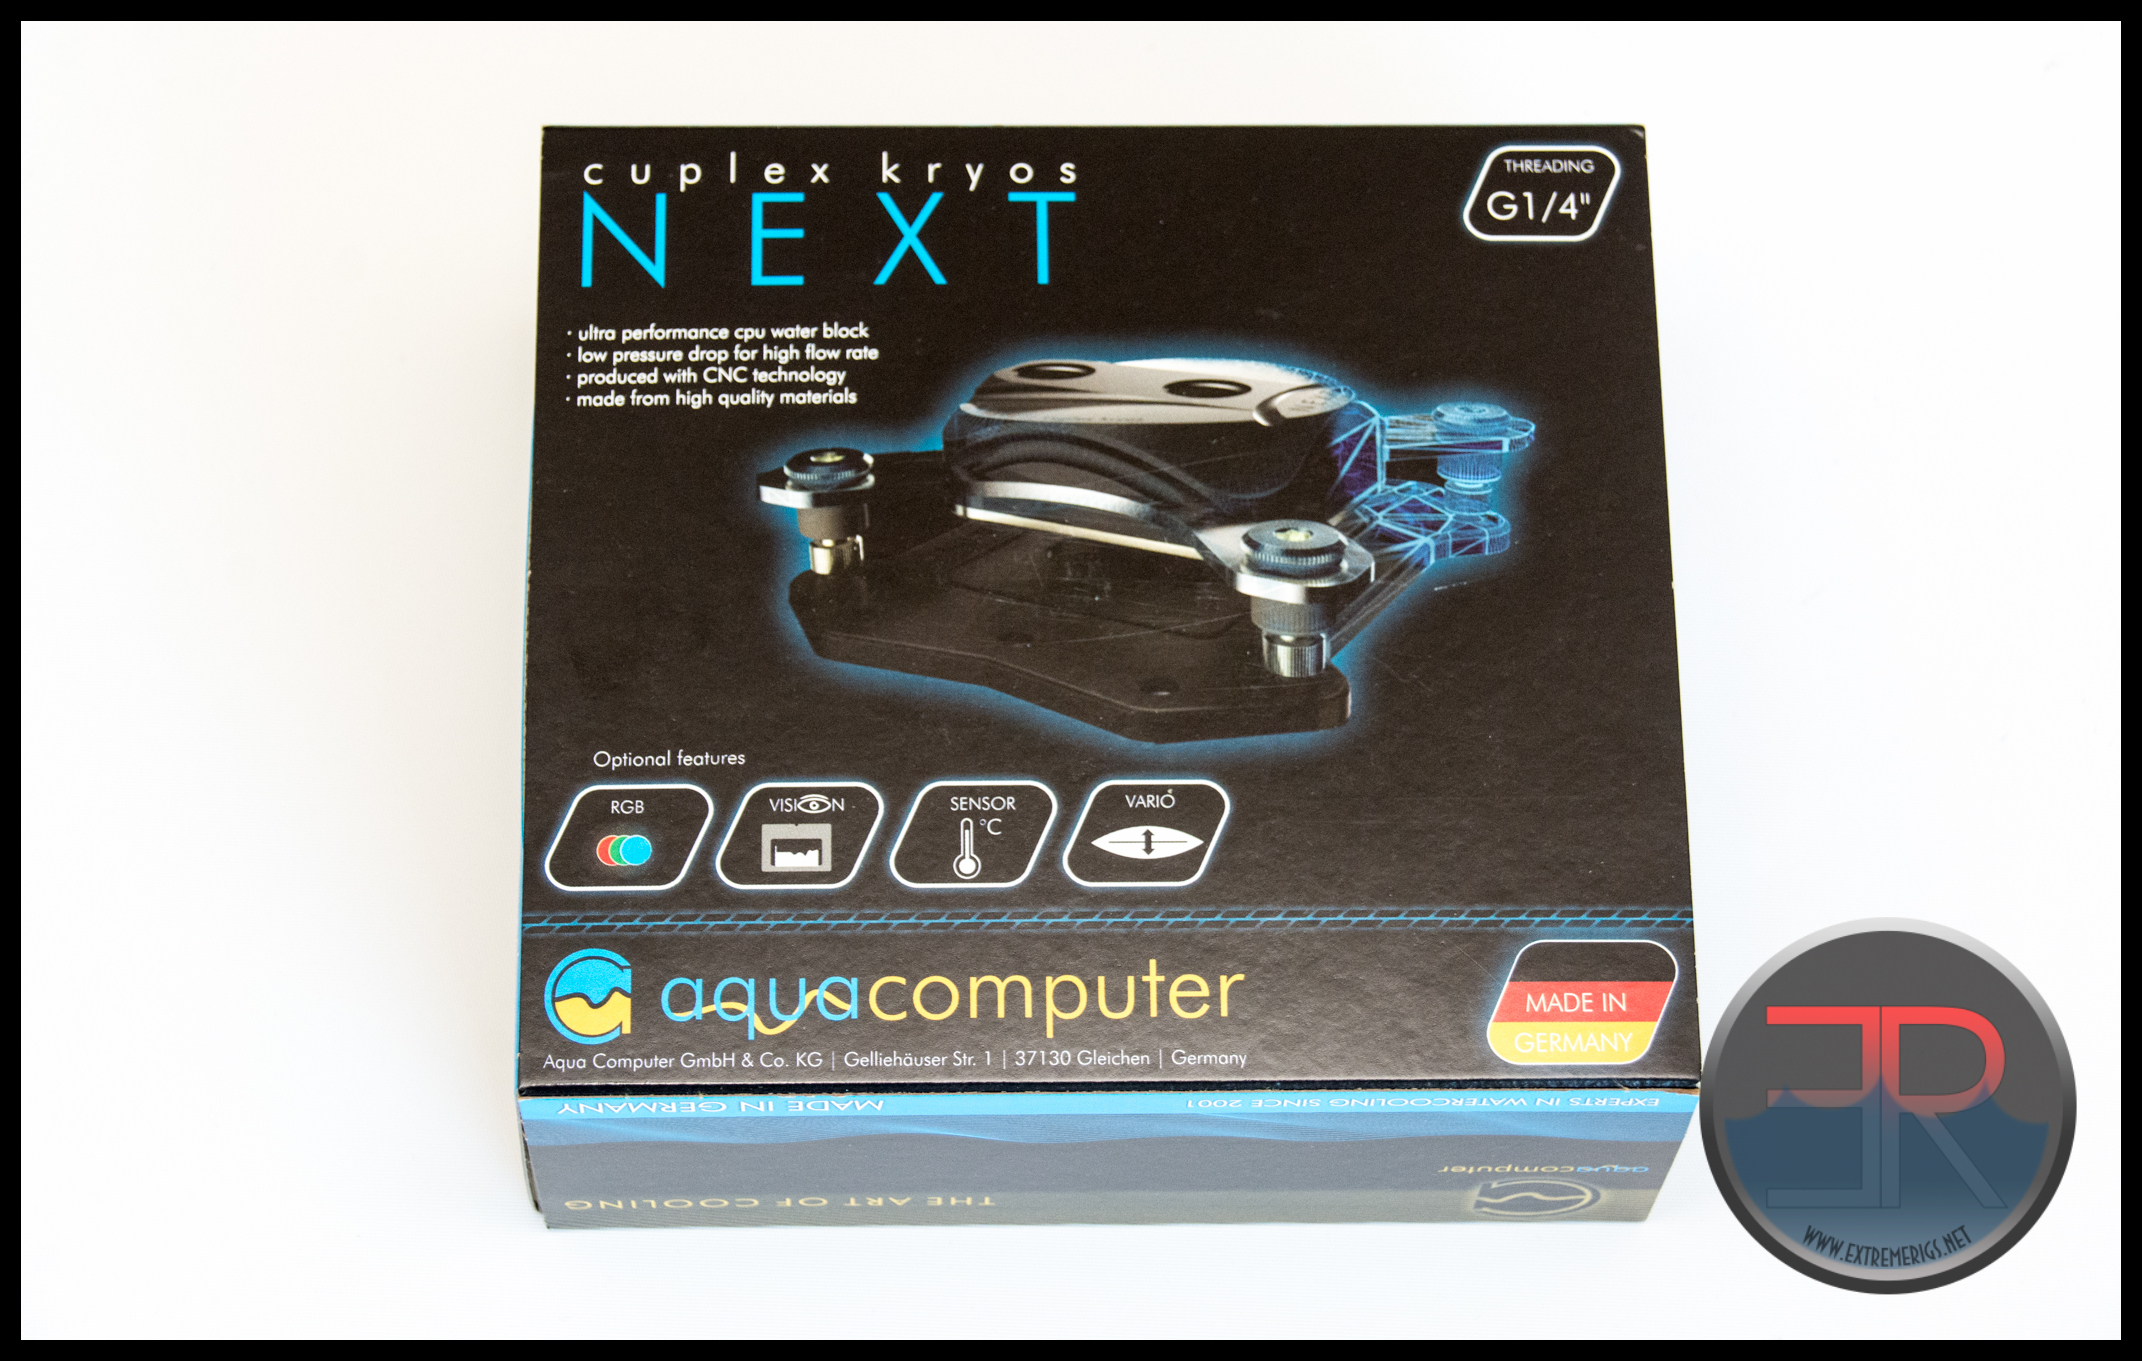
The box has a sleeve with some minimal information on it. We simply find out that it’s threaded like nearly all other water cooling components and that is is high performance and high flow. Of course we’ll test these claims, but additional information provided by AquaComputer state that the channels are less than 0.2mm now, while flow restriction has been reduced over previous versions. While we haven’t opened up the block yet, we do have a photo of the channels from AquaComputer:
 Meanwhile CPU contact has been optimized. Naturally it’s CNC machined. Even though this is a sleeve that could be customized for each block, the sleeve still highlights some cool optional features. We’ll talk more about those later, but sadly none of those cool features are on this vanilla version. Note that there is absolutely no way of knowing which version is in the box without breaking the seal and opening it up. This could prove problematic for vendors.
Interestingly the standard AquaComputer logo is now overlayed on a picture of a galaxy. Cool.
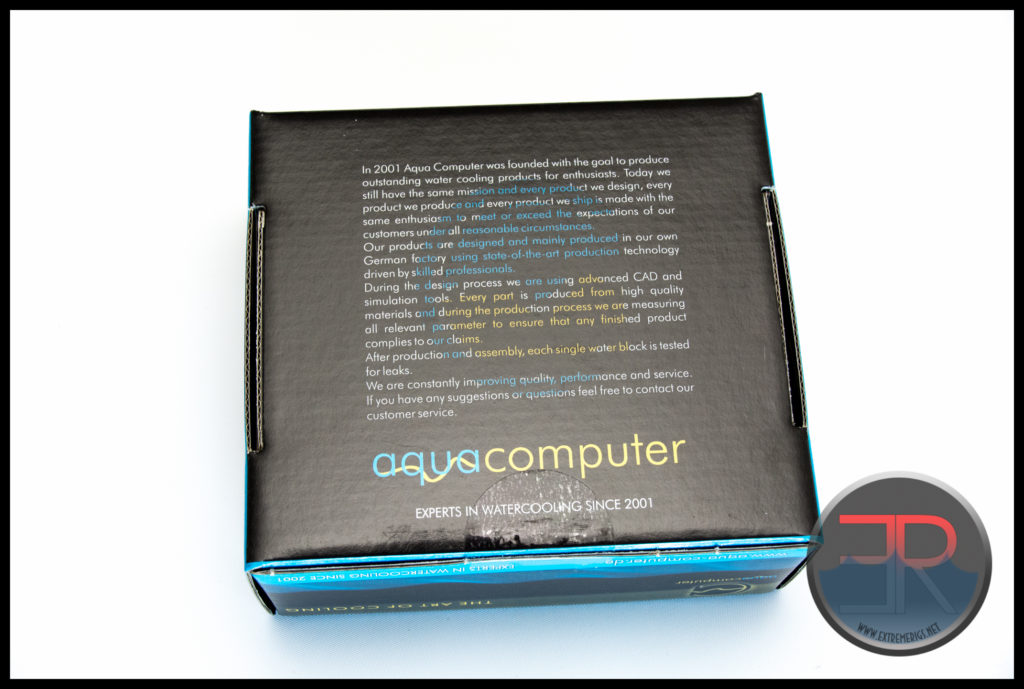
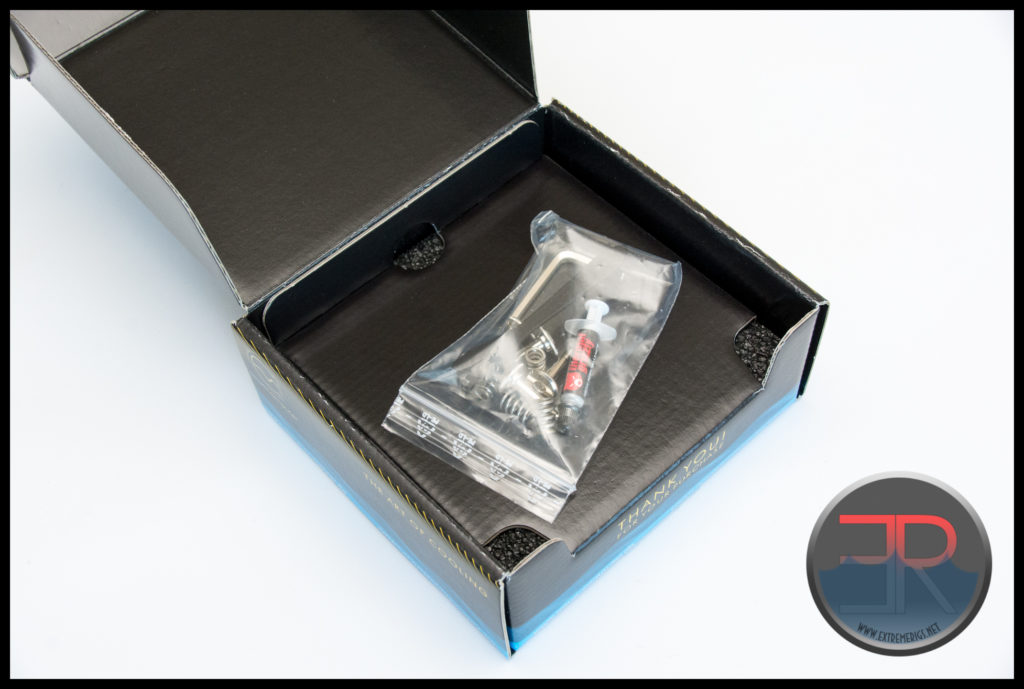
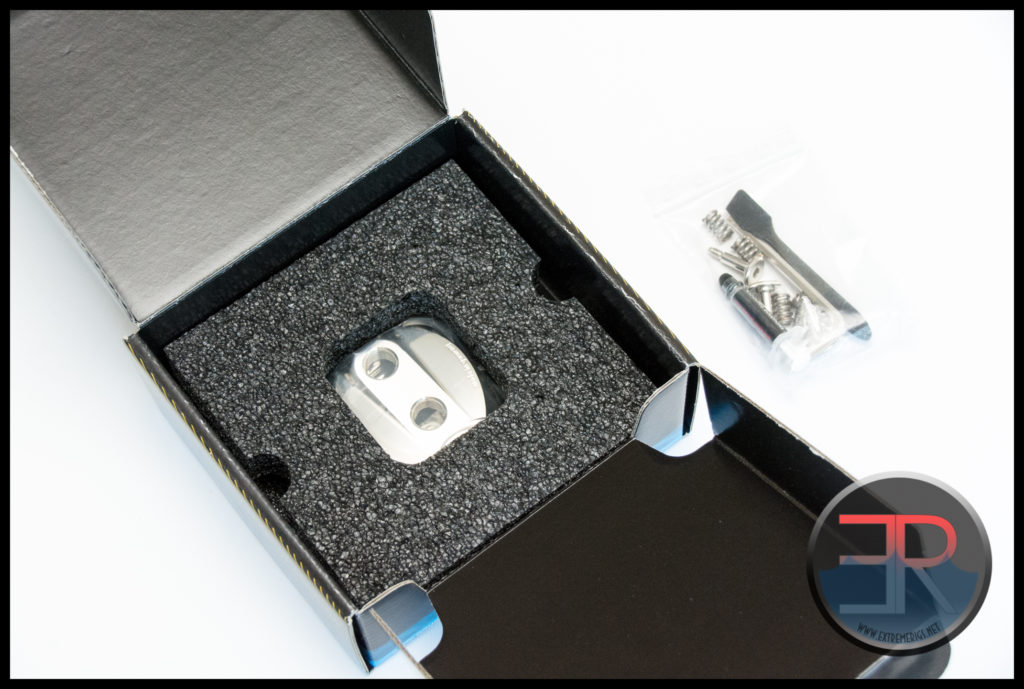
The back of the inner box has some marketing bumf about AquaComputer. Breaking open the seal we get a view of the accessories which were rattling around inside:
As this is a pre-release sample there were no instructions included, however they were emailed to me later on. These will be printed and included in the box.
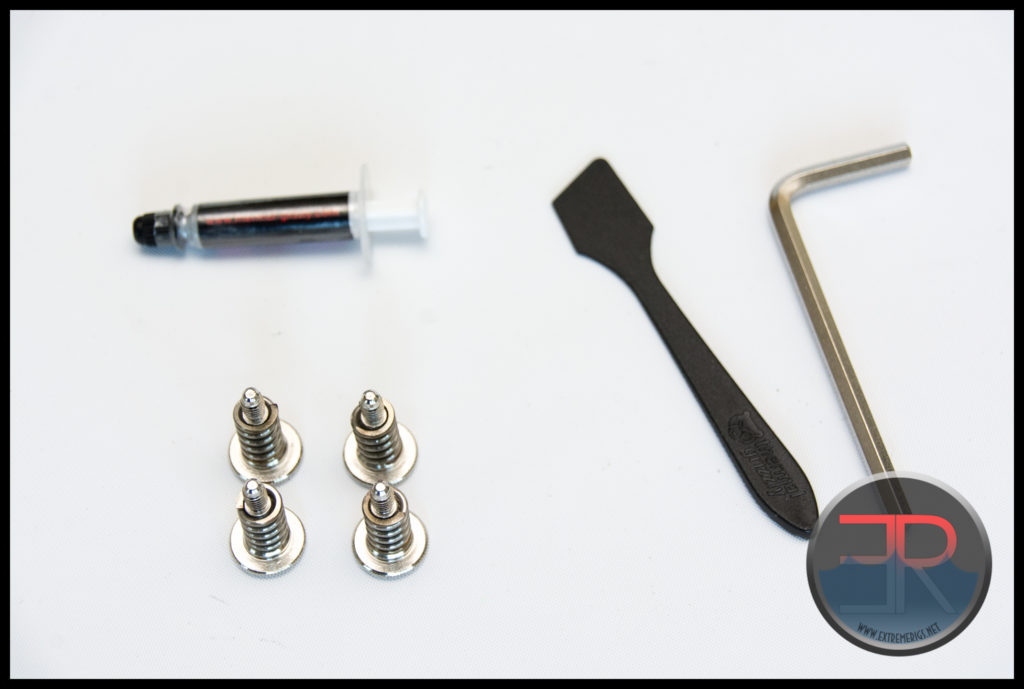
The accessories included in my sample are only suitable for use with the socket 2011 mount:
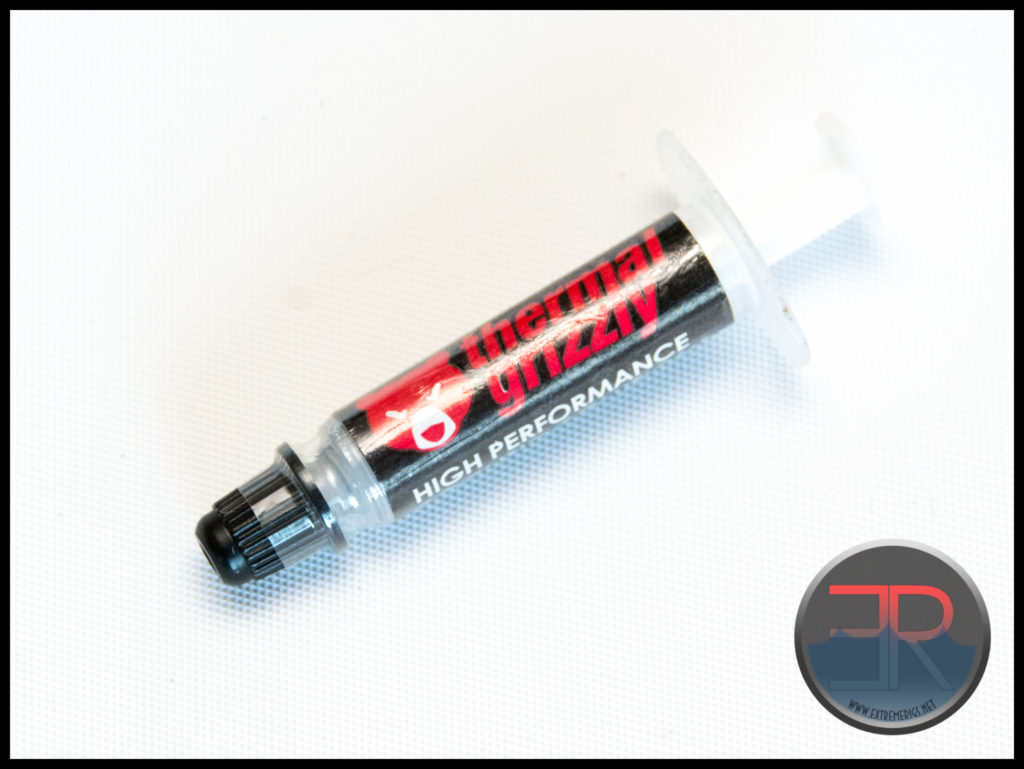
4 screws with springs, an allen key to tighten said screws, a spatula for spreading TIM and the high end Thermal Grizzly Thermal Interface Material (TIM) which has been ranking very well in others testing:
Now for testing we will have to use a standardized TIM, but it’s cool that AquaComputer have decided to include such a premium TIM. Often times we see either a cheap TIM, an own brand unknown TIM or simply no TIM at all. Of course there are always two schools of thought on this. Either you think the TIM is free so you got better value for money, or if you had other TIM that you wanted to buy, then perhaps the CPU block could have been cheaper instead if it came with none.
The NEXT block is further inside the box:
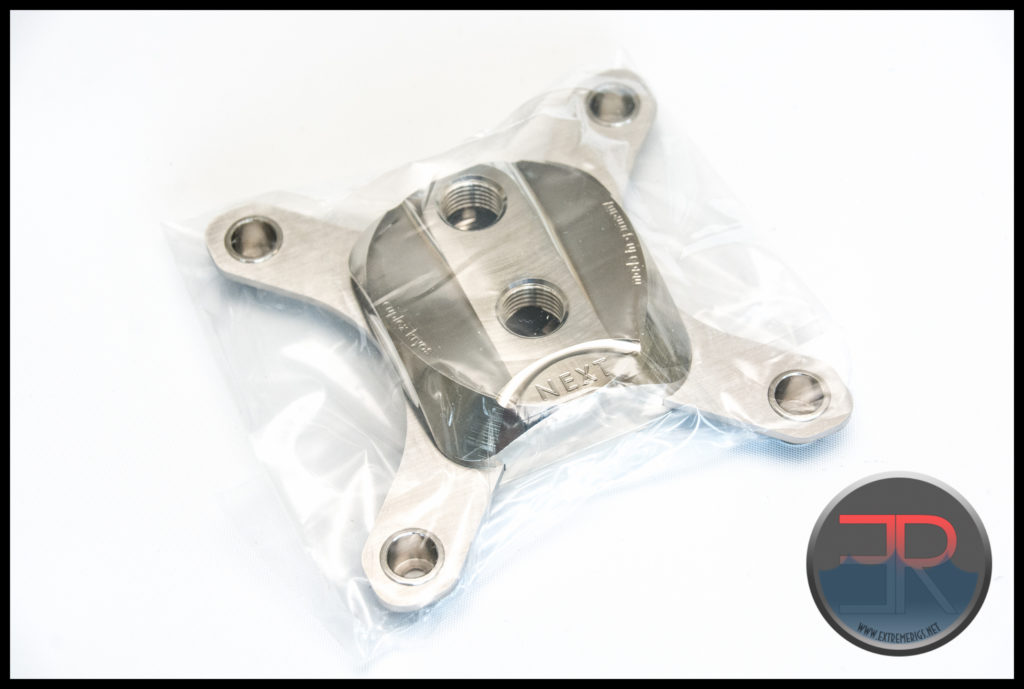
It’s protected well with the foam sheets, additionally it is sealed in a plastic bag to prevent any water or dust contamination:
Unlike some other companies there is no peel off plastic sticker on the base.
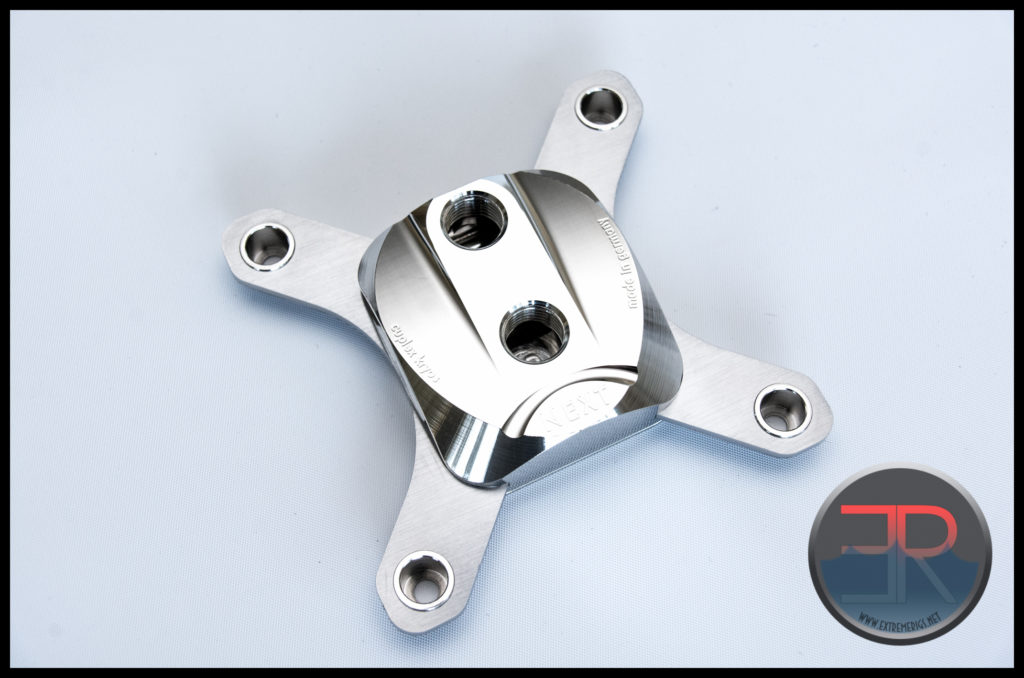
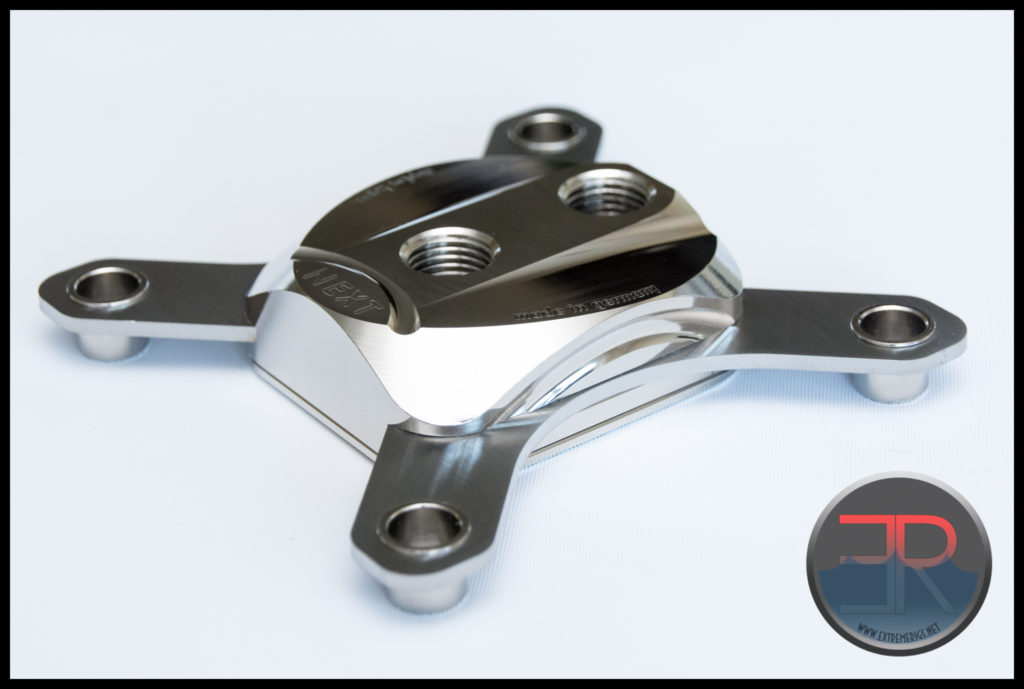
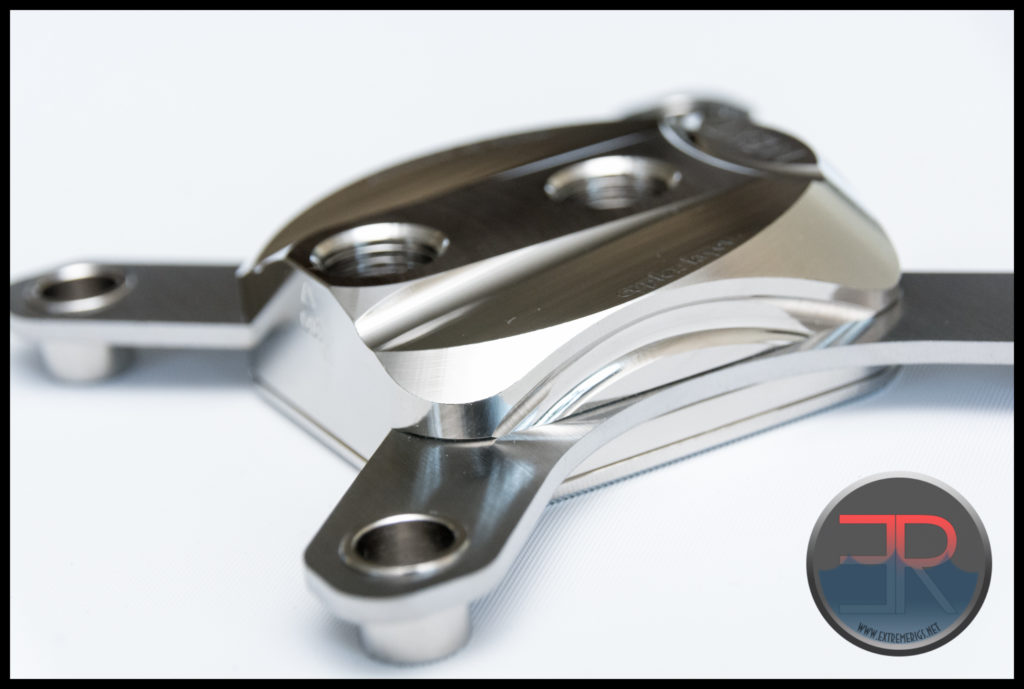
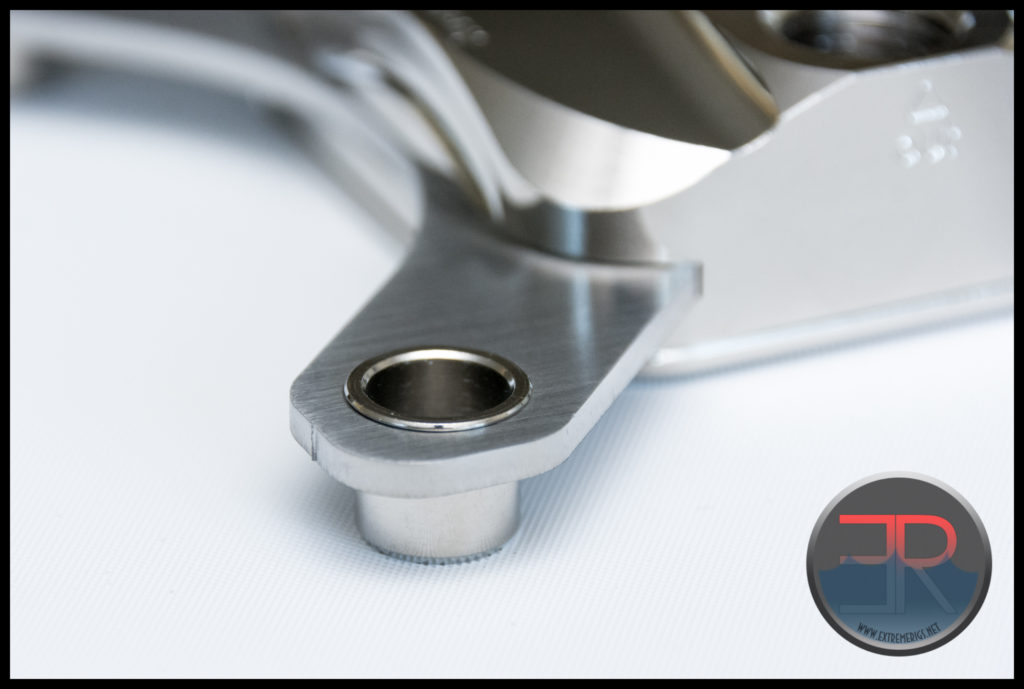
Our version is a full metal (copper) block that has been Nickel plated. The mounting bracket however appears to be stainless steel with pressed inserts for the screws to align with. This is a bit of a shame that the stainless steel is left raw because the finish just doesn’t match the pristine nickel plating perfectly.
The machining on the block is beautiful and complex. There are many curves to the shape. This is not a budget block that is simply rectangular for ease of design and machining.
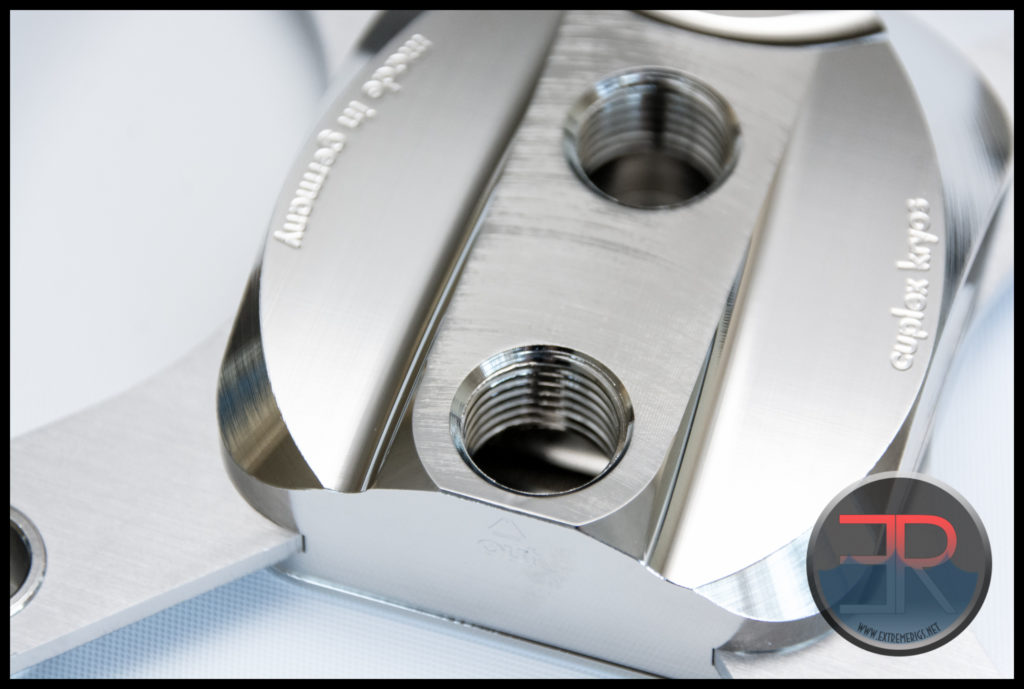
The branding is discrete, with only “aquacomputer” “NEXT” and “made in germany” inscribed in small text on the top of the block.
We are a fan of this subtle branding. AquaComputer has always maintained a classy style in their aesthetic and this simple clean almost Art Deco style design is perfectly in line with that.
The CNC machined curves have a slight stepping to them but it’s almost impossible to see.
The pressed inserts are a great idea as we’ll see. They are designed on Socket 2011 to be tightened until they touch the CPU socket.
The other place that AquaComputer have not skimped is in the threading of the ports. Some manufacturers only use partial threads combined with 2 complete threads. Often because this means the block can be physically smaller and cheaper. However this can severely compromise the resistance to thread stripping. The NEXT block instead is using six full threads.
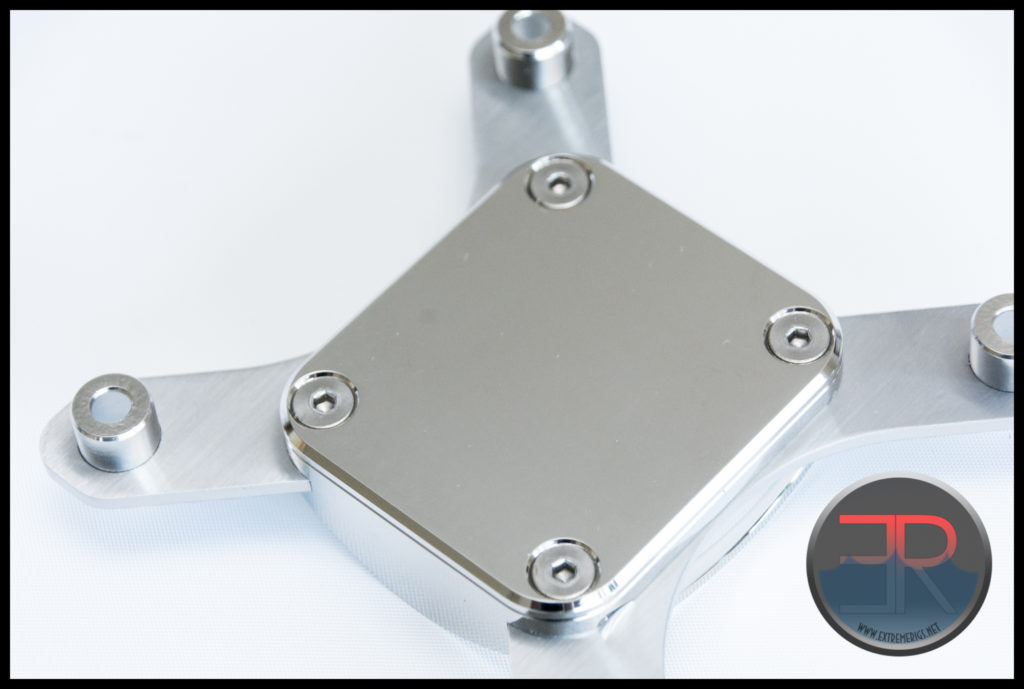
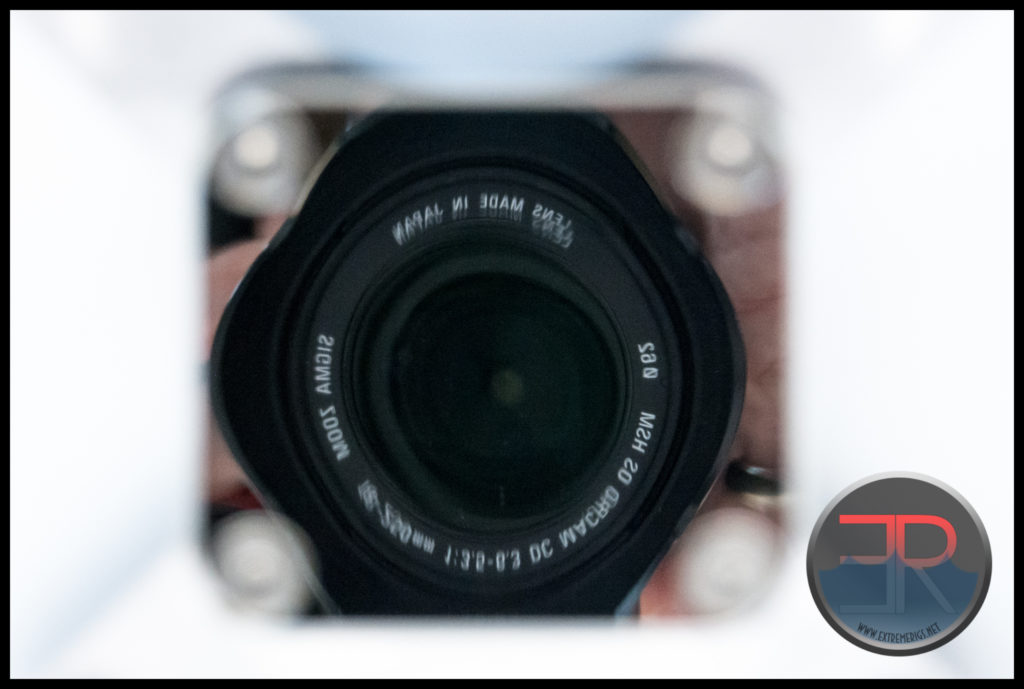
The base of the block is still nickel plated and has a very good mirrored finish as evidence by these reflections at all angles:
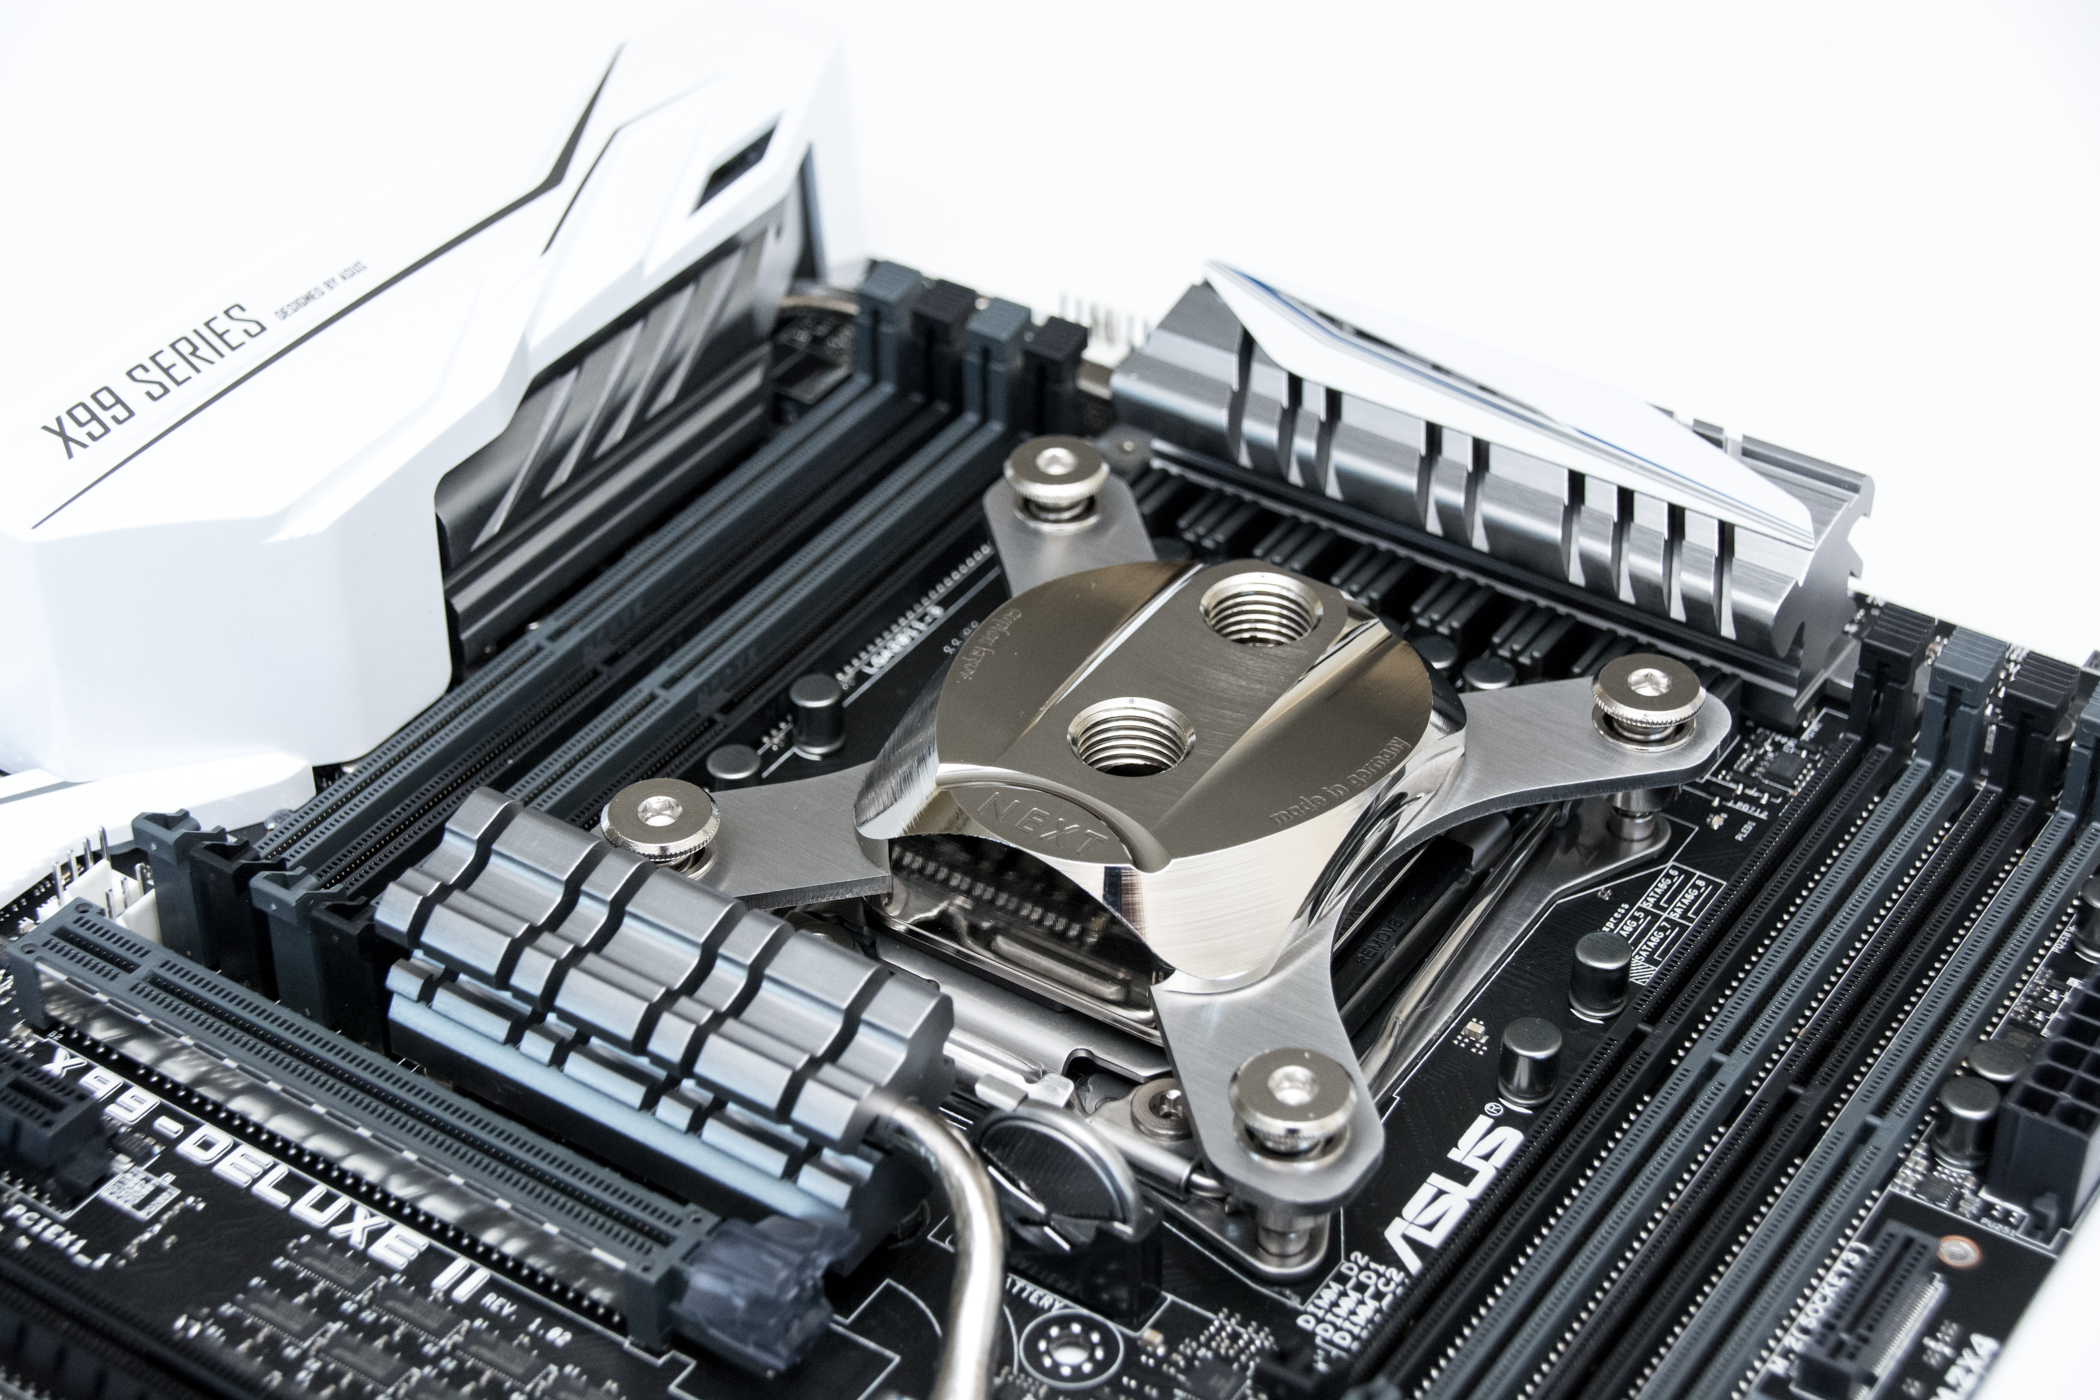
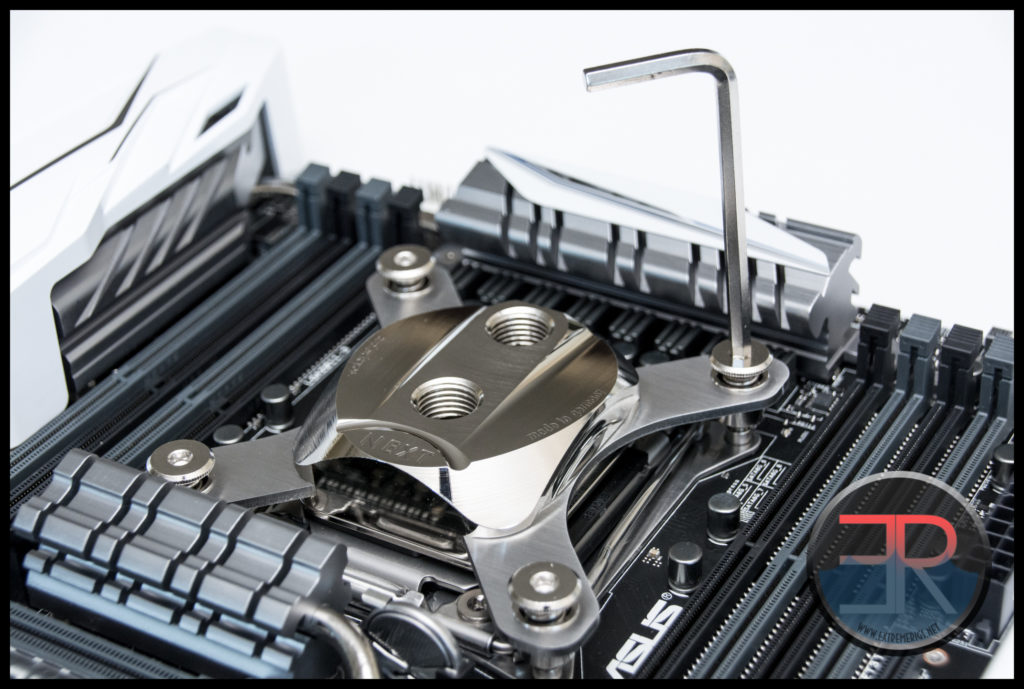
The distortion of the image comes from the bow of the base. AquaComputer say there will be 90 different versions of this block. This is good because aesthetics are increasingly a major reason behind a purchasers decision to buy a particular block. Now 90 still seems excessive, but we’ll get on to why later. Not all block finishes will go with all boards. We think this full nickel block is well matched to Asus’s Deluxe X99 board: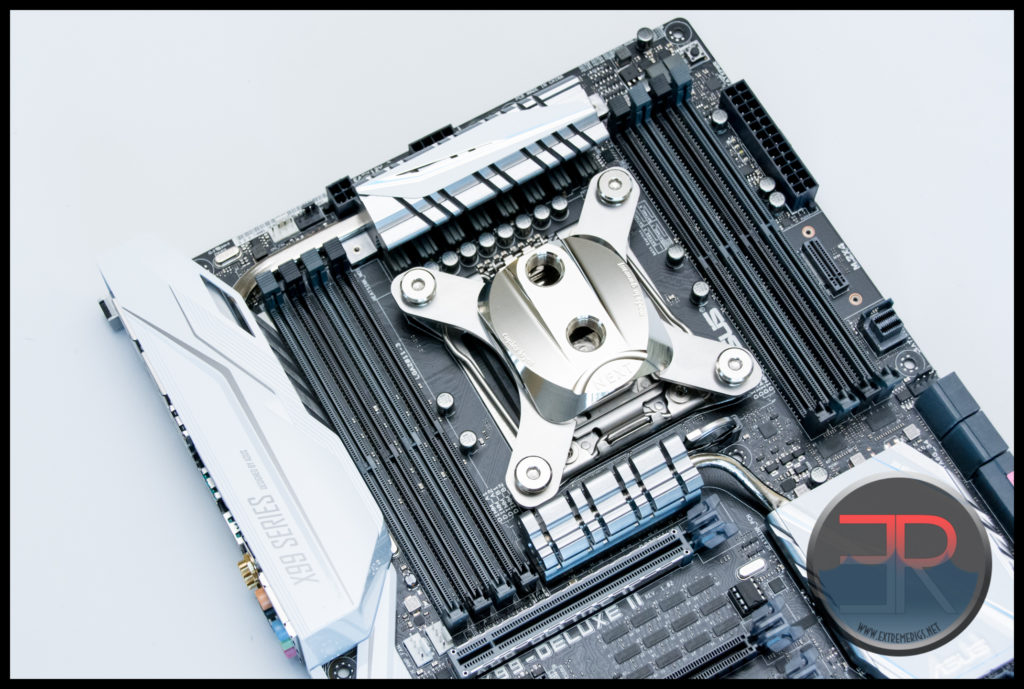
This really shows how the recessed screw cups actually do help to make the screws low profile. They also serve to hide the ugly springs giving a much simpler and cleaner look.
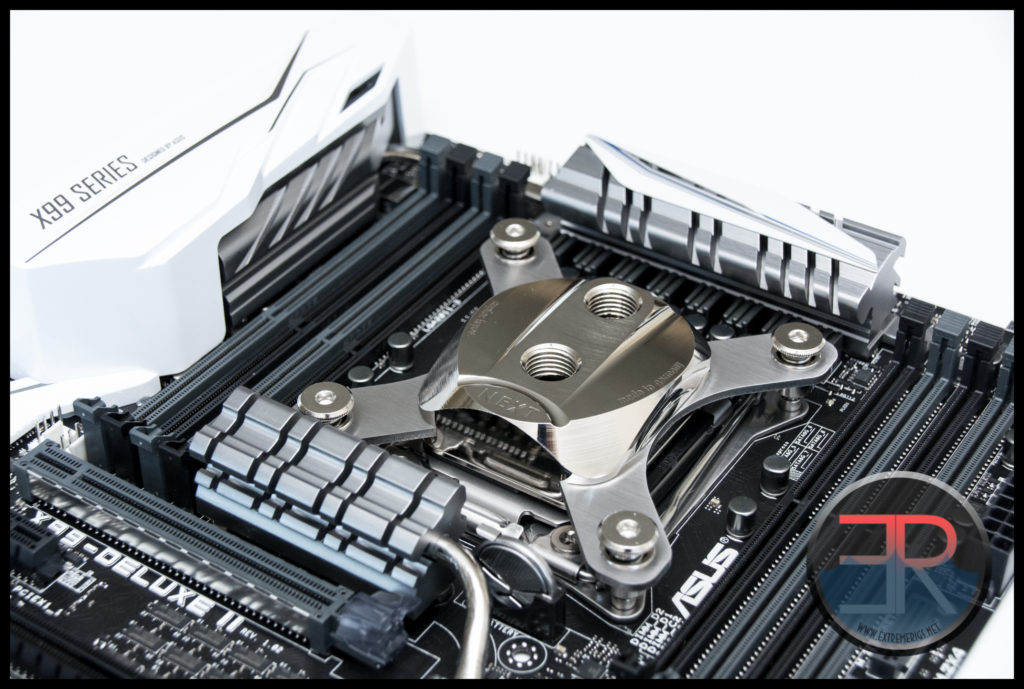 Note that we haven’t tightened the screws all the way down – hence there are gaps that do not represent the final “clean” look that you should achieve. We love this, and we also love designs that stop you from over tightening the block. Precision mounts have generally given a much tighter set of results which translates to a greater chance of getting a good mount every time.
Tightening the screws is simple with the provided allen key.
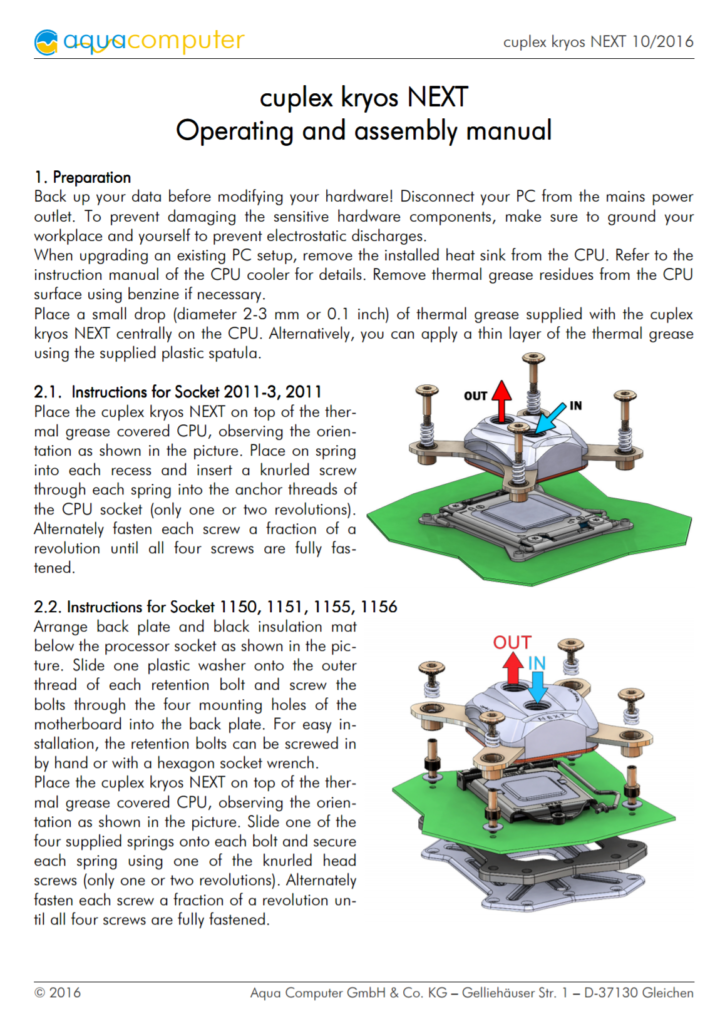
Let’s now and go look at the instructions. These are pretty standard, but given that we didn’t receive a socket 115X mount then it’s useful to at least see how the mount would work:
There’s even AMD instructions:
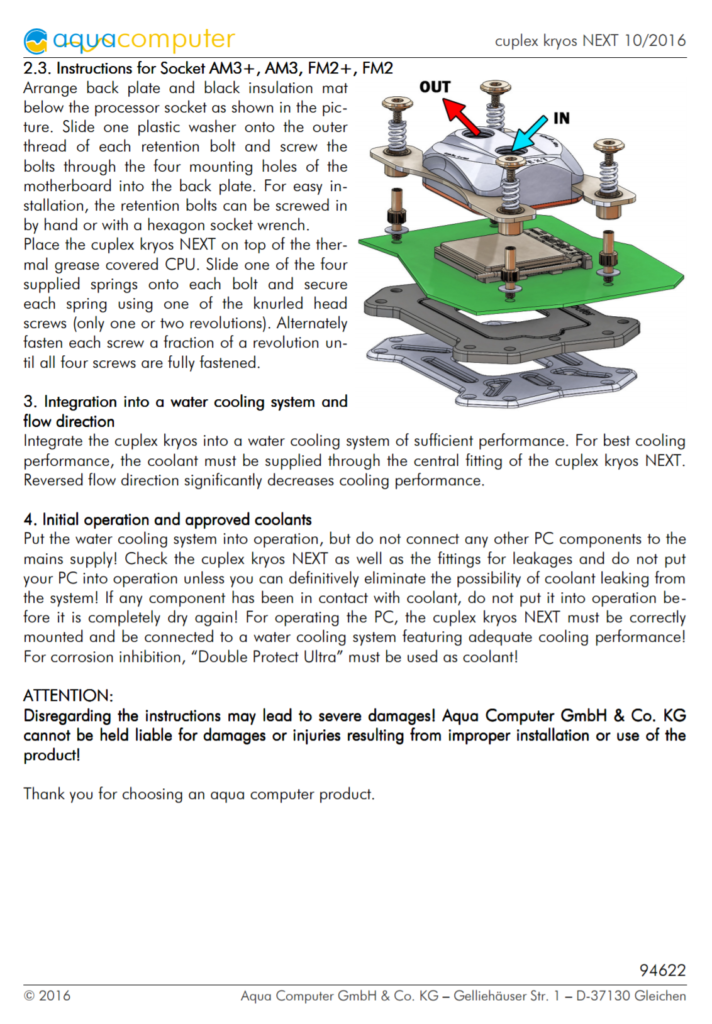
As usual there is a preferred direction of coolant flow. Let’s now move on to some of the features we alluded to earlier.
NEXT Vario
The first of these is the “Vario” version. The Vario version allows you to tweak the bow of the block. Some manufacturers have tweaked the bow of a block for specific chipsets, usually by offering different jetplate thicknesses (EK for example). The last truly variable block we saw was from Danger Den who are now sadly no longer around. With Danger Den’s M6 you could buy additional plastic jetplates of various thicknesses and shapes so as to tweak the bow however you wished. The idea was that you would test the TIM spread with a certain insert, and iterate to see if you could make better contact. Sadly the block itself never showed top performance even after tweaking so it never took off.
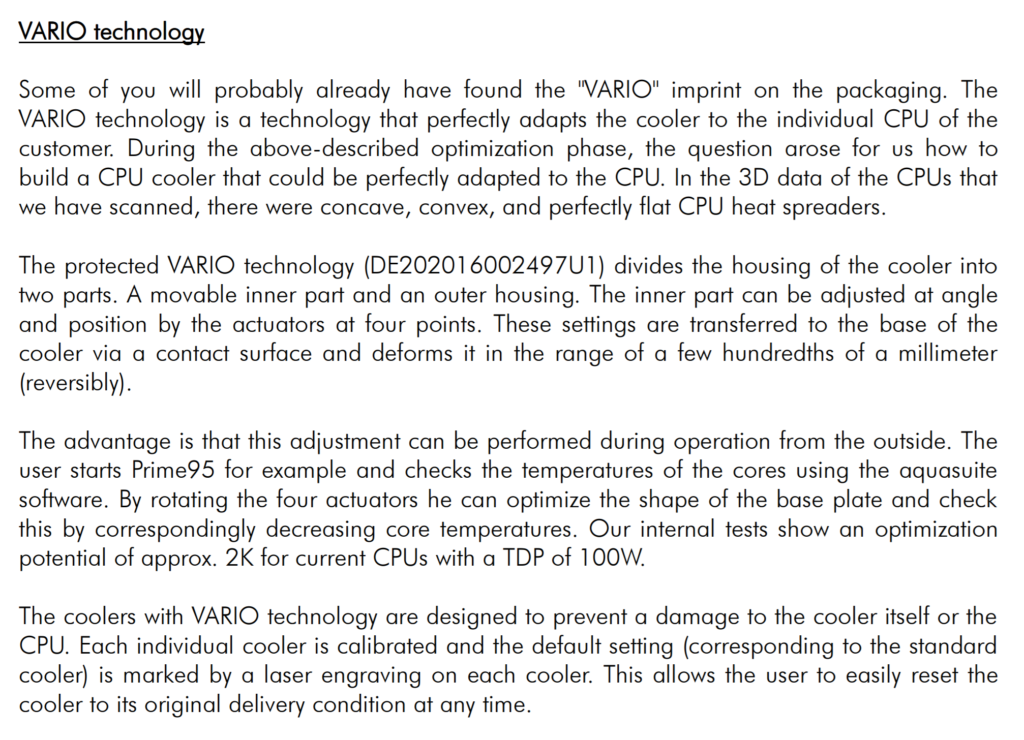
Since 2012 though we’ve really started hitting the limit of what can be achieved with a copper base, jetplates and microchannels. So much of the performance that we measure is now about how well the block mounts to CPU and how thin and wide the TIM spread is in critical areas of the CPU. Not only does the bow vary from socket to socket, but even from CPU to CPU of the same type. In an ideal world, not only would I test 10 or so mounts of a cpu block in both rotations and both flow directions, but I’d test it across multiple samples of multiple CPU products. As it is I simply test 6 of each rotation, one flow direction and only on one CPU sample. This means that the manufacturer is really getting lucky (or unlucky) depending on how my test CPU is shaped. AquaComputer therefore have decided to let us tweak the bow of the block and have done so in a more useful way than anyone else has done before. Let’s look at the marketing info on the Vario product now:
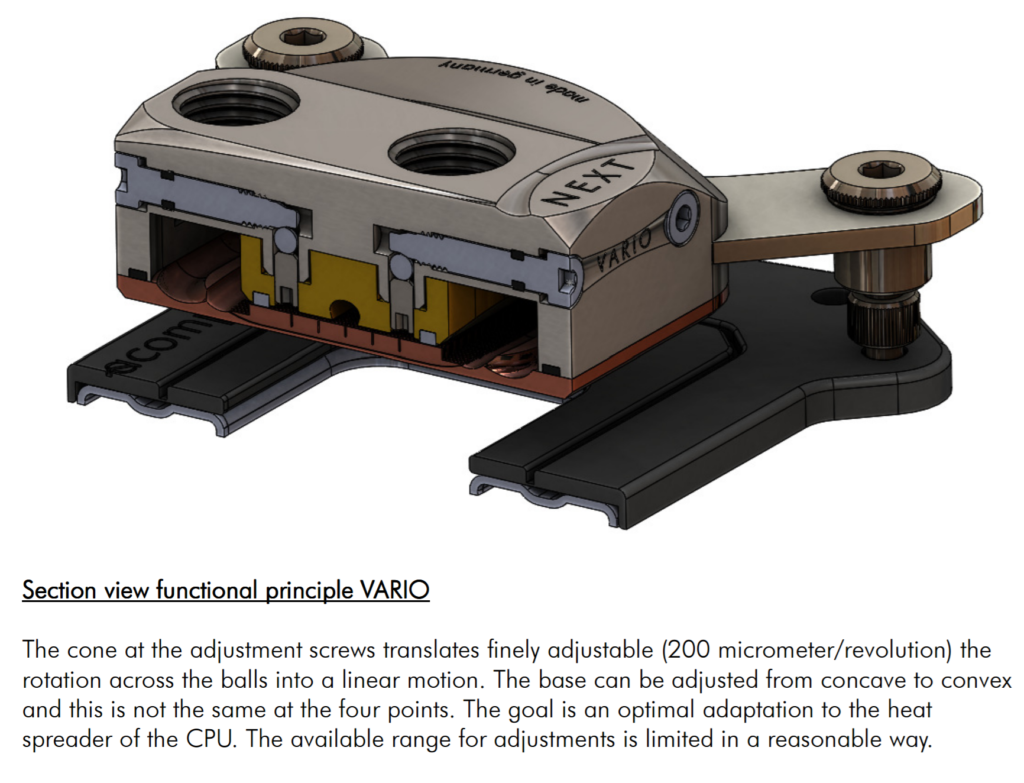
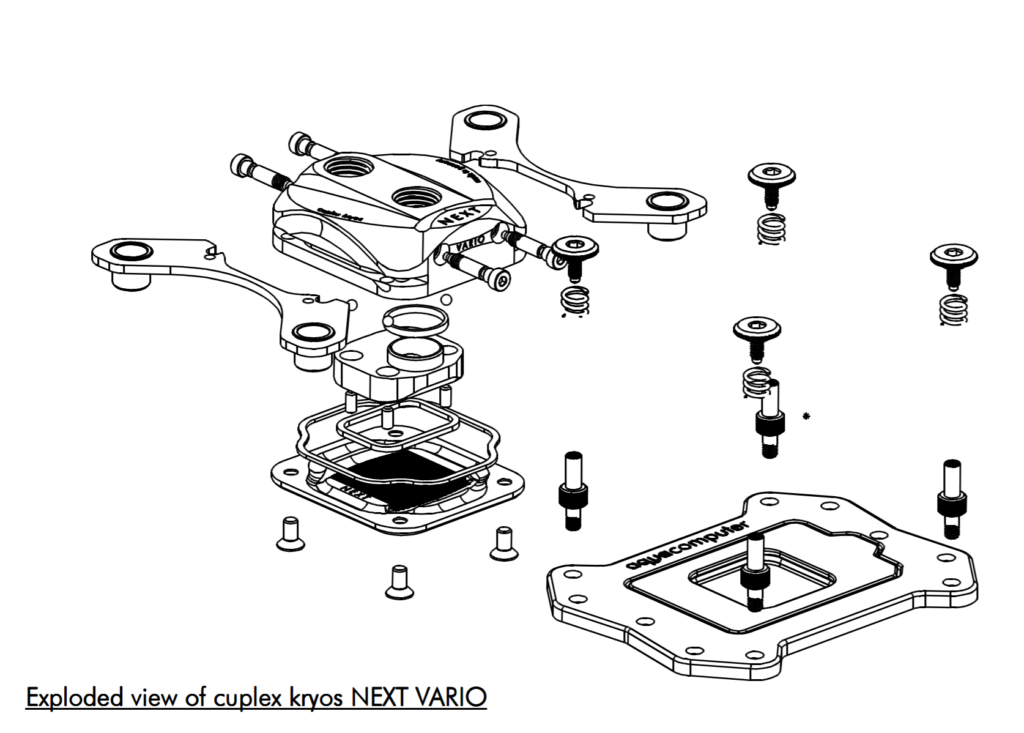
So the Vario allows us to mount the CPU block and then vary the bow which is the first time we’ve been able to do this. This makes it far easier to optimize because you don’t have to worry about the mounting variation each time. Now this instructions make it sound simple – just start loading the CPU with prime and play with the bow while logging the temperature. However as we know from our testing in order to get accurate enough data you’re really going to have to let the coolant come to equilibrium and then average over a suitably long period of time. So the calibration of the bow might take some time to get right, but once there you should be guaranteed top notch performance. Hopefully AquaComputer will also send us a Vario unit to test to see whether the system really works. Here is the Vario in the flesh from an AquaComputer photo:
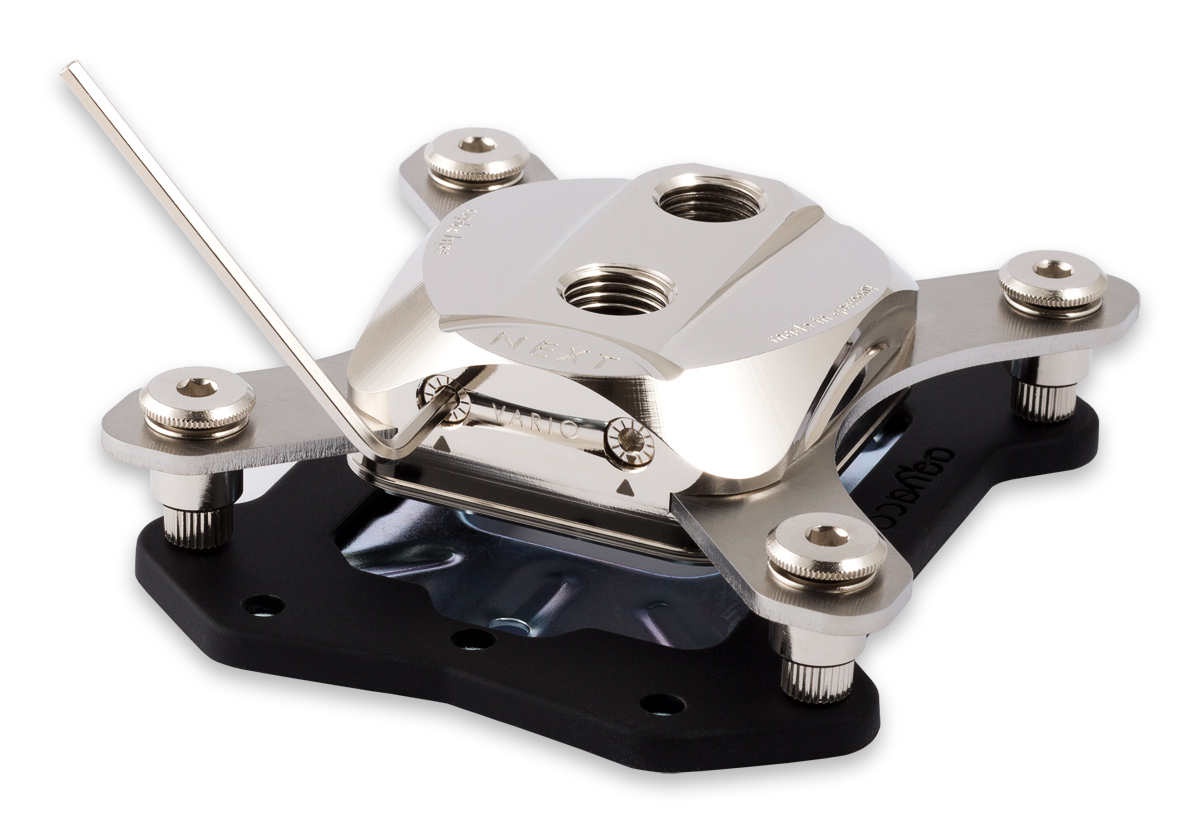
NEXT Vision
The NEXT also has the “Vision” option – this is almost a mini Aquaero built into the CPU block along with an OLED display. It connects optionally via USB or AquaBus and can process and display data. The Vision system also has a built in temperature probe for the coolant temperature. This is pretty useful, particularly if you don’t have an Aquaero and are wanting to calibrate the Vario bow tweak. AquaComputer published photos just this morning of what that version of the block looks like:
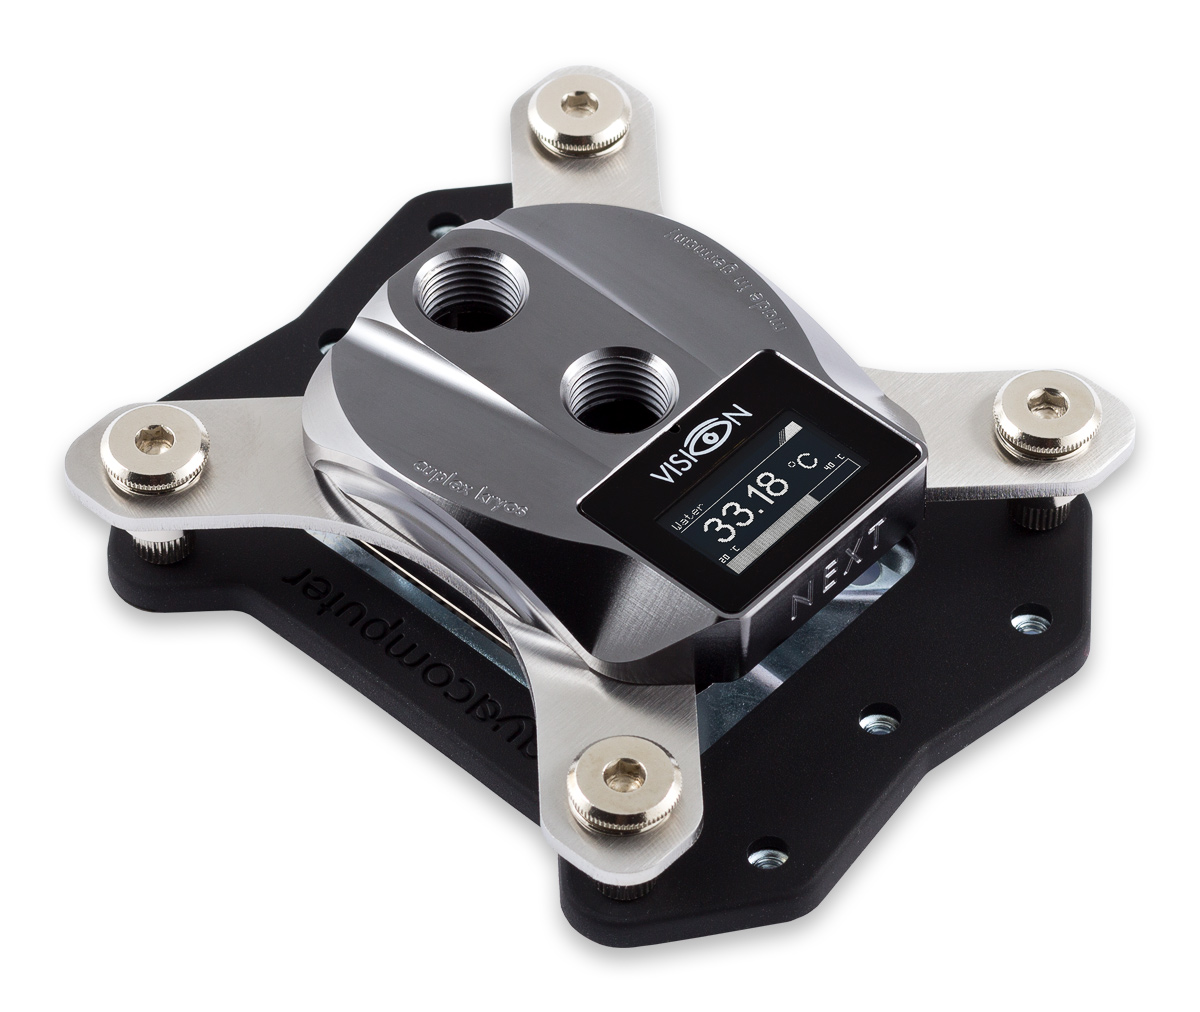
There is also a video:
PVD
AquaComputer also have the option to adding a PVD coating on top of the nickel plating. This titanium coating “creates a visually very appealing and extremely scratch-resistant surface”. Indeed Wikipedia confirms that this is superior to electroplating:
- “PVD coatings are sometimes harder and more corrosion resistant than coatings applied by the electroplating process. Most coatings have high temperature and good impact strength, excellent abrasion resistance and are so durable that protective topcoats are almost never necessary.”
This is the first time we’ve seen titanium used in water cooling (except perhaps in chillers), but it’s likely to not be pure Titanium, but instead Titanium Nitride which is technically a ceramic. This would mean that we wouldn’t have to worry about galvanic corrosion which will always slowly effect nickel plating unless corrosion inhibitors are present.
RGB Lighting
For the plexiglass version of the NEXT, some extra features are included. RGB LED illumination is obviously the main feature, but it’s more advanced than simply some LEDs. Like the vision system this also features the integrated temperature sensor and a USB/Aquabus connection. It is unclear at this time whether the system is exactly the Vision system and whether all Plexiglass blocks have to have RGB lighting and the Vision system.
Other Varieties
Material Options:
Top: Copper, Brass, Plexiglas GS, Delrin
Coating options: Nickel Plating and PVD Titanium on top of Nickel Plating
Base Plate: Copper, nickel plated copper, .925 sterling silver
Price
Naturally with so many feature options we can expect the price to vary considerably. Example prices are:
60 euro for the basic Delrin, Copper version.
85 euro for the full copper nickel plated version we have shown in the photos here
290 euro for the most expensive version (Vario, Vision, PVD, Silver base)
Yes that’s right, 290 euros for a CPU block. Luckily the USD exchange rate is pretty good right now but that is a lot of money. However if it stops you from buying a $200 Aquaero then maybe it’s fair. We’ll find out soon how much of that extra cost is for the silver base alone which we doubt is worth the extra money.
85 euro on the other hand isn’t crazy money for a full metal nickel plated block – in fact that price is identical to Watercool’s excellent Heatkiller IV which doesn’t include any TIM.
Summary
So the NEXT is a very promising block, it’s beautiful, boasts of great performance and has some unique optional features that really separate it from the competition. We’ll be getting results soon and will let you know if it lives up to it’s hype.
Here are some of the alternative versions of the block as shown by AquaComputer – you can see the full array here:


