Step by Step Assembly.
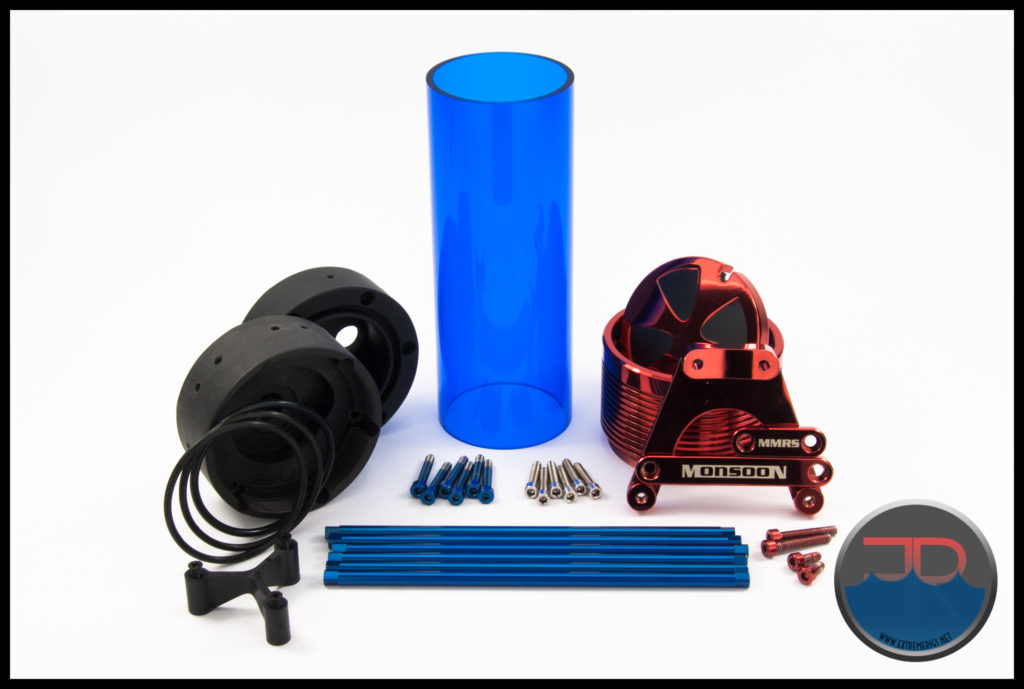
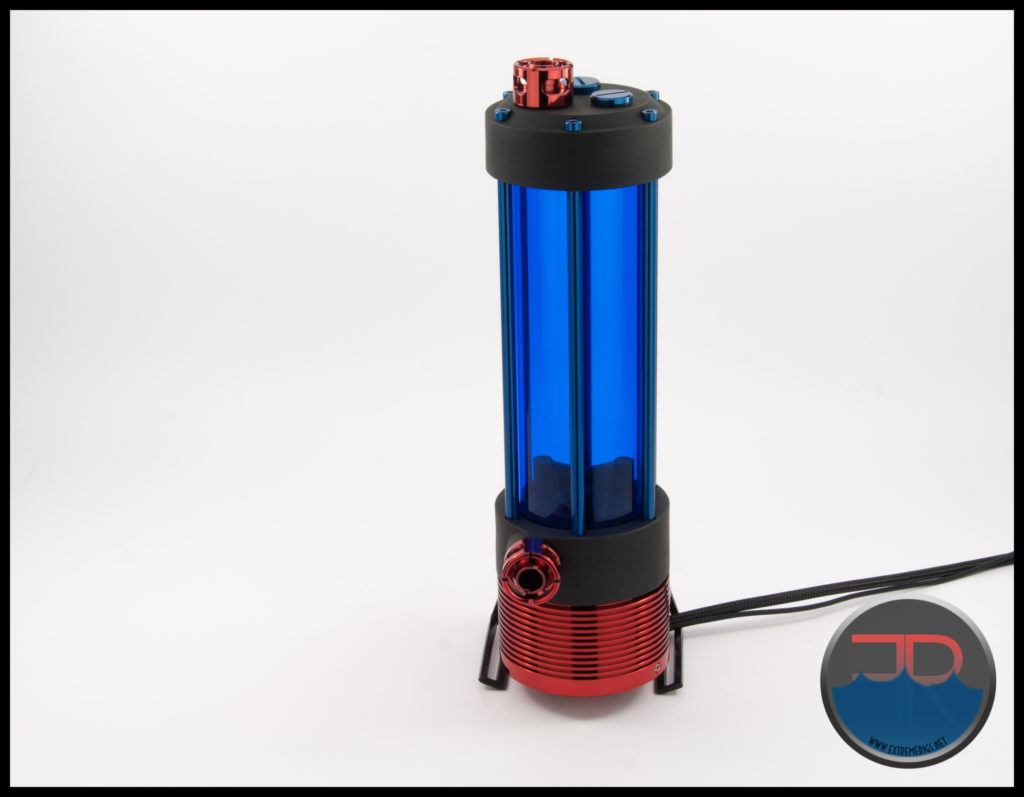
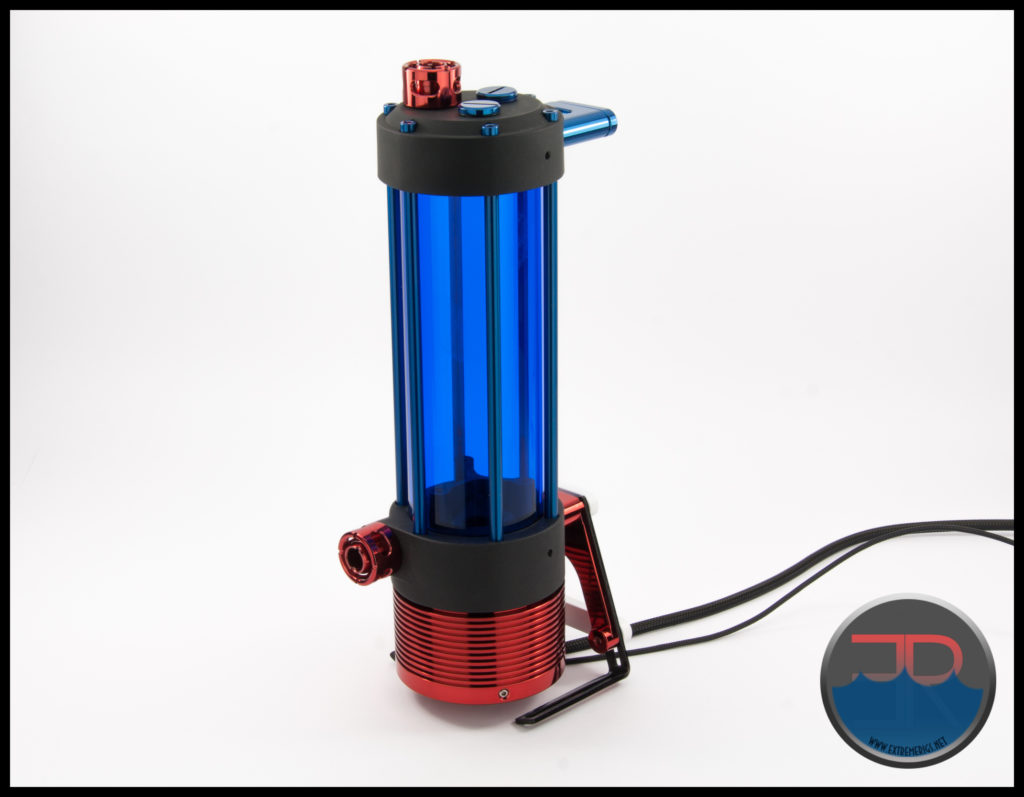
It seems obvious, but here we are going to take all the parts we looked at on the previous page and go through the stages of assembling a complete MMRS reservoir with attached D5 pump.
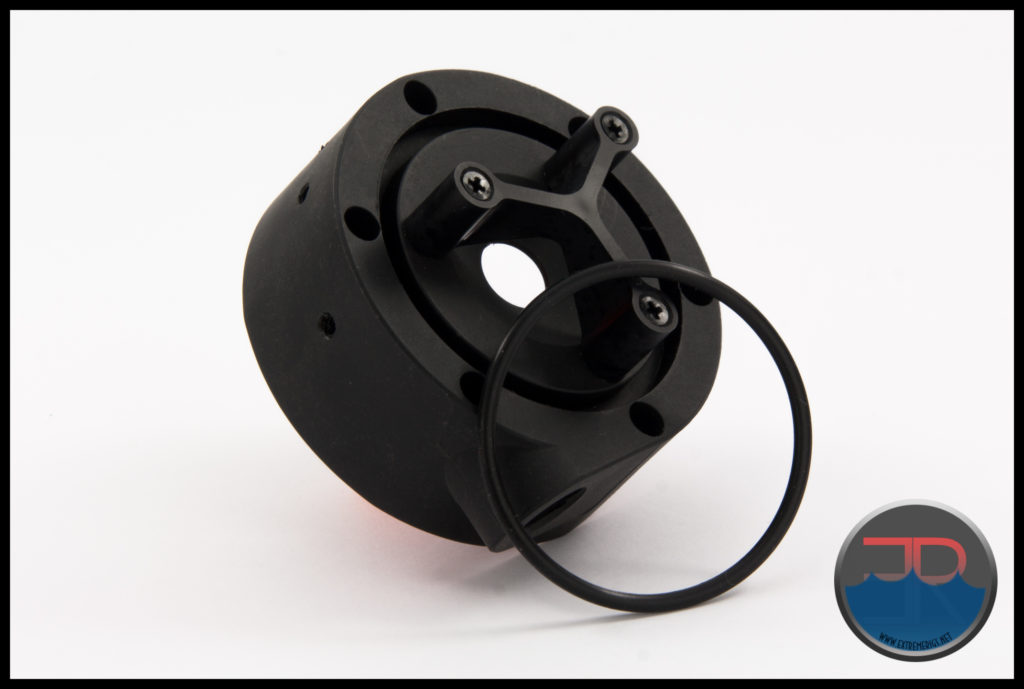
Let’s begin with the TRP end cap and double check the anti-vortex trident is securely in place. Make sure you have the reservoir tube seal (smaller o’ring) handy, but do not fit it into the grooved recess just yet.
Next we need the Stainless Steel screws supplied with the TRP and also get the 6 tension rods handy as well.
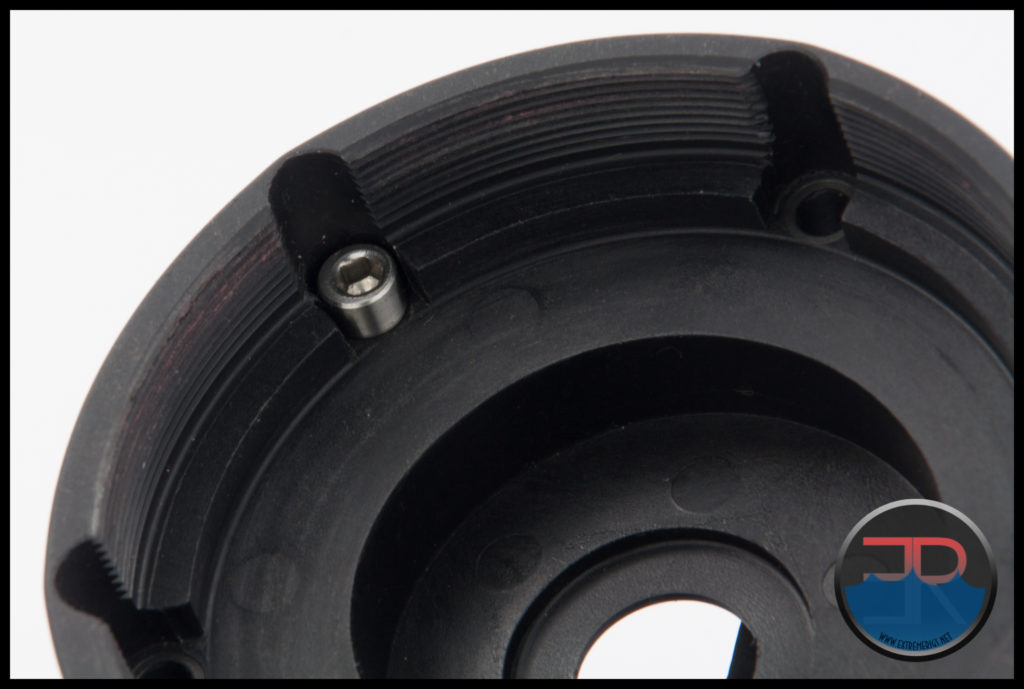
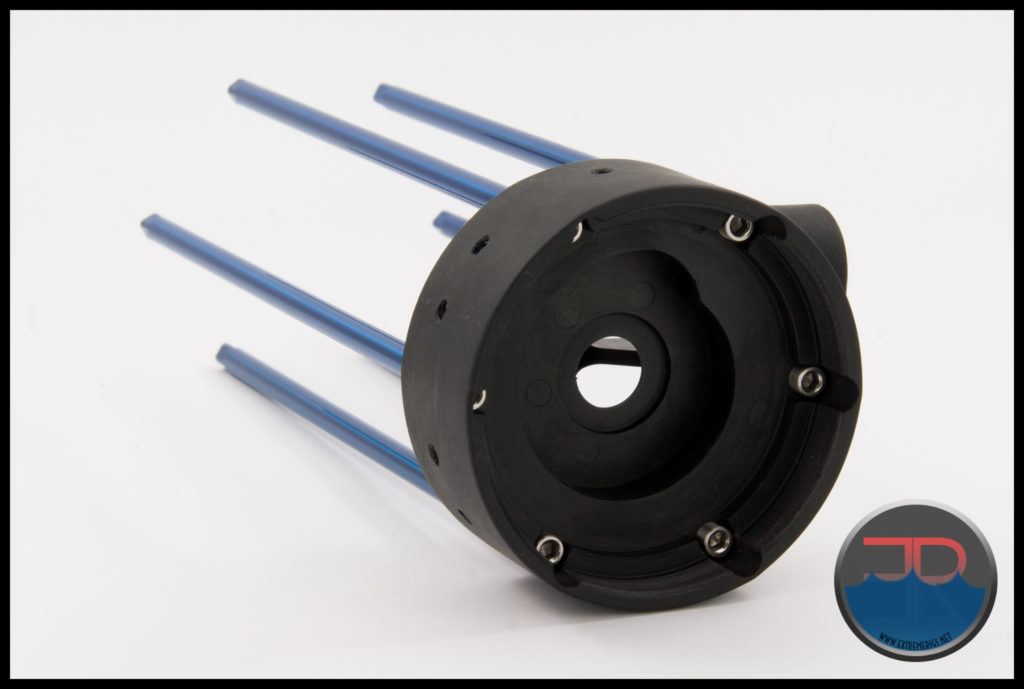
One at a time place a S/S screw through the pump side of the TRP and keep a finger on the head to hold it in place. Grab a tension rod and screw it onto the S/S screw being held in place. Firm hand tight is all you need at this stage.
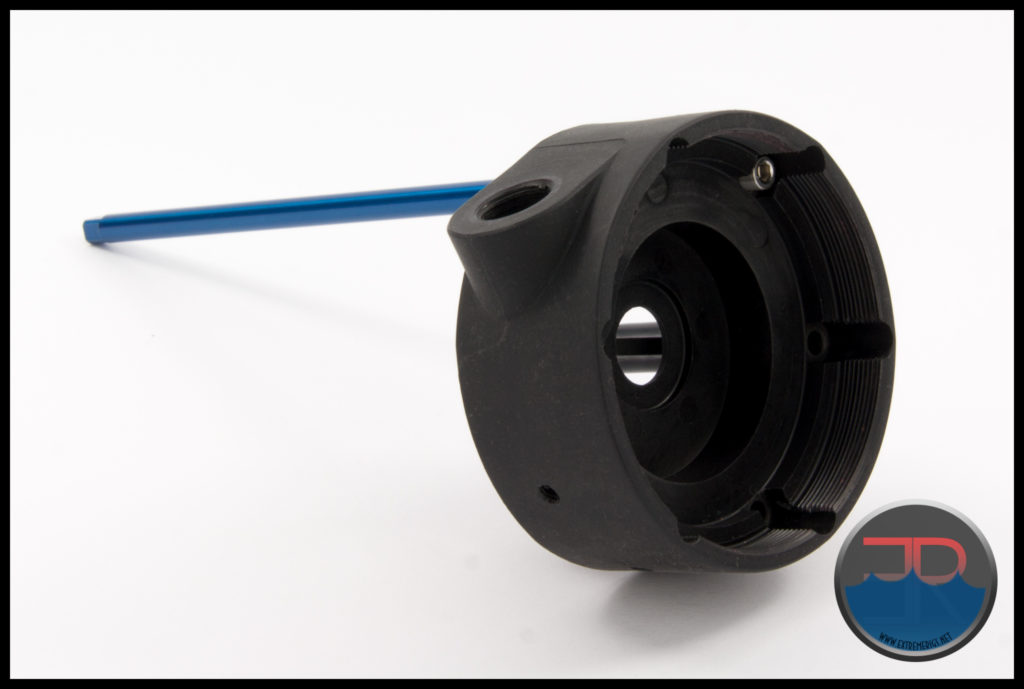 Repeat the process with all 6 Tension Rods and S/S screws.
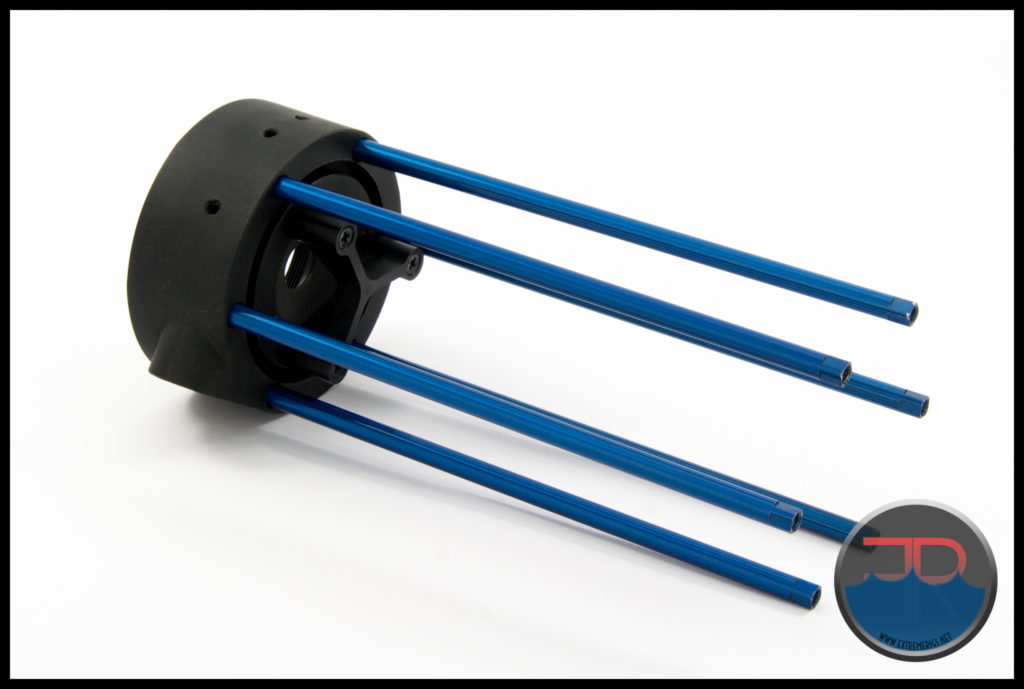 By now you will likely have noticed the spanner flats at each end of the Tension Rods. I like to utilize them at this stage of assembly, although it is not necessary to do the following step, as the bolts for end cap can be tightened onto the tension rod simultaneously later using 2 x Allen Keys.
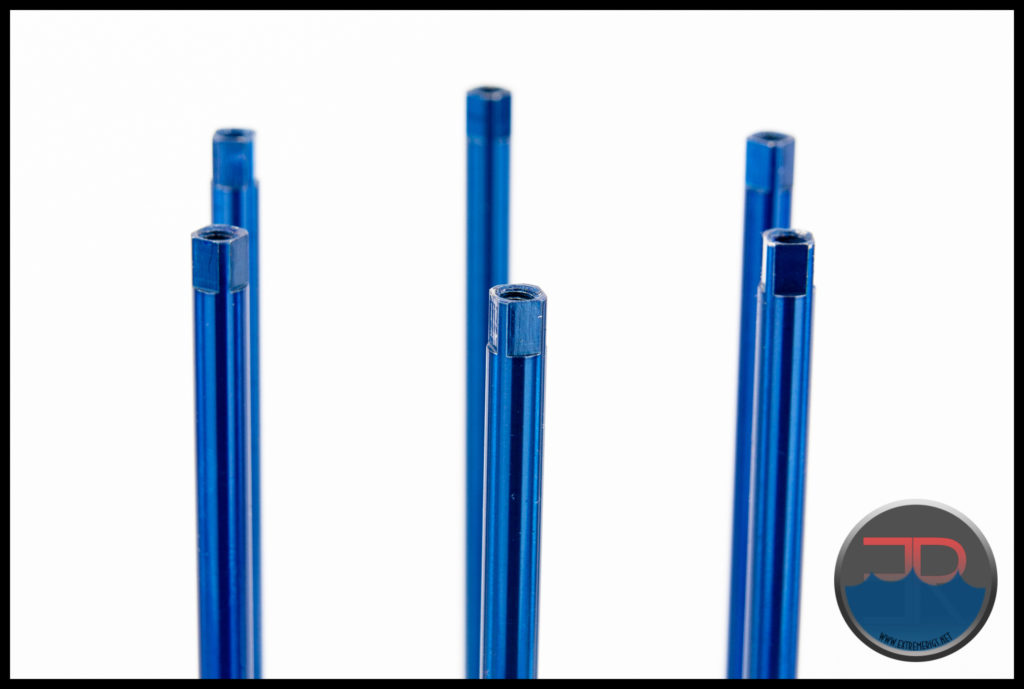 I used a small adjustable spanner on the tension rod flats. I notice that the MMRS-BH coupler comes with tools for the Tension Rod’s flats, but it appears that is the only part that is supplied with them.
 With my spanner of choice on one end, a 3mm Allen Key (Hex Key) is used to tighten up the Stainless Steel screws inside the TRP end cap. The 3mm Allen Key seems to be supplied with most parts requiring one, so you’ll likely have a few floating around by the end of assembly.
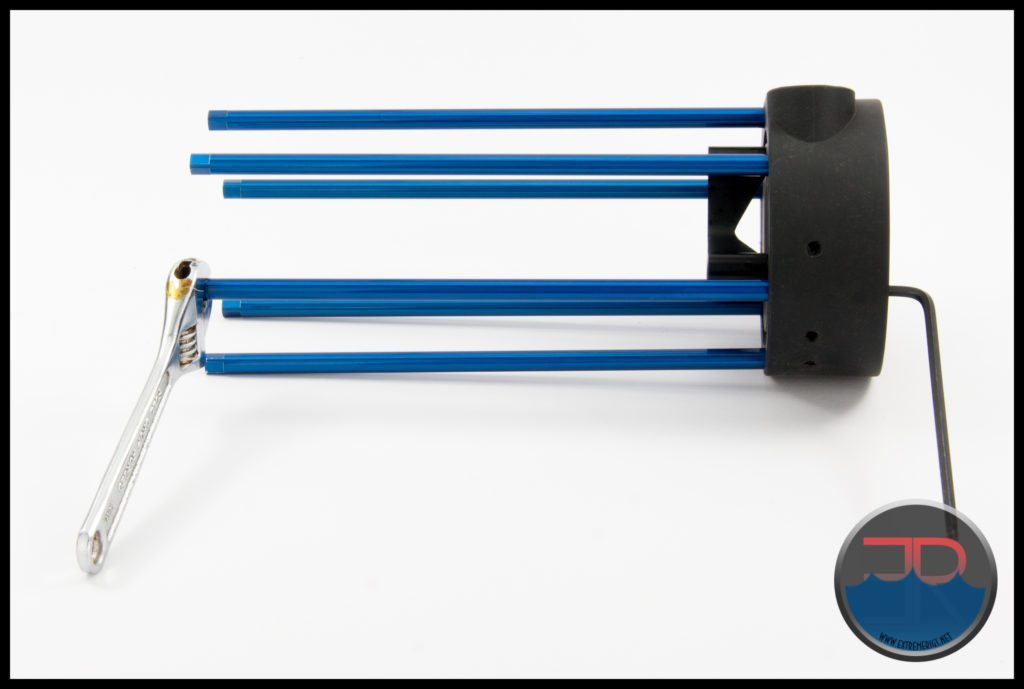 You don’t need to be super aggressive when tightening, BUT I do like it to be tight. From a firm mating, I tightened another 1/4 turn to lock into position and had no issues further along during assembly. The reason I prefer using the spanner at this stage is simply to make fitting of screws at the other end simpler once the other end cap is in position. If a tension rods spins at that stage you can still use 2 x Allen Keys to tighten as required.
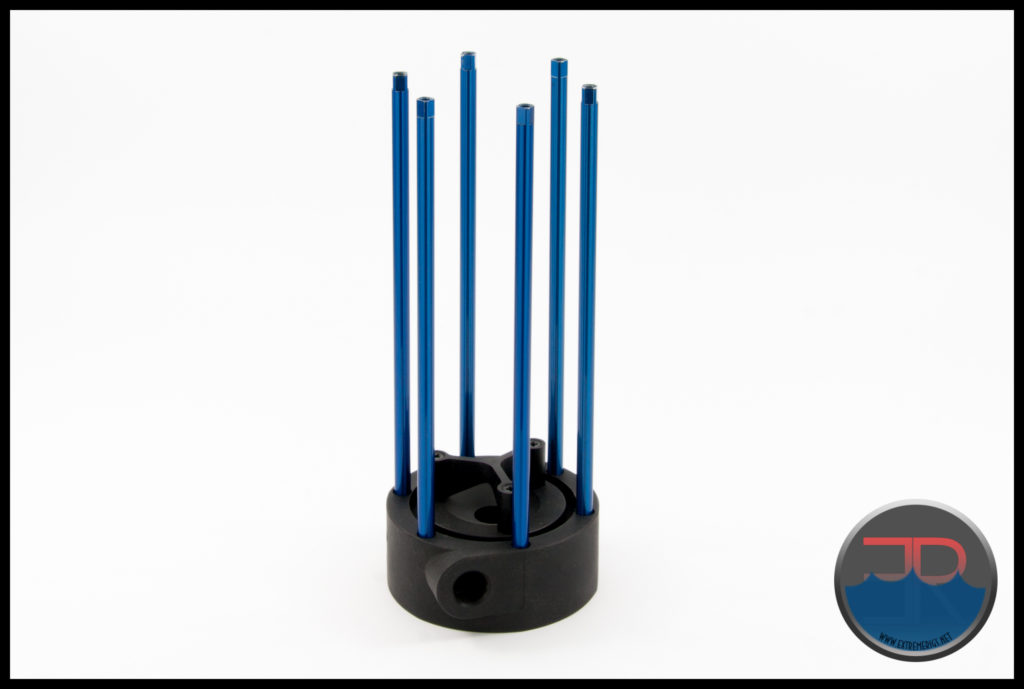 With all 6 Tension Rods tightened it’s time to pop the o’ring for sealing the acrylic tube into the recessed groove just inside the tension rods.
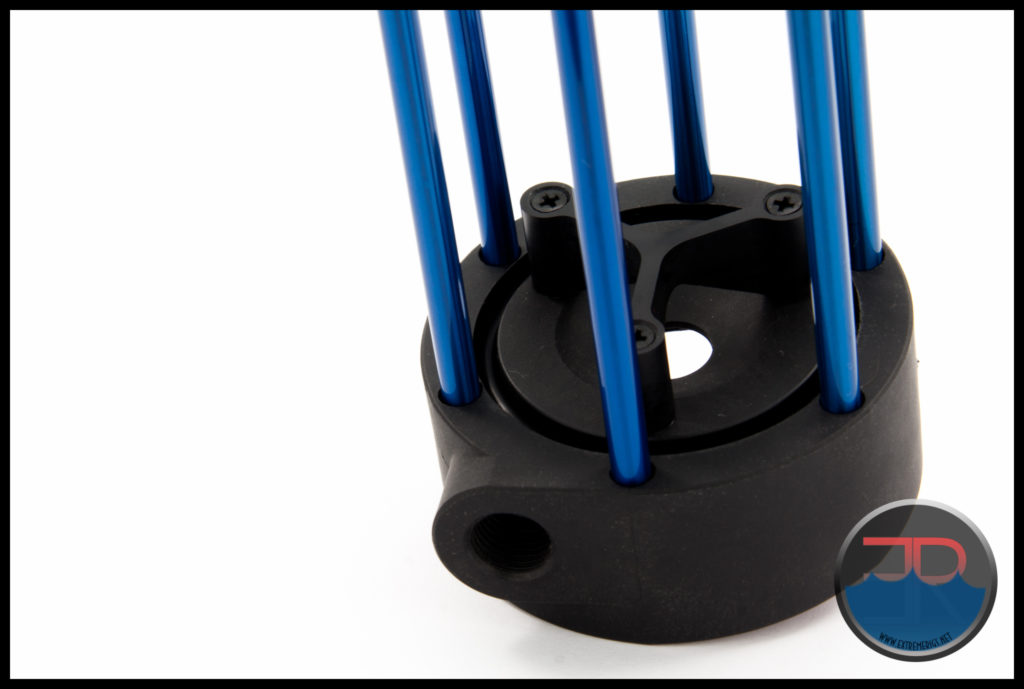
Taking care not to scratch the tube on the tension rods, slide the tube down between the rods and into the recessed groove so it is resting on the o’ring that was previously put in place.
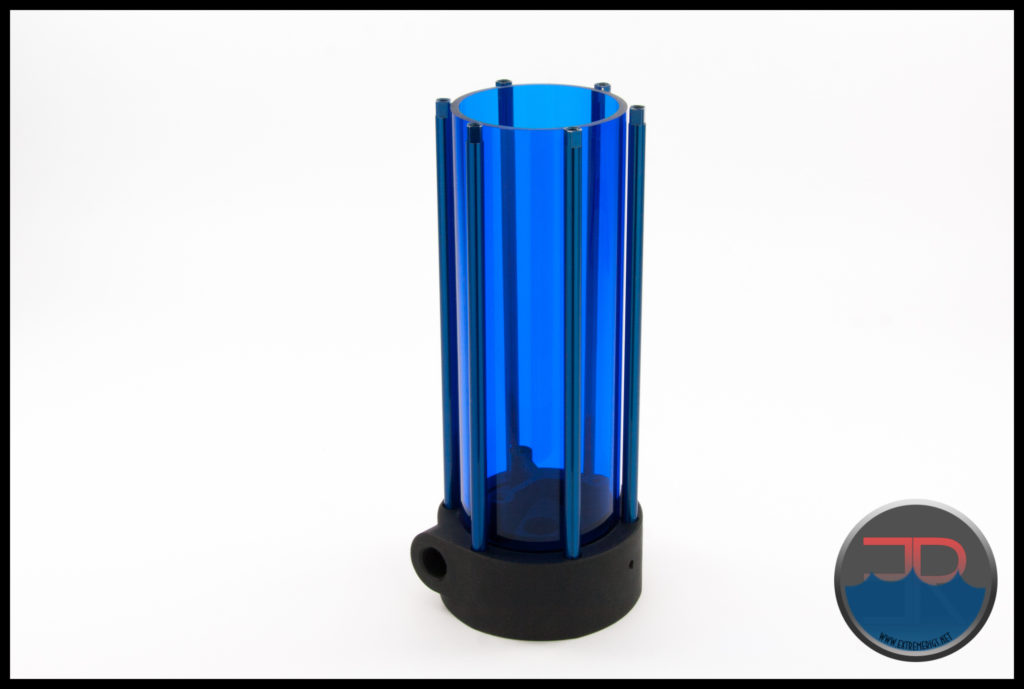 It’s starting to take shape already and looking good.
At the other end, the currently exposed tension rod spanner flats should be sitting just a little proud of the acrylic tube.
Now we need to put in place the end cap for the top of the reservoir, in this case the MMRS-EC-3P.
DO NOT FORGET TO PUT THE O’RING INTO THE RECESSED GROOVE ON THE INSIDE THE END CAP BEFORE FITTING THE END CAP ONTO THE TENSION RODS.
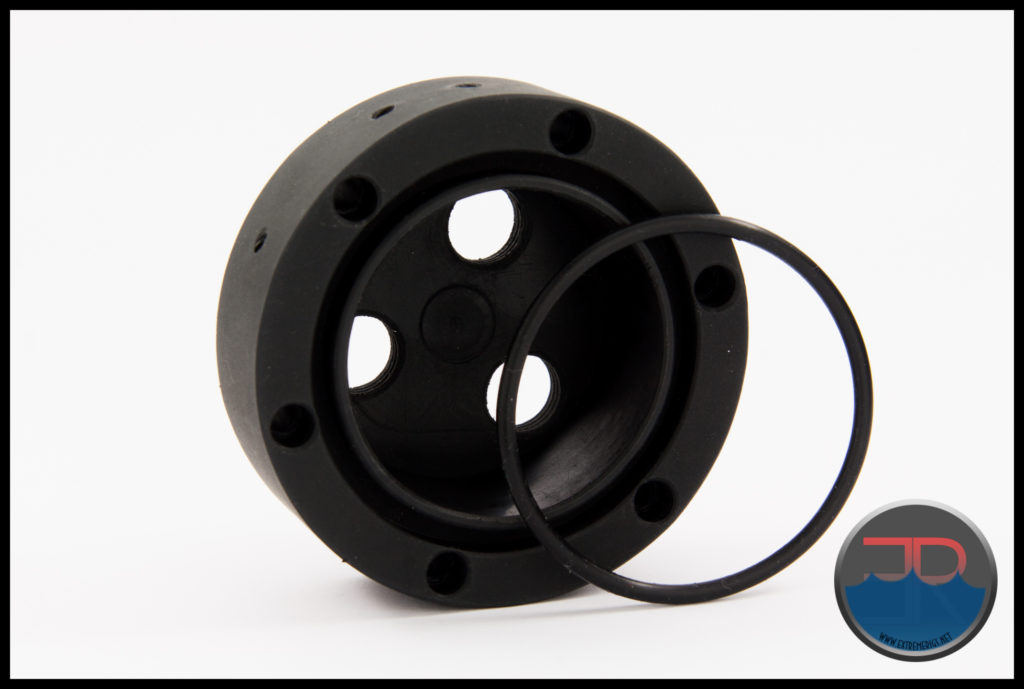
It may be easiest to fit the end cap with everything in a horizontal position to stop the o’ring seal falling out.
Remember to orientate the top cap so the holes for mounting brackets line up with the holes on the bottom cap.
You will likely have to gently pry a tension rod or two to get all the tension rods into the holes. Be gentle and have a look under to see which one/s need to be gentle maneuvered until the end cap “drops” into position.
Now place 6 of the 12 supplied tension rod screws through the holes on the face of the end cap. You should have 6 of these screws left over at the end when fitting a TRP D5 end cap to the other end of the reservoir.
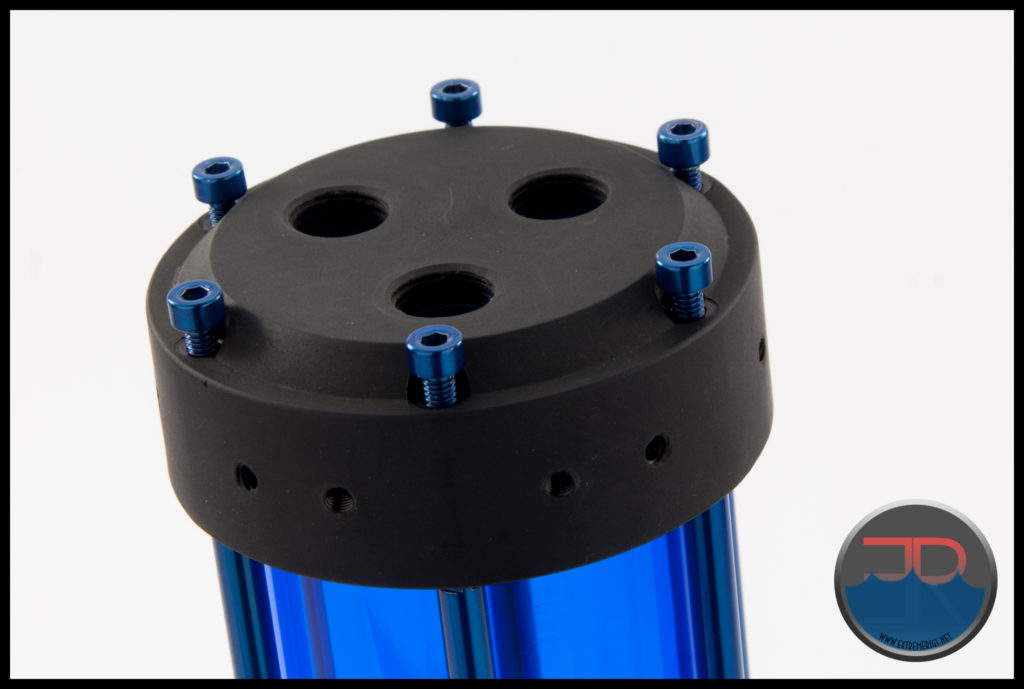 Tighten them all at this stage so they just make contact with the end cap.
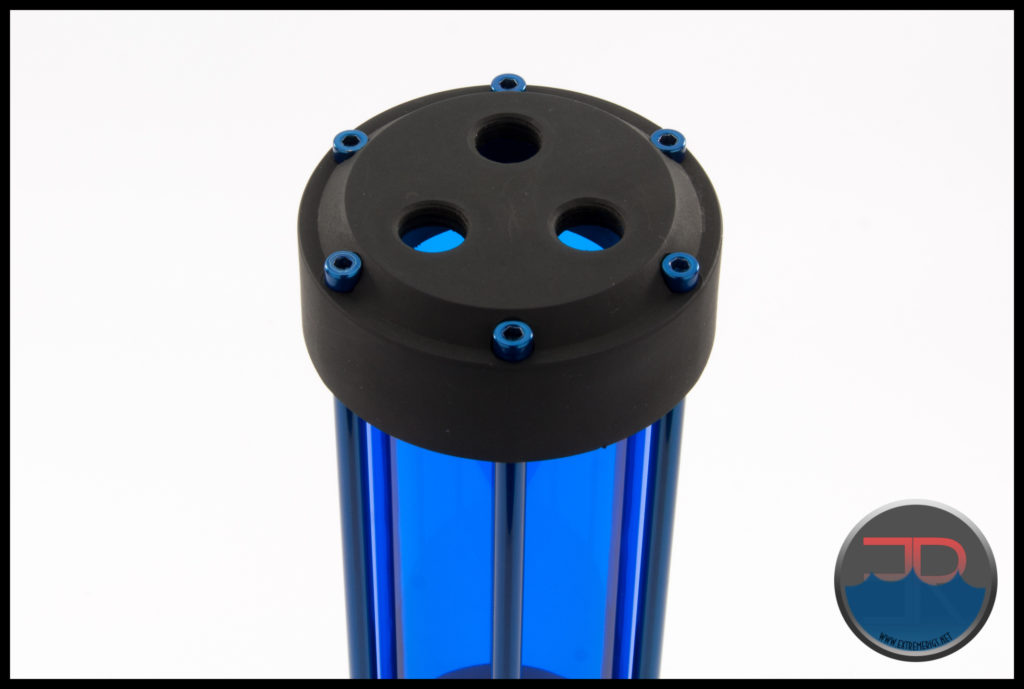 If you look at the tension rods under the top end cap at this point you will notice that the spanner flats are still a little bit exposed, ~2mm.
Beginning torquing down each screw going around in a star pattern to apply even pressure to the seals. Use the Allen Key length ways so you do not torque down too much and risk squashing a seal or cracking the acrylic tube.
With all the screws even done up to a firm pressure, but not gorilla strength tight, every should feel rock solid and no spanner flats should be visible at either end.
Now lets move onto installing the pump.
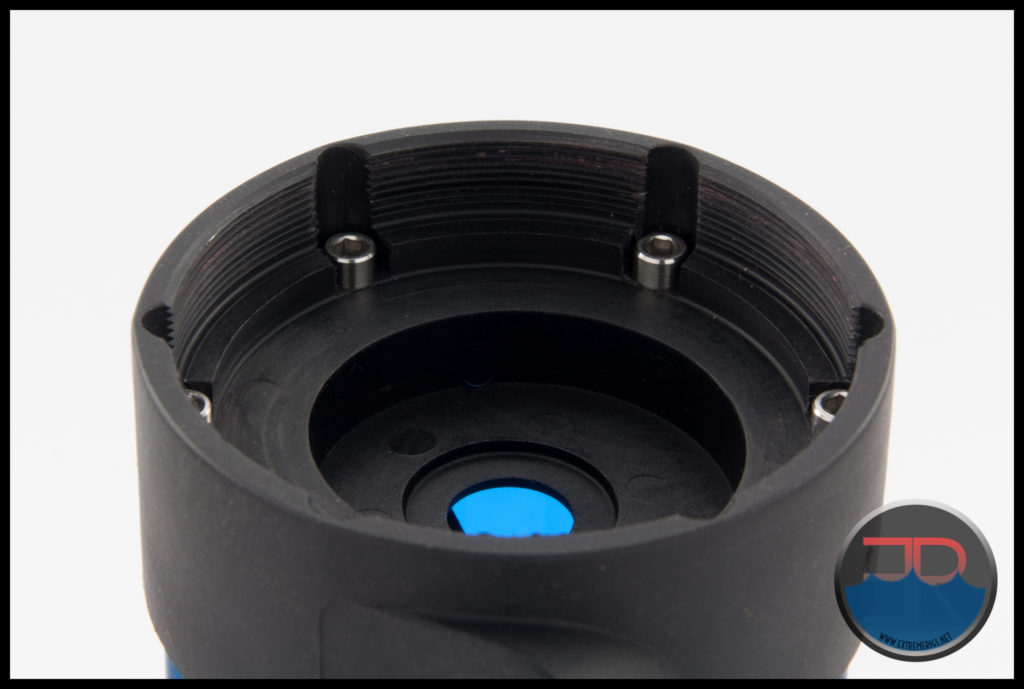
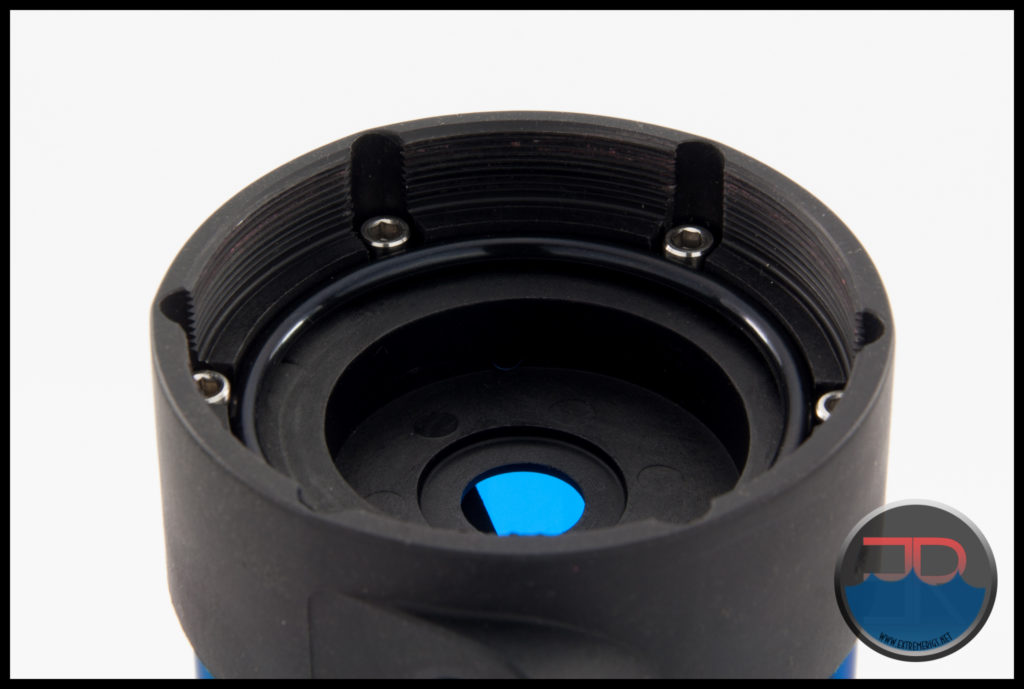
Flip the res and stand it on the top end cap so you are looking down into the TRP end cap.
Grab the supplied o’ring (larger of the 2 in the TRP kit) and place it into the recess just inside the Stainless Steel screw heads.
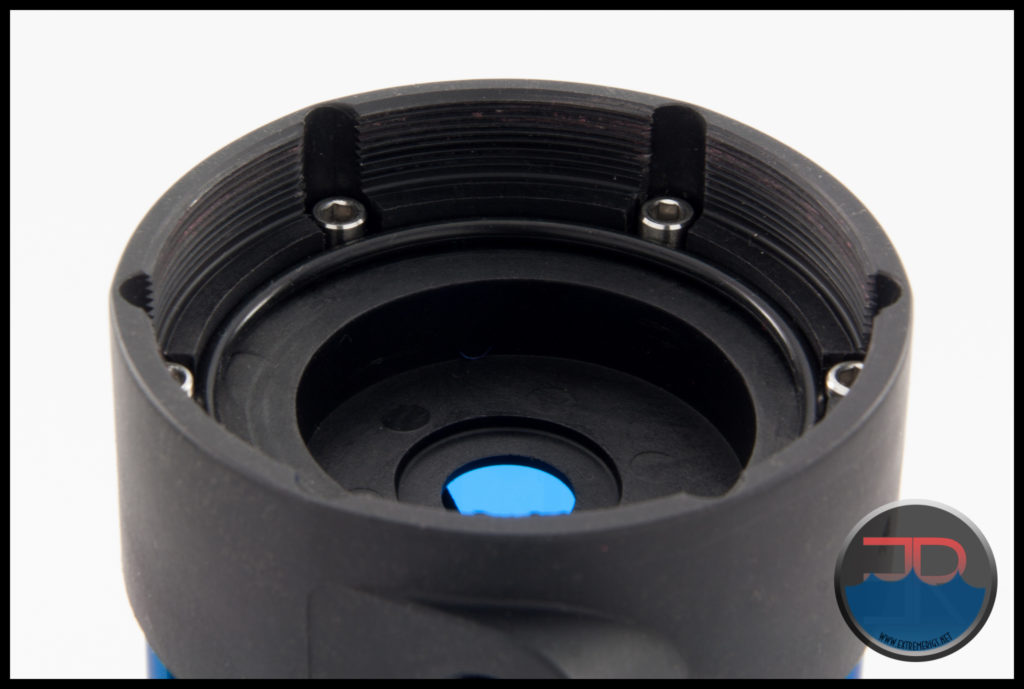 Alternatively (as we needed to) a stock Laing D5 o’ring which is a bit thicker can be used.
Take your pump and place it into the pump top so that the metal shoulder of the pump is sitting on the seal.
The pump should be central in the pump top and if you gently try to rotate the pump you should feel it “gripping” on the seal.
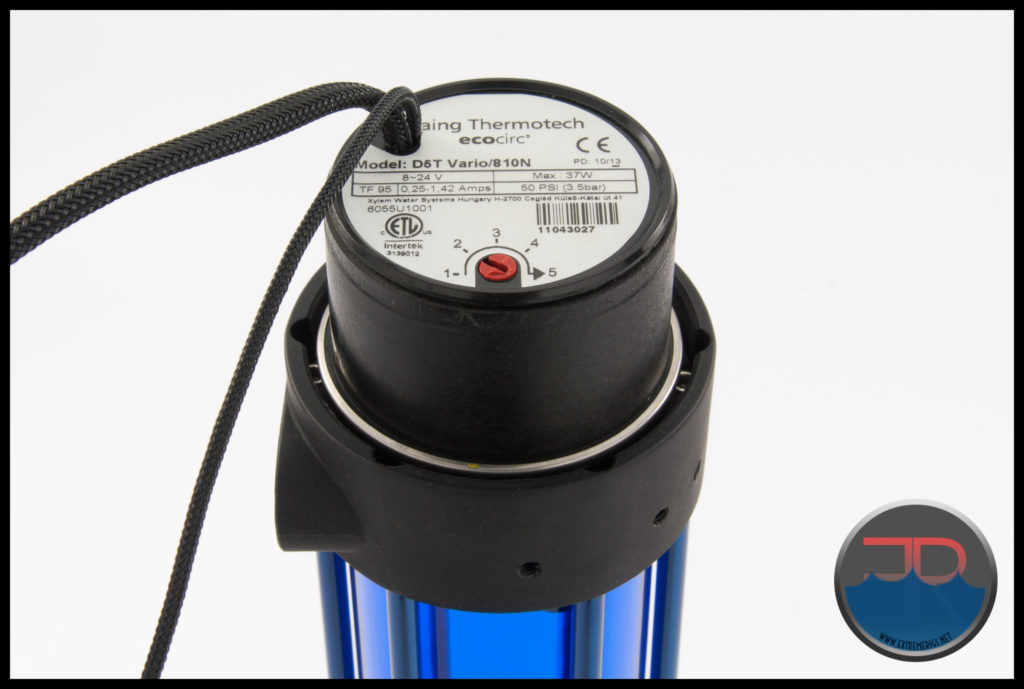 When tightening the pump cover, the pump will almost always try to spin a little as it is being tightened, this effects which way the wires end up facing. In most instances we want the wires facing towards the back, so I like to place the pump about 1/3 a turn to left of where I want the wires to end up.
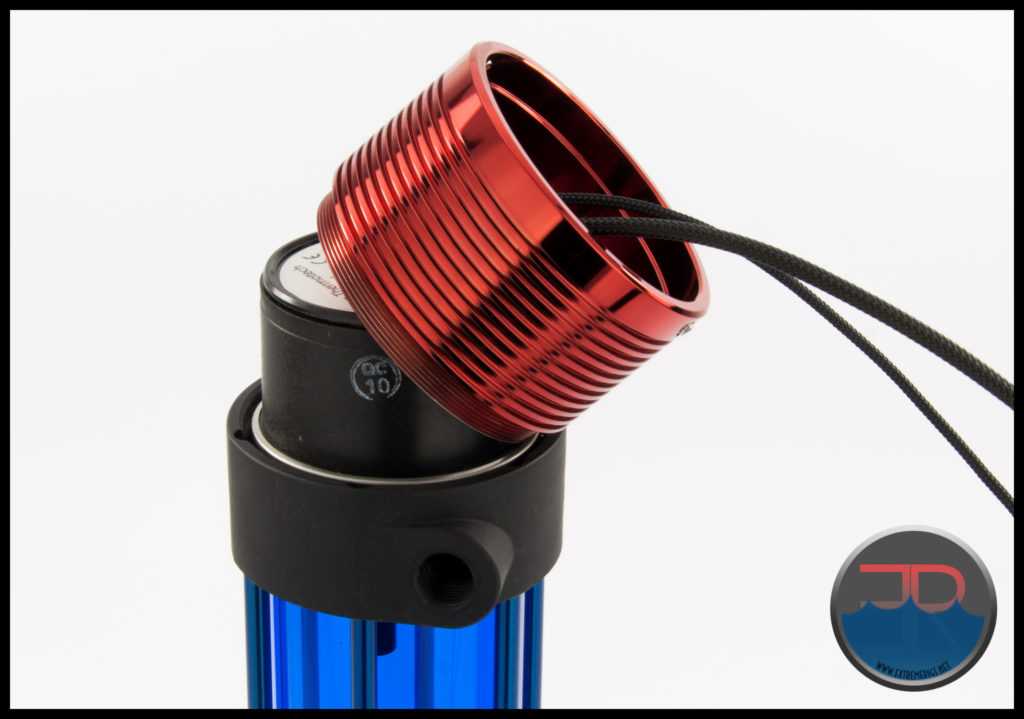 Feed the wires through the pump cover so the threads are on the pump side.
Make sure the cover is level to avoid cross-threading and gentle turn anti-clockwise until you feel it click over the start of the thread on the end cap.
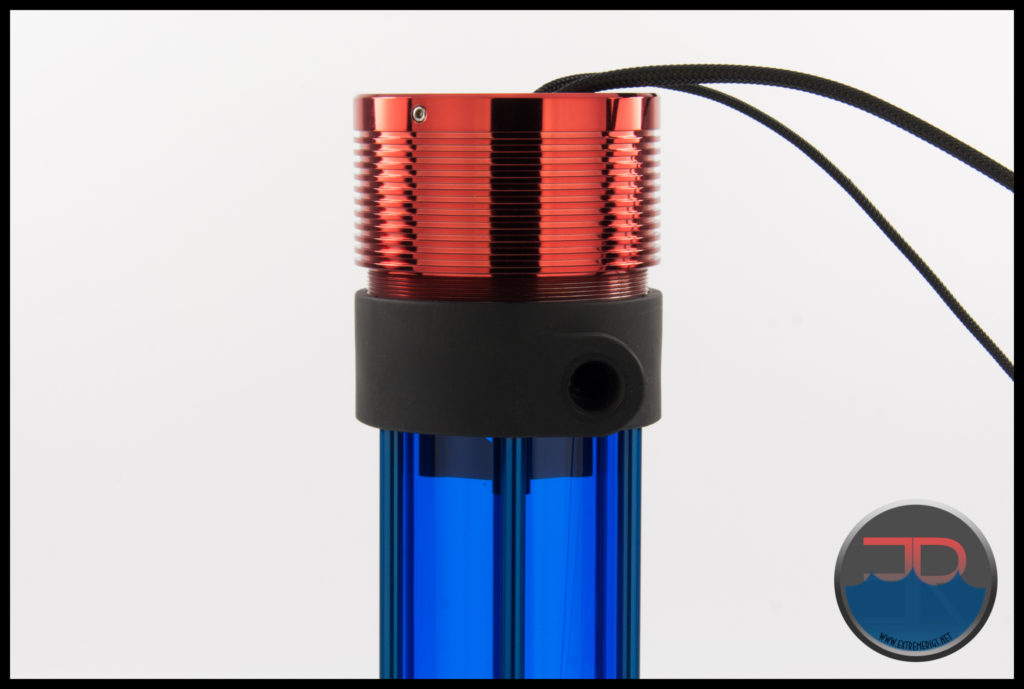 Begin screwing down the cover, taking care for the first turn or two that it is kept straight and checking it is still level, cross threading at this stage would be gut wrenching.
How tight is tight enough? That is difficult to answer as everyone has different strength and as we used a slightly thicker o’ring than the provided one we can’t offer a “gap” to use a guide. With the o’ring we used (stock Laing D5) once the flange on the inside of the pump cover made contact with the pump (and therefore was pressing the pump against the seal) we could only turn the cover another 1/2 turn. It left a bit of a gap (just under 2mm) between the cover and the TRP, but it was leak free.
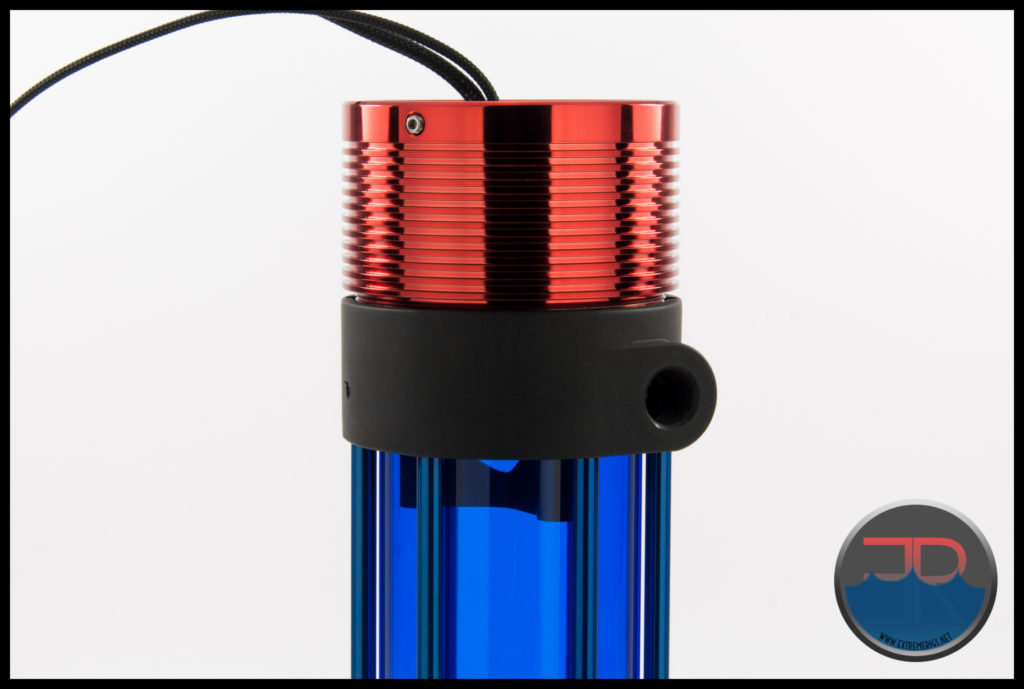
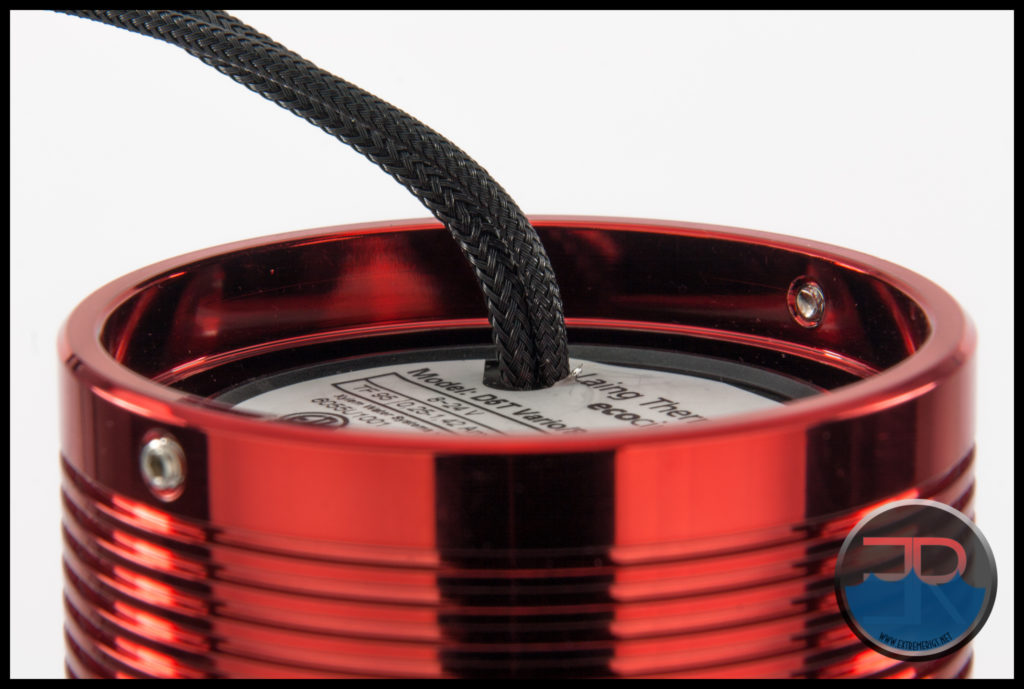
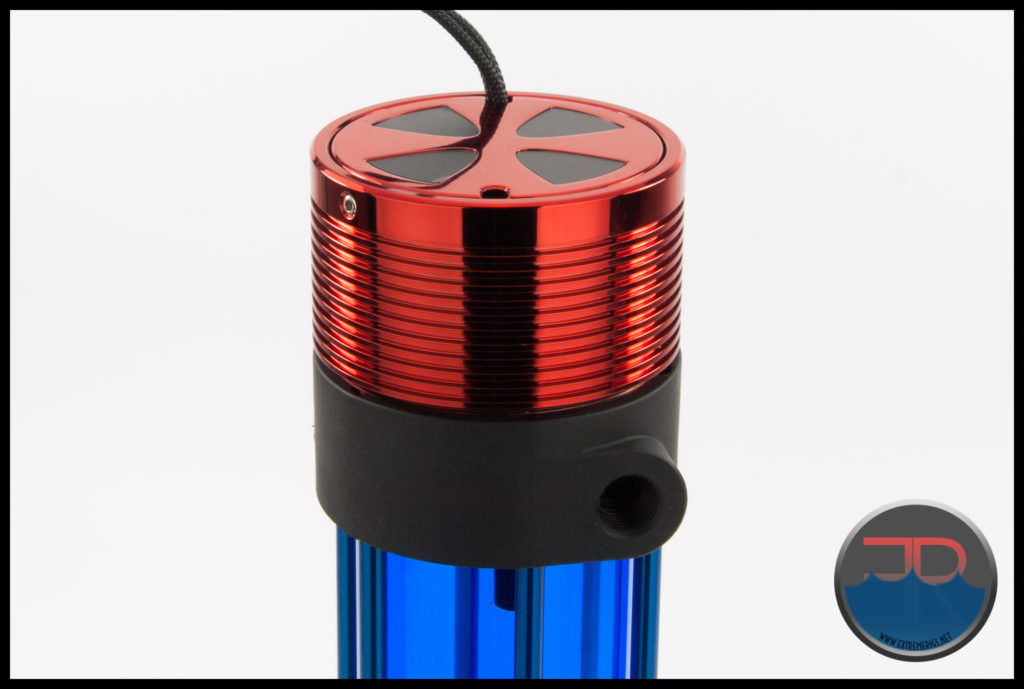
Next is to place the end cap on the pump cover, but before you do just make sure that the wires are facing the direction that you want them to. You may have to back off the pump cover and adjust the pump orientation slightly to get the wires to face the way you want.
You’ll probably have to bend and flatten the wires a little under the cap so that the cap sits down flush on the lip that it rests on.
Use the small Allen Key (supplied with the pump cover kit) to nip up the two grub screws which hold the cover cap in position.
Almost there now.
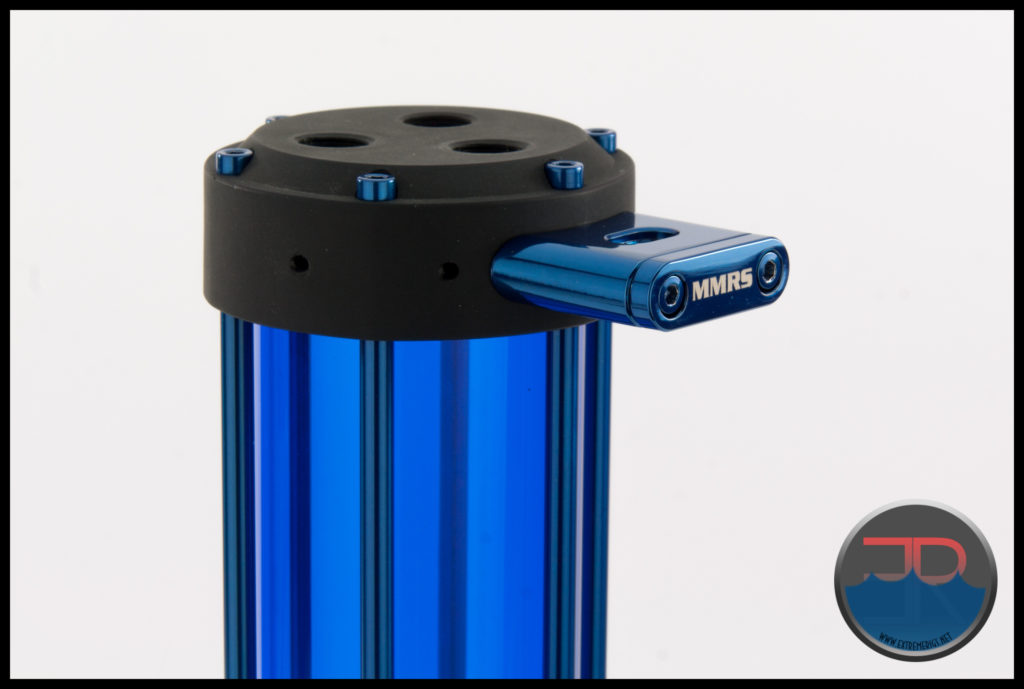
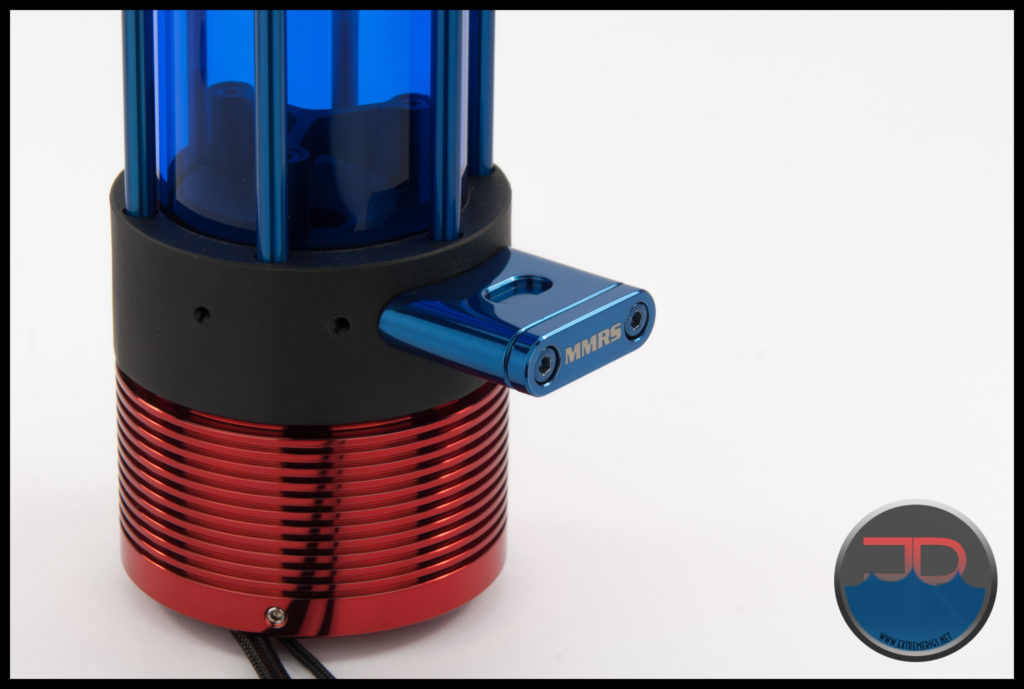
Fitting brackets in their final location can be a bit fiddly and difficult photograph in a chassis. The black slotted angle bracket picture below are a “representation” of a case panel. With the 12mm “grasshopper” mount below, the red “load spreader” section is visible where the pump and reservoir are installed and the white backing plates would be behind the case panel.
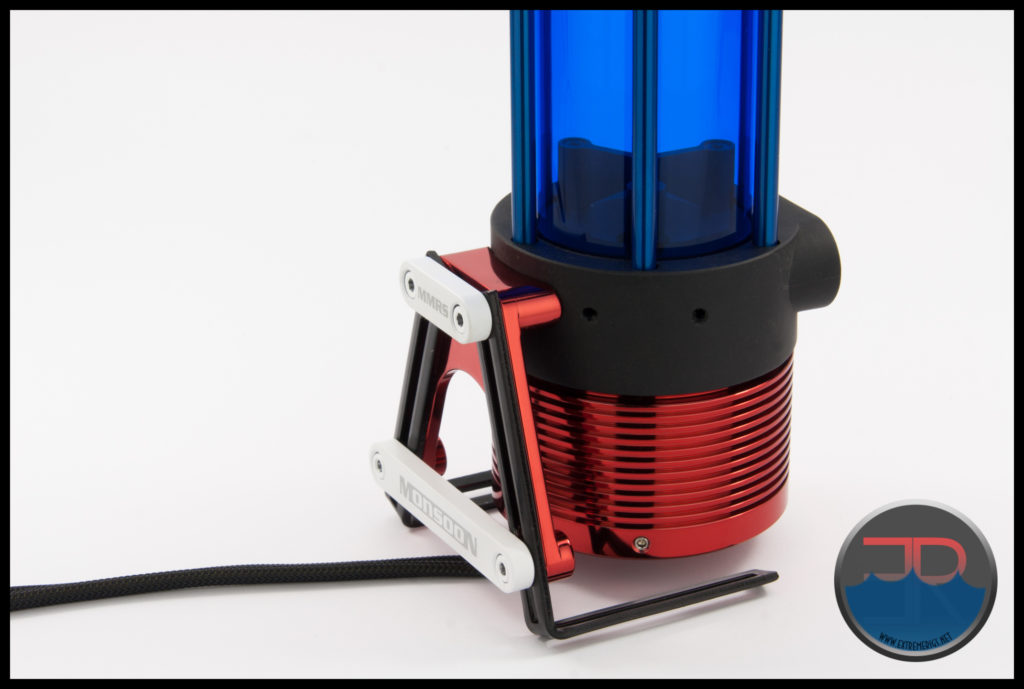 Remembering that the black angles (used as a stand) are simulating a case panel, the mount is unseen when looked at front on.
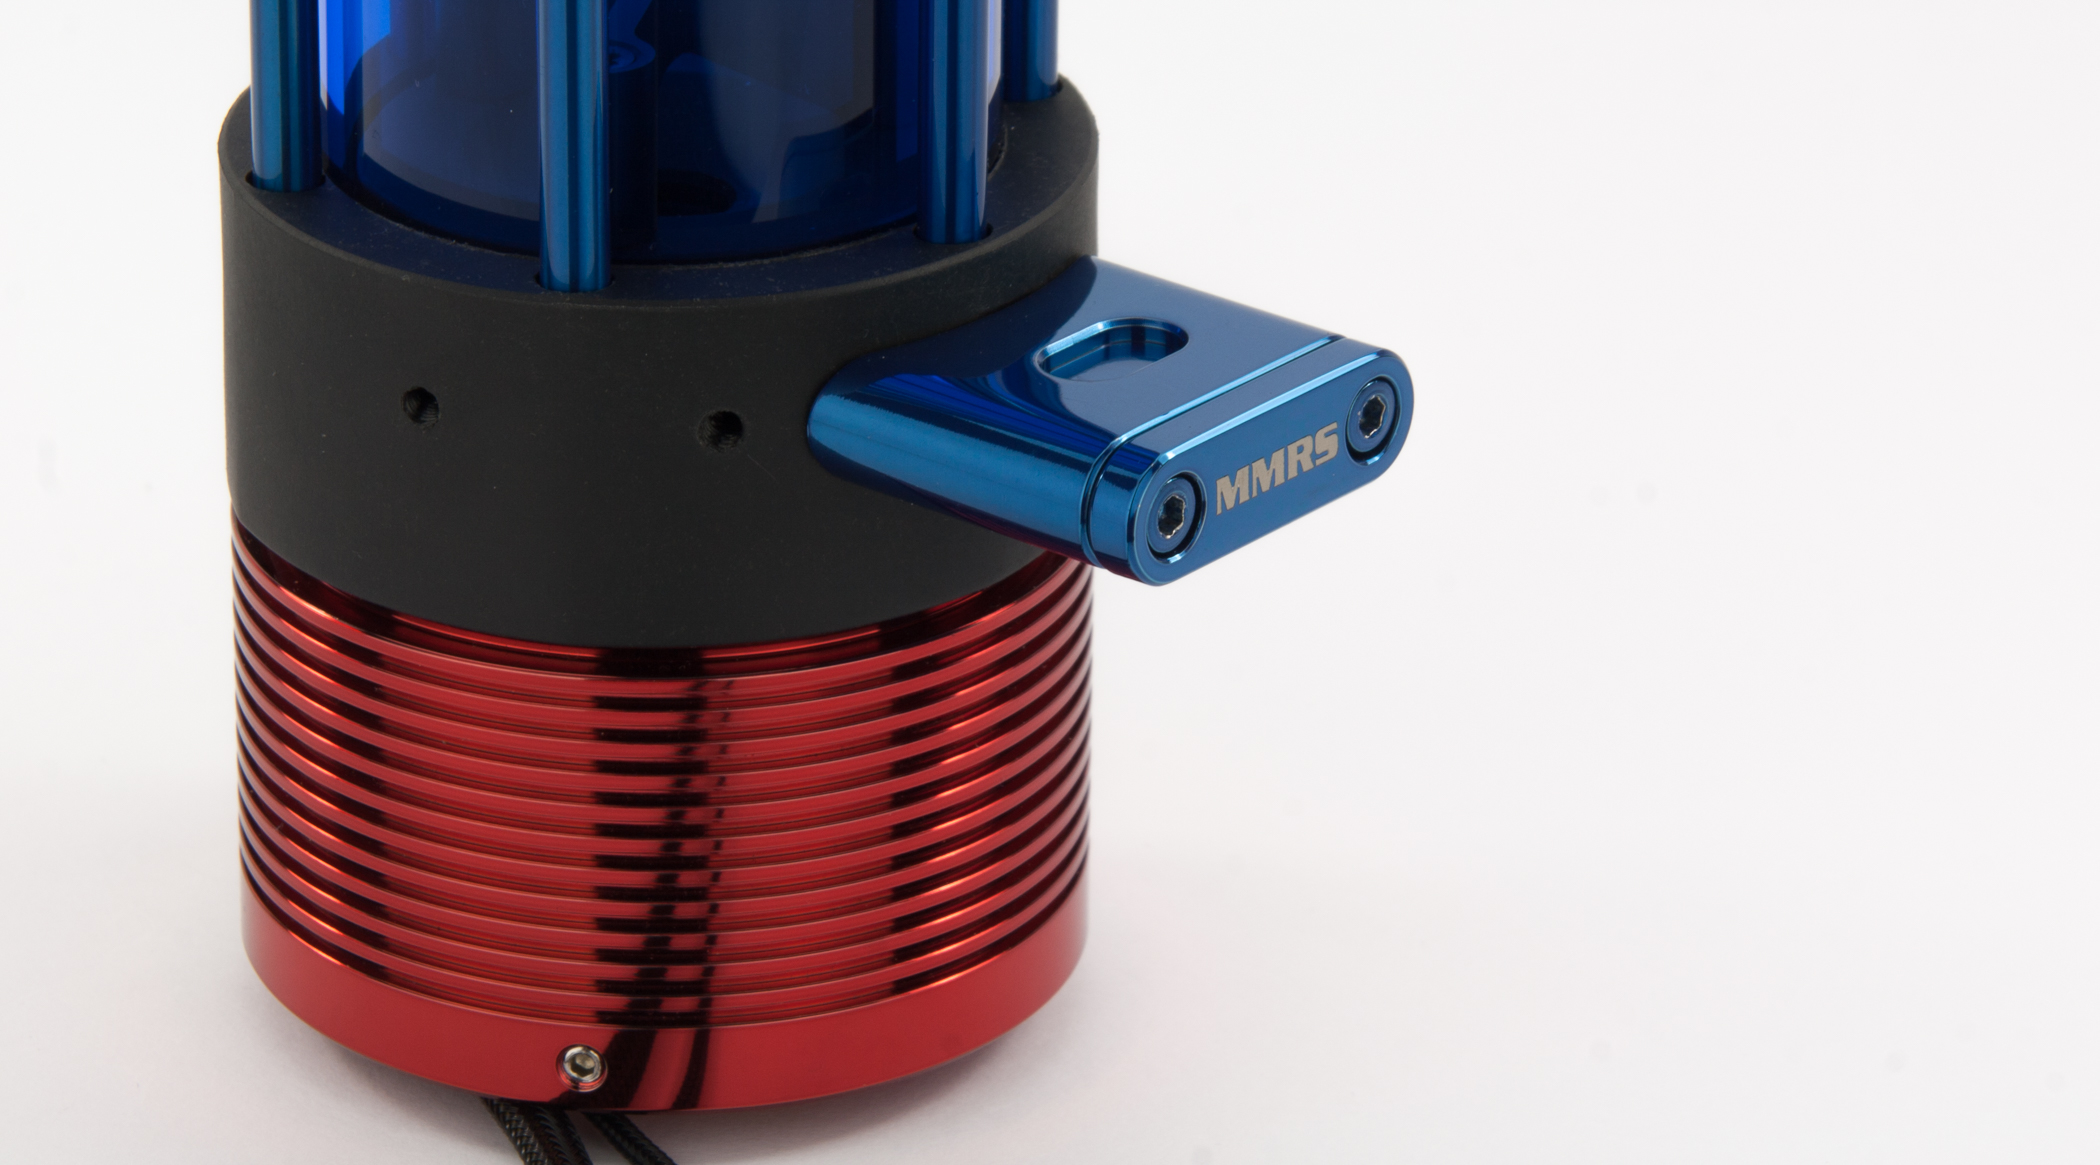
The 25mm and 50mm mounts are fitted in the exact same way, although picture below I have no “simulated” case panel.
If you are also installing the twin CCFL light kits with the 25mm or 50mm brackets, the light must be put in position before tightening up the screw for the brackets. A friend’s extra set of hands will definitely come in handy for this little job.
Carefully screw in your fittings of choice and you should ready to plumb up your new custom res/pump combo.
Monsoon have done a great job in making tutorial videos for the MMRS range, so watching these is also a fantastic information and learning resource.
- Monsoon MMRS Overview
- Monsoon MMRS V2 Basic Assembly
- Monsoon MMRS V3 COUPLERS
- Monsoon MMRS V4 ADD A PUMP
- Monsoon MMRS V7 Stand-alone Pump
- Monsoon Fill/Drain Port Design with MMRS
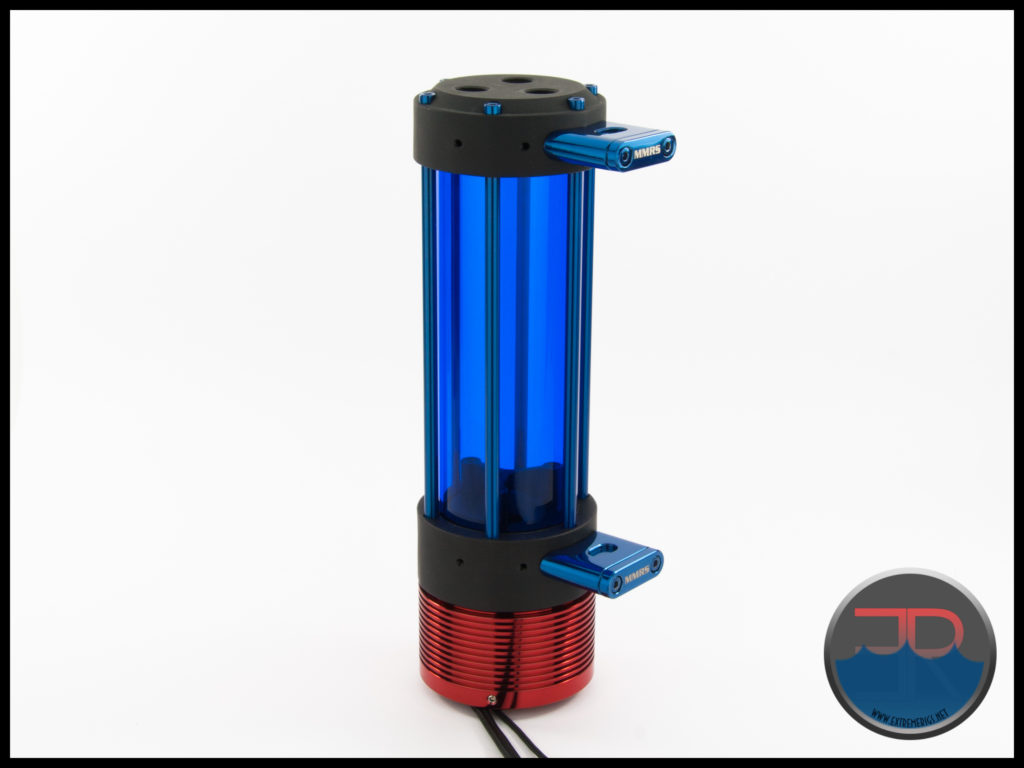
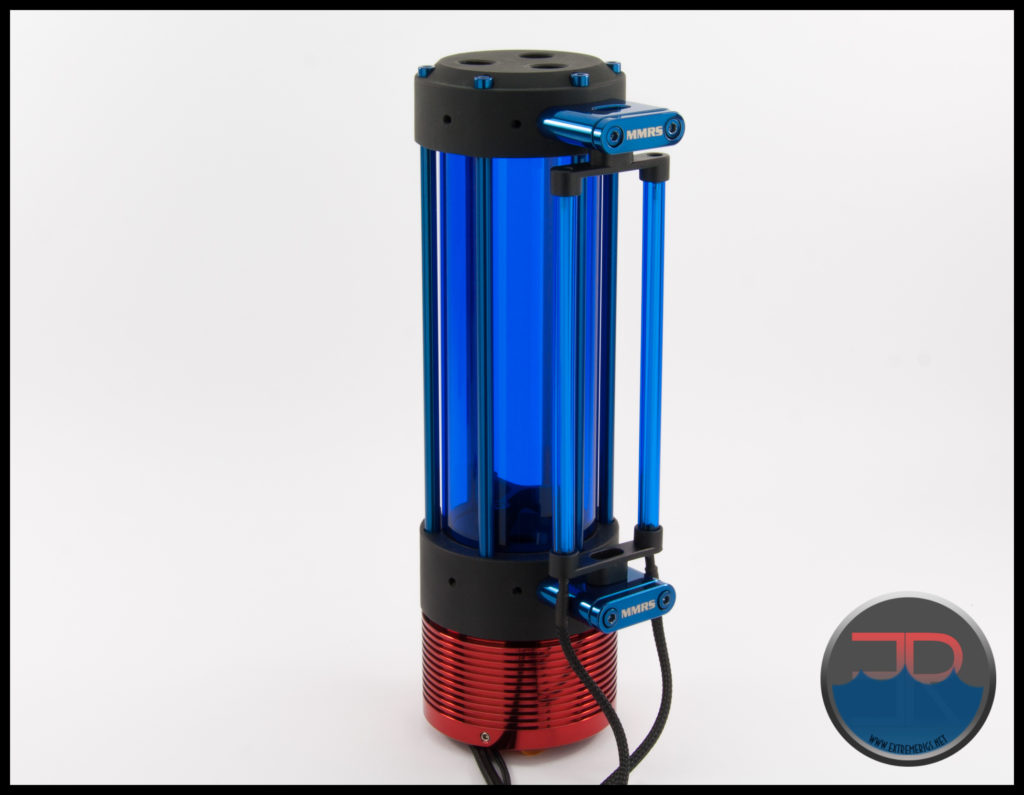
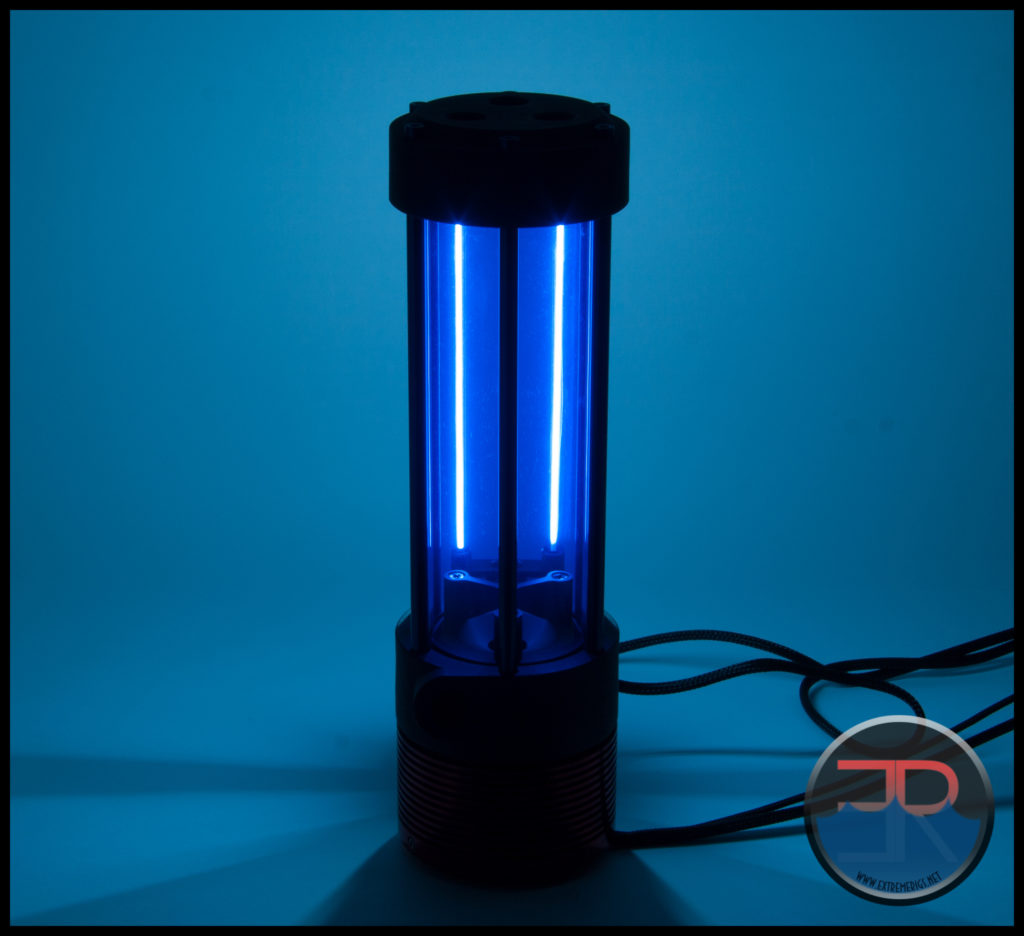
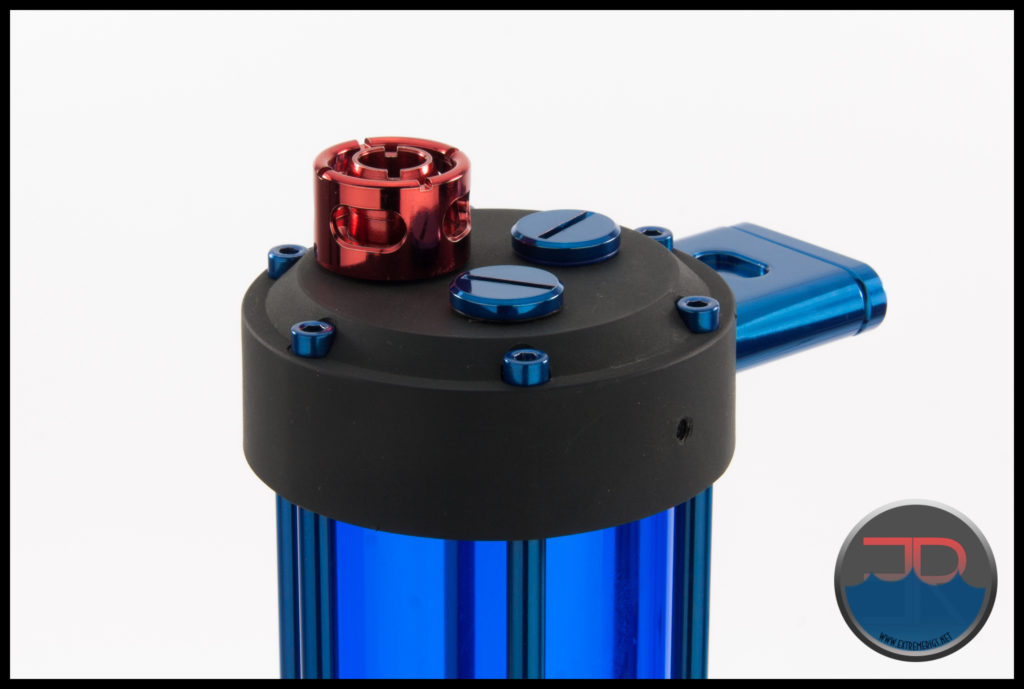
Now let’s see how the the TRP D5 end cap performs.


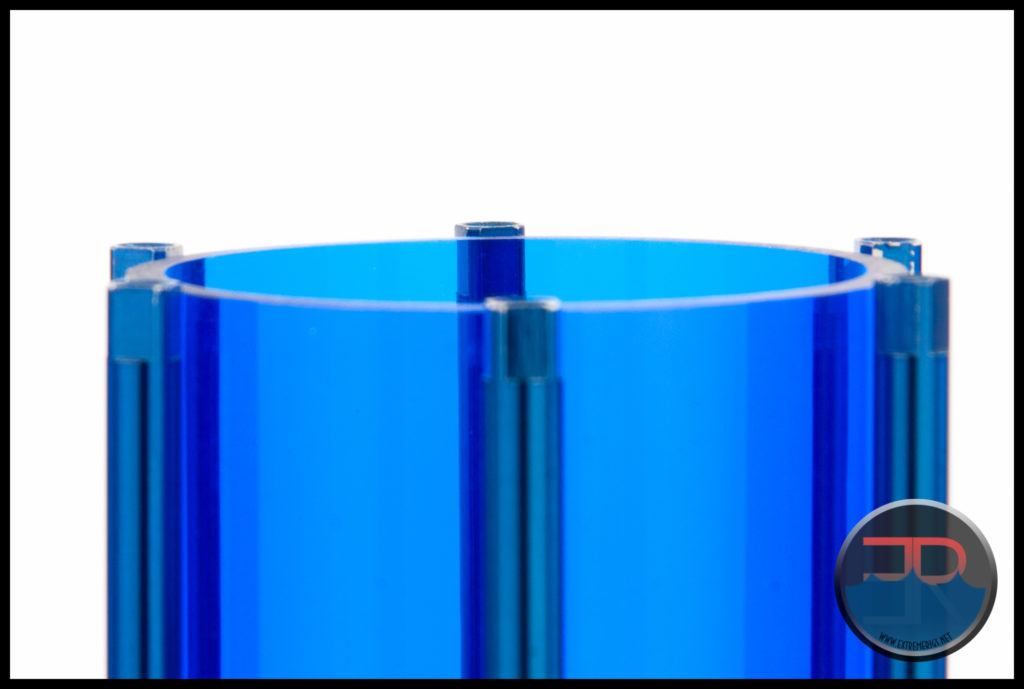
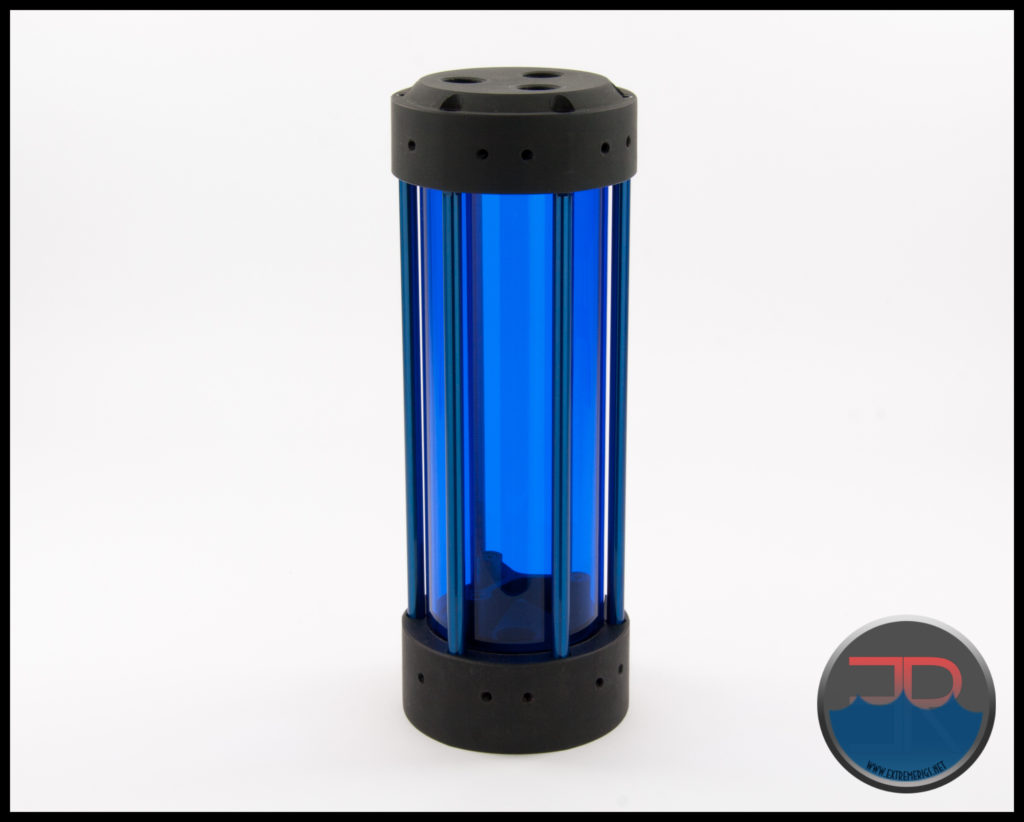
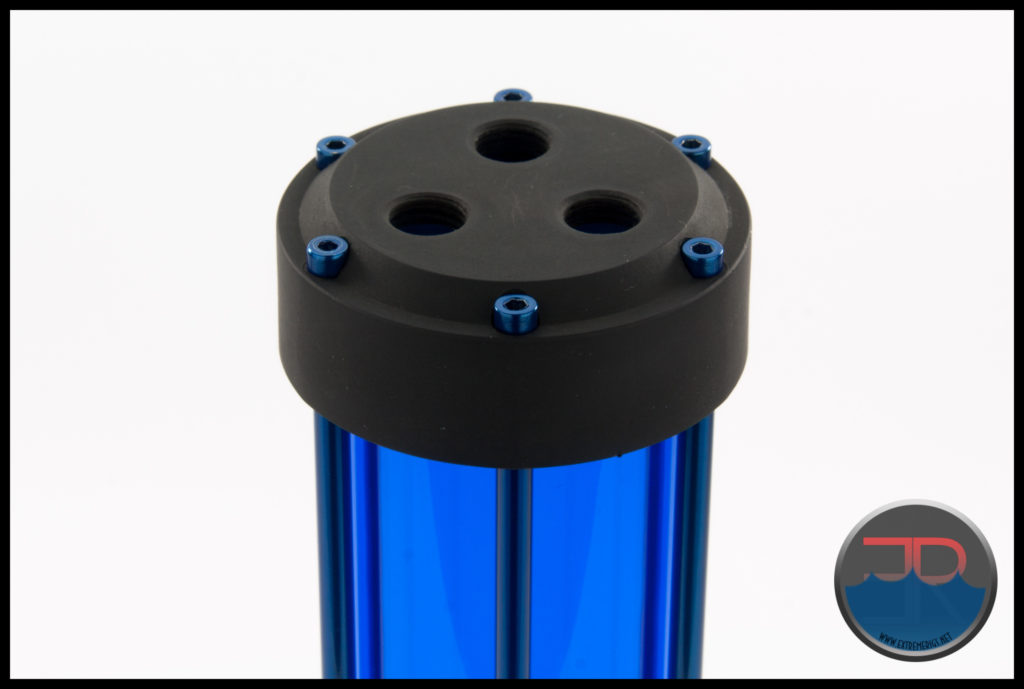
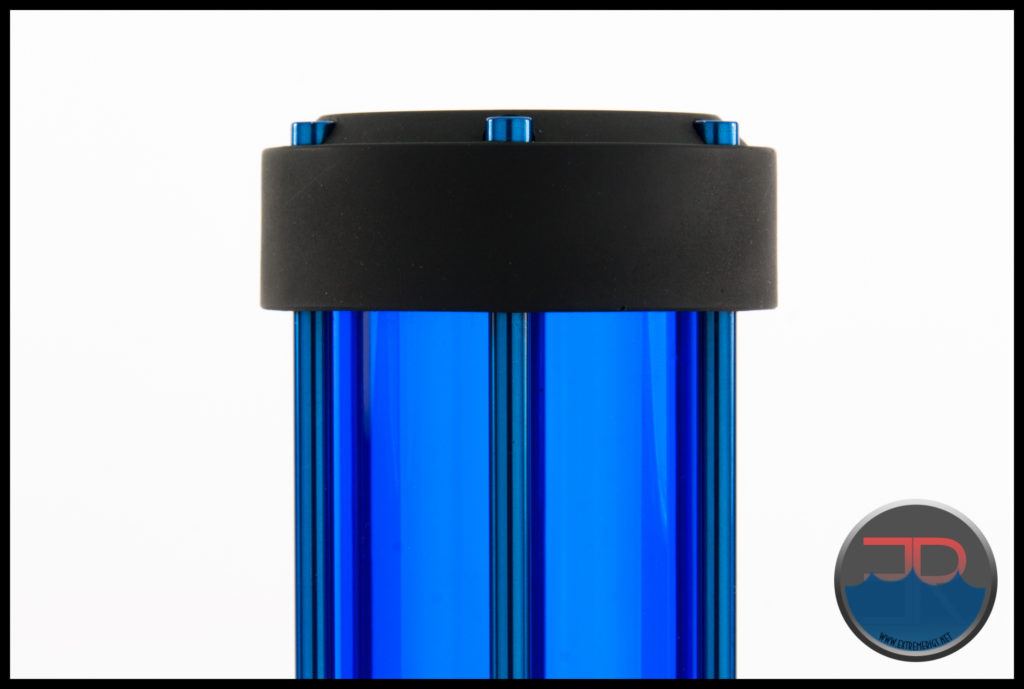


Great review! You mention a UK based re-seller has “committed to stocking the extensive MMRS inventory”… do you know who this is? I cannot find any UK company that has these products listed, only US based ones. Thanks.
We thought OCUK were going to be stocking them, but haven’t received confirmation. CaseKing (Germany) however have ordered them.
OCUK have contacted and said that they now have stock: https://www.overclockers.co.uk/water-cooling/components/reservoirs/modular-reservoirs
Very good review, i have just one question that i did not find anywhere, with this 150mm tube config, including pump cover, what is the total assembled length of this pump/res combo? im looking for a small pump/res combo for mini itx loop im planning, and am well aware of all the options out there, but this is just a sexy looking pump/res, was wondering how long it is with your review config so i can know how long it will be with the 50mm long tube *simply by deducting 100mm of course).
Rather than just give you the answer to you question, which is 202mm.
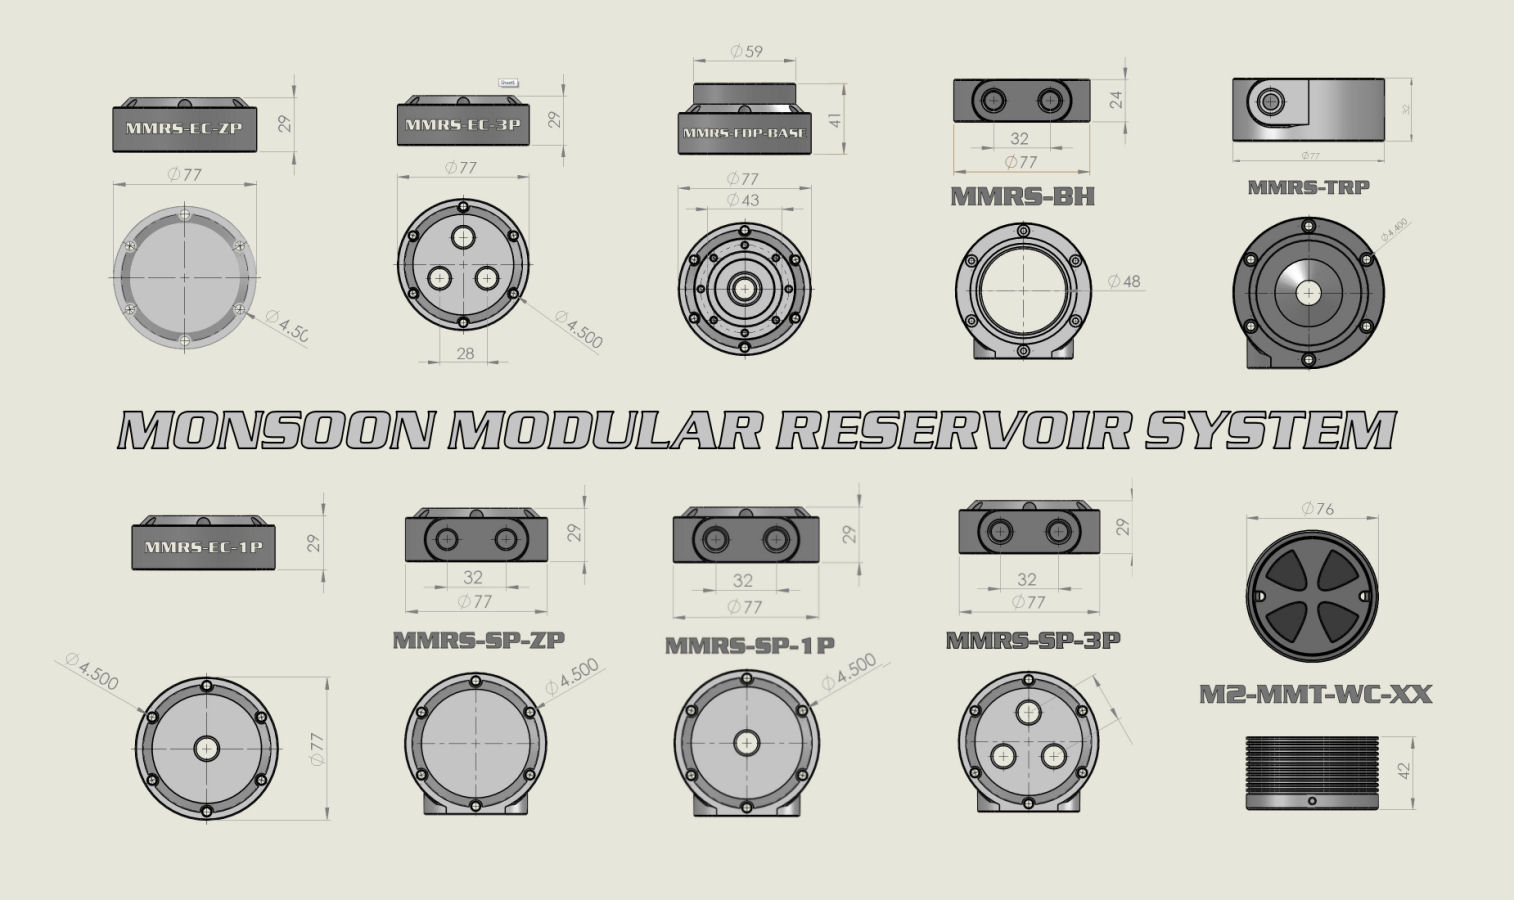

Let’s take a look at the MMRS size chart so you and others can confidently work out the MMRS reservoir lengths prior to placing an order.
Starting at the top of the assembly, an End Cap must be selected. These are all 29mm high. Remember to add you fitting or stop plug height if you select an end cap with top ports.
Next in line is the reservoir tube, in this case let’s make it 100mm.
Finally an End cap for the bottom must be selected. In this case we want the TRP (D5 pump mount) and the cover that must be mated with it, 32mm and 42mm respectively.
Now we simply add up the height of the chosen components to get the overall height.
29 + 100 + 32 + 42 = 203mm
Simple Right
The discrepancy with my answer and the sum total is that my EC-3P only measures 28mm, not the listed 29mm.
If you are adding a D5 pump stand, add another 12mm to the total.
Hope this helps.
f_f
wow man, kudos on awesome reply!
i am actually planning my first loop, and its in the NZXT Manta, imma plan to go all out with rigid tubing as well because… might as well.
Pump+Res has been my only thing, since im a silence freak and aim at D5 no matter what.
Case basement aint an option since my HUE+ occupies that space.
So far the Monsoon is the leading candidate also thanks to their mounting system.
Also, noticed they mentioned all the measurements in the article as well, but did not think of it when i read it xD
Again, amazing article, reviews like these are really helpful.
And of course thanks to fast_fate for great comment
On ppc shop is shown, that lightbulbs can be mounted even if using grasshoppers … yes, the bulbs are on others angles to the grasshopper, but still is possible to have both, grasshopper and lightbulbs
http://www.performance-pcs.com/monsoon-mmrs-fully-assembled-and-customizable-reservoir-style-2.html
only 1 thing i would appreciated: mirrored pump output (MMRS-TRP)
Just wondering but does anyone know how far apart the holes for the reservoir mounting brackets are?
Comments are closed.