EK have a PDF version of the Instructions available online from which I have copied the pump installation section.
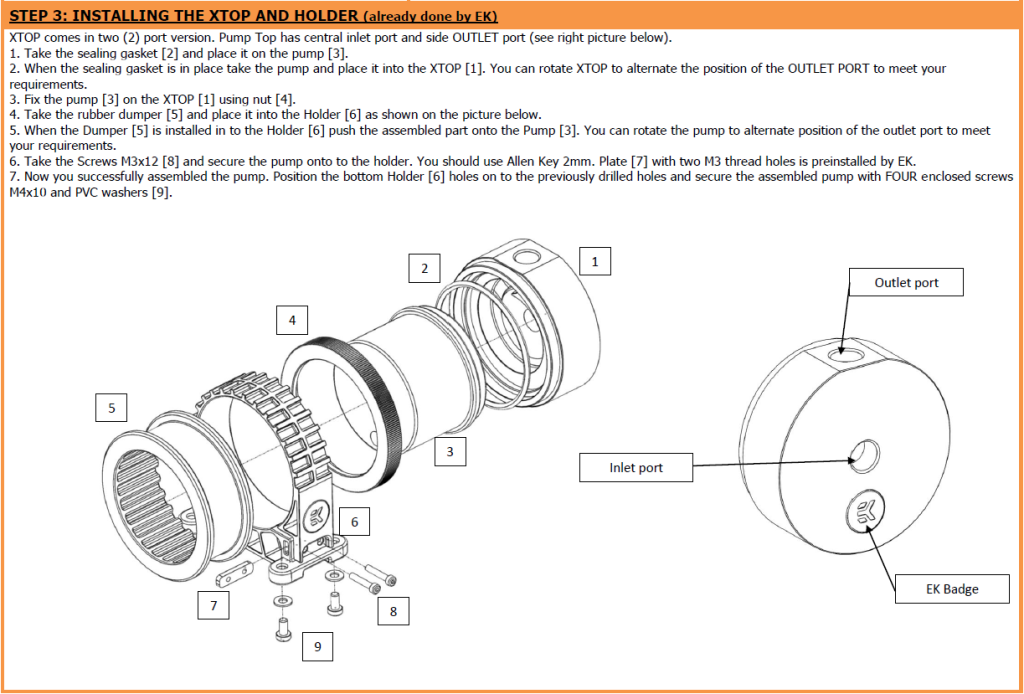 Now let’s have a go ourselves, using the instructions that EK provides.
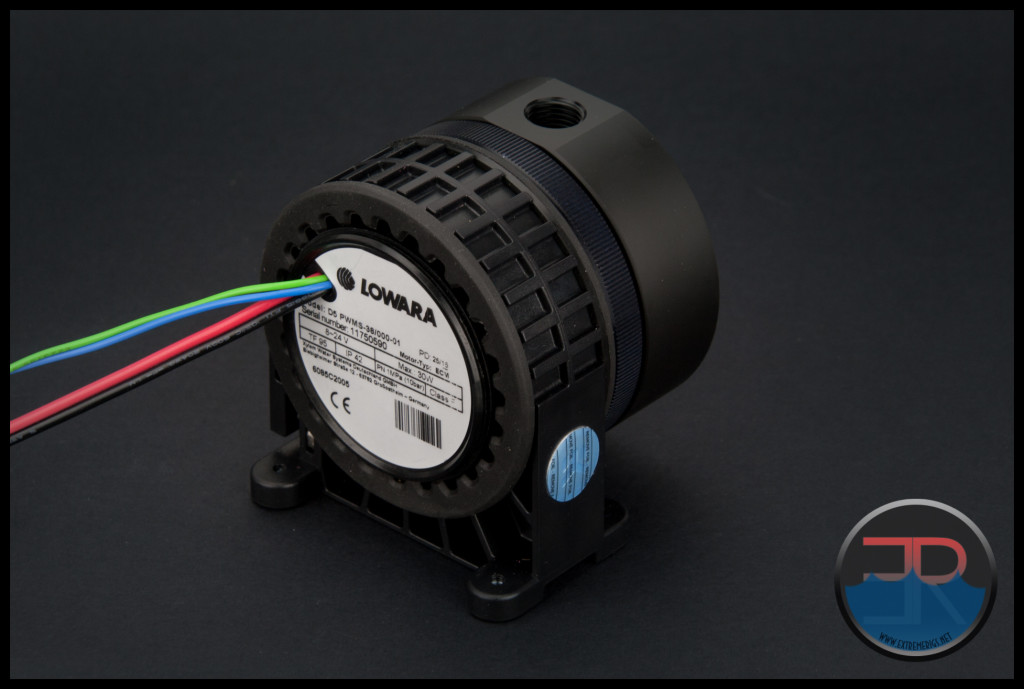
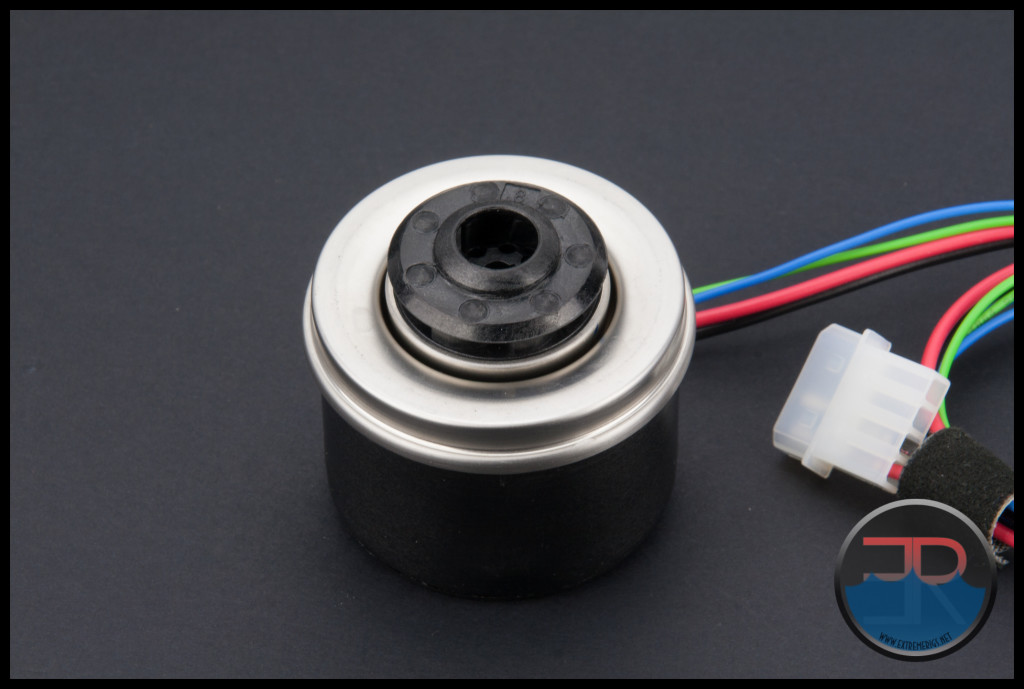
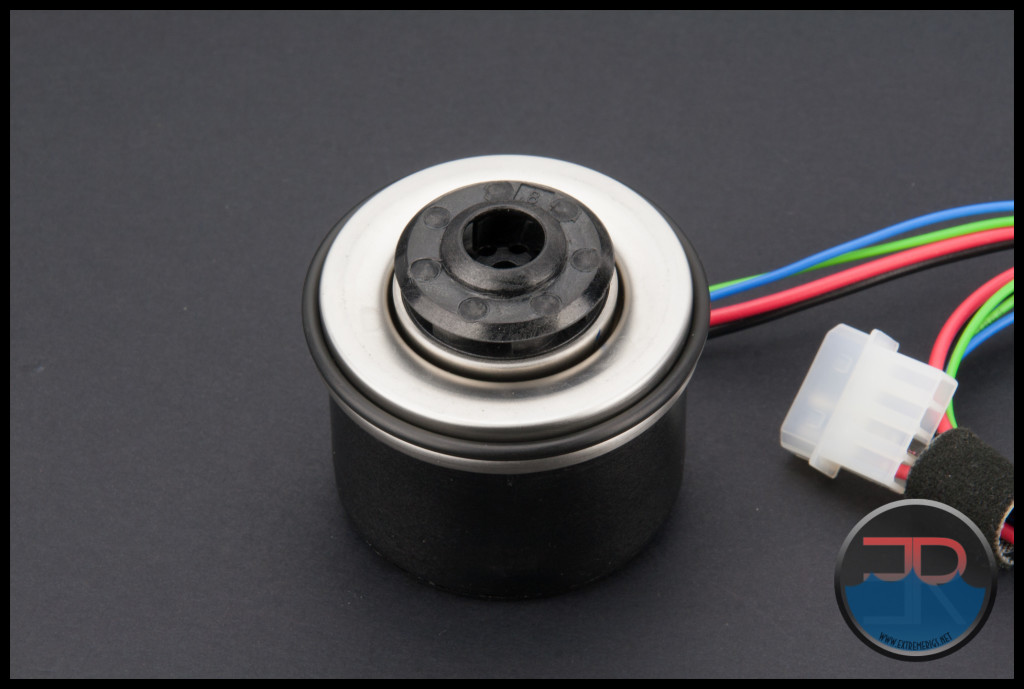
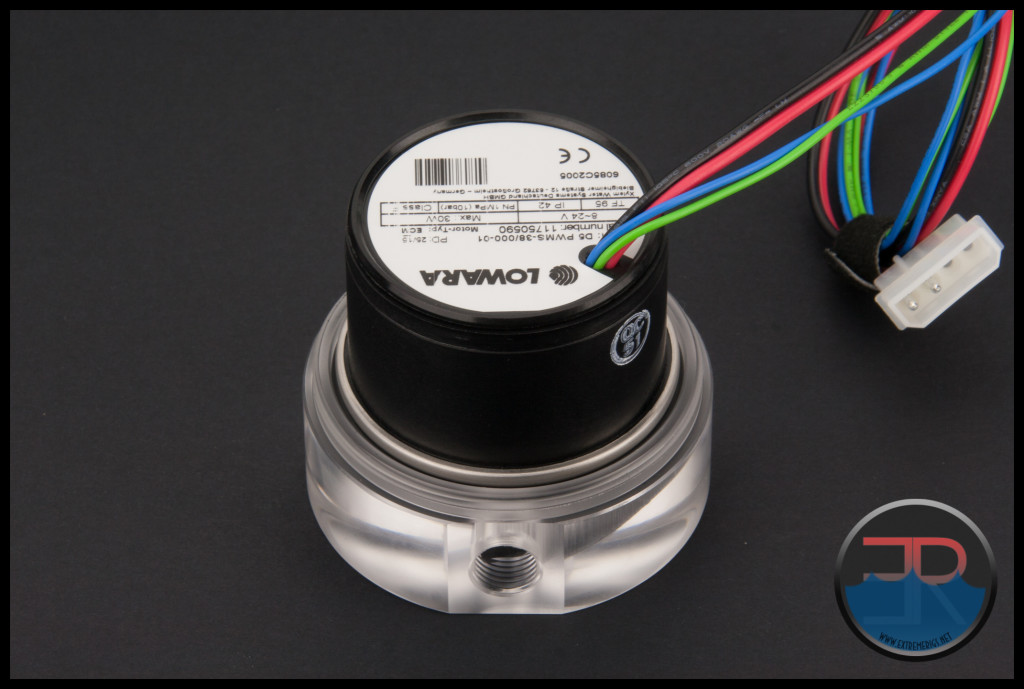
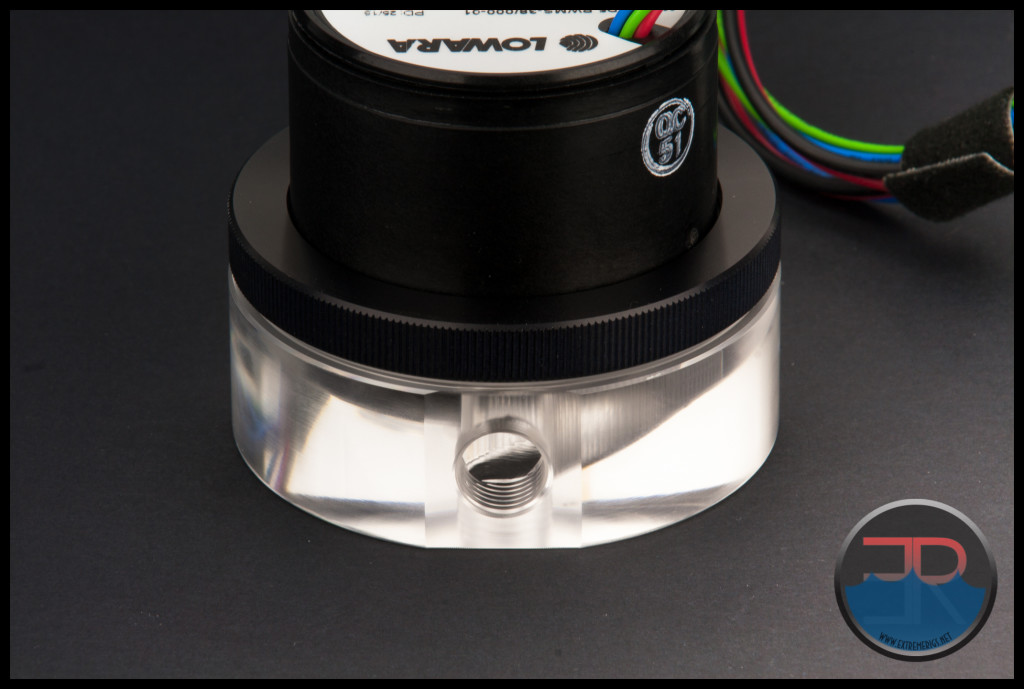
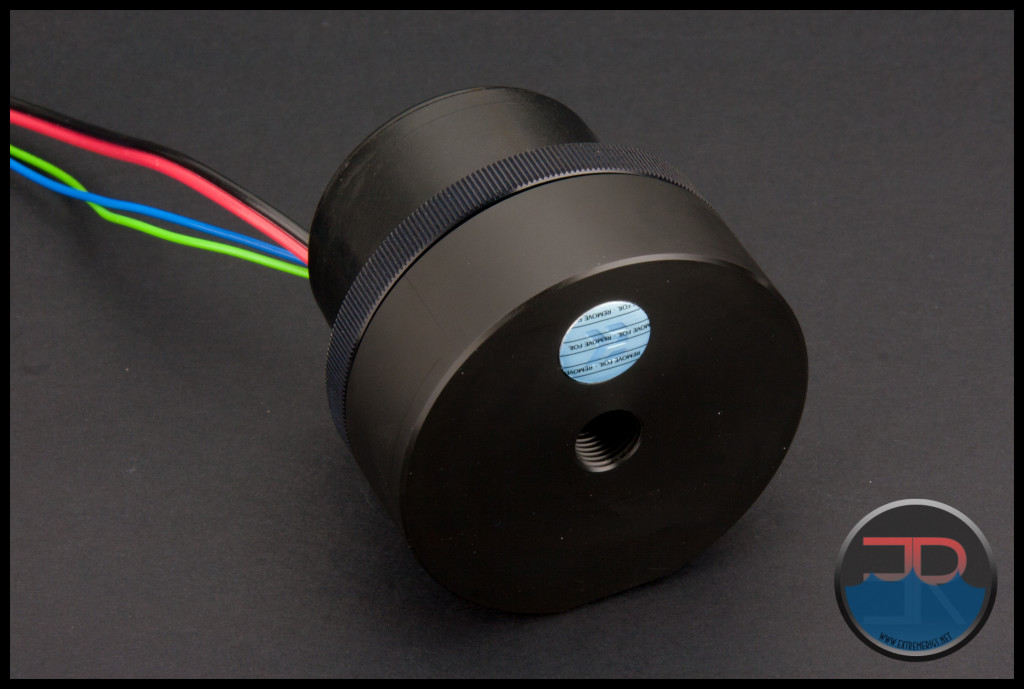
As I have an EK-D5 PWM Motor we’ll use that for our photo shoot. (Sponsors like that sort of thing)
Unusually for EK products there is no branding or rebranding on their version of the D5 PWM pump.
“1. Take the sealing gasket [2] and place it on the pump [3].”
“2. When the sealing gasket is in place take the pump and place it into the XTOP [1]. You can rotate XTOP to alternate the position of the OUTLET PORT to meet your requirements.”
“3. Fix the pump [3] on the XTOP [1] using nut [4].”
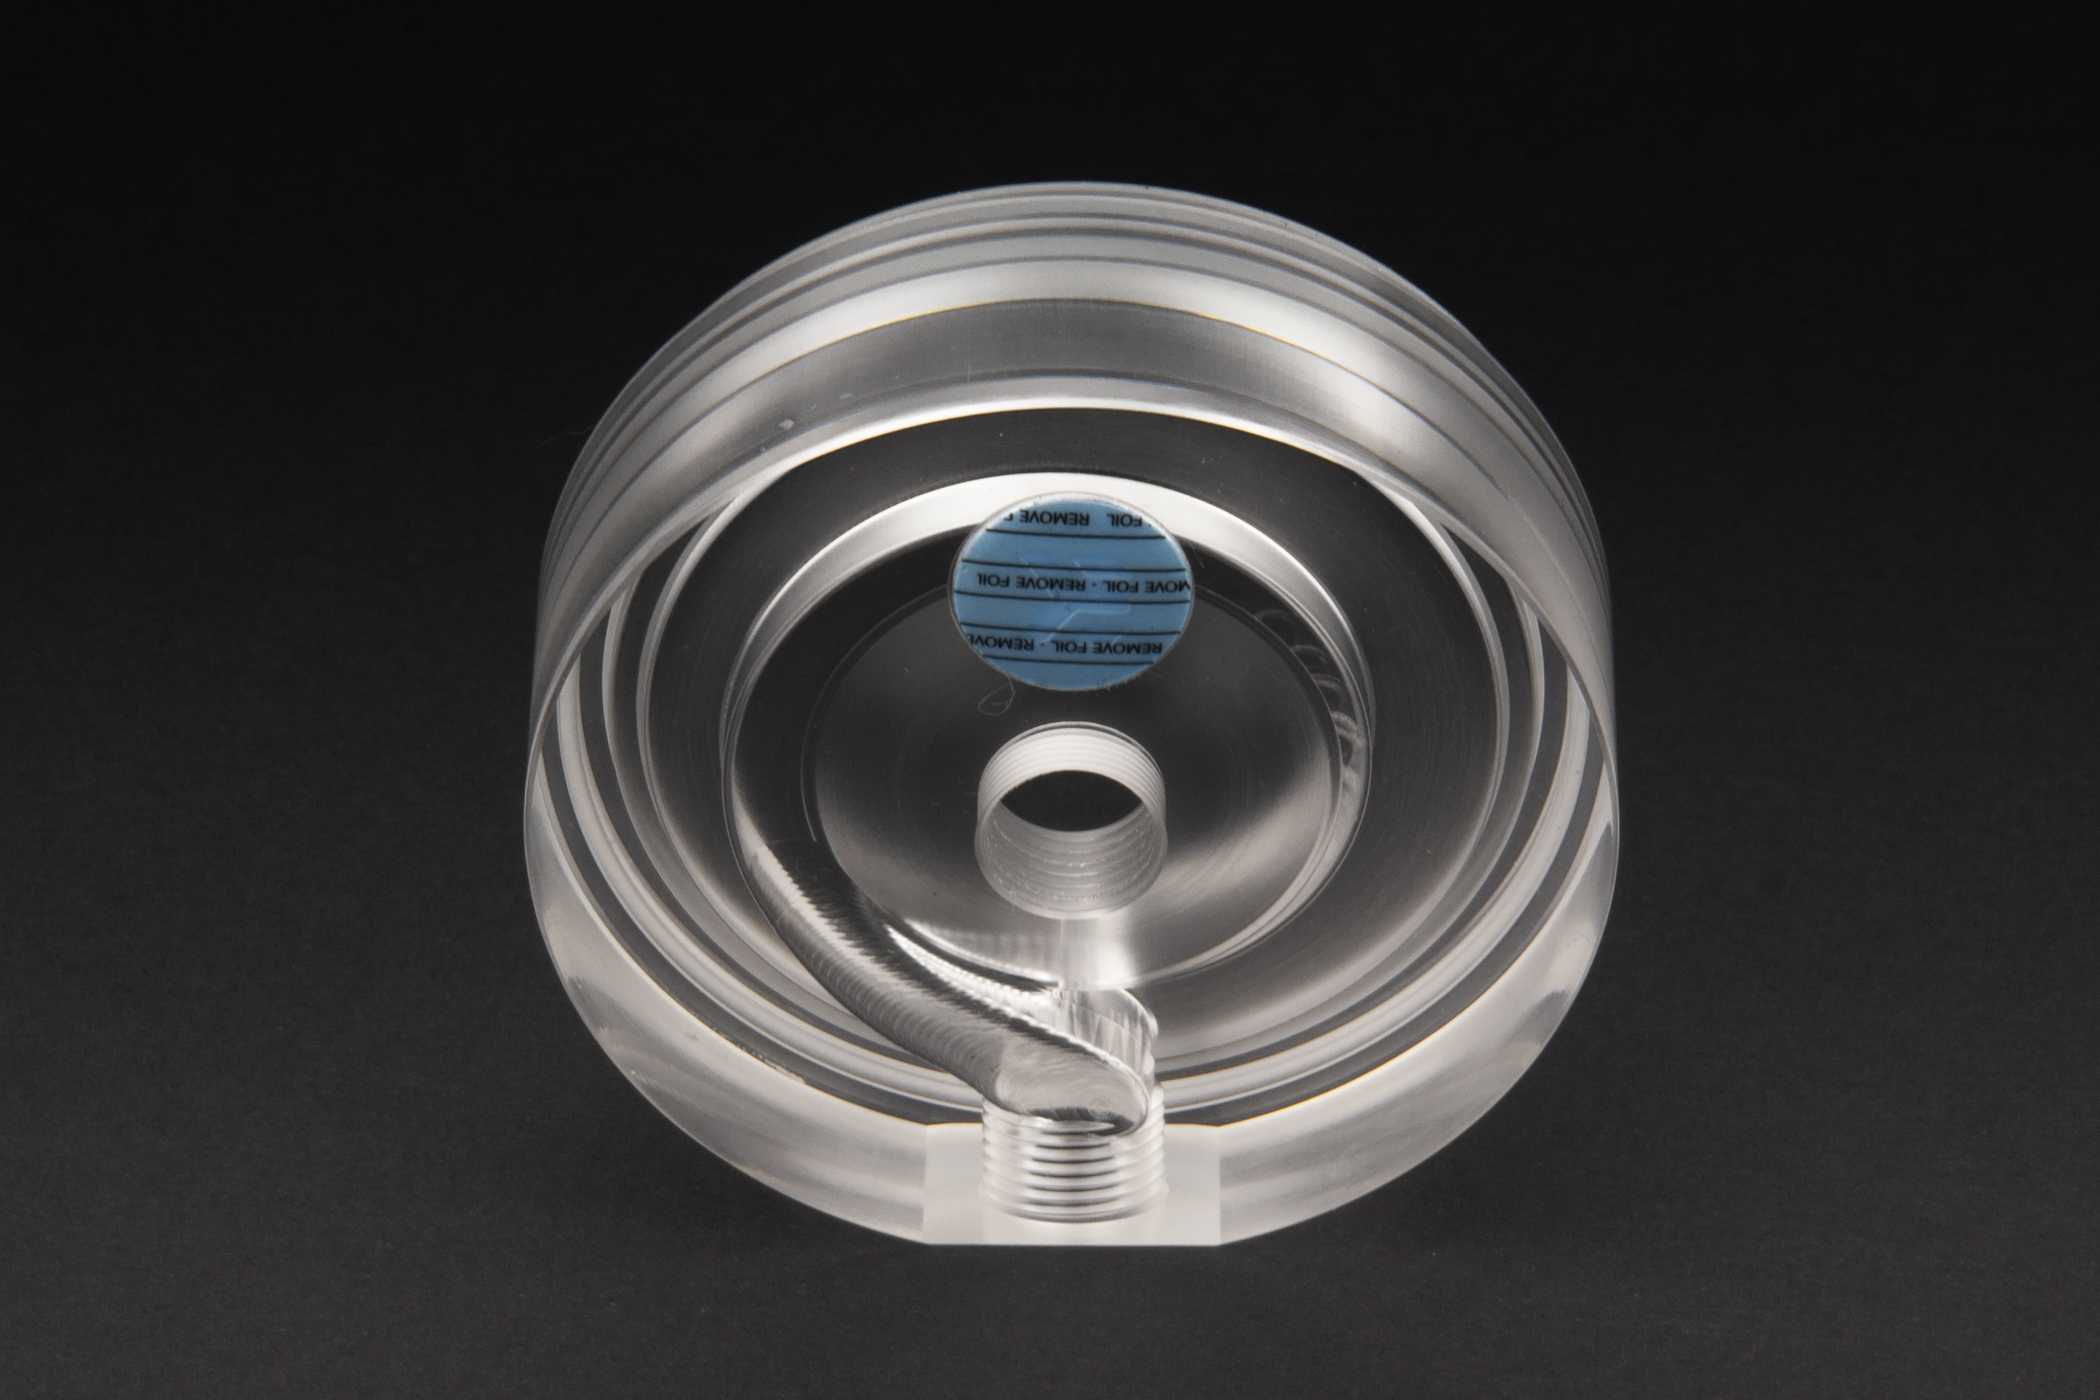
All pretty straight forward so far, one would think BUT I had an issue. The pump didn’t seem secure and had some free play in the housing which just didn’t seem correct. There was an issue with the mating of the threads of the top and locking collar (nut). This left the thread on the plexi top cross threaded. I returned it to my retailer straight away without fully investigating the details or taking photos of the thread sadly. The retailer conceded there was an issue with the threads and offered a replacement on the spot. Unfortunately the Plexi version was sold out already so I took the Acetel version for a replacement.
So picking up where we left off, the locking collar (nut) now screwed onto the Acetal top perfectly and felt secure and tight with no movement what-so-ever, as I had expected on the Plexi top.
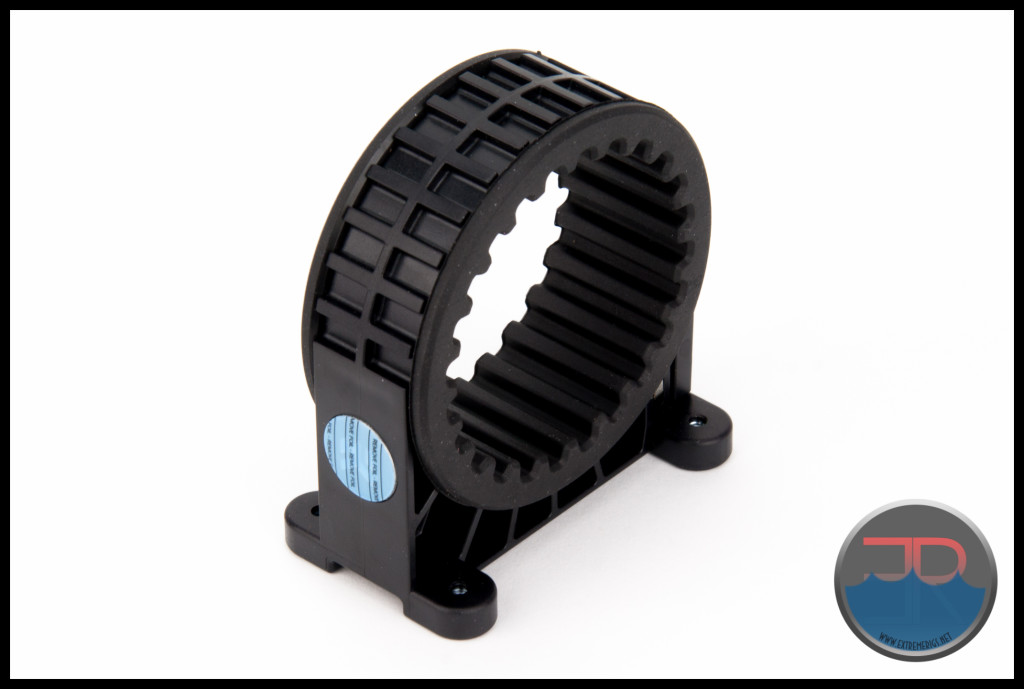
“4. Take the rubber dumper [5] and place it into the Holder [6] as shown on the picture below.” – Here we think damper would be a better choice of word than dumper.
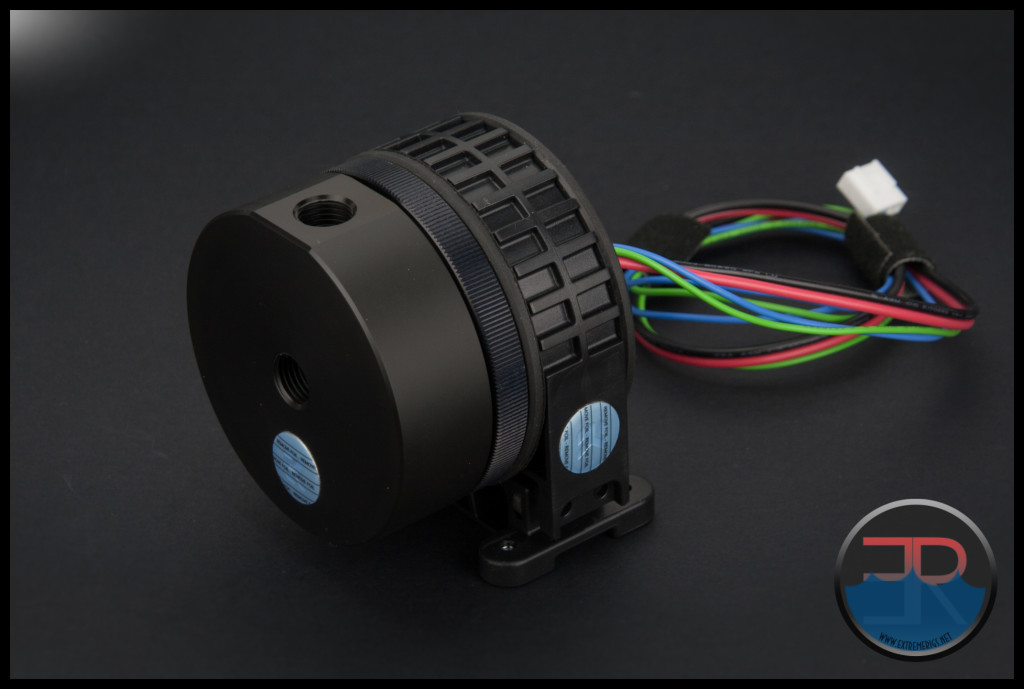
“5. When the dumper [5] is installed in to the Holder [6] push the assembled part on to the Pump [3]. You can rotate the pump to alternate position of the outlet port to meet your requirements.”
The bracket clamp is fairly flexible and you can lift it up a bit to turn the pump/top to face to your desired output direction.
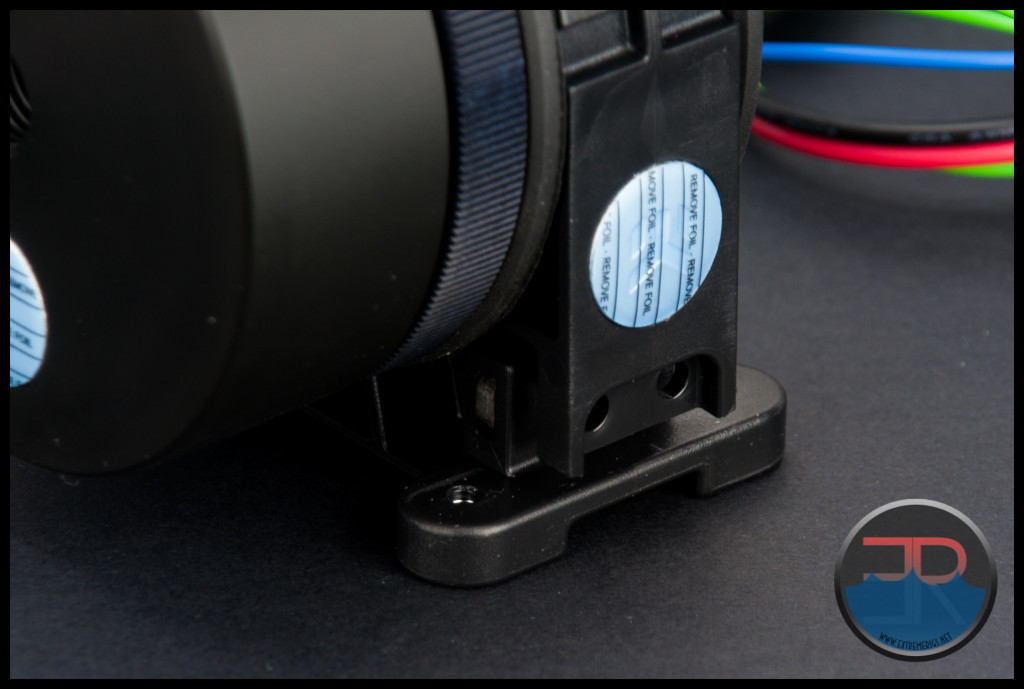
When securing the clamp in the next step you will have apply some pressure to get the holes on the bracket to line up with the nuts in the base.
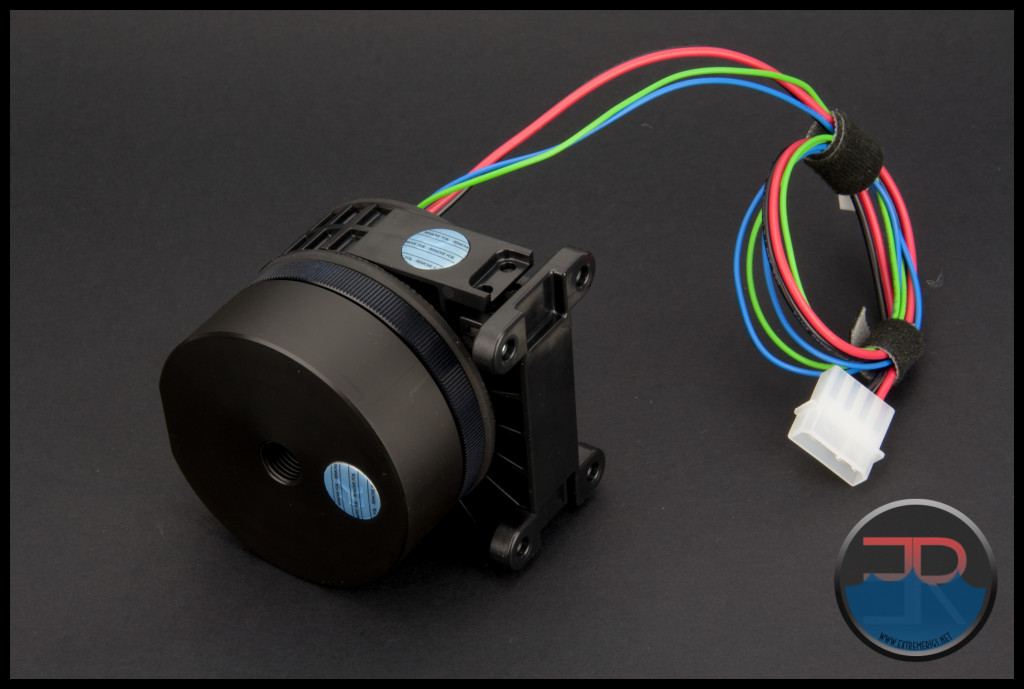
“6. Take the Screws M3x12 [8] and secure the pump on to the holder. You should use Allen Key 2mm. Plate [7] with two M3 thread holes is preinstalled by EK.”
The Acetel top I received only had one of the required M3 screws (but had 2 spares for the mounting bracket):

The last step of instructions is about mounting the completed assembly to pre-drilled holes in your case.
“7. Now you successfully assembled the pump. Position the bottom Holder [6] holes on to the previously drilled holes and secure the assembled pump with FOUR enclosed screws M4x10 and PVC washers [9].”
 While this standard installation may be suitable for many installation scenarios we highly recommend the EK-UNI Pump Bracket (120mm FAN) as an option to consider getting with your Revo D5 pump top. It’s a neat option which in many cases means no drilling will be required for mounting the pump assembly.
This bracket allows installation on a floor mounted 120 sized fan space, fan or radiator and while EK do also sell a vertical 120mm fan mount (for vertical inlet floor mounted), we see no reason why the UNI bracket below can not also be used for mounting the Revo pump top assembly to a vertical 120mm fan or radiator. Images courtesy of EK.

 So while we had a couple of hiccups, the install process was simple in comparison to the previous D5 XTOPS which used 8 screws to secure to pump to the top. The round pump top is compact and stylish and we think the mounting system with the vibration dampener is an excellent idea. The one thing which we haven’t quite grown to appreciate yet is all the notched sections on the mounting bracket. To us a smooth surface would be far more aesthetically pleasing.
Let’s see how the Revo D5 pump top performs.




Nice work as usual. Lots of great detail.
I’m starting to get used to being disappointed with new gen EK gear. I guess at least it still outperforms the stock top still unlike some other brands. I have been buying square Xtops while they are still available. Got a white one, just need a clear to finish off the collection.
I am not a fan of screw on pump clamps. I know it is fine and simply mimics the stock type but I much prefer the fool proof security of the bolted down clamp. The new mounting system for the pump body with the rubber insert is a genuine step forward but the rest feels like steps back to me.
agree 100% with the look of the mount, smooth would have been better, and better still would have been = or better performance without just a focus on looks.
I agree 100%, too. Minimal performance hit for a different look. No thanks. I want performance gain. Doesn’t that sell?
Can you test the Dual D5 Revo vs the Dual D5 CSQ?
It has been requested from EK, hopefully they approve.
I also would like to see a review of the Dual D5 Revo. (I have the previous EK Dual D5 series pump head unit which performs excellently and is installed in my Mercury S5. But I am designing an SMA8-A build in which I am considering to use the new dual pump head.)
Comments are closed.