Chamfering The Cuts
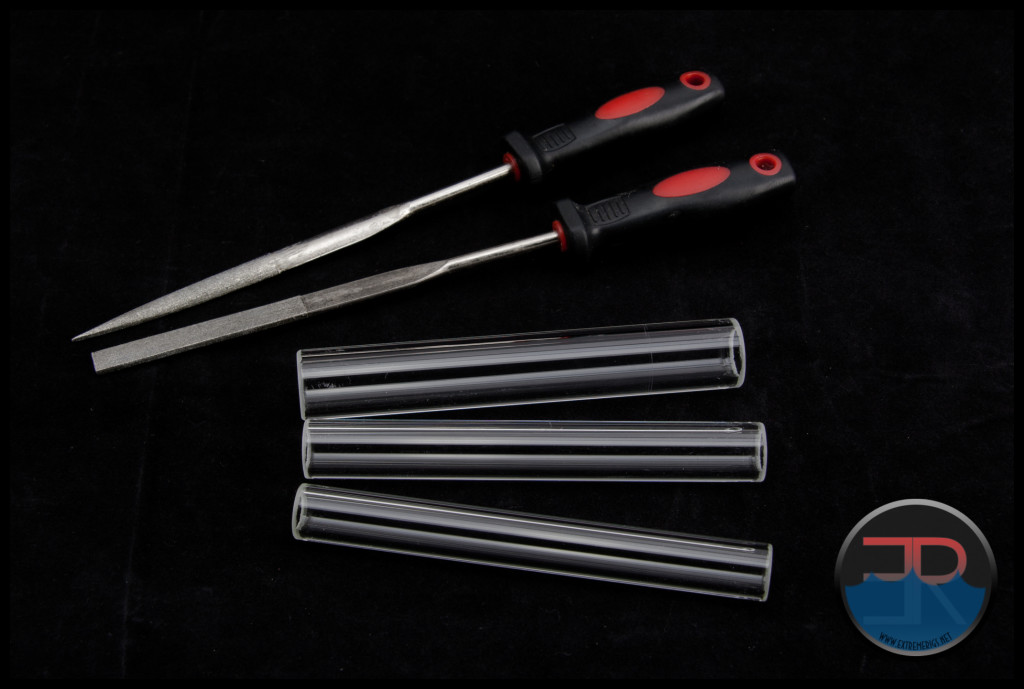
Chamfering the ends of your cut tubes is easily achieved using a couple of diamond needle files, a flat one for the shaping the outside chamfer and a half round (or curved) one for cleaning up the inside lip.
The filing process is best done over a sink as water will again be used to lubricate while doing the filing. With the potential for silica dust again present, we advise wearing a dust mask during the filing process.
After chamfering and filing is complete a final clean up will be required and a pack of thick pipe cleaners from your local craft shop will come in very useful.
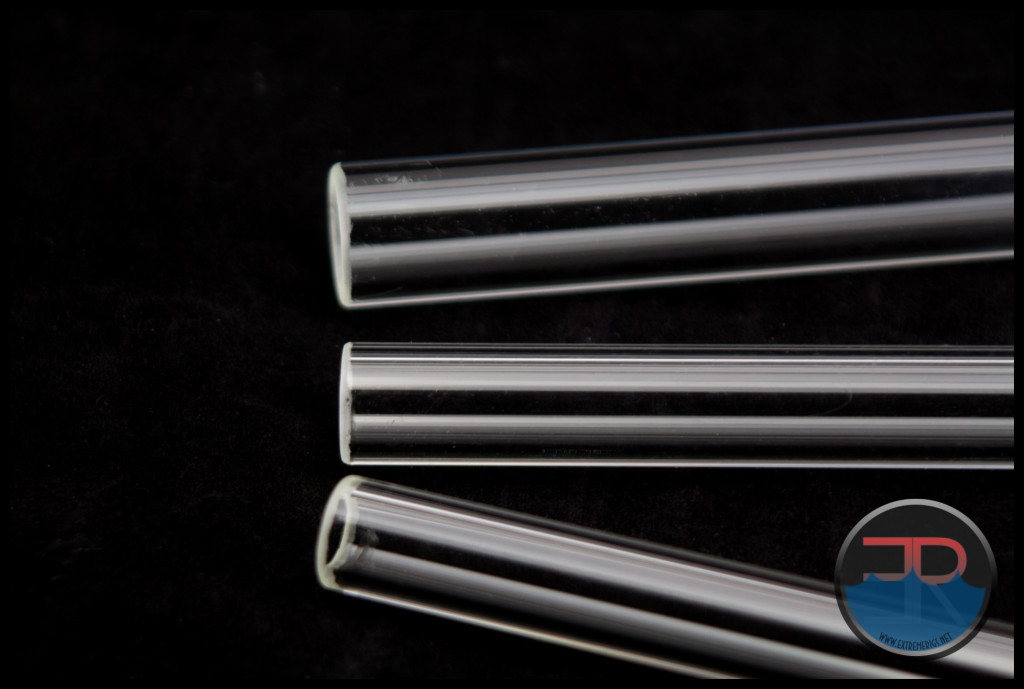
The end result is glass tubes cut to length, chamfered and ready to be installed. If you have access to a gas torch a little flame polishing of the ends after the clean up would add a perfect finishing touch, although I have not done this and it is not at all essential.
Mayhems 16mm, 13mm and 12mm Glass Tubing: cut, chamfered and ready for use:
 The pieces pictured above are the lengths I used for the PSI pressure tests.
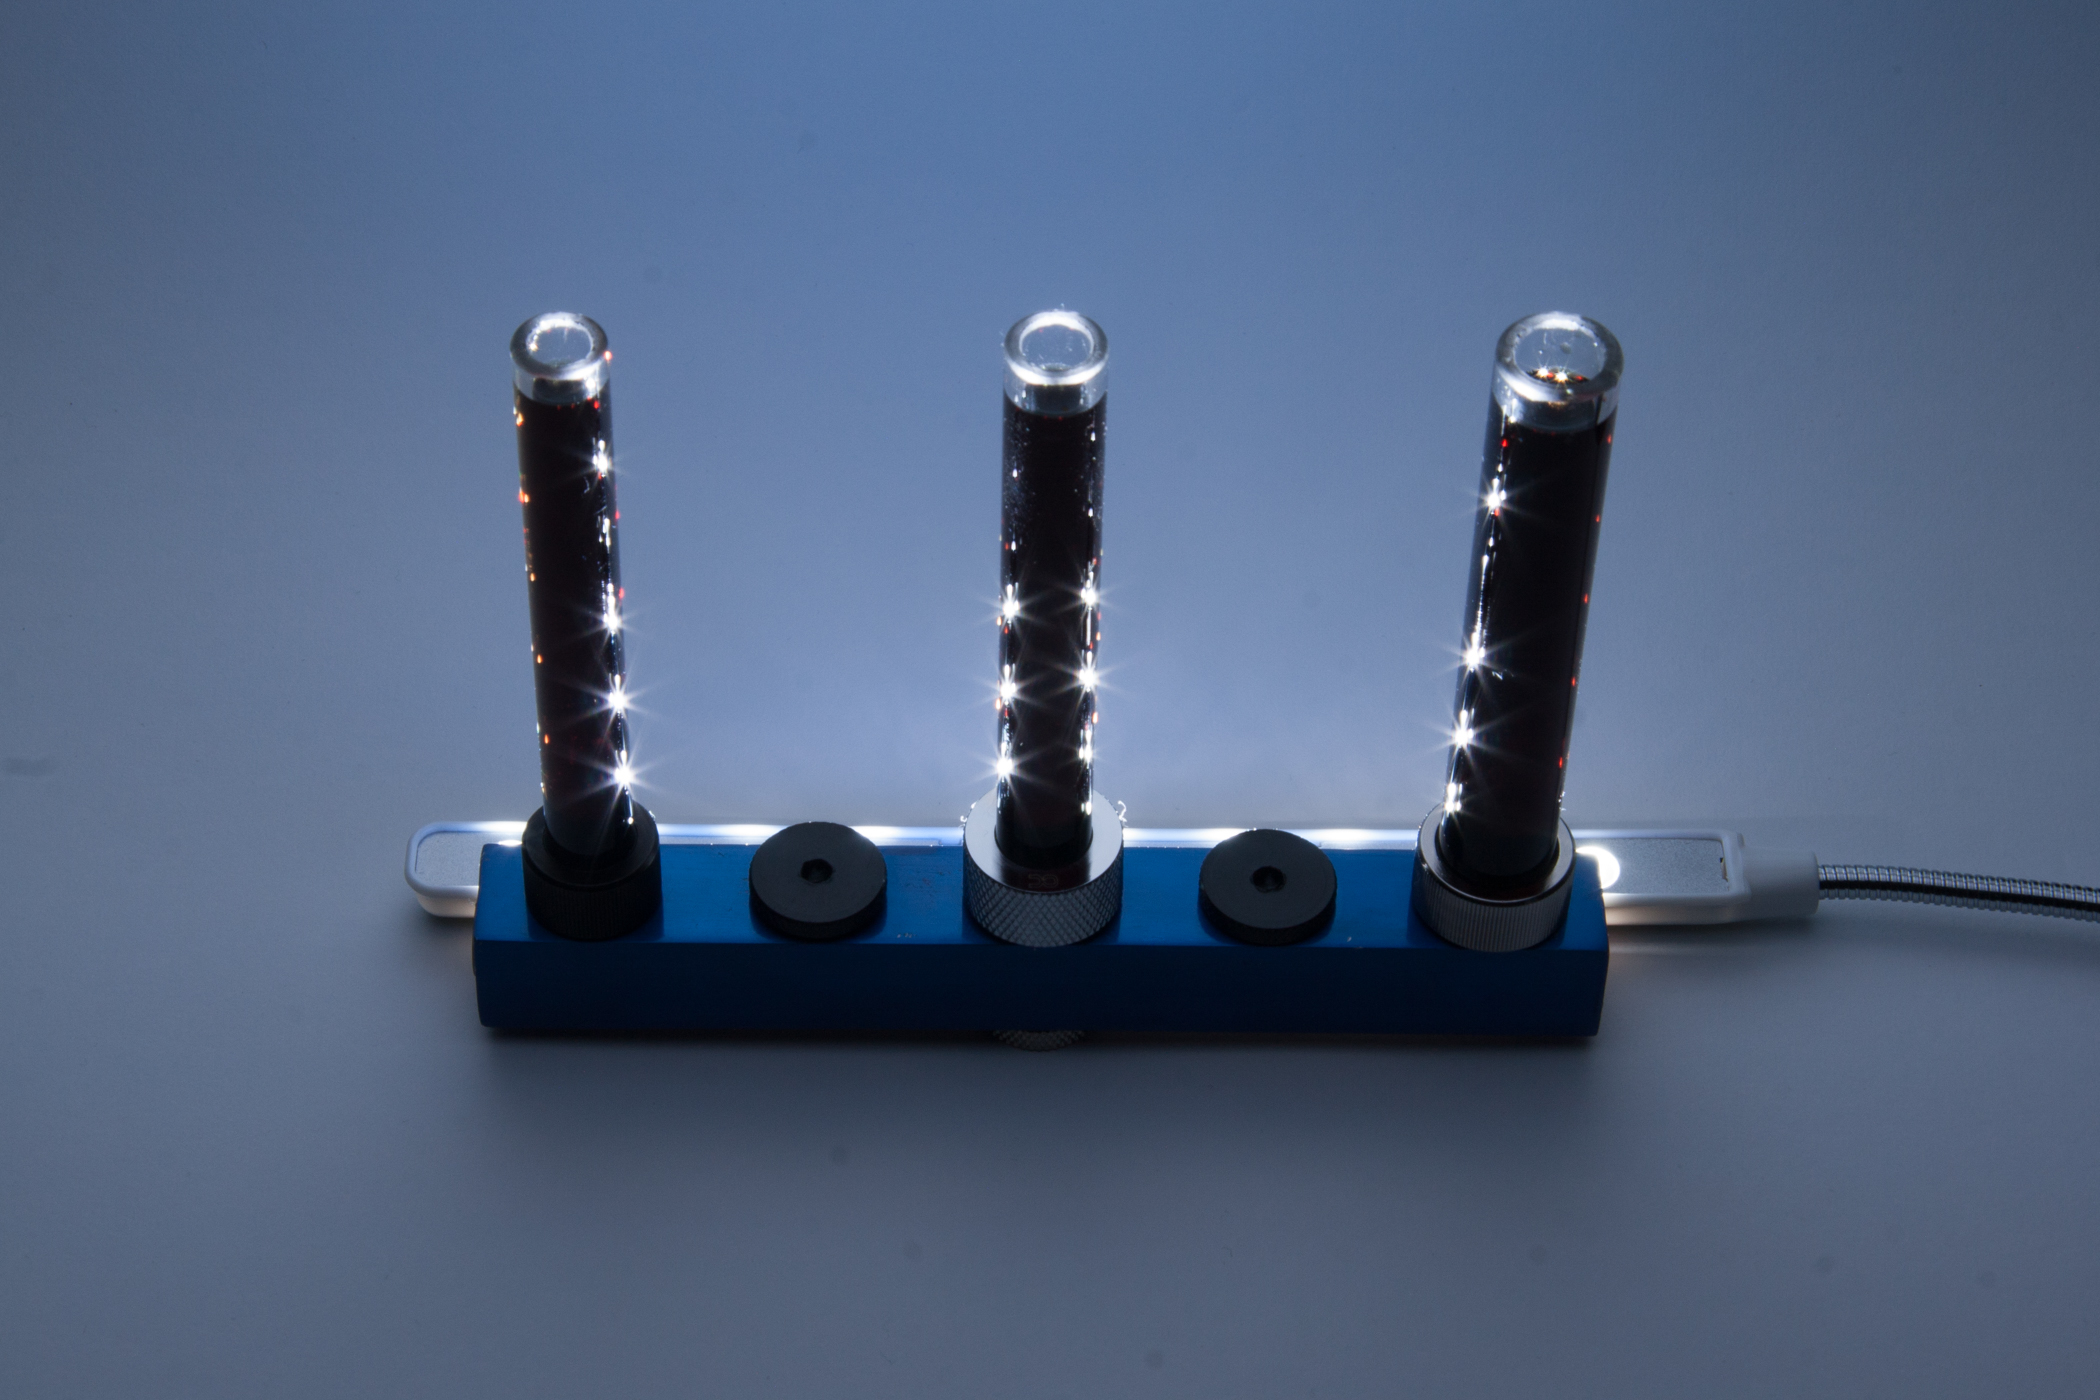
While I did not receive enough glass tube (1 of each size) to plumb up a system, I did want to see how the glass tubes looked with coolant in them. Let’s take a look at that next.


[…] Mayhems Borosilicate Glass Tube Review […]
Well, after reading and watching the Dremel Jig Setup vid, I thought of a few things…
1) I see no difference in using glass over PETG or Acrylic.
2) PETG or Acrylic is much cheaper and EASIER to cut than glass. (Even if it wasn’t cheaper, it’s glass is STILL much harder to cut)
3) Bending PETG or Acrylic (obviously) is much easier than trying to bend glass (and that’s if you have the $$$ to buy one and the skills to bend glass using a kiln). PETG or Acrylic is very easy by comparison.
4) As you can see glass tubing is easily subject to chipping and cracking if it’s not cut right (over PETG or Acrylic)
5) If you decide to use Glass instead of PETG or Acrylic, you’re going to have to spend $$$ getting a Dremel Jig Setup going. I have the Dremel 4000 and that unit (kit) cost me $98.00 at the time and although it’s a great unit to use for someone doing a one time build (or even continual builds), it’s still way too much $$$ over simply using a hand saw to cut your PETG or Acrylic tubing. Then you have to set up and build that Dremel Jig Setup. That’s too much time to make happen.
6) In some of the pics, even the reviewer/writer stated that he saw that the Acrylic tubing was even cleaner (at certain angles) to peer through than glass tubing, so right there, what real difference does it make to choose glass tubing over Acrylic (or even PETG for that matter)? – NONE!
Thank you for this review, but you should have entitled this:
“Mayhems Glass Tube Review… You Gotta Be On Crack!!!”
I already knew that I would have to face this expensive and arduous process, when all you have to do is use a basic PETG/Acrylic bender kit, that uses a heat gun and hand saw. It’s much easier to use those items than buying and building a Dremel Jig Setup (which would take hours). Then purchasing and having the skill set to learn how to use a Kiln?!?! Yeah, right!!! I know that I’m not going to waste my time with all of that. Thank you for proving this point with your detailed review (as I already knew this). I’m sticking with PETG to showcase my build(s). Later…
Look at these videso by JayzTwoCents and you will understand why glass tubing is better.
https://www.youtube.com/watch?v=6VMtJEjiMxA
https://www.youtube.com/watch?v=9kFBjm6BdhI
Very cool article (pun intended).
FYI, borosilicate glass does not contain crystalline silica which is what causes silicosis. It is amorphous. No problem with being safe though.
Comments are closed.