Fitting Compatibility
While we didn’t have a huge selection available for test fitting, we did have at least one type of fitting which was appropriate for each of the glass tube sizes.
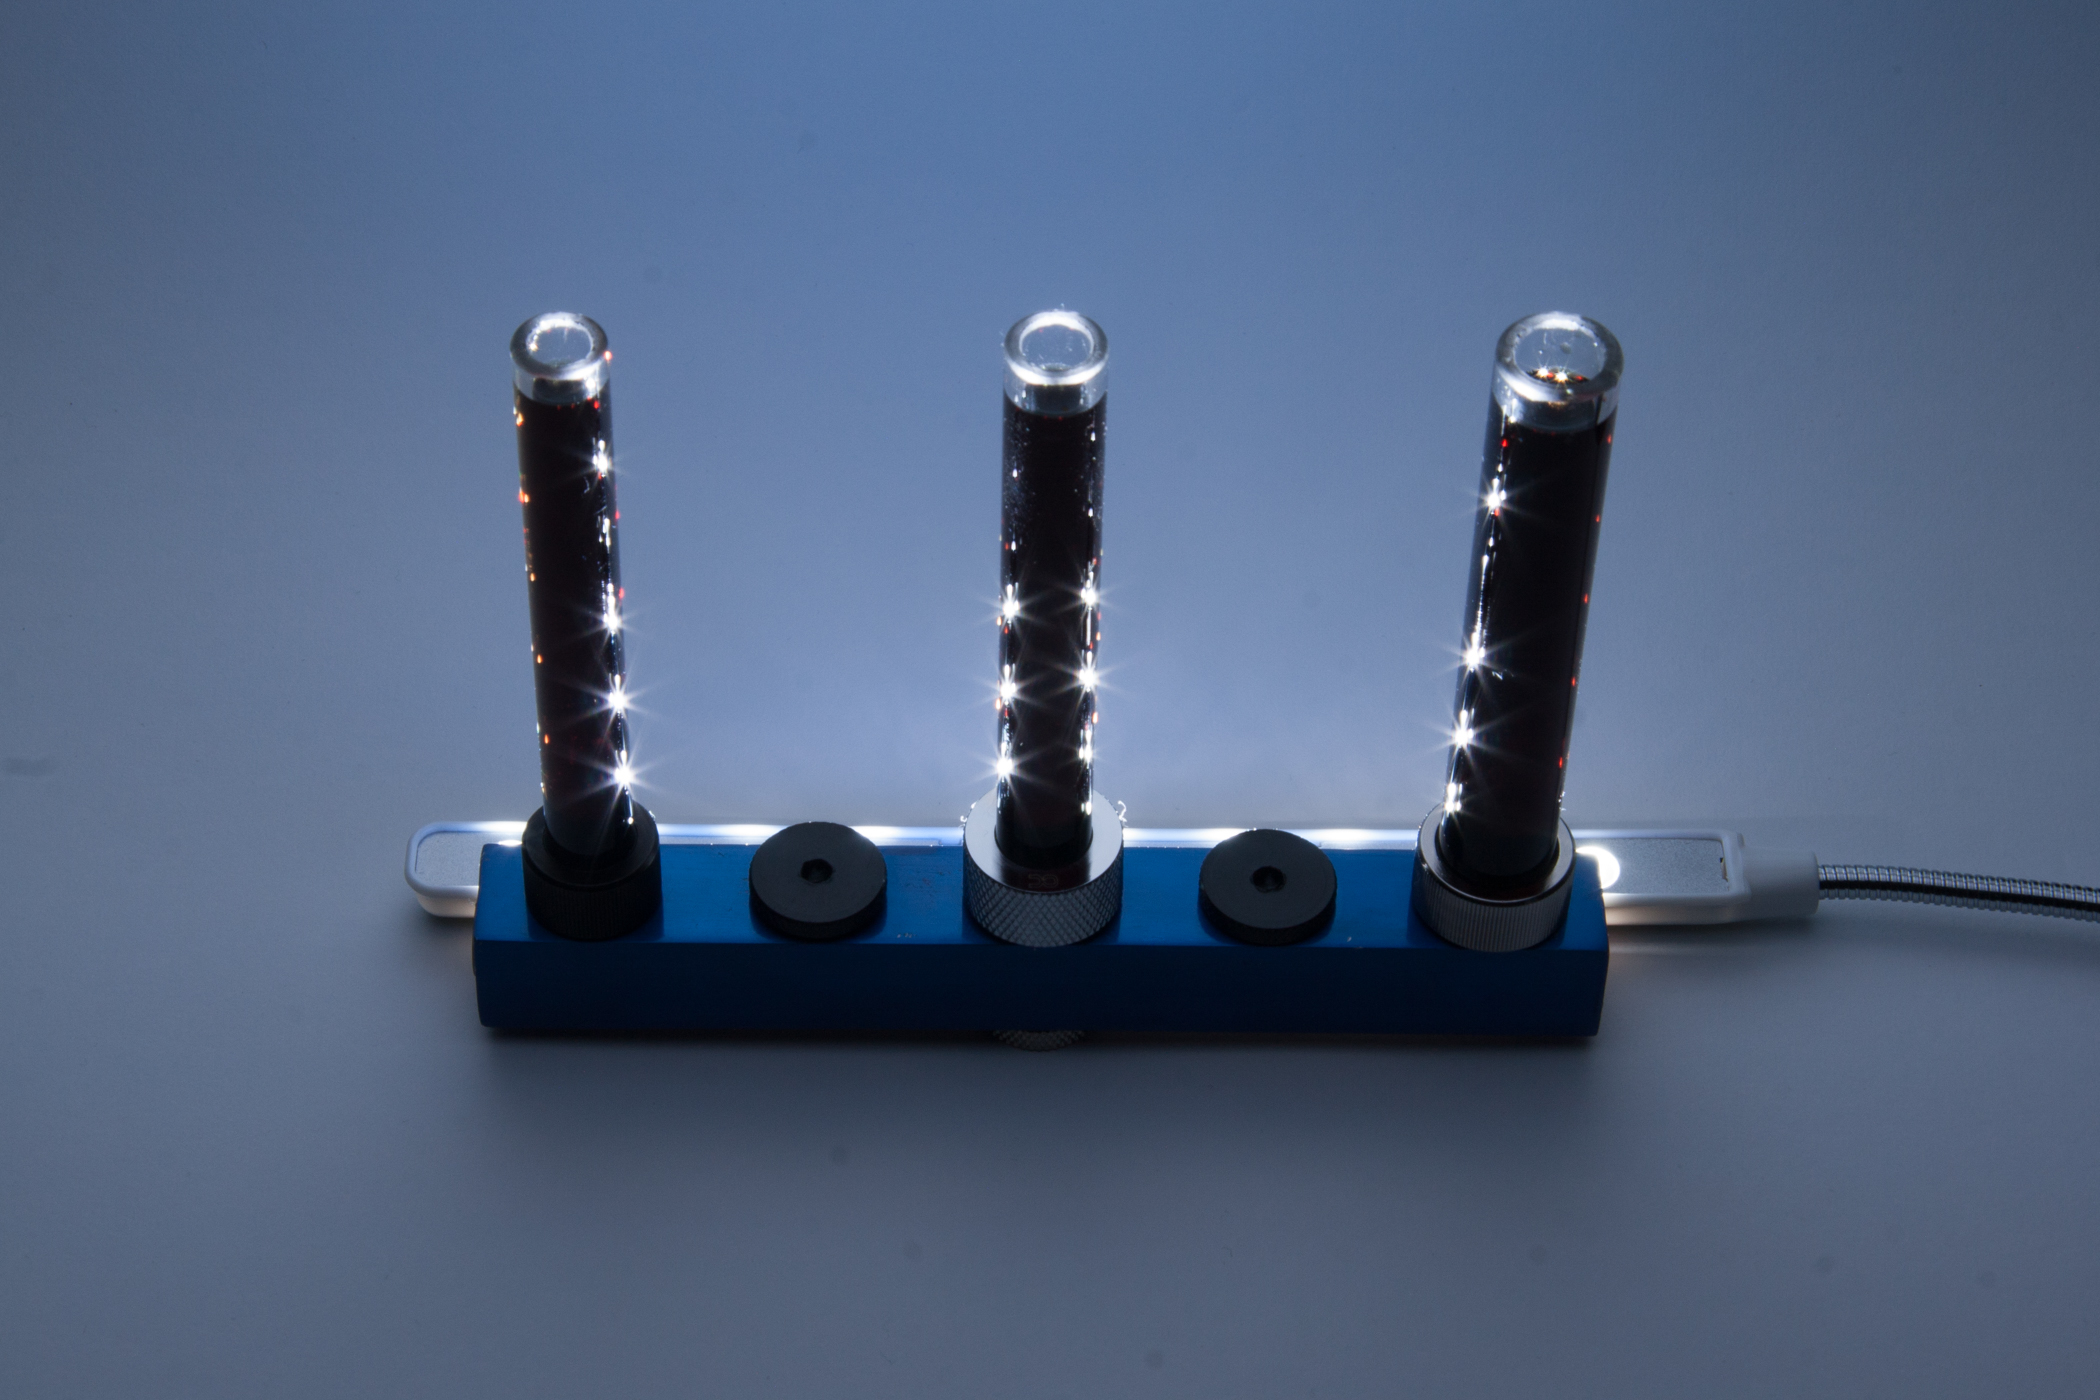
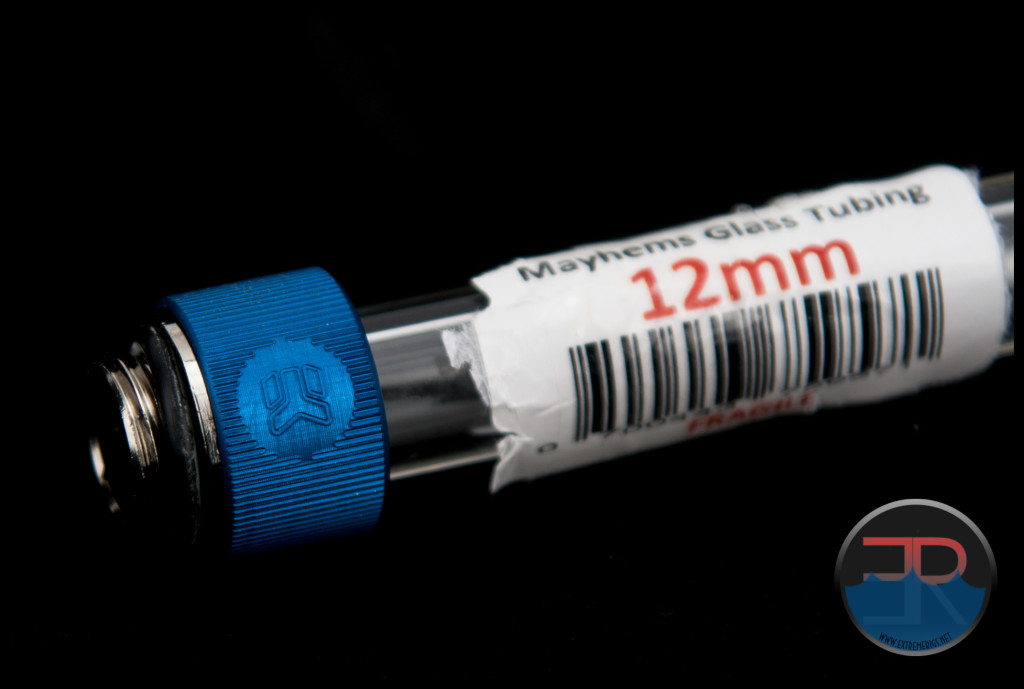
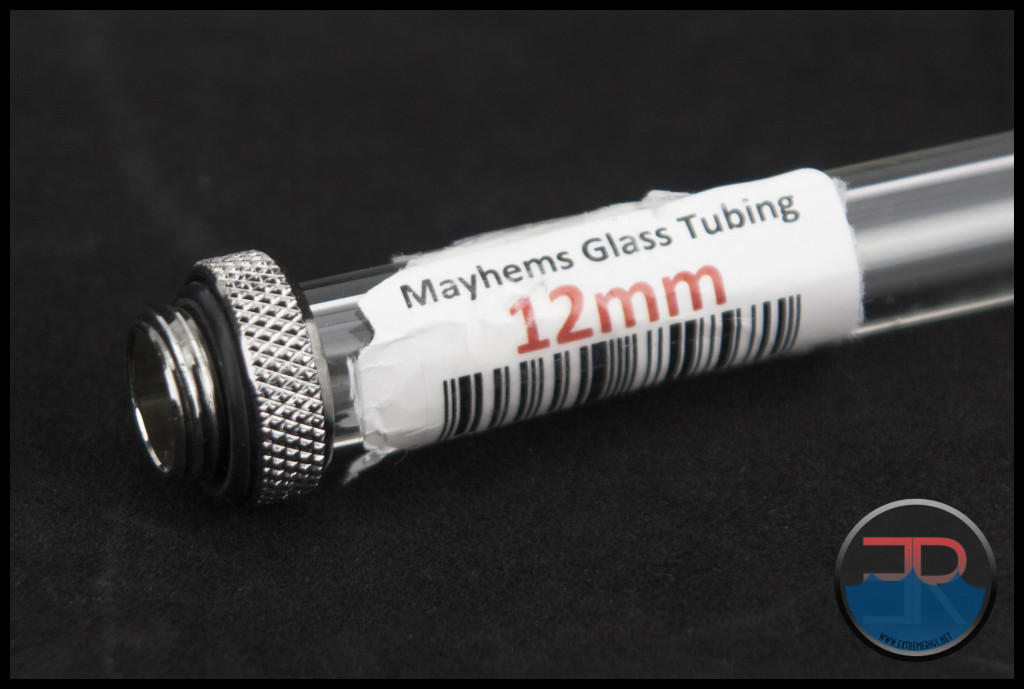
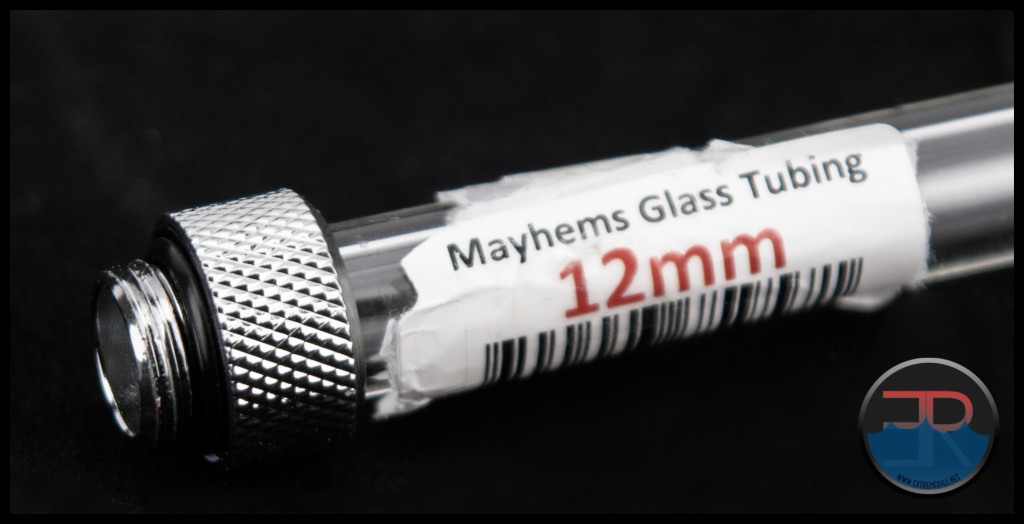
For the 12mm tube we had 3 fittings that were appropriately sized. The following photos are a quick look at the glass tube inserted into each of the fittings, we’ll go into more detail about each shortly.
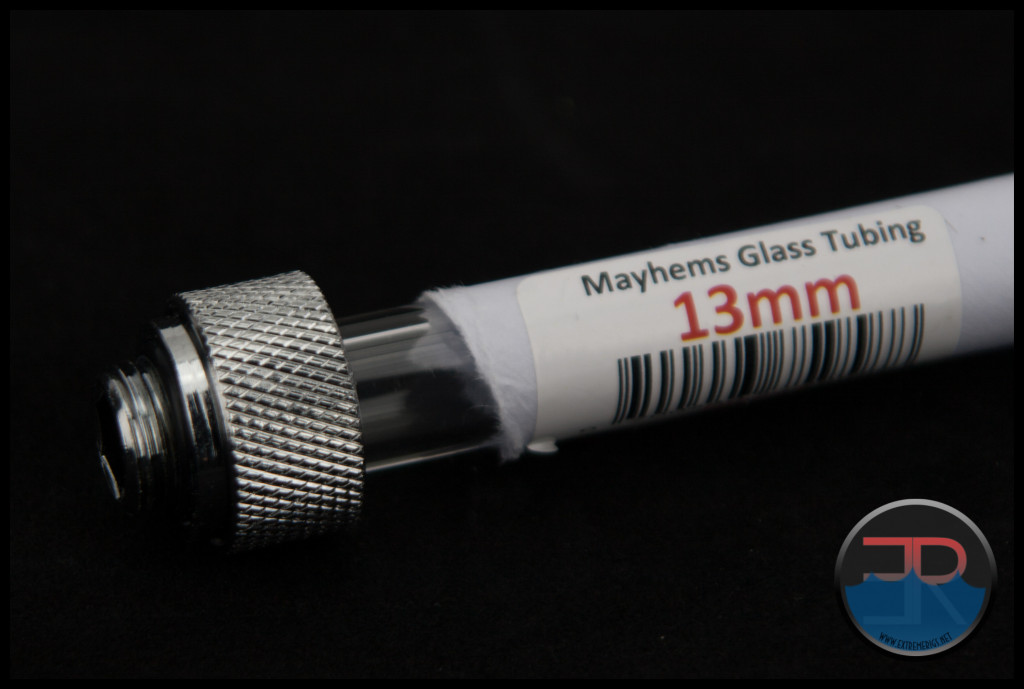
For the 13mm we have just one fitting that was suitable:
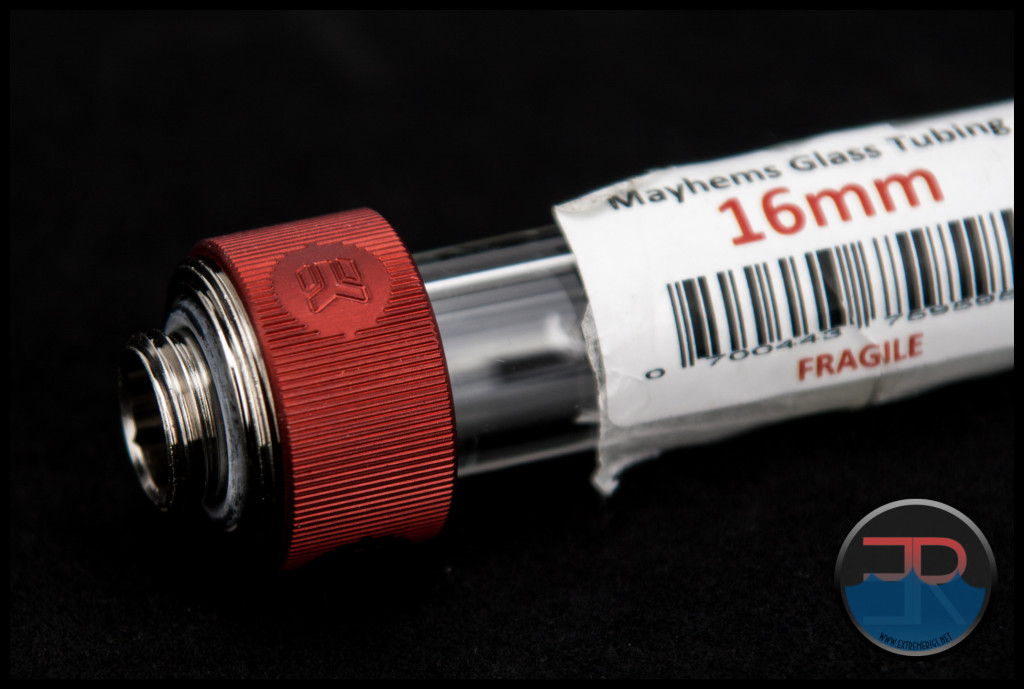
For the 16mm tubing we again had just the one suitable fitting:
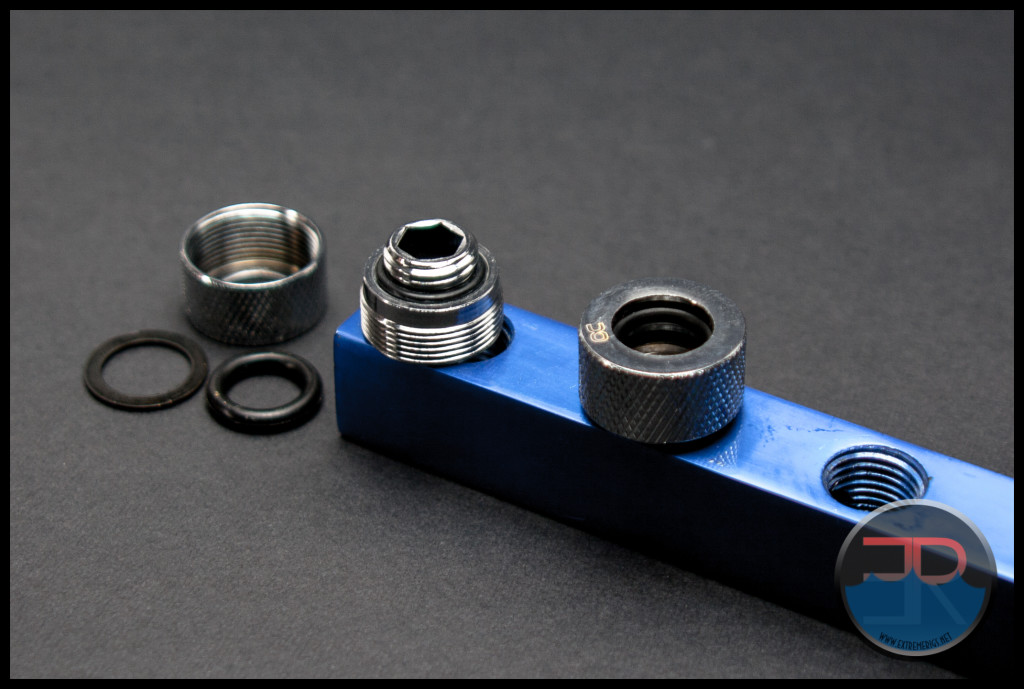
Let’s now take a closer look at each fitting along with some extras which were found after the previous photos were taken.
At this time we’ll take the opportunity to say thanks to some of our sponsors who donated fittings for use in this review. Their generous support means we can bring more detail to you the reader.
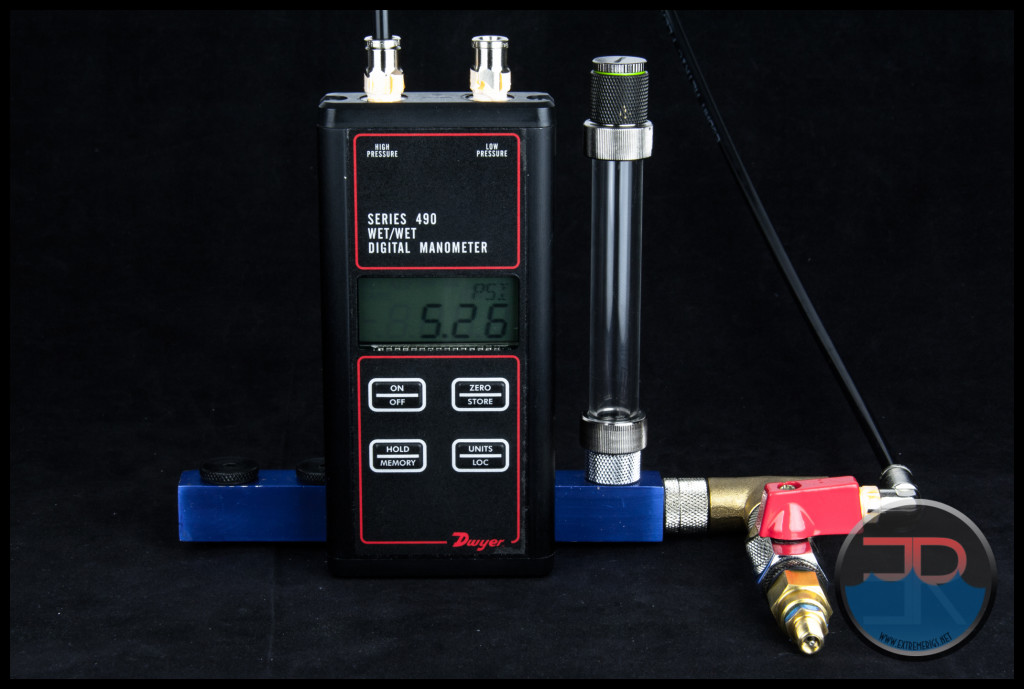
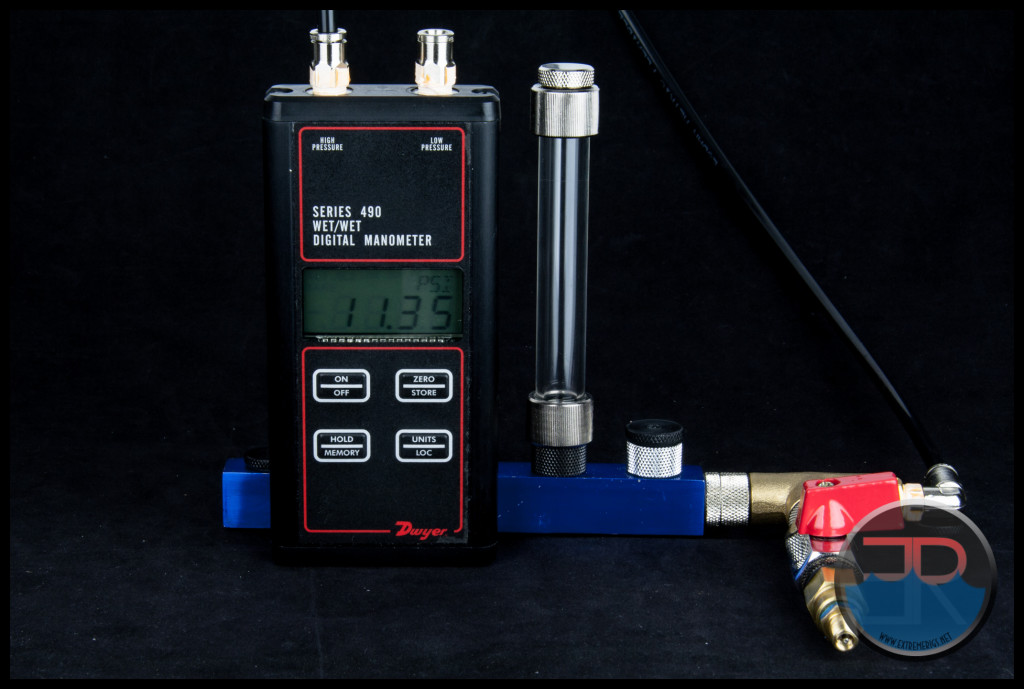
Previously I mention fitting compatibility; some definitely gripped and held onto the smooth and slippery glass tubing better than others. We set up a pressure test to find out which were better and to what PSI could we pump up to without failure. At least that was the plan. What ended up happening was that the fittings were “popping” off the top of the tubes or the tube “popping” out of the bottom fitting far too randomly (and often) to be able to say for certain what PSI each fitting could hold when used with the Mayhems glass tube.
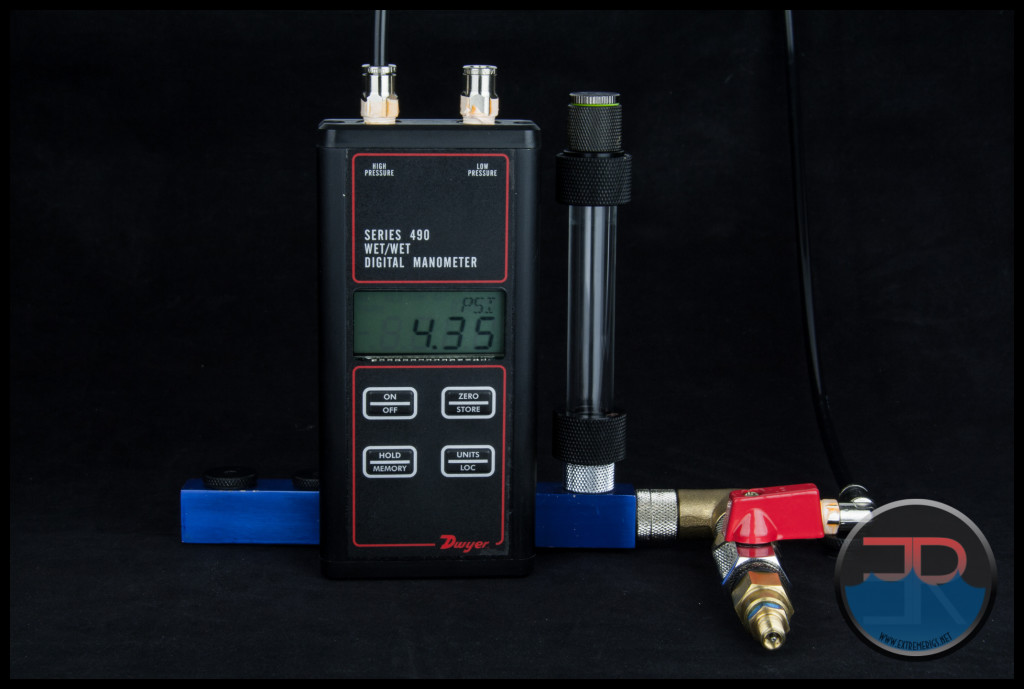
I had to compromise and settle for a photo taken after determining the approximate “popping” PSI from 3 (sometime many more) pressurizations and then pump up to ~ 2.5 PSI below what the trials indicated would be too much.
Let’s look at the Mayhems Glass Tube results in order of the Glass Tube Size.
Fittings for the 12mm Glass Tubing.
EK-HD Adaptor 10/12mm – (Not previously pictured)
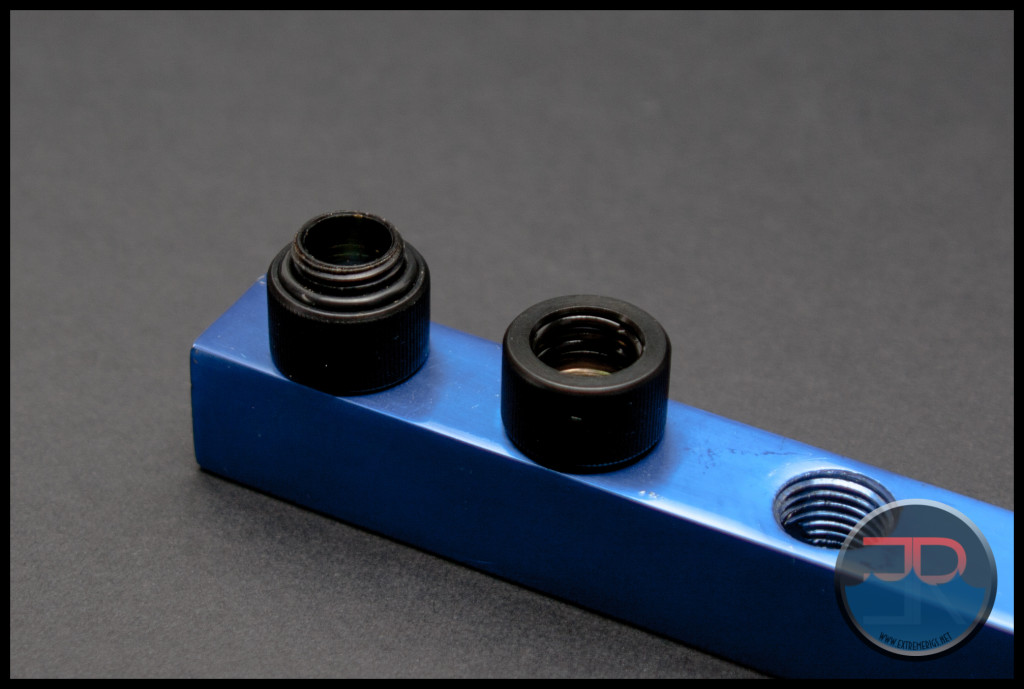
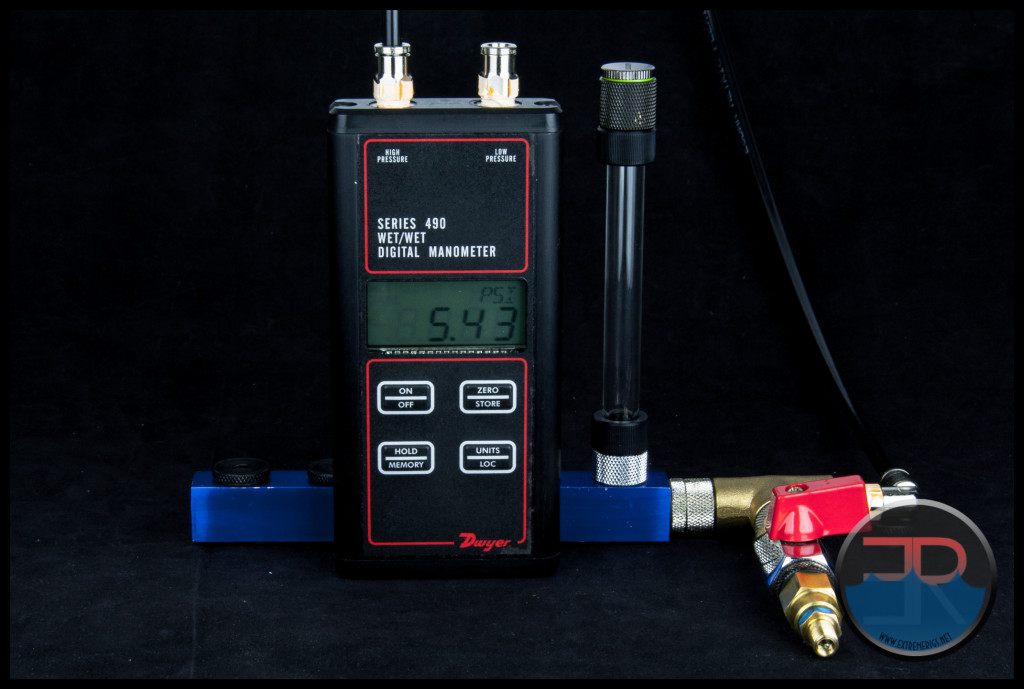
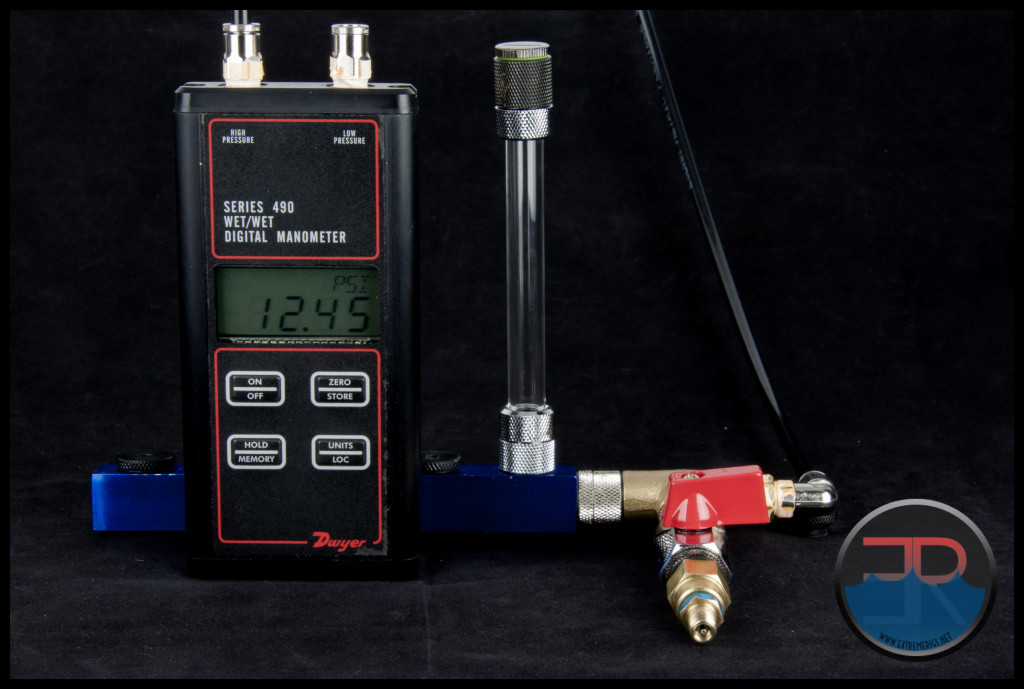
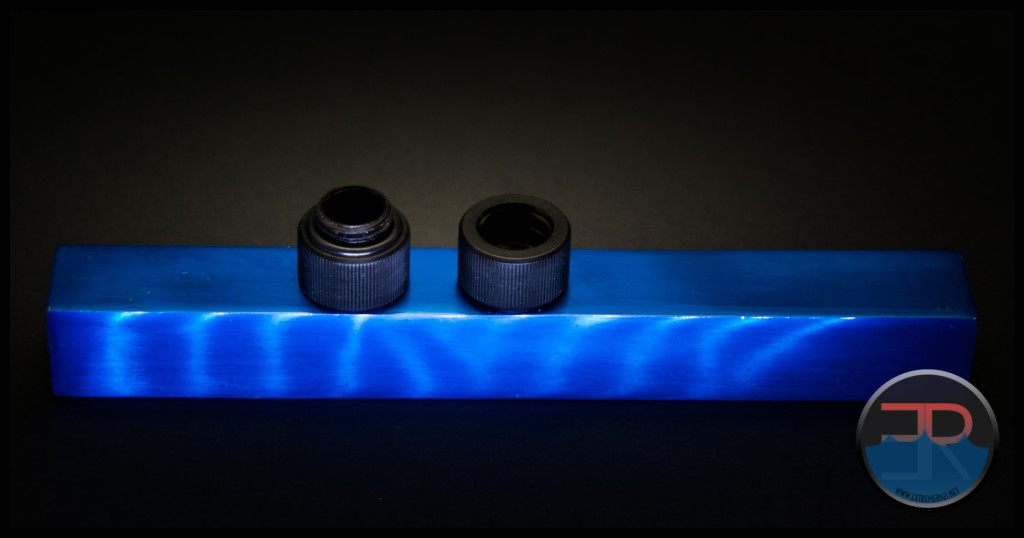 The glass tube didn’t require excess effort to seat into place. While inserting the tube I could feel resistance going past the 2 inner O-rings and made a positive clunk when it was all the way in. These were able to reliably hold ~ 5.5 PSI.
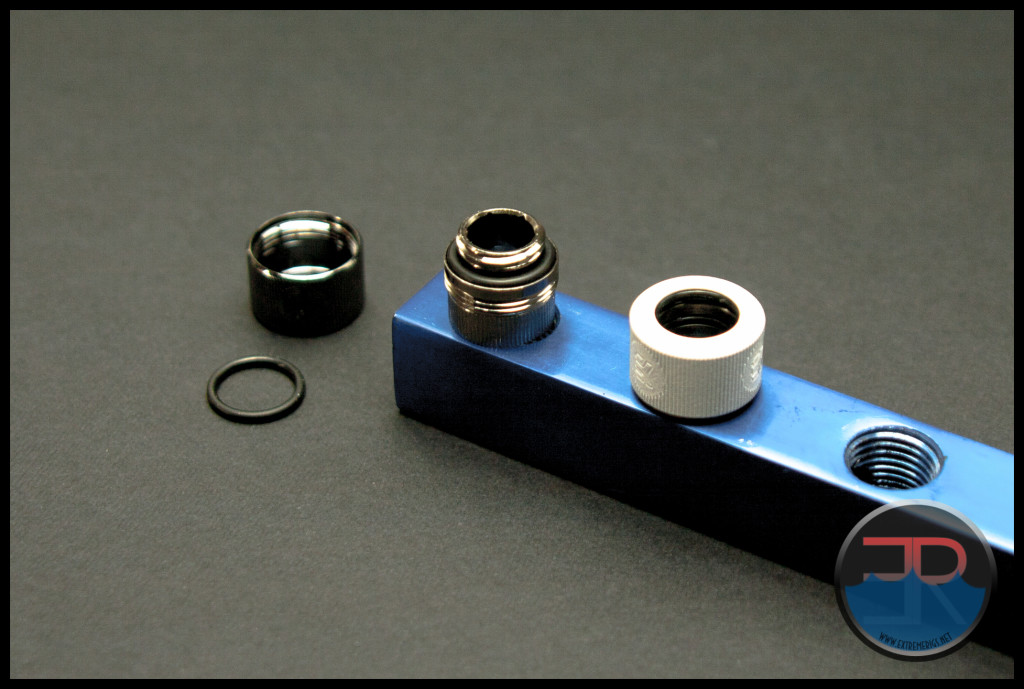
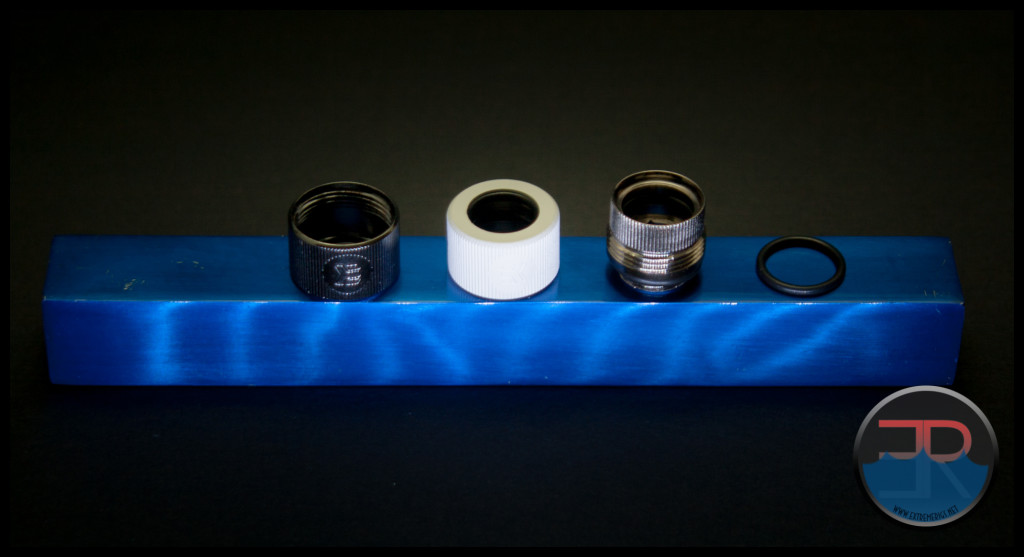 With the EK-HDC fittings it was difficult to insert the tube into the fitting housing. In fact I broke the length of glass on my first attempt! The broken piece is on the left and I suspect that too much sideways pressure was accidentally applied while trying to get the glass tube inserted. The other 2 tubes in the photo are from failed score and snap attempts.
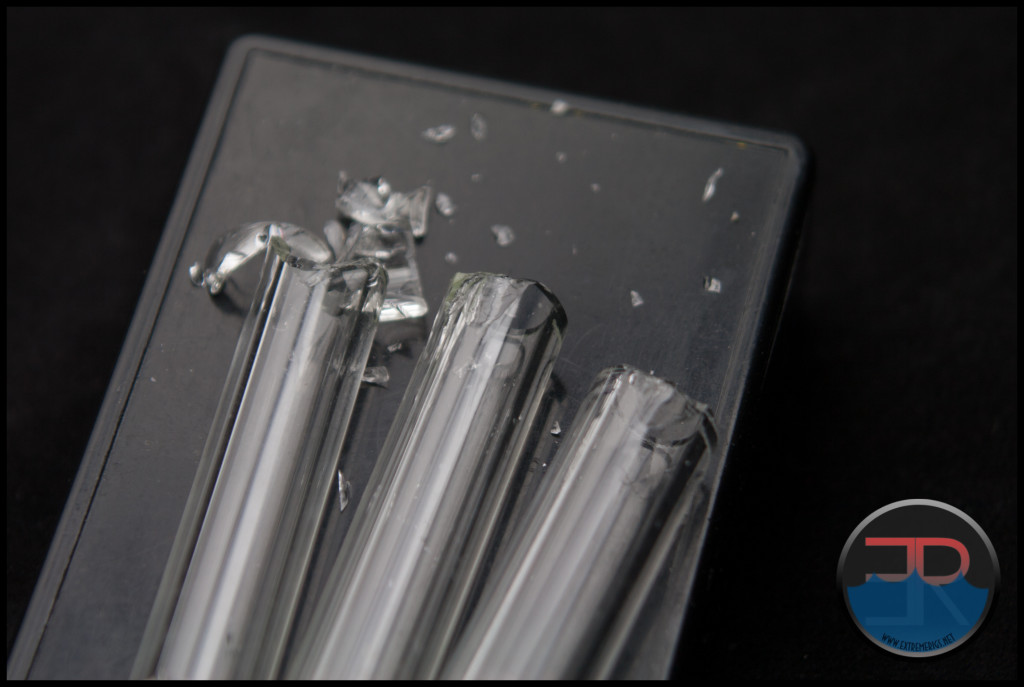
The tiniest amount of silicone grease was applied and the tube insertion was much easier. I didn’t want to use silicone grease initially because I thought it would affect the results of the pressure test by making the tubes easier to slide out.
The EK-HDC even with the silicone grease was able to hold the glass tube at over 20 PSI :
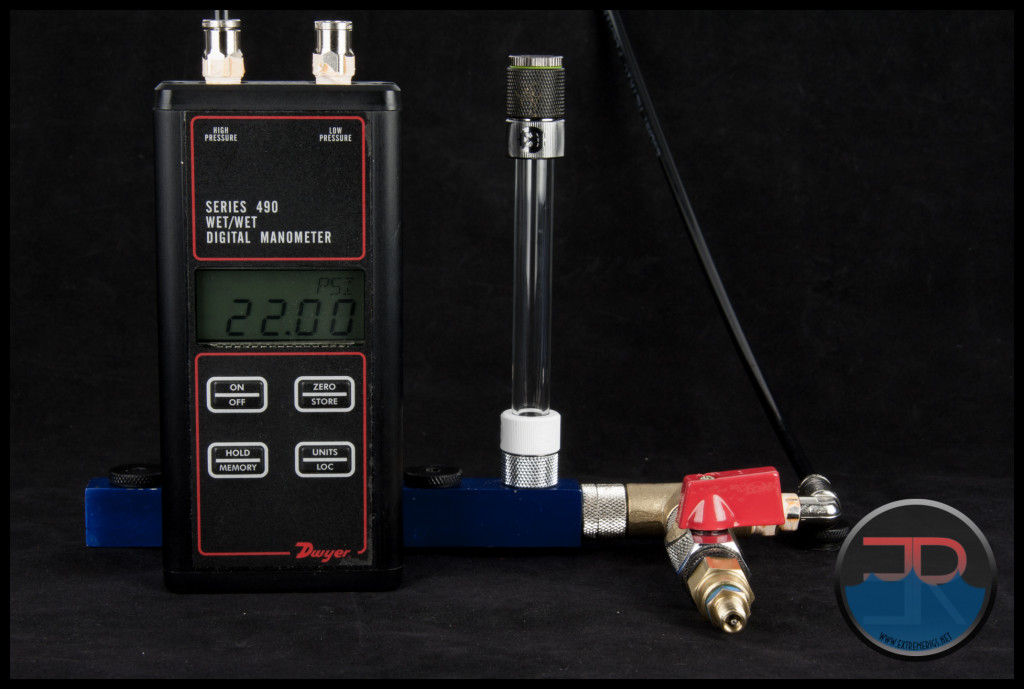
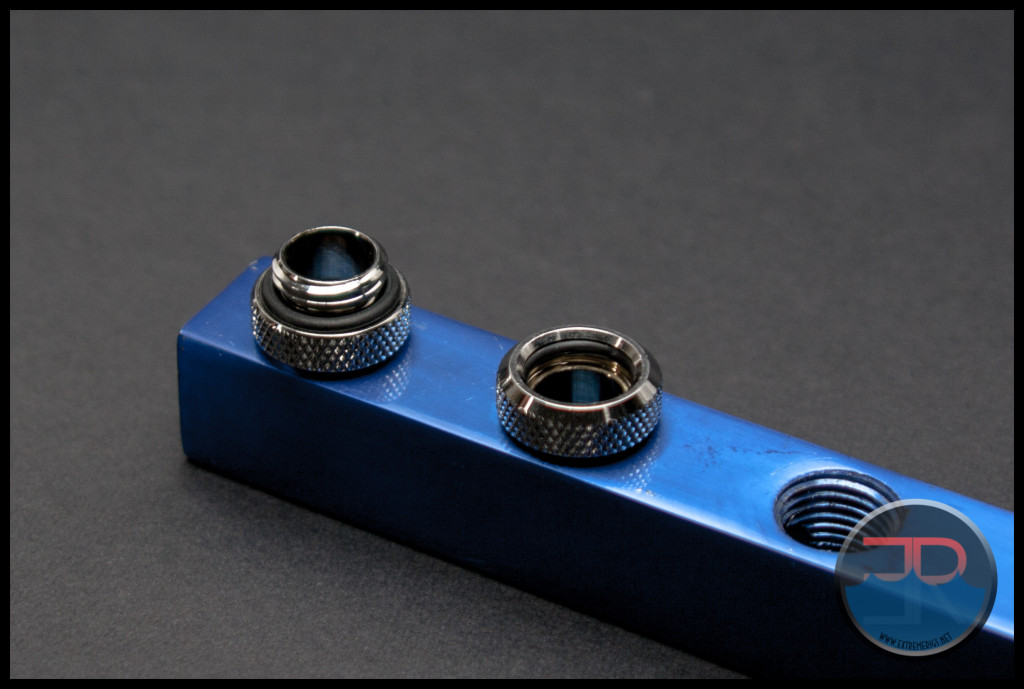
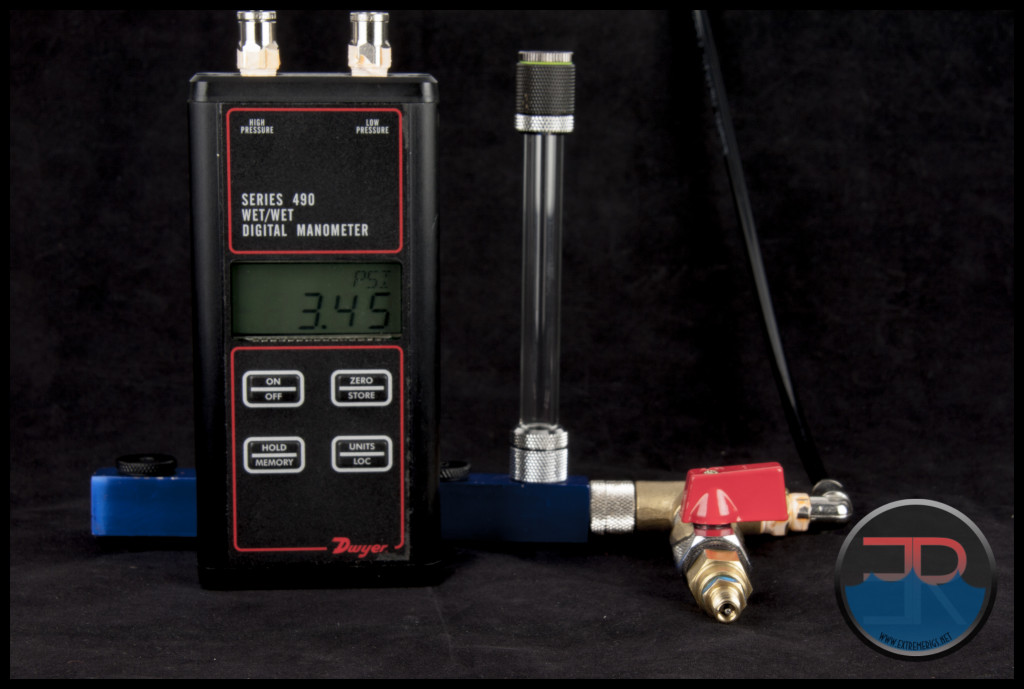
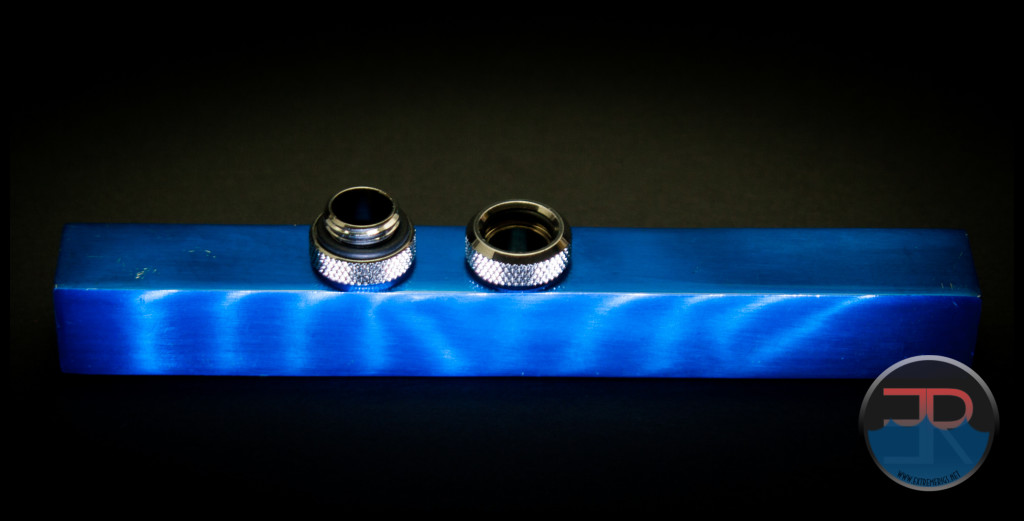 The Bitspower C48 had the loosest feel of all the fittings that we tried and the test results confirmed what could be felt. We could not even get 5 PSI to hold and after many attempts we settled on a safe holding pressure of ~3.5 PSI.
The next fitting we tried is a “knock off” of a Bitspower C47 fitting and from the limited info available, I conclude that these fittings are made at the same manufacturing plant as Barrow and Rocket Science fittings. While we do not condone blatant coping of other company’s designs, we did get some of these fittings for our review and they are still available on eBay Australia – Rigid 12mm OD Acrylic Tube Push In Connector Like Bitspower. Hopefully in the near future we can update this review by adding info for the real deal Bitspower C47 fittings also.
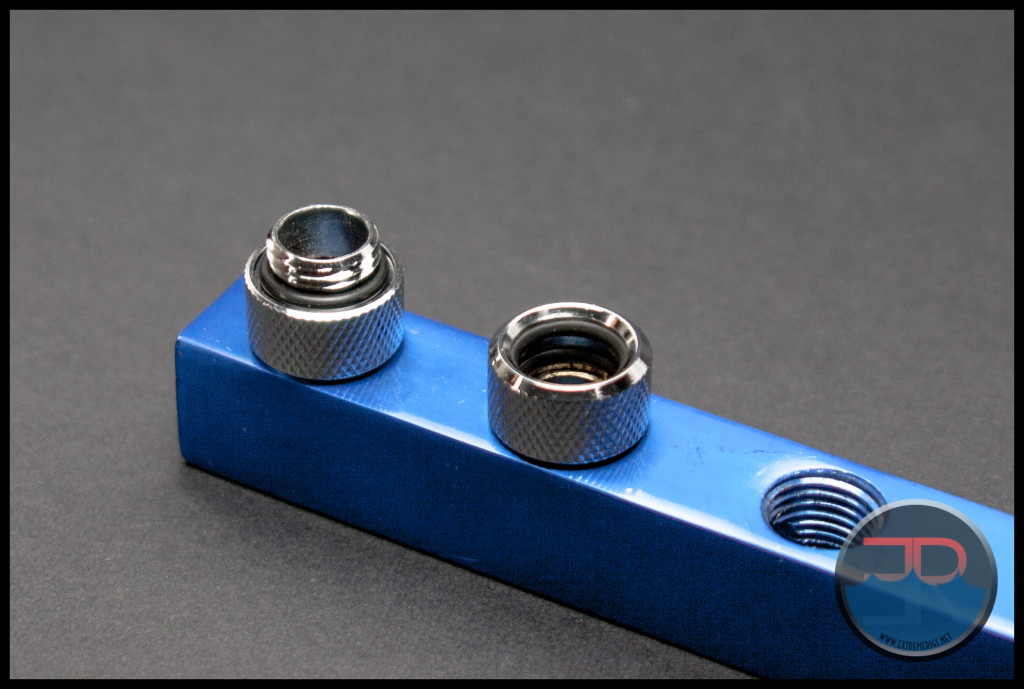
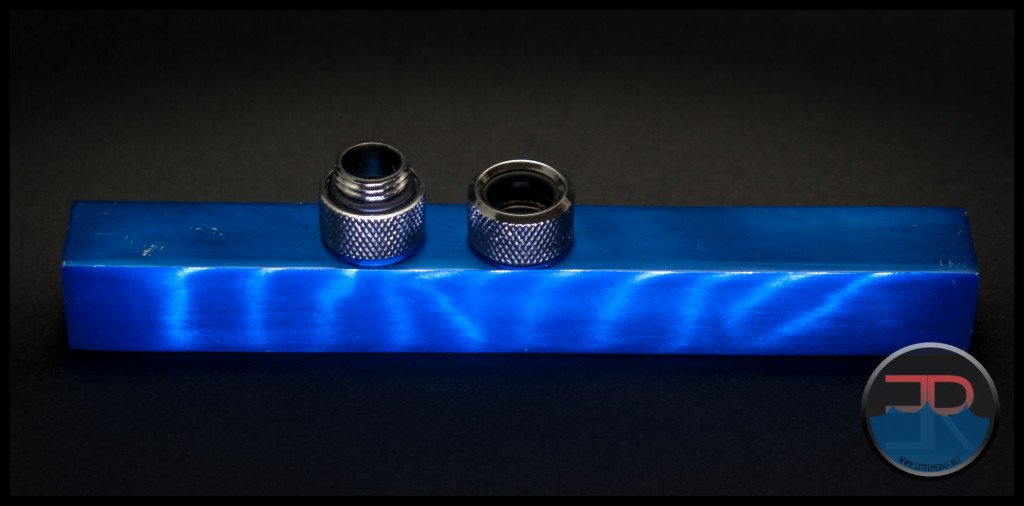 The glass tube was a tight fit in the knock off fittings and was even difficult to remove. They actually felt the most secure of all the Push In style fittings we had available to try and the ~12.5 PSI test result was excellent.
Fittings for the 13mm Glass Tubing.
We only had one fitting available to try on the 13mm Glass.
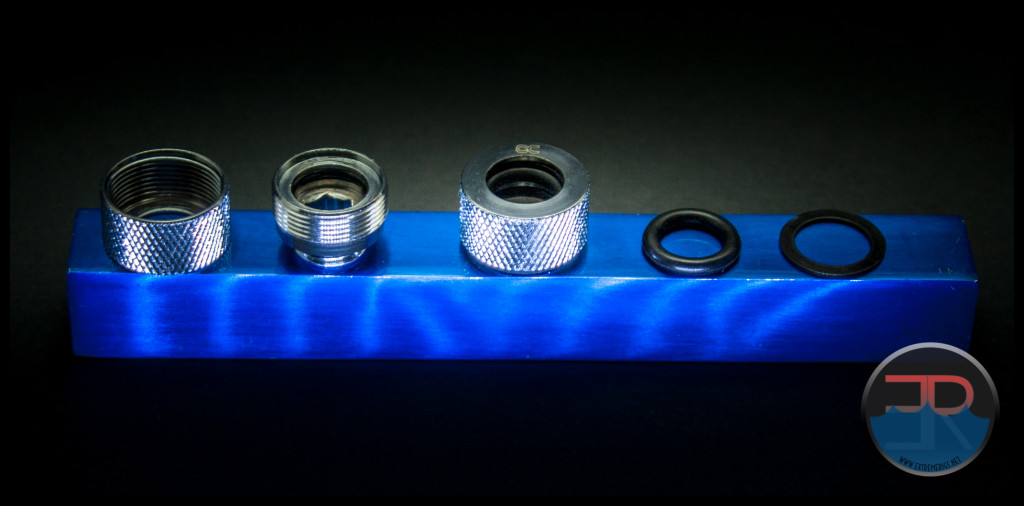 Fitting the glass tube past the O-ring in the body of Alphacool’s HT 13 fitting was quite easy and from this we conclude that most of the holding strength comes from the compression O-ring when the cap is screwed down.
The HT 13 was able to sustain a pressure of 10.5 PSI
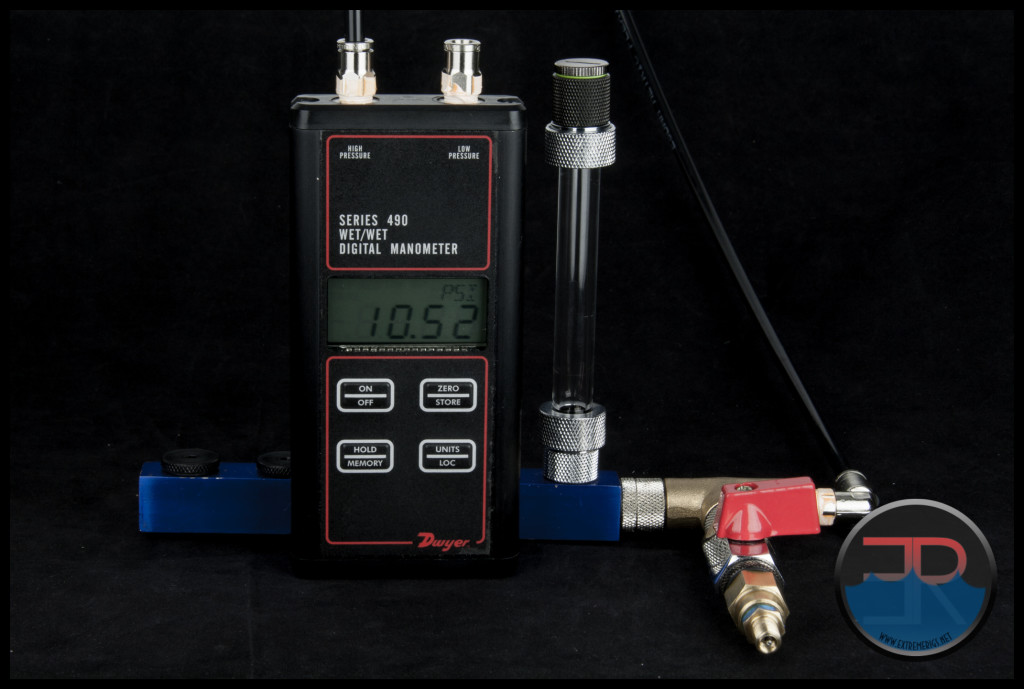
Fittings for the 16mm Glass Tubing.
We found a couple more 16mm fittings to test, adding to those we pictured previously.
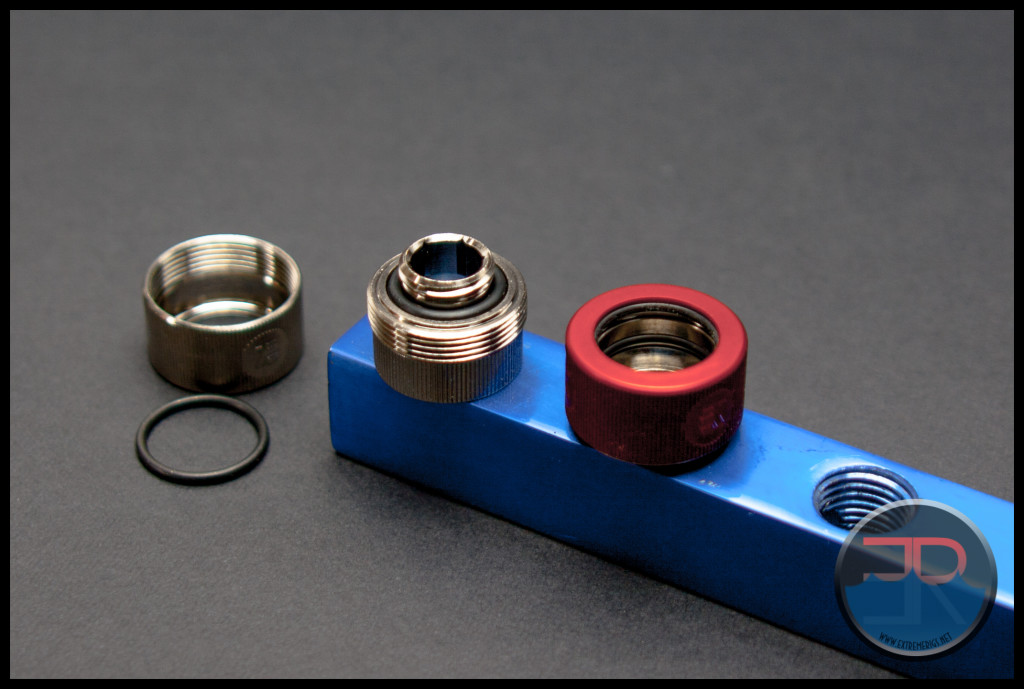
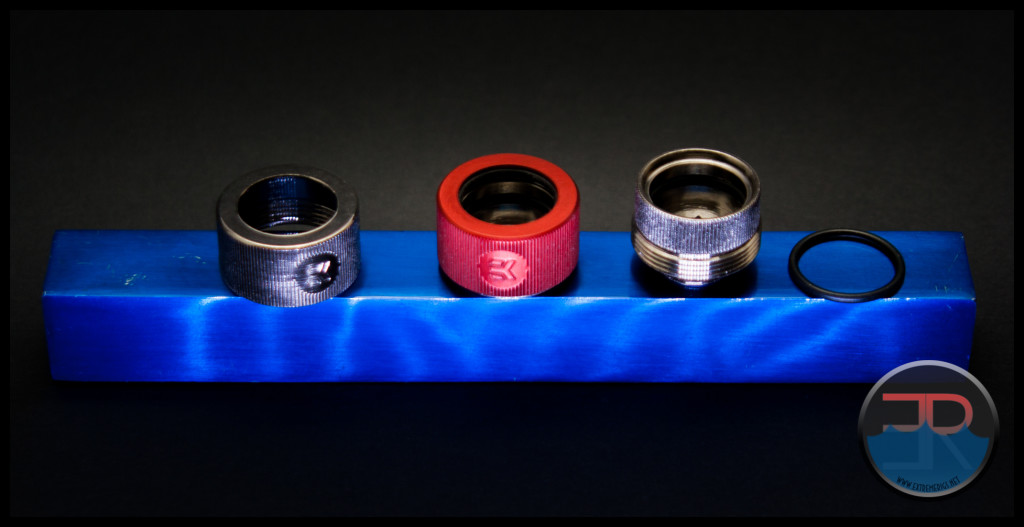 Inserting the glass tube past the O-ring in the body of the HDC 16mm fitting felt good and appears like a very good match. With the compression O-ring and collar screwed down the tube could still be pulled out of the fitting by hand but there was a lot of resistance.
The HDC 16mm fittings were able to sustain a pressure of 13 PSI:
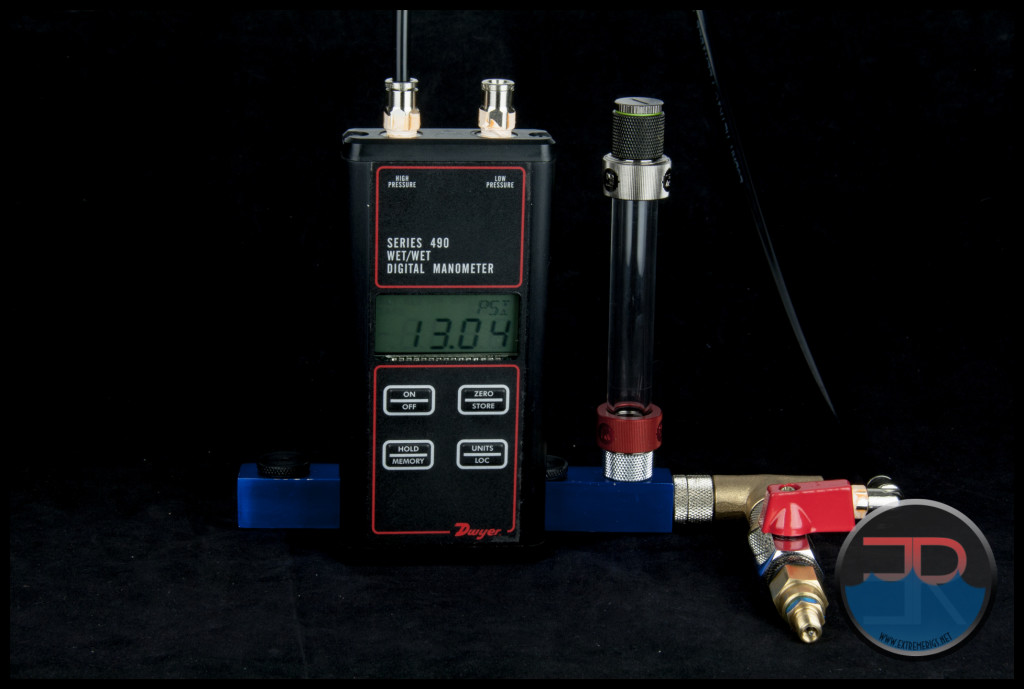
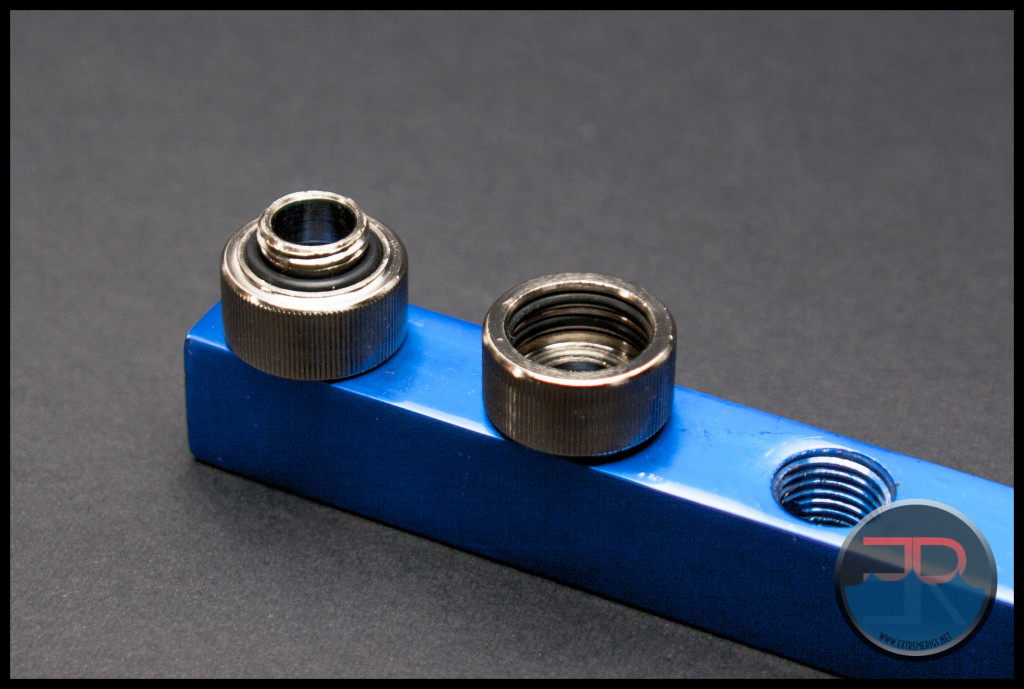
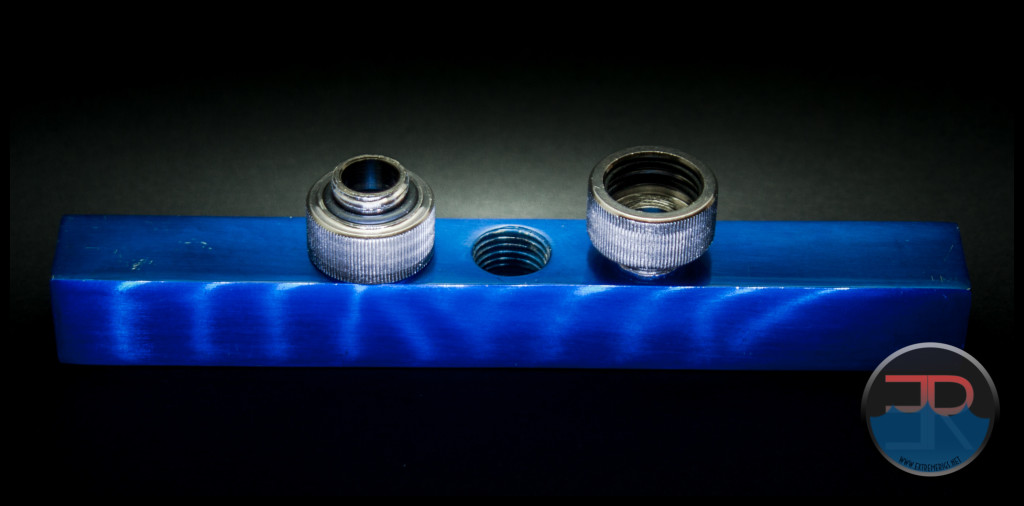 The 12/16mm HD Adapter from EK seemed a decent pairing with the Mayhems 16mm glass tubing. The tube slid past the first O-ring quite easily but more force was required to get past the 2nd O-ring and seated.
Like most of the push in style fittings the HD adapter could not hold the same level of pressure as a compression type fitting but still maintained over 5 PSI in out testing.
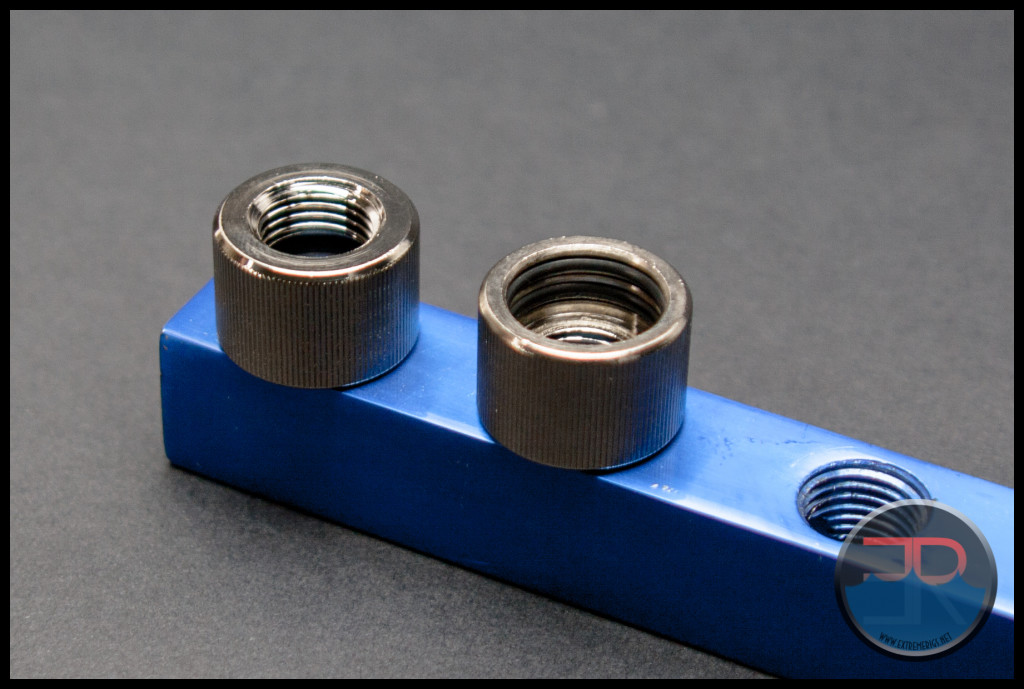
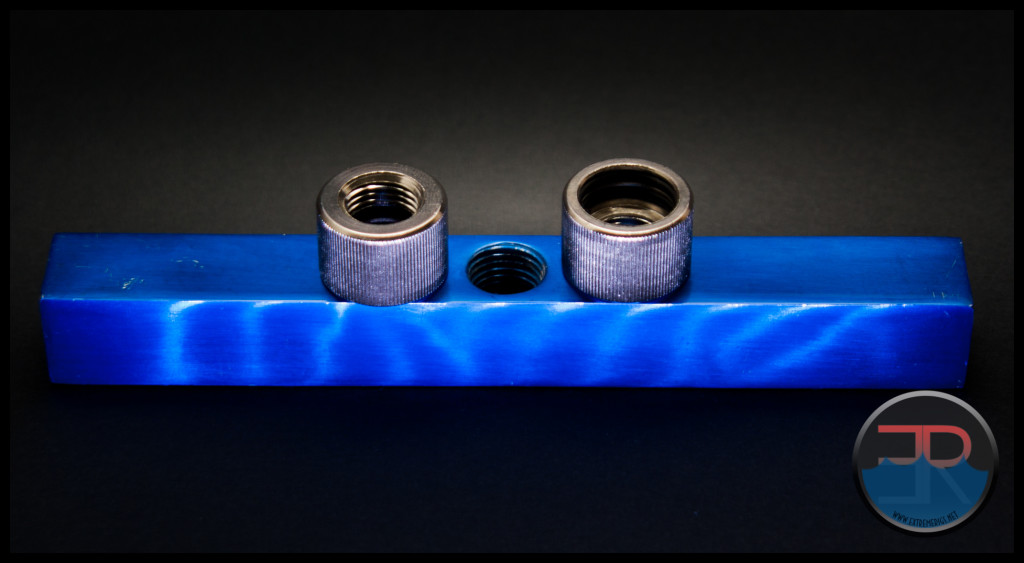 The 16mm female HD Adapter is basically the same fitting as the HD Adapter we just looked at but with a female G ¼ thread instead of a male one, so we expected the two to perform very similarly.
We found that the tube required more effort to get past the 1st O-ring on the female version and this showed up on the pressure test. The female HD Adapter was able to hold a pressure of over 11 PSI, more than double that of the male version.
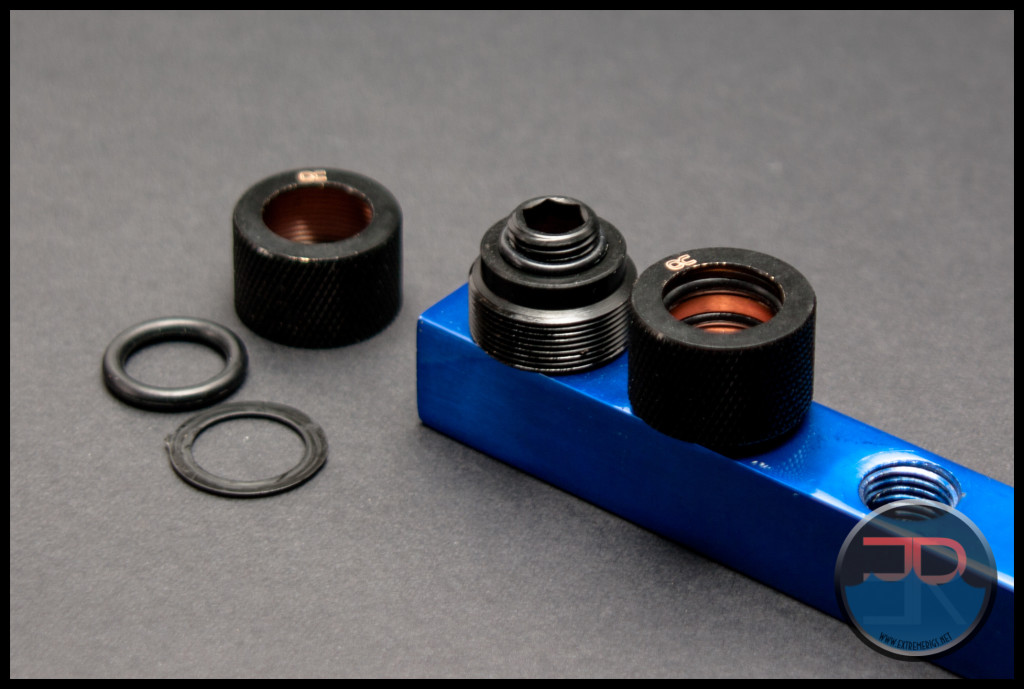
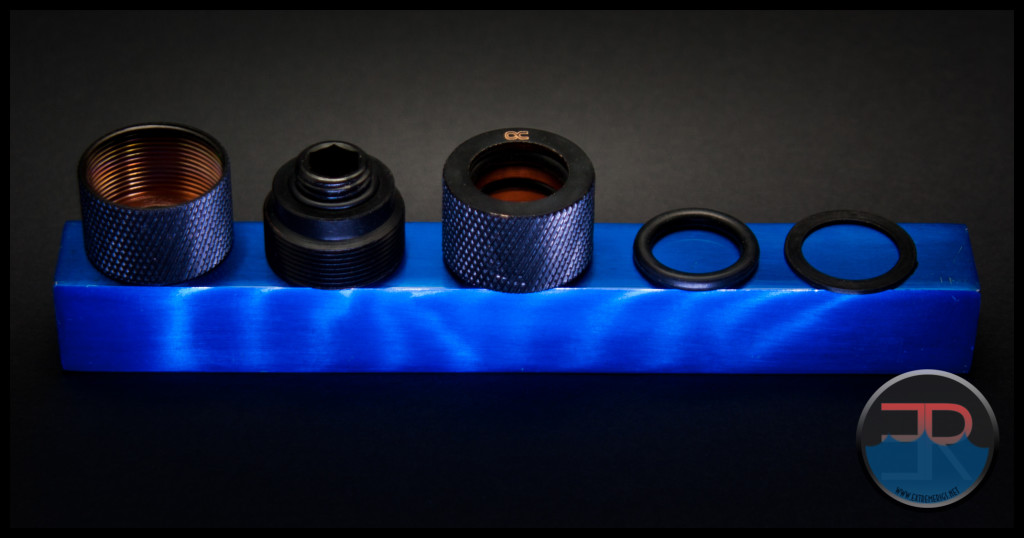 The Alphacool HT 16mm fitting was by far the largest fitting of those we tested. The tube slide past the O-ring in the main body with some resistance, but it seems the compression O-ring and washer did not work very effectively to hold the tube in place.
With a sustained holding pressure of ~ 4.5 PSI, the HT 16mm had the weakest grip of all the compression type fittings we tested.
It was clear that the push in fittings could not hold the same pressure as most of the compression type fittings. Given that very few systems would have an operating pressure above 5 PSI, most of the fittings that were tested we believe are compatible with the Mayhems Glass Tube. The Bitspower C48 fitting is the only one we would advise not to use because of it’s single O-ring and short body.
After completing the round of PSI testing with the Glass Tubing we did the same tests with acrylic tubing to get a performance/compatibility comparison.
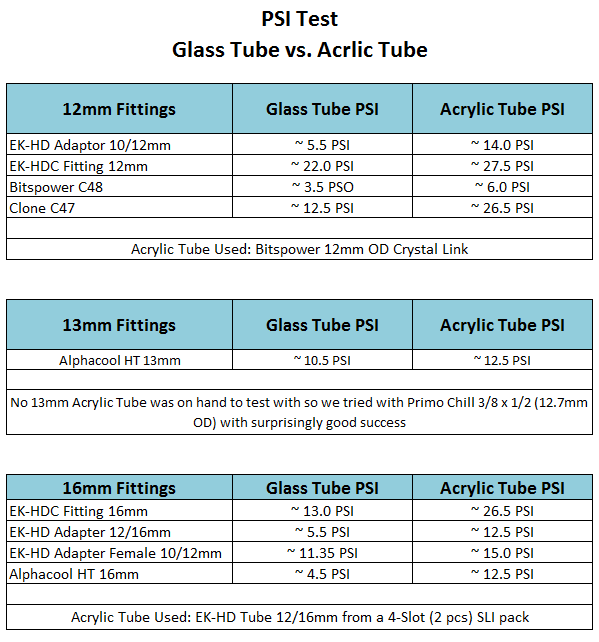 In every case the fittings had a better grip on the acrylic than on the glass tubing. In many cases the fittings had twice the “grip” on acrylic tube than they did on the glass.
The 3 results for acrylic that are 26.5 PSI and higher never actually failed, instead the hand pump used to apply the pressure could not force more air in the the test manifold.
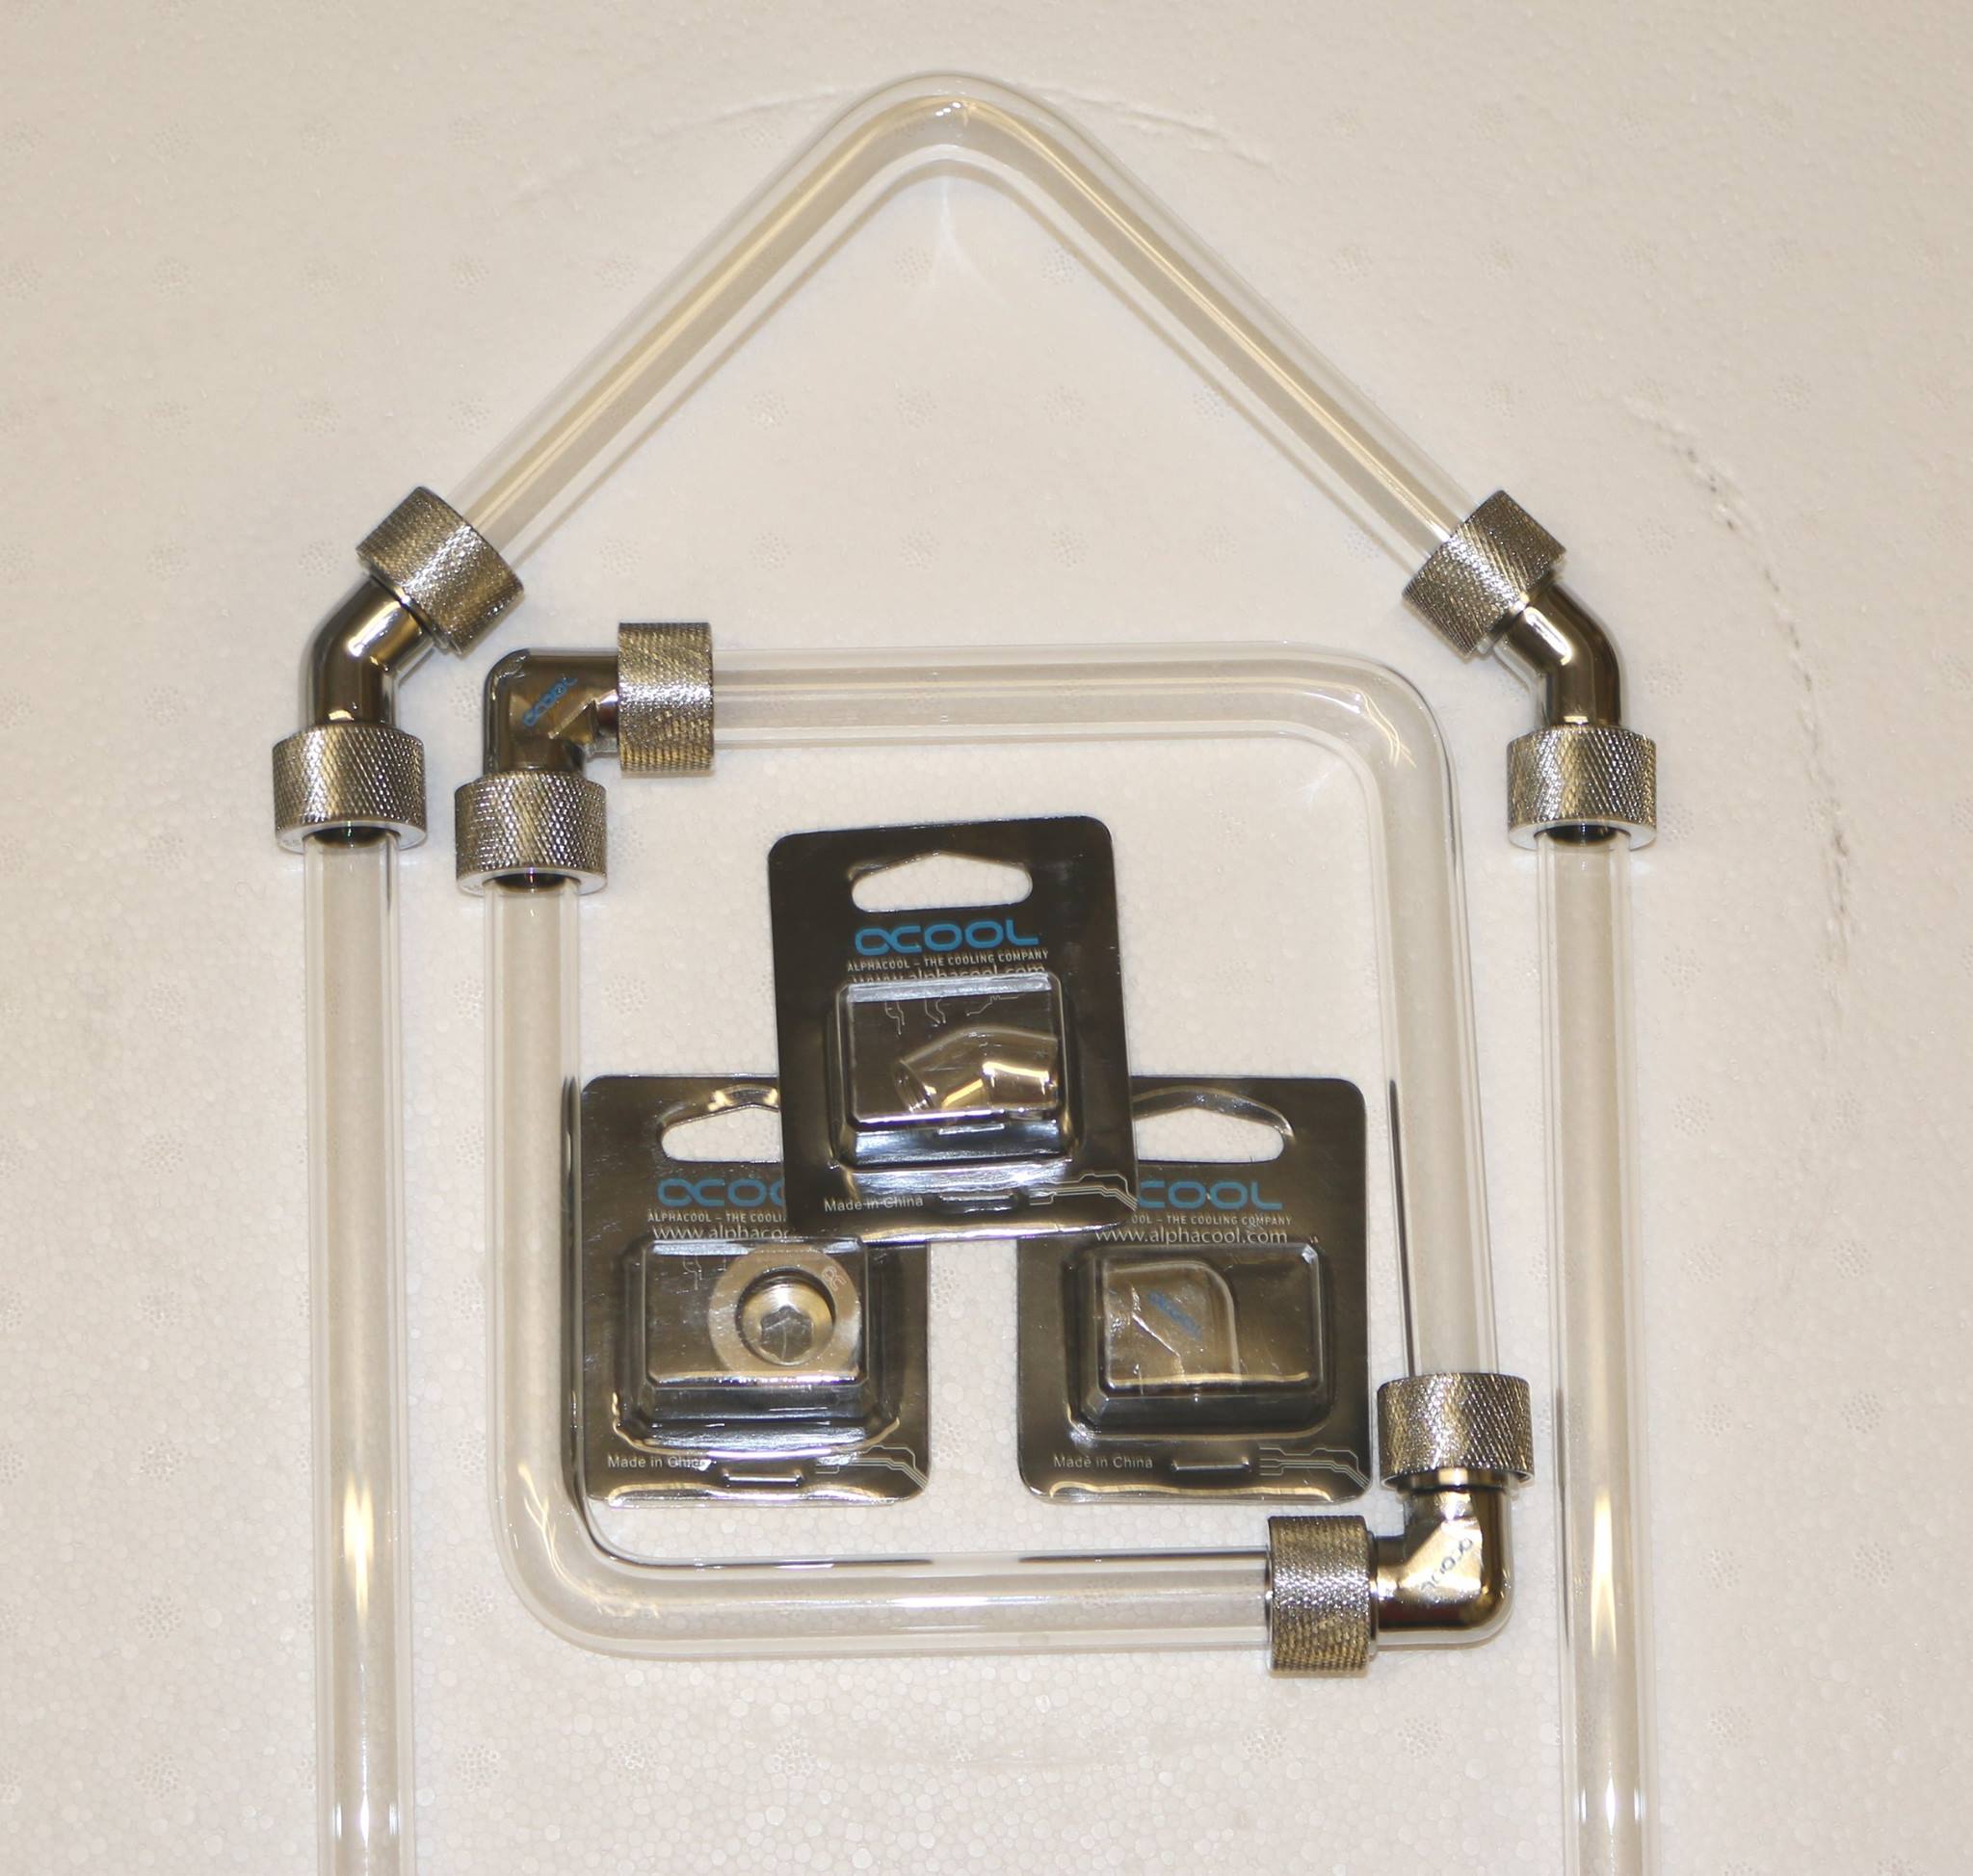
Without access to specializing equipment including a kiln, bending the glass tubing is not an option, so be prepared to plan out your loop thoroughly and get ready to order a tonne of 90° fittings. Mayhems will soon be releasing lengths of the glass tube with pre-bent 90° angles, but cutting them to appropriate length may prove to be an issue. Photo below courtesy of Mayhems:
Speaking of Cutting to Length, that’s exactly what we’ll cover on the next page.






[…] Mayhems Borosilicate Glass Tube Review […]
Well, after reading and watching the Dremel Jig Setup vid, I thought of a few things…
1) I see no difference in using glass over PETG or Acrylic.
2) PETG or Acrylic is much cheaper and EASIER to cut than glass. (Even if it wasn’t cheaper, it’s glass is STILL much harder to cut)
3) Bending PETG or Acrylic (obviously) is much easier than trying to bend glass (and that’s if you have the $$$ to buy one and the skills to bend glass using a kiln). PETG or Acrylic is very easy by comparison.
4) As you can see glass tubing is easily subject to chipping and cracking if it’s not cut right (over PETG or Acrylic)
5) If you decide to use Glass instead of PETG or Acrylic, you’re going to have to spend $$$ getting a Dremel Jig Setup going. I have the Dremel 4000 and that unit (kit) cost me $98.00 at the time and although it’s a great unit to use for someone doing a one time build (or even continual builds), it’s still way too much $$$ over simply using a hand saw to cut your PETG or Acrylic tubing. Then you have to set up and build that Dremel Jig Setup. That’s too much time to make happen.
6) In some of the pics, even the reviewer/writer stated that he saw that the Acrylic tubing was even cleaner (at certain angles) to peer through than glass tubing, so right there, what real difference does it make to choose glass tubing over Acrylic (or even PETG for that matter)? – NONE!
Thank you for this review, but you should have entitled this:
“Mayhems Glass Tube Review… You Gotta Be On Crack!!!”
I already knew that I would have to face this expensive and arduous process, when all you have to do is use a basic PETG/Acrylic bender kit, that uses a heat gun and hand saw. It’s much easier to use those items than buying and building a Dremel Jig Setup (which would take hours). Then purchasing and having the skill set to learn how to use a Kiln?!?! Yeah, right!!! I know that I’m not going to waste my time with all of that. Thank you for proving this point with your detailed review (as I already knew this). I’m sticking with PETG to showcase my build(s). Later…
Look at these videso by JayzTwoCents and you will understand why glass tubing is better.
https://www.youtube.com/watch?v=6VMtJEjiMxA
https://www.youtube.com/watch?v=9kFBjm6BdhI
Very cool article (pun intended).
FYI, borosilicate glass does not contain crystalline silica which is what causes silicosis. It is amorphous. No problem with being safe though.
Comments are closed.