The case gives off a subtle classy vibe:
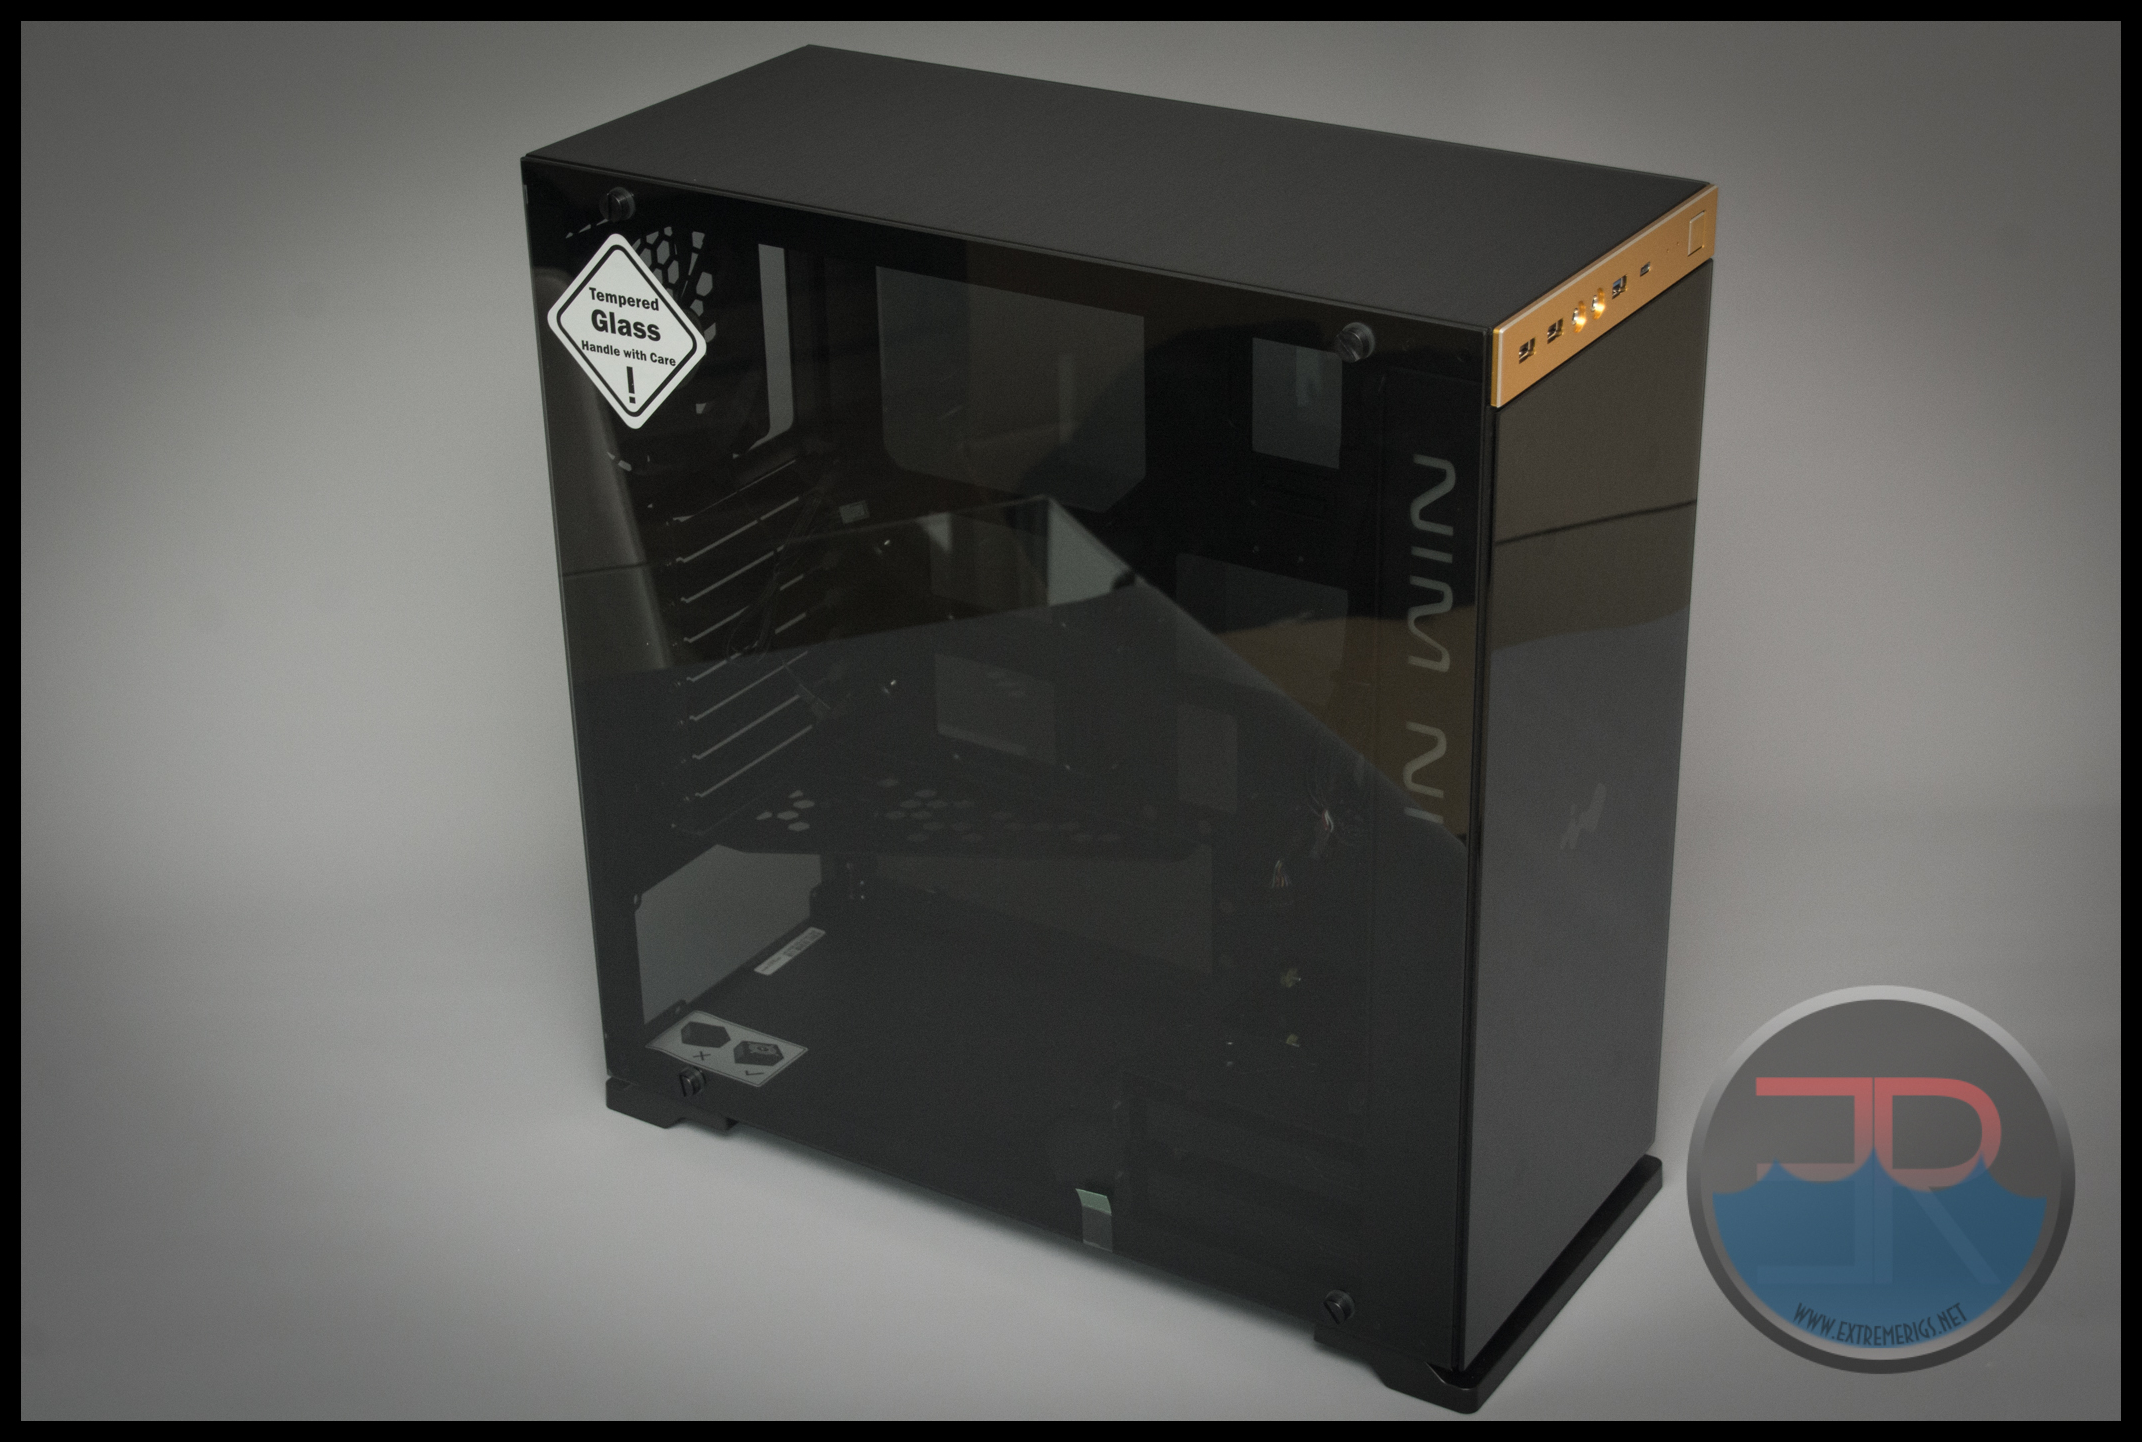
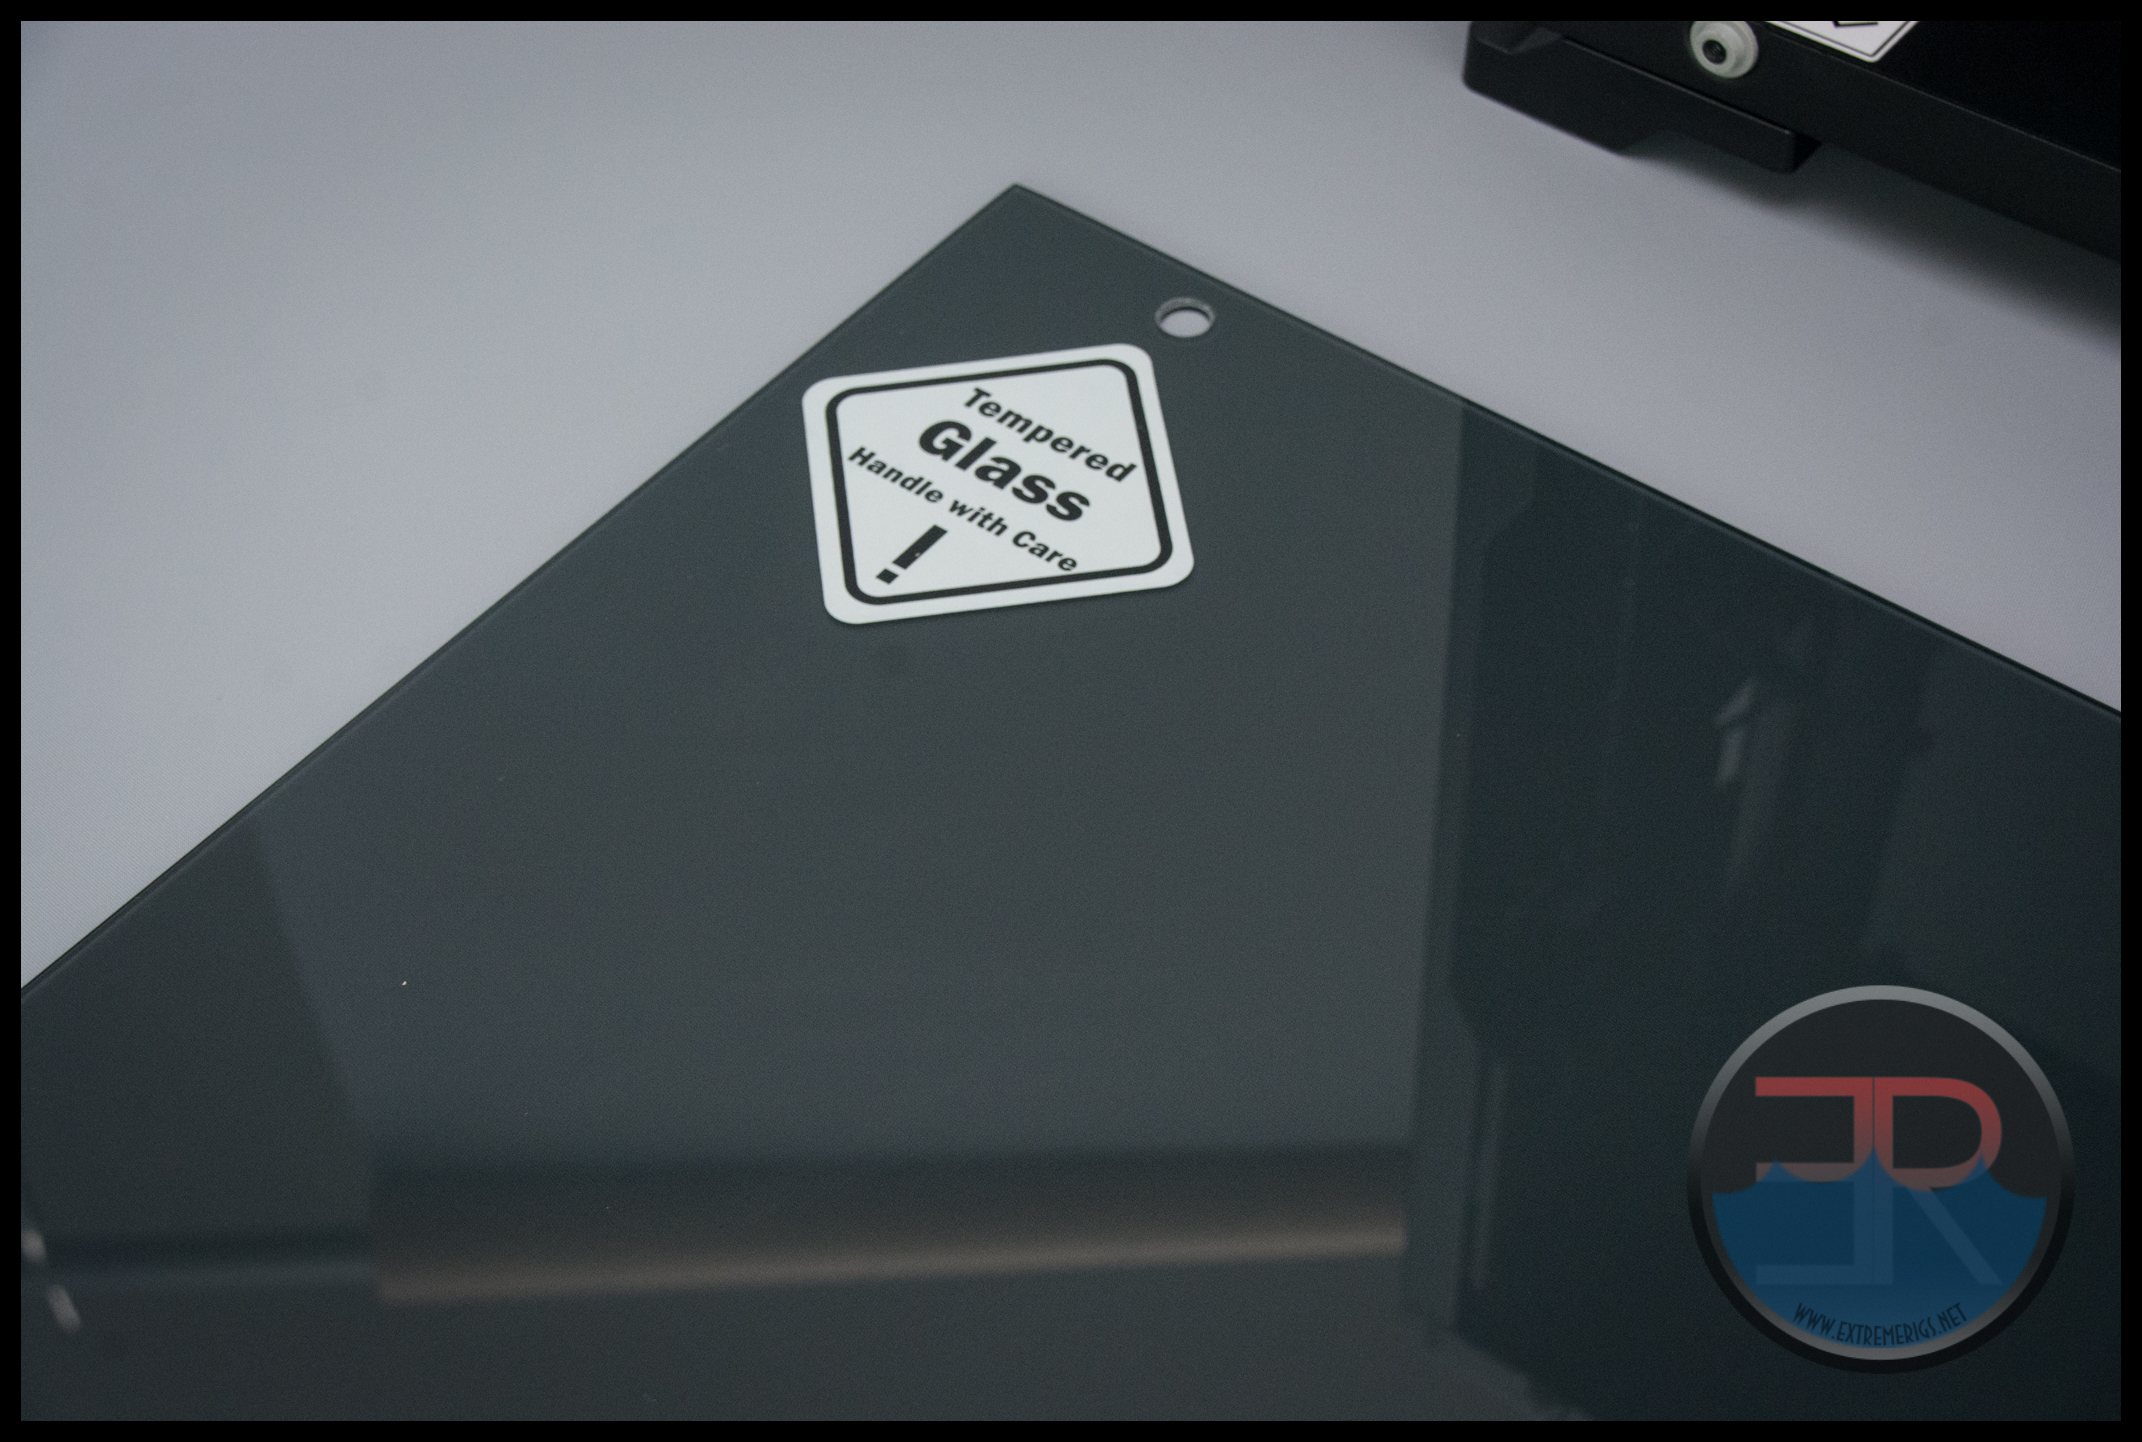
First off – don’t worry that warning sticker peels right off with no residue. The case consists of three glass panels and an aluminum frame. Both sides of the case are glass and are secured with four black thumbscrews (supplied):
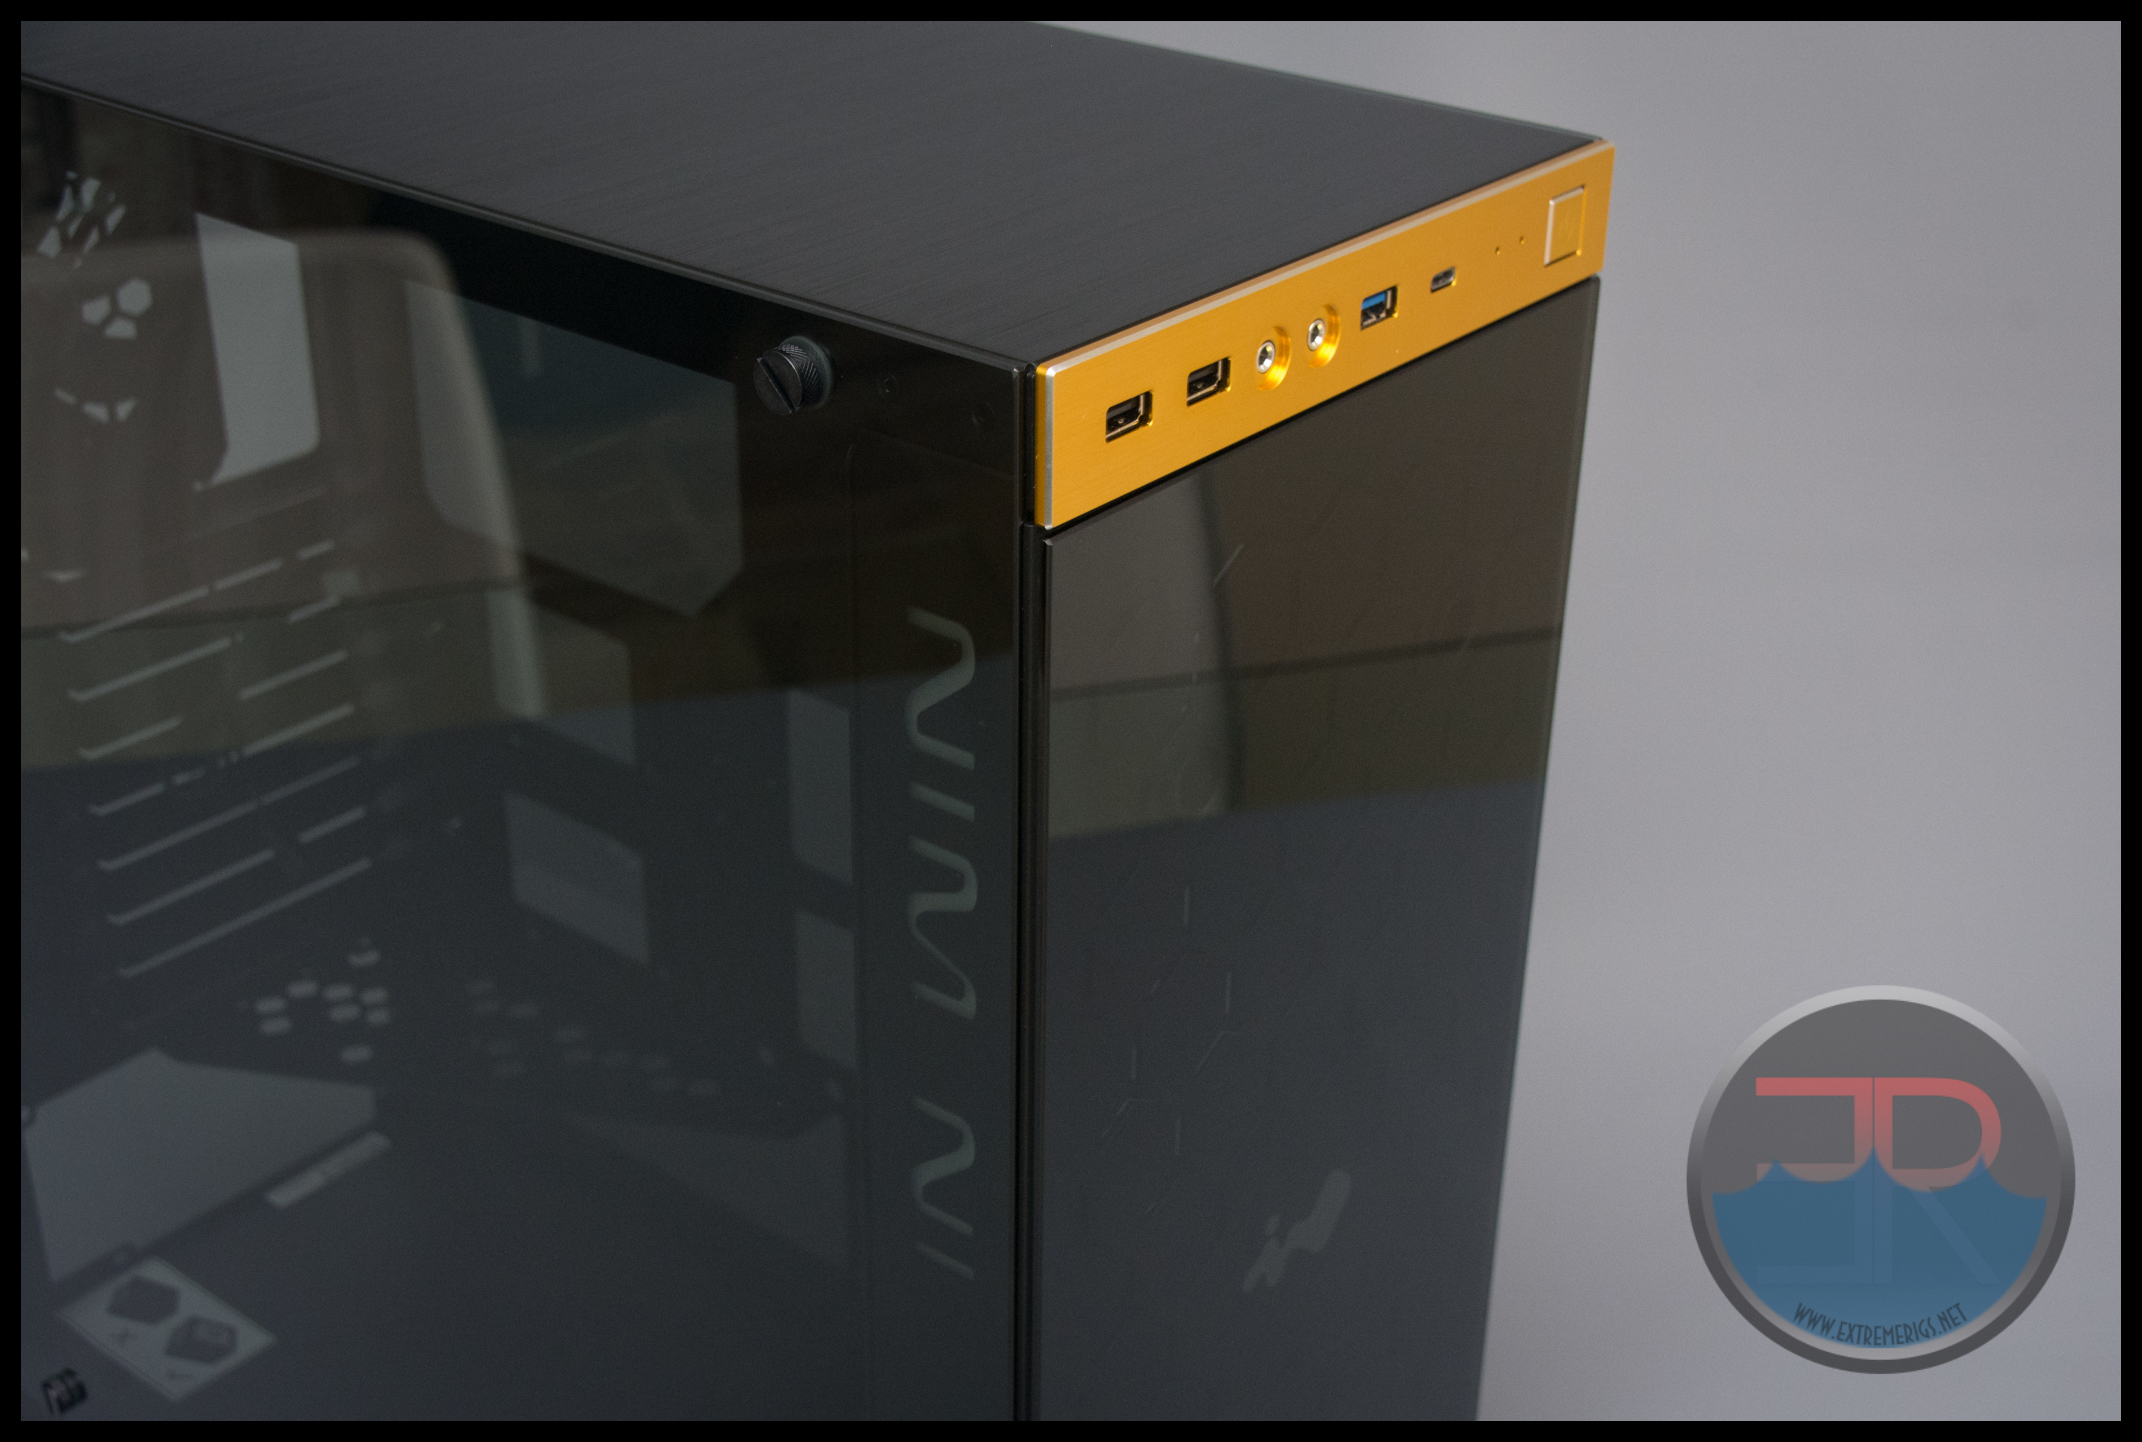
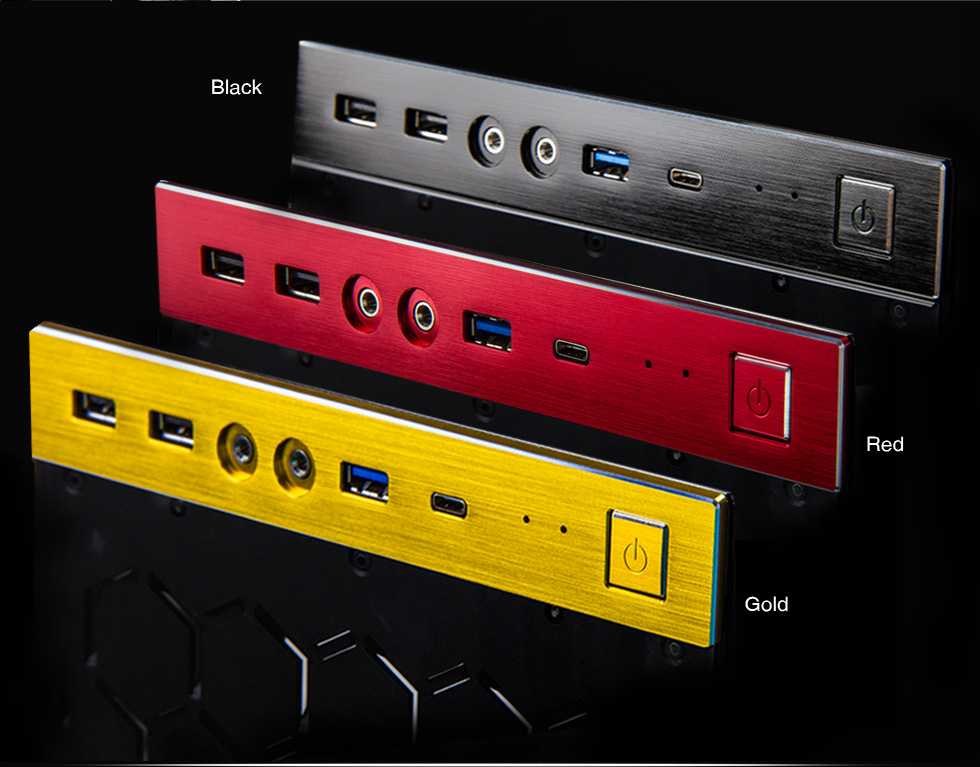
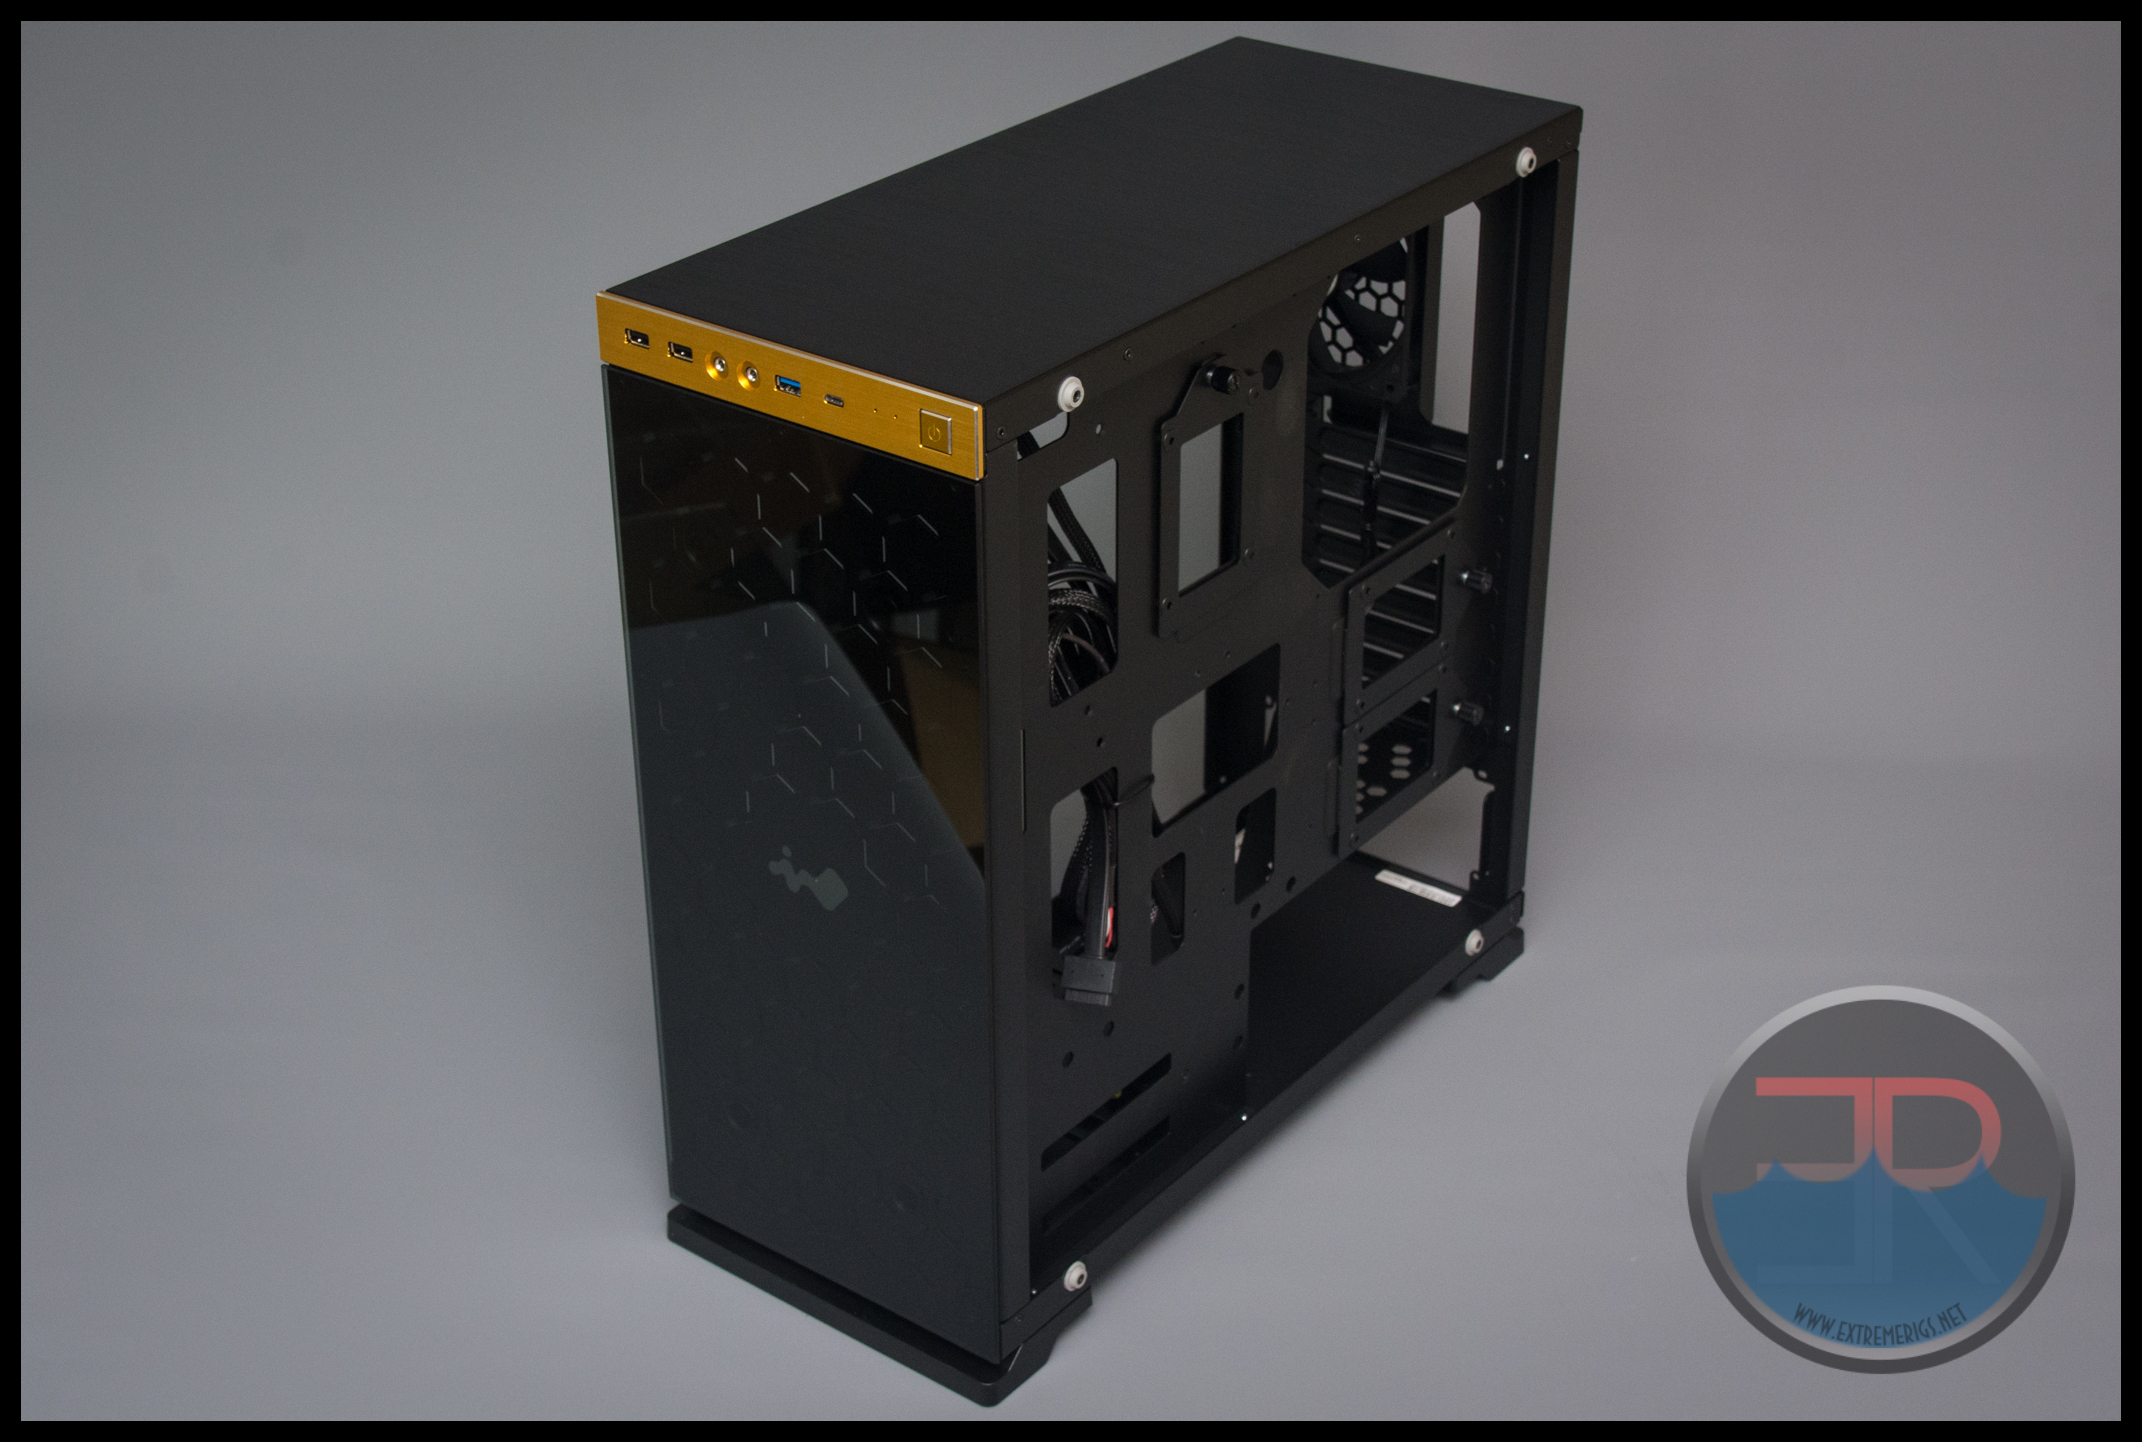
The front of the case is also glass though this is not removable. Behind the front there is some honeycomb patterning and an In Win logo cut out of an aluminum panel. Above the glass front is a gold panel with various I/O ports. This panel comes in three flavors:
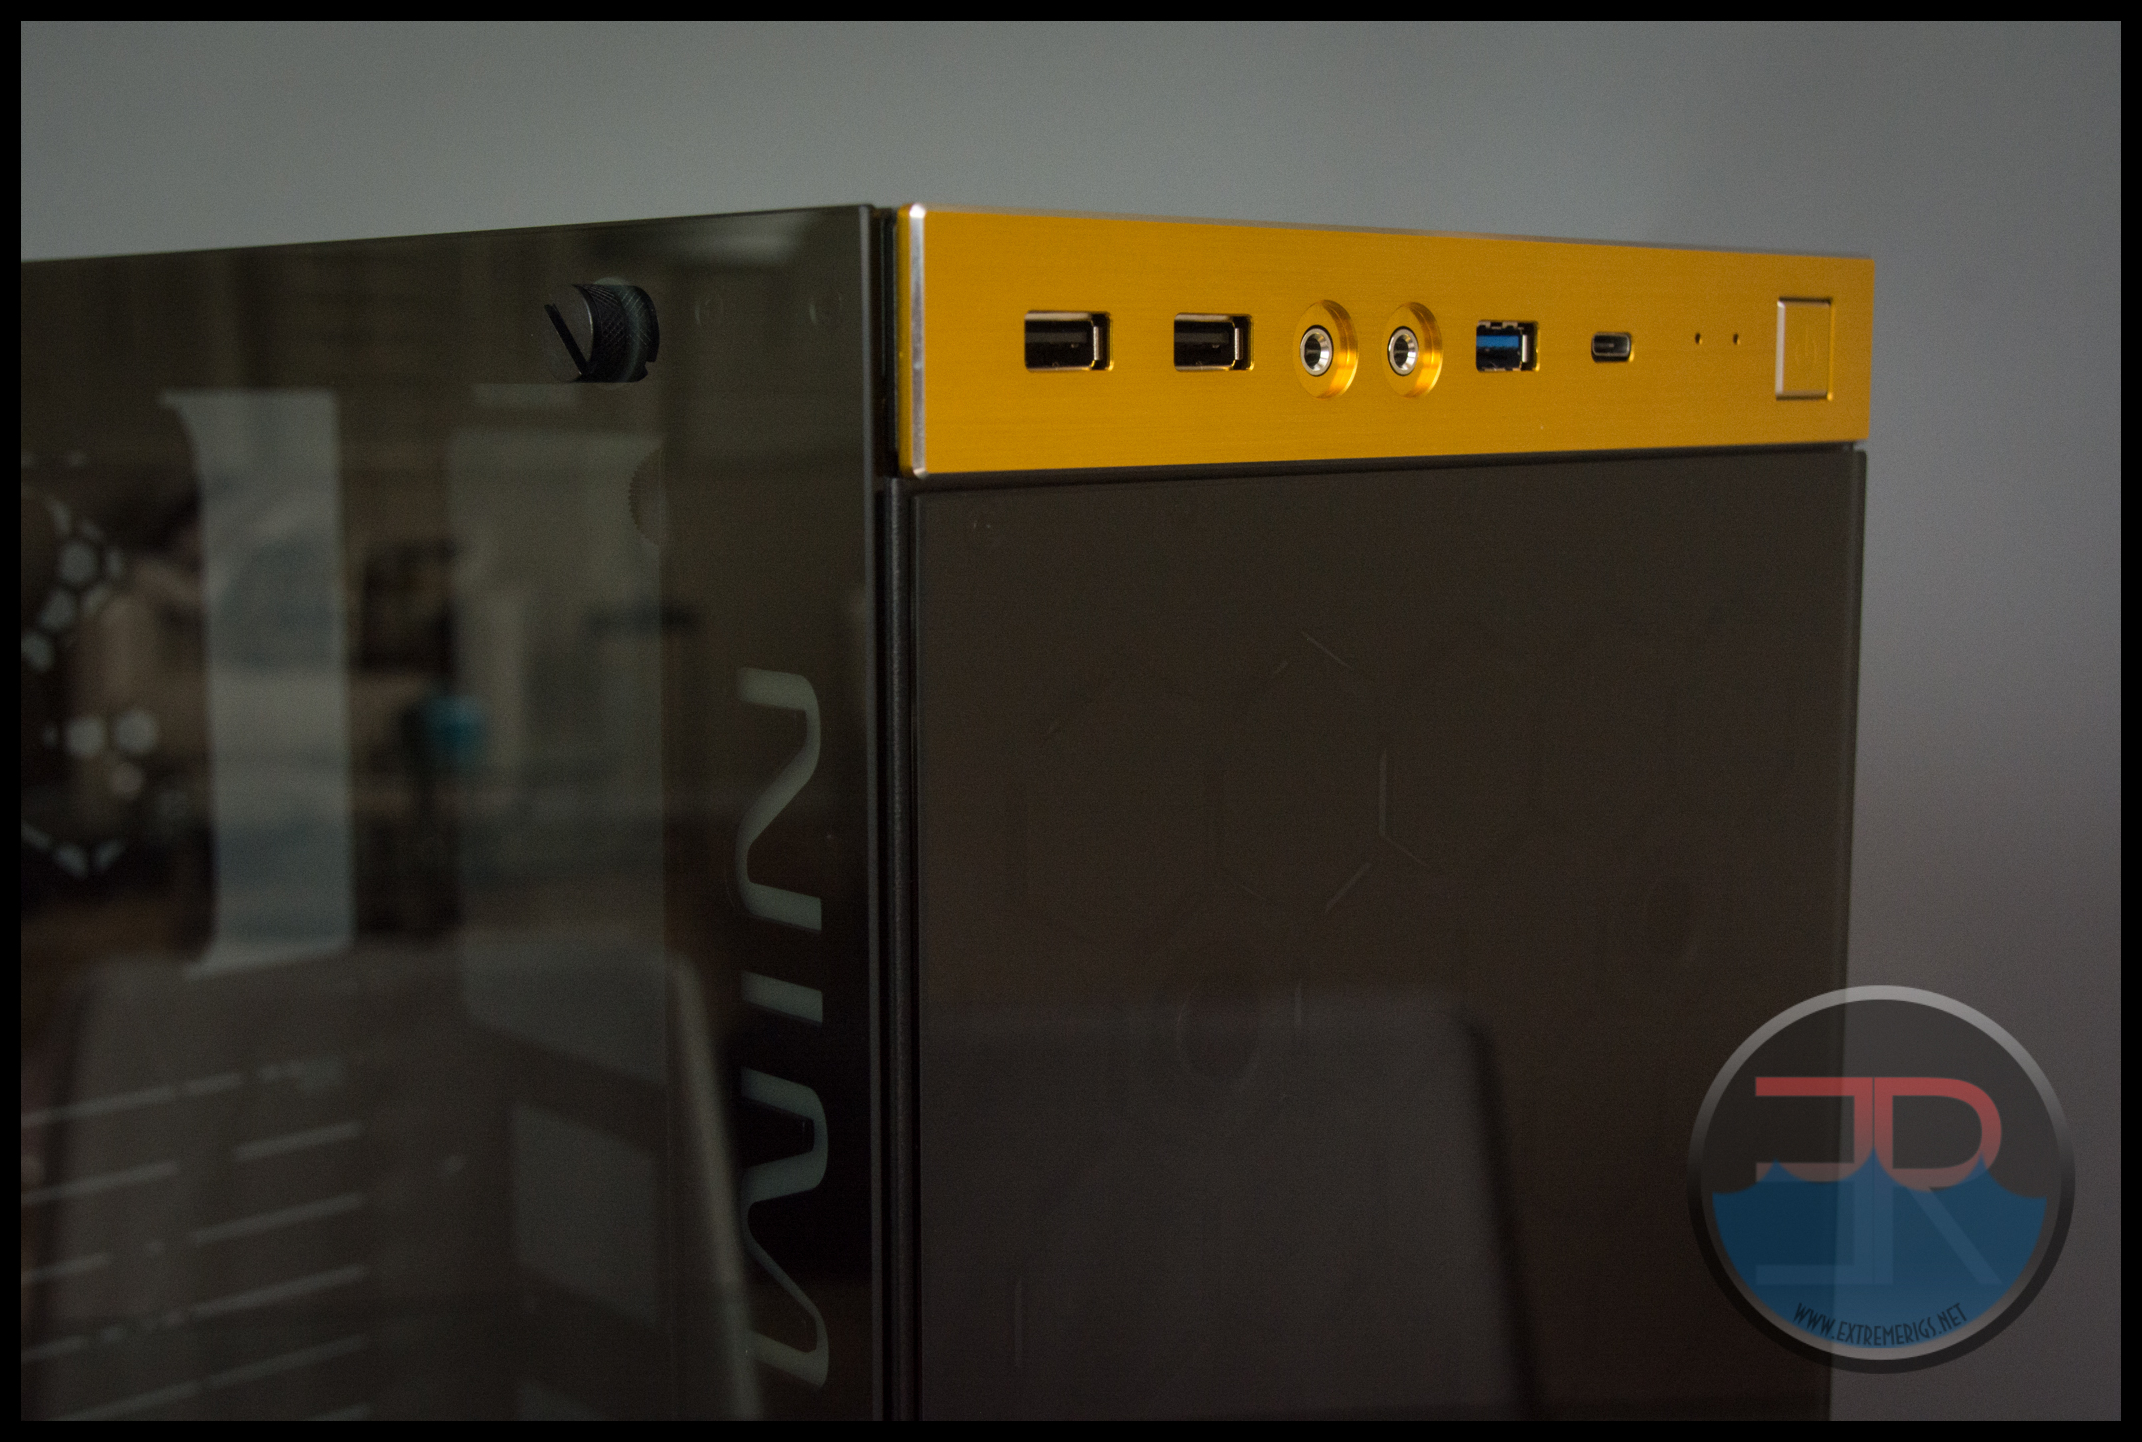
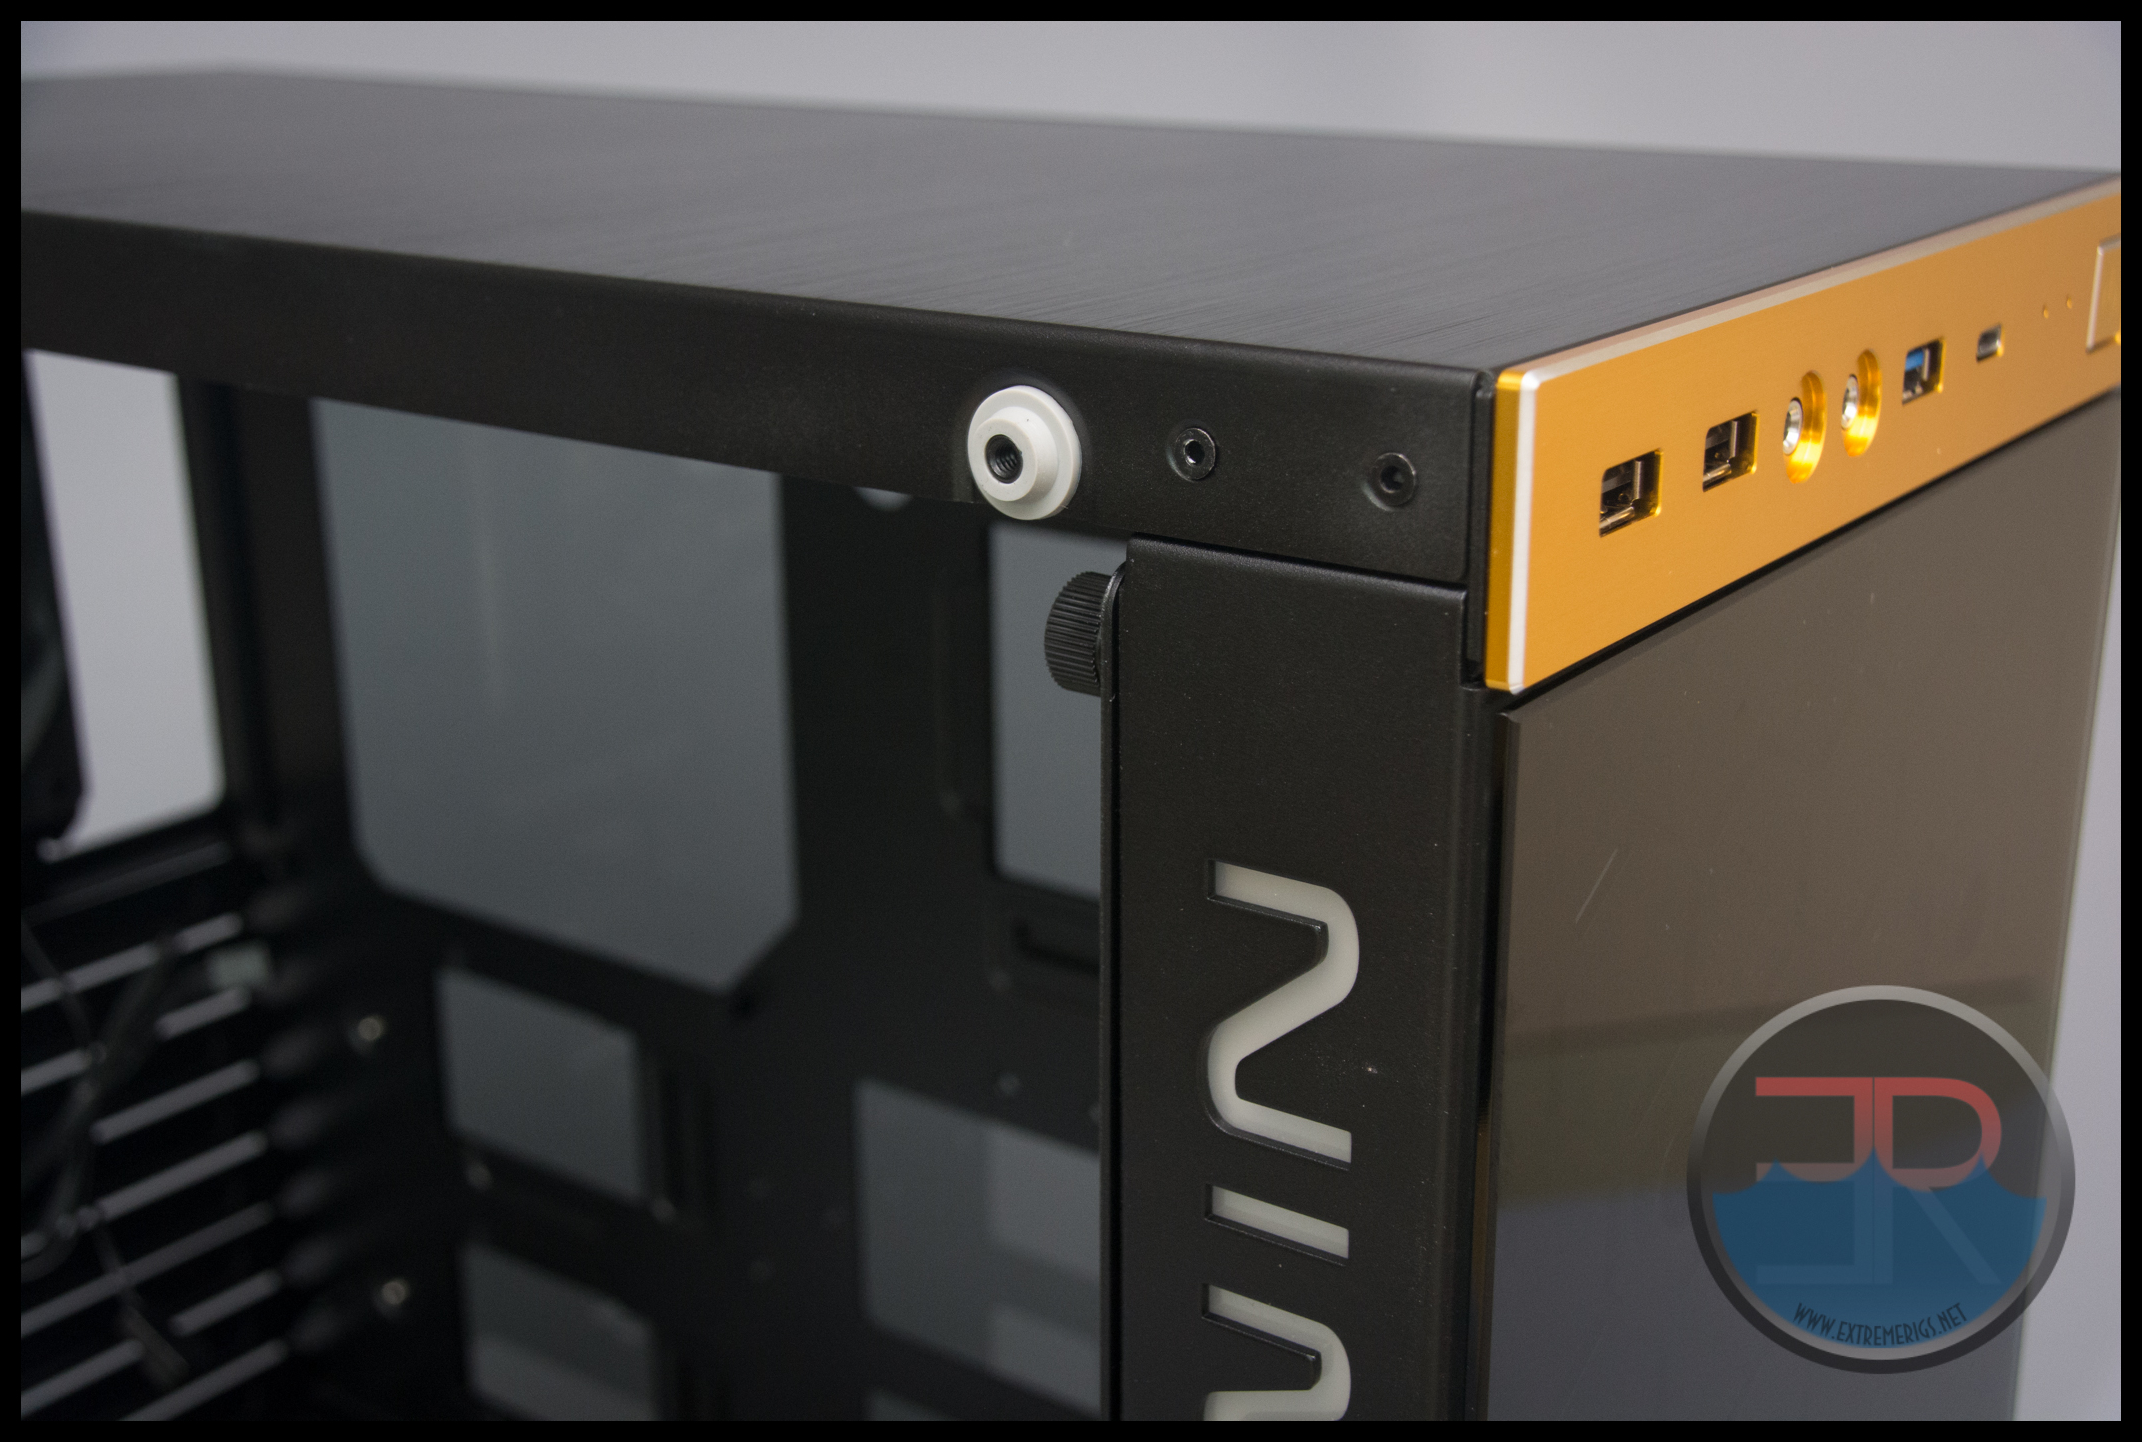
The panel has the usual assortment of IO – 2xUSB2, USB3, headphone and mic, LEDs for HDD and power as well as a power switch. However the unusual inclusion is a USB3.1 port. We love this. 3.1 is already appearing on motherboards and soon it will be everywhere. If you’re buying a case today it makes sense to try and get one with a USB 3.1 port. Note that there is no reset switch. These days that is not a problem as you can simply press and hold the power button if needed.
The panel also has a brushed aluminum feel that In Win describes as “hairline”. This continues on to top of the case:
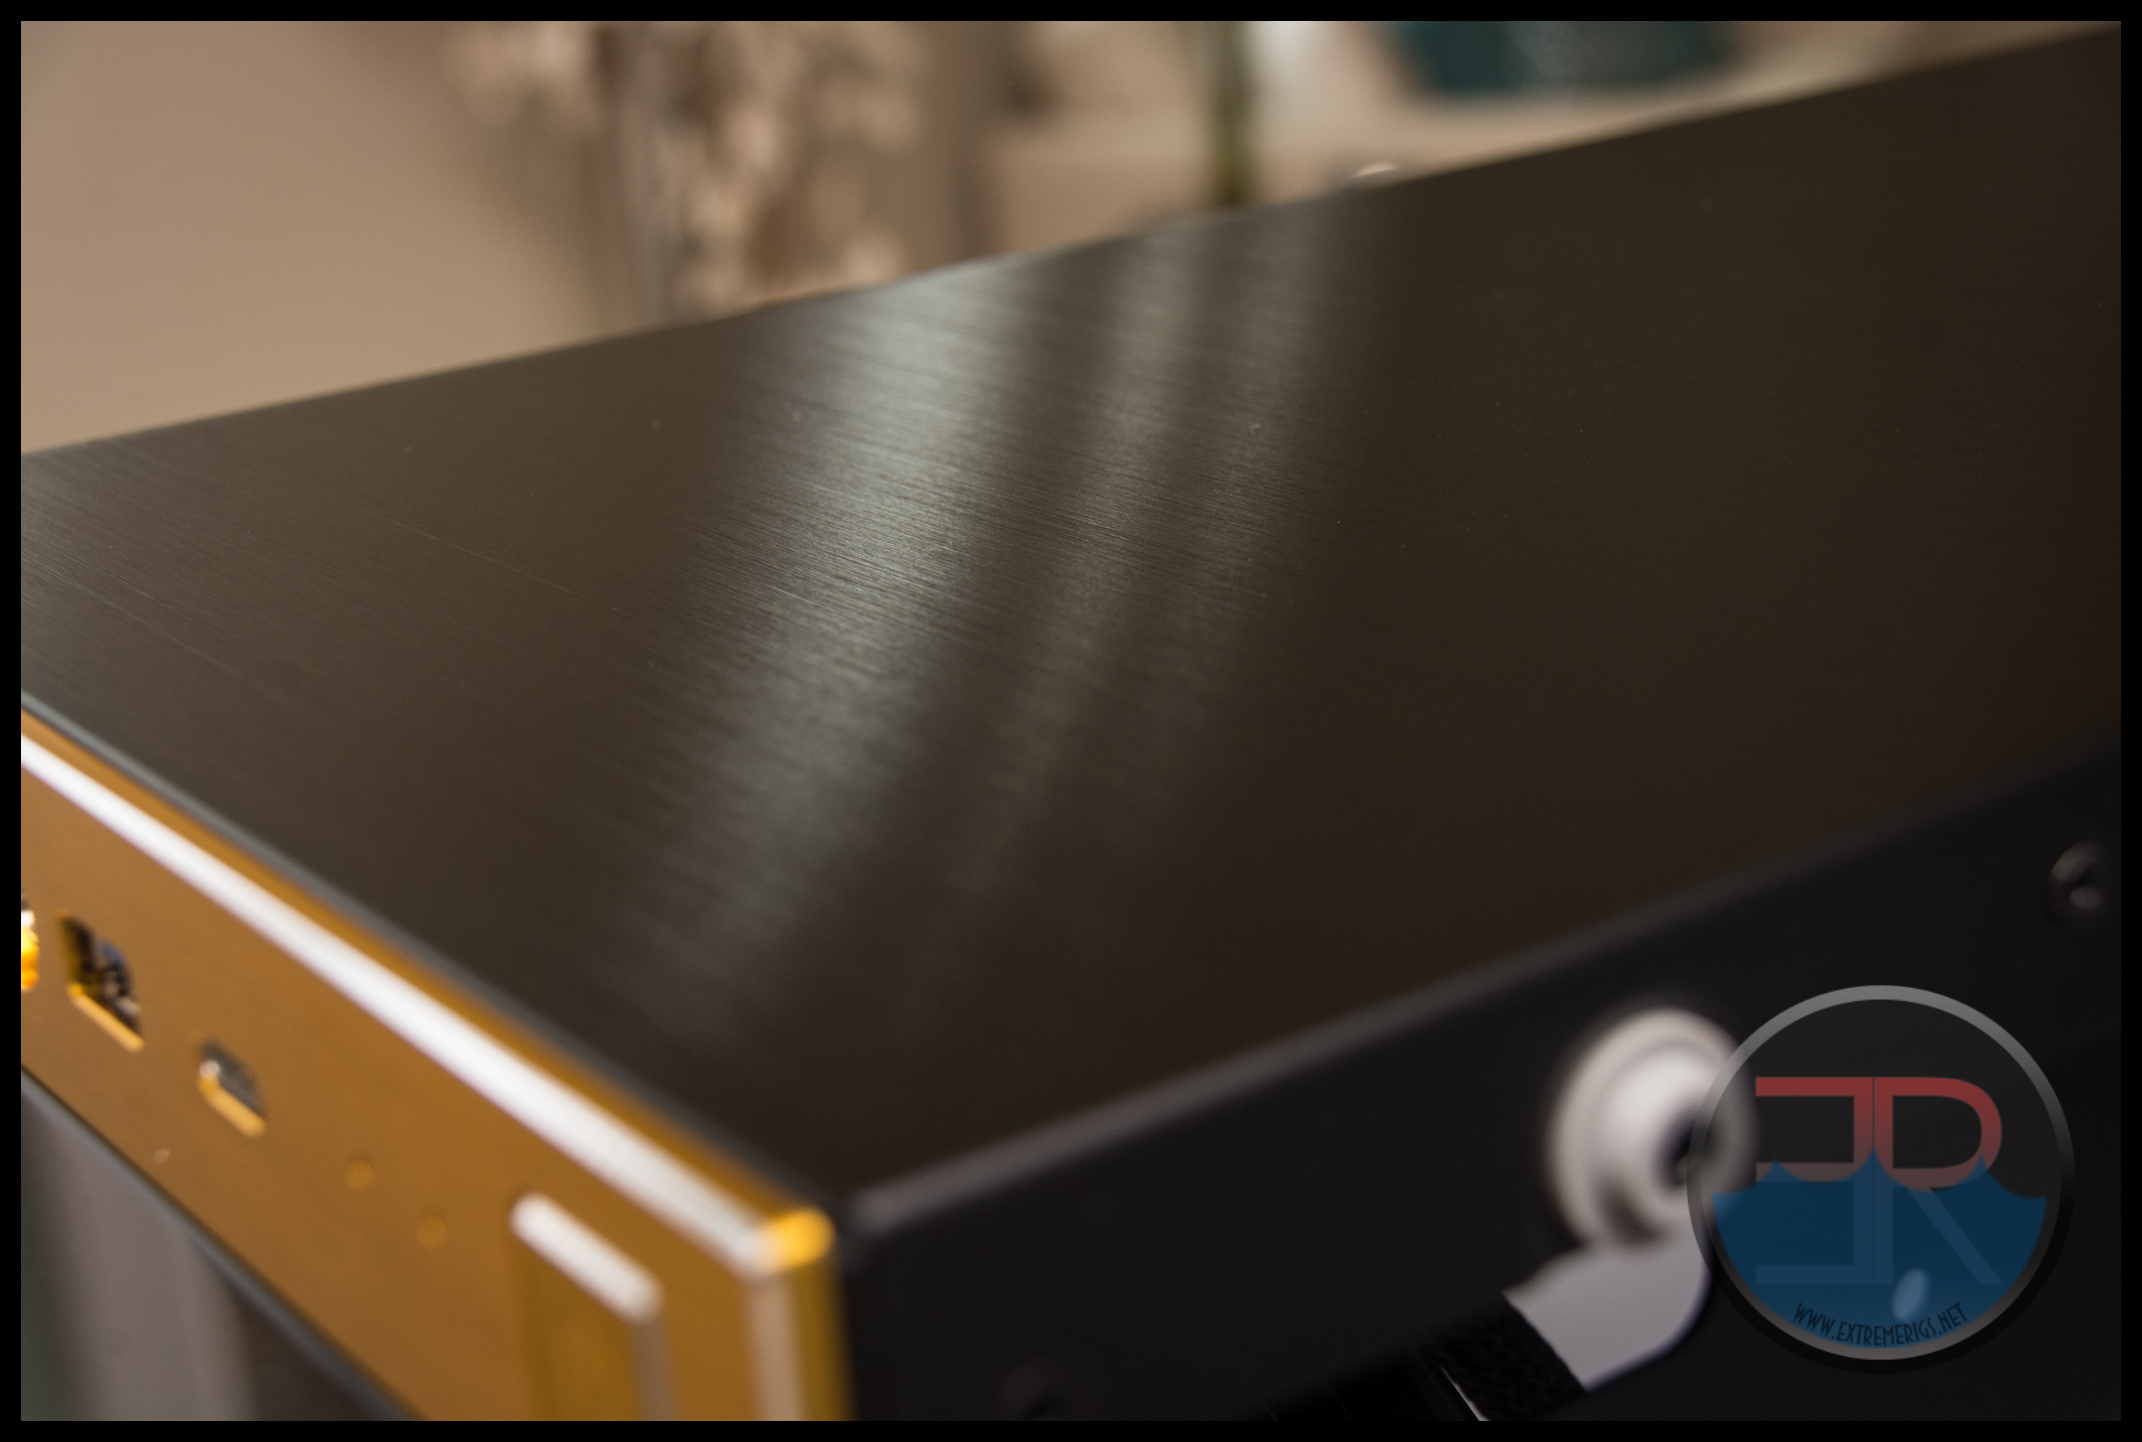 The top is a solid panel with no option to be used for ventilation. I do wish therefore that the glass theme was continued or that some ventilation options were included. Indeed if this was a reverse ATX case the top could be a sexy window showing off a GPU.
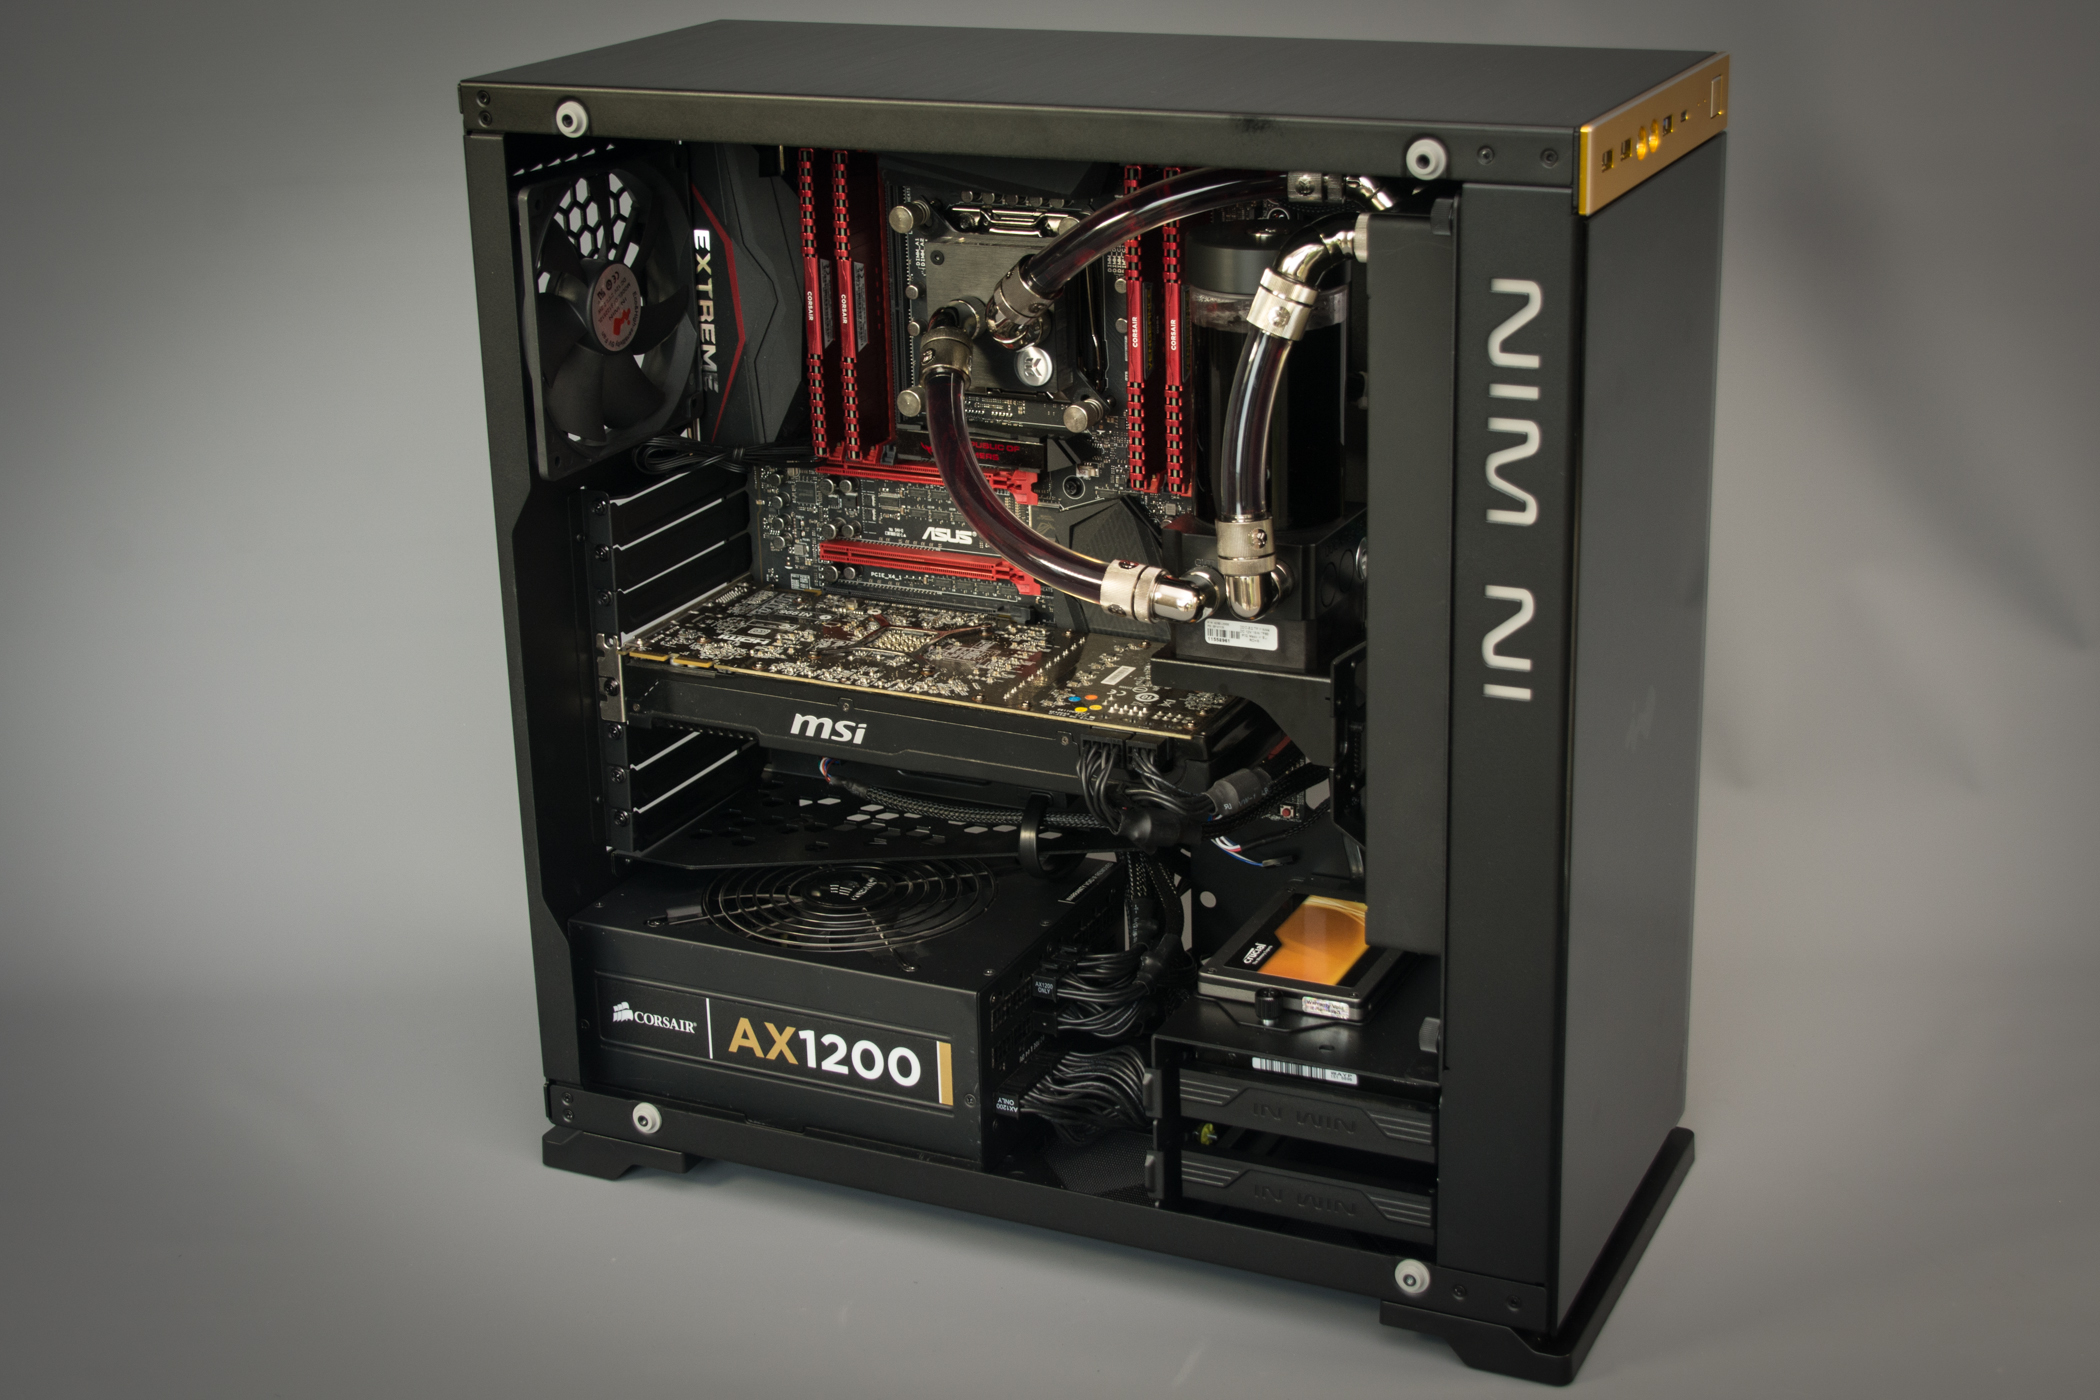
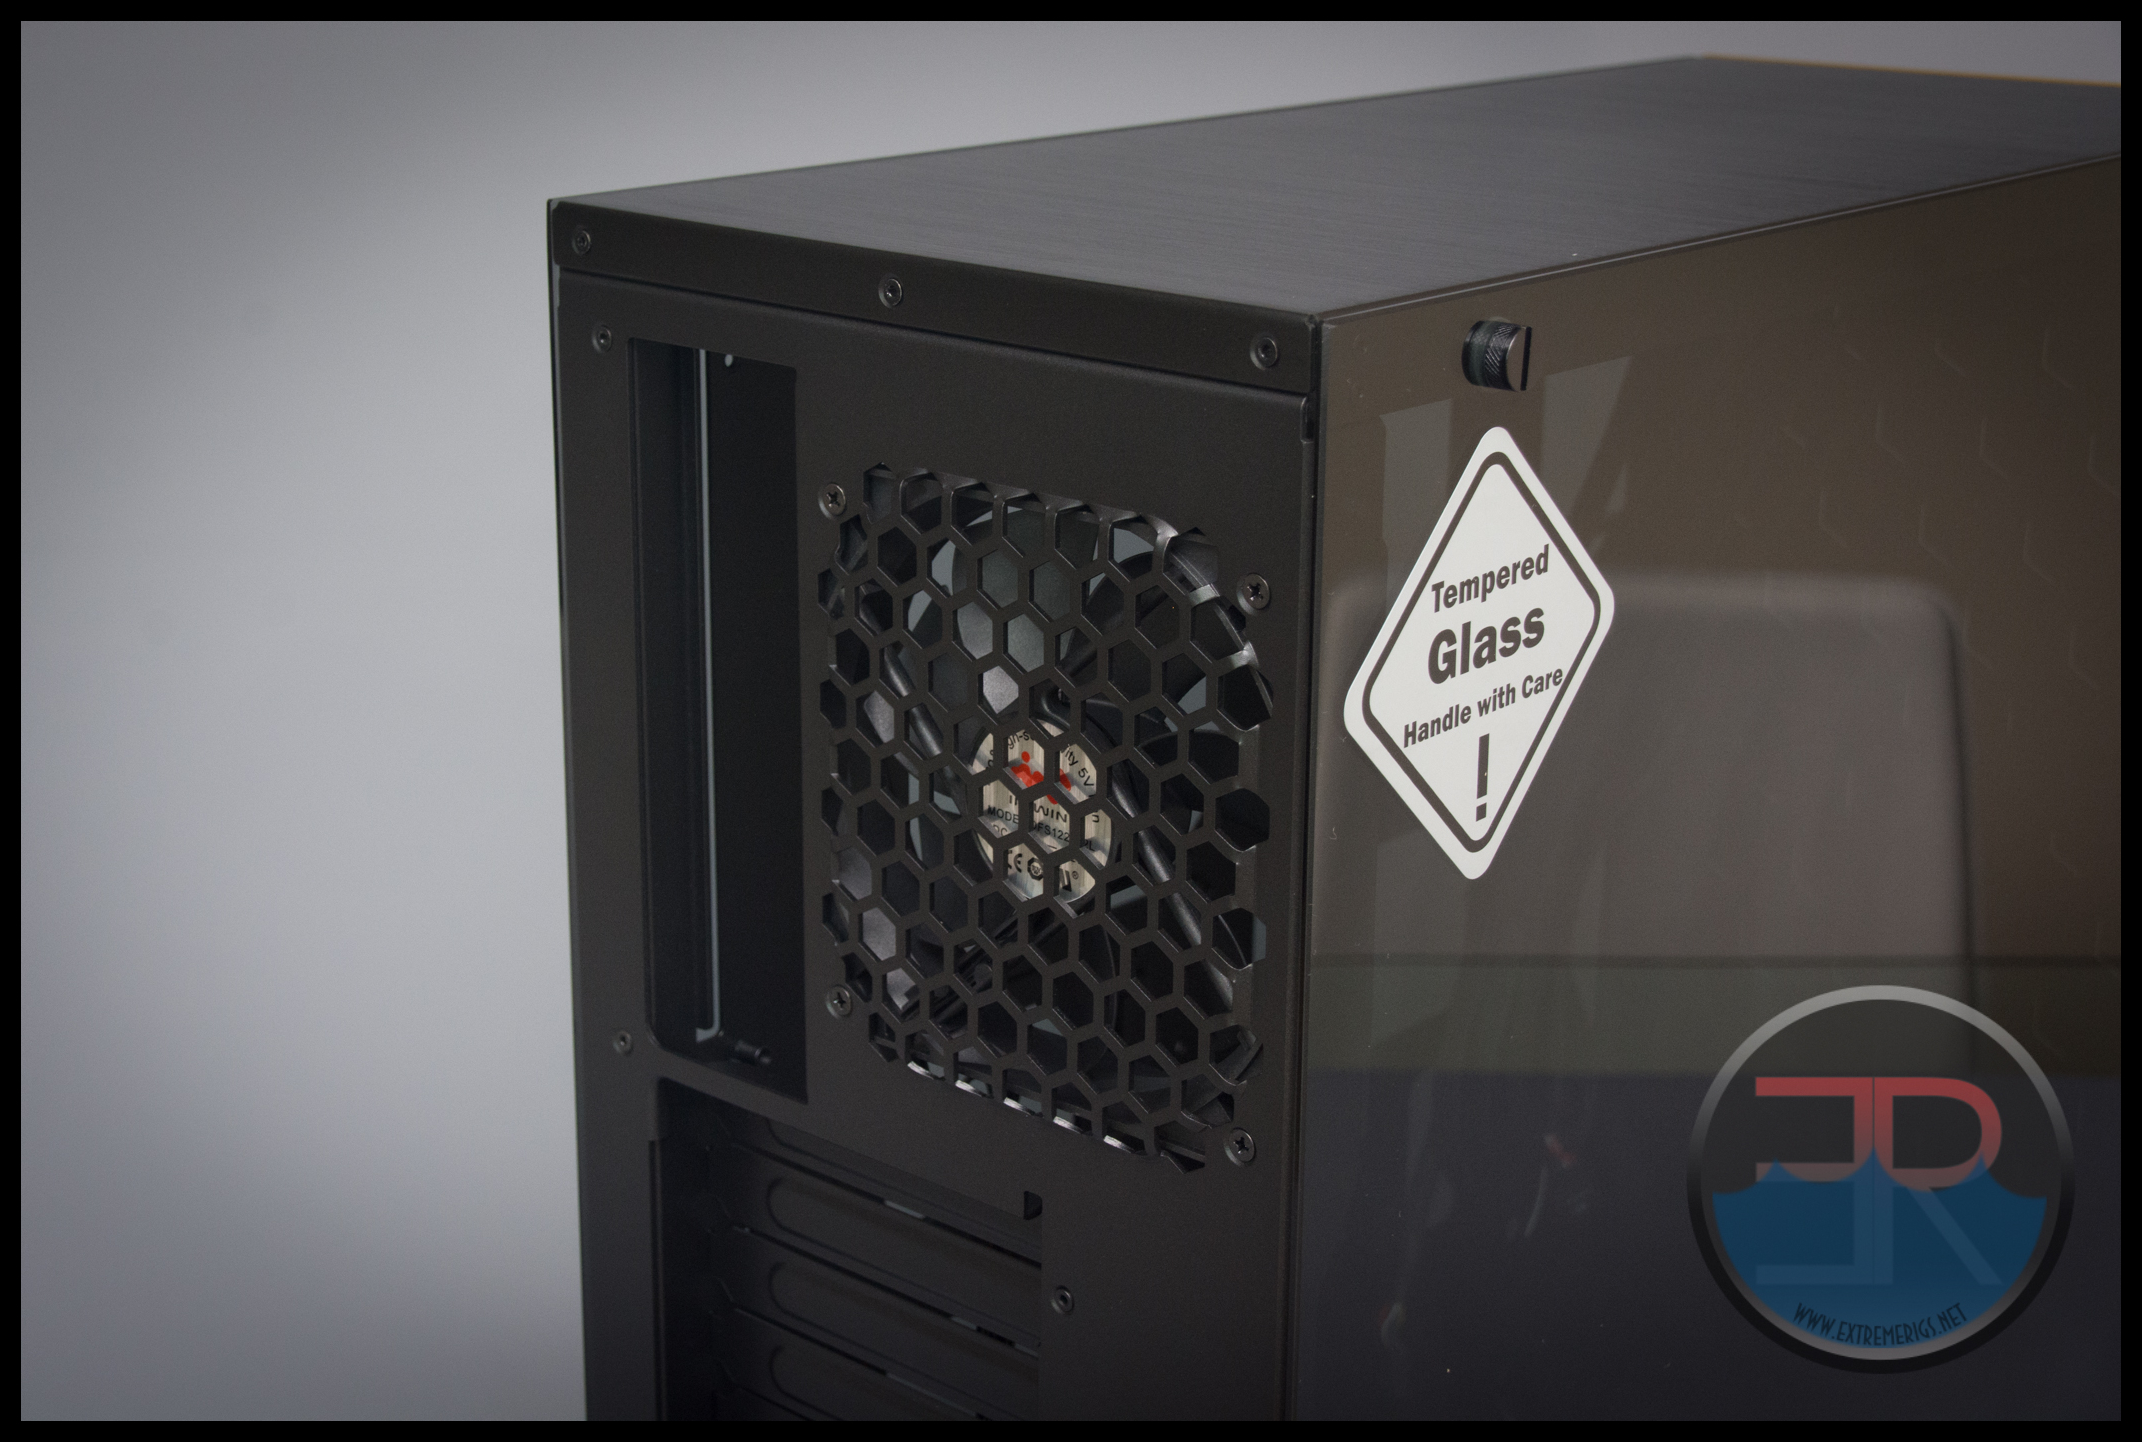
The rear of the case is powder coated aluminum with a slightly rough finish to it. The panels are riveted together here – we would prefer screws to ease modding. One rear 120mm exhaust fan is included with the case. Removing the four thumbscrews enables the glass sides to be removed:
Clearly these glass sides are quite dark then. In order to see the insides they will have to lit up quite brightly with LEDs.
The thumbscrews go into these little grey nipples. There are some spares included.
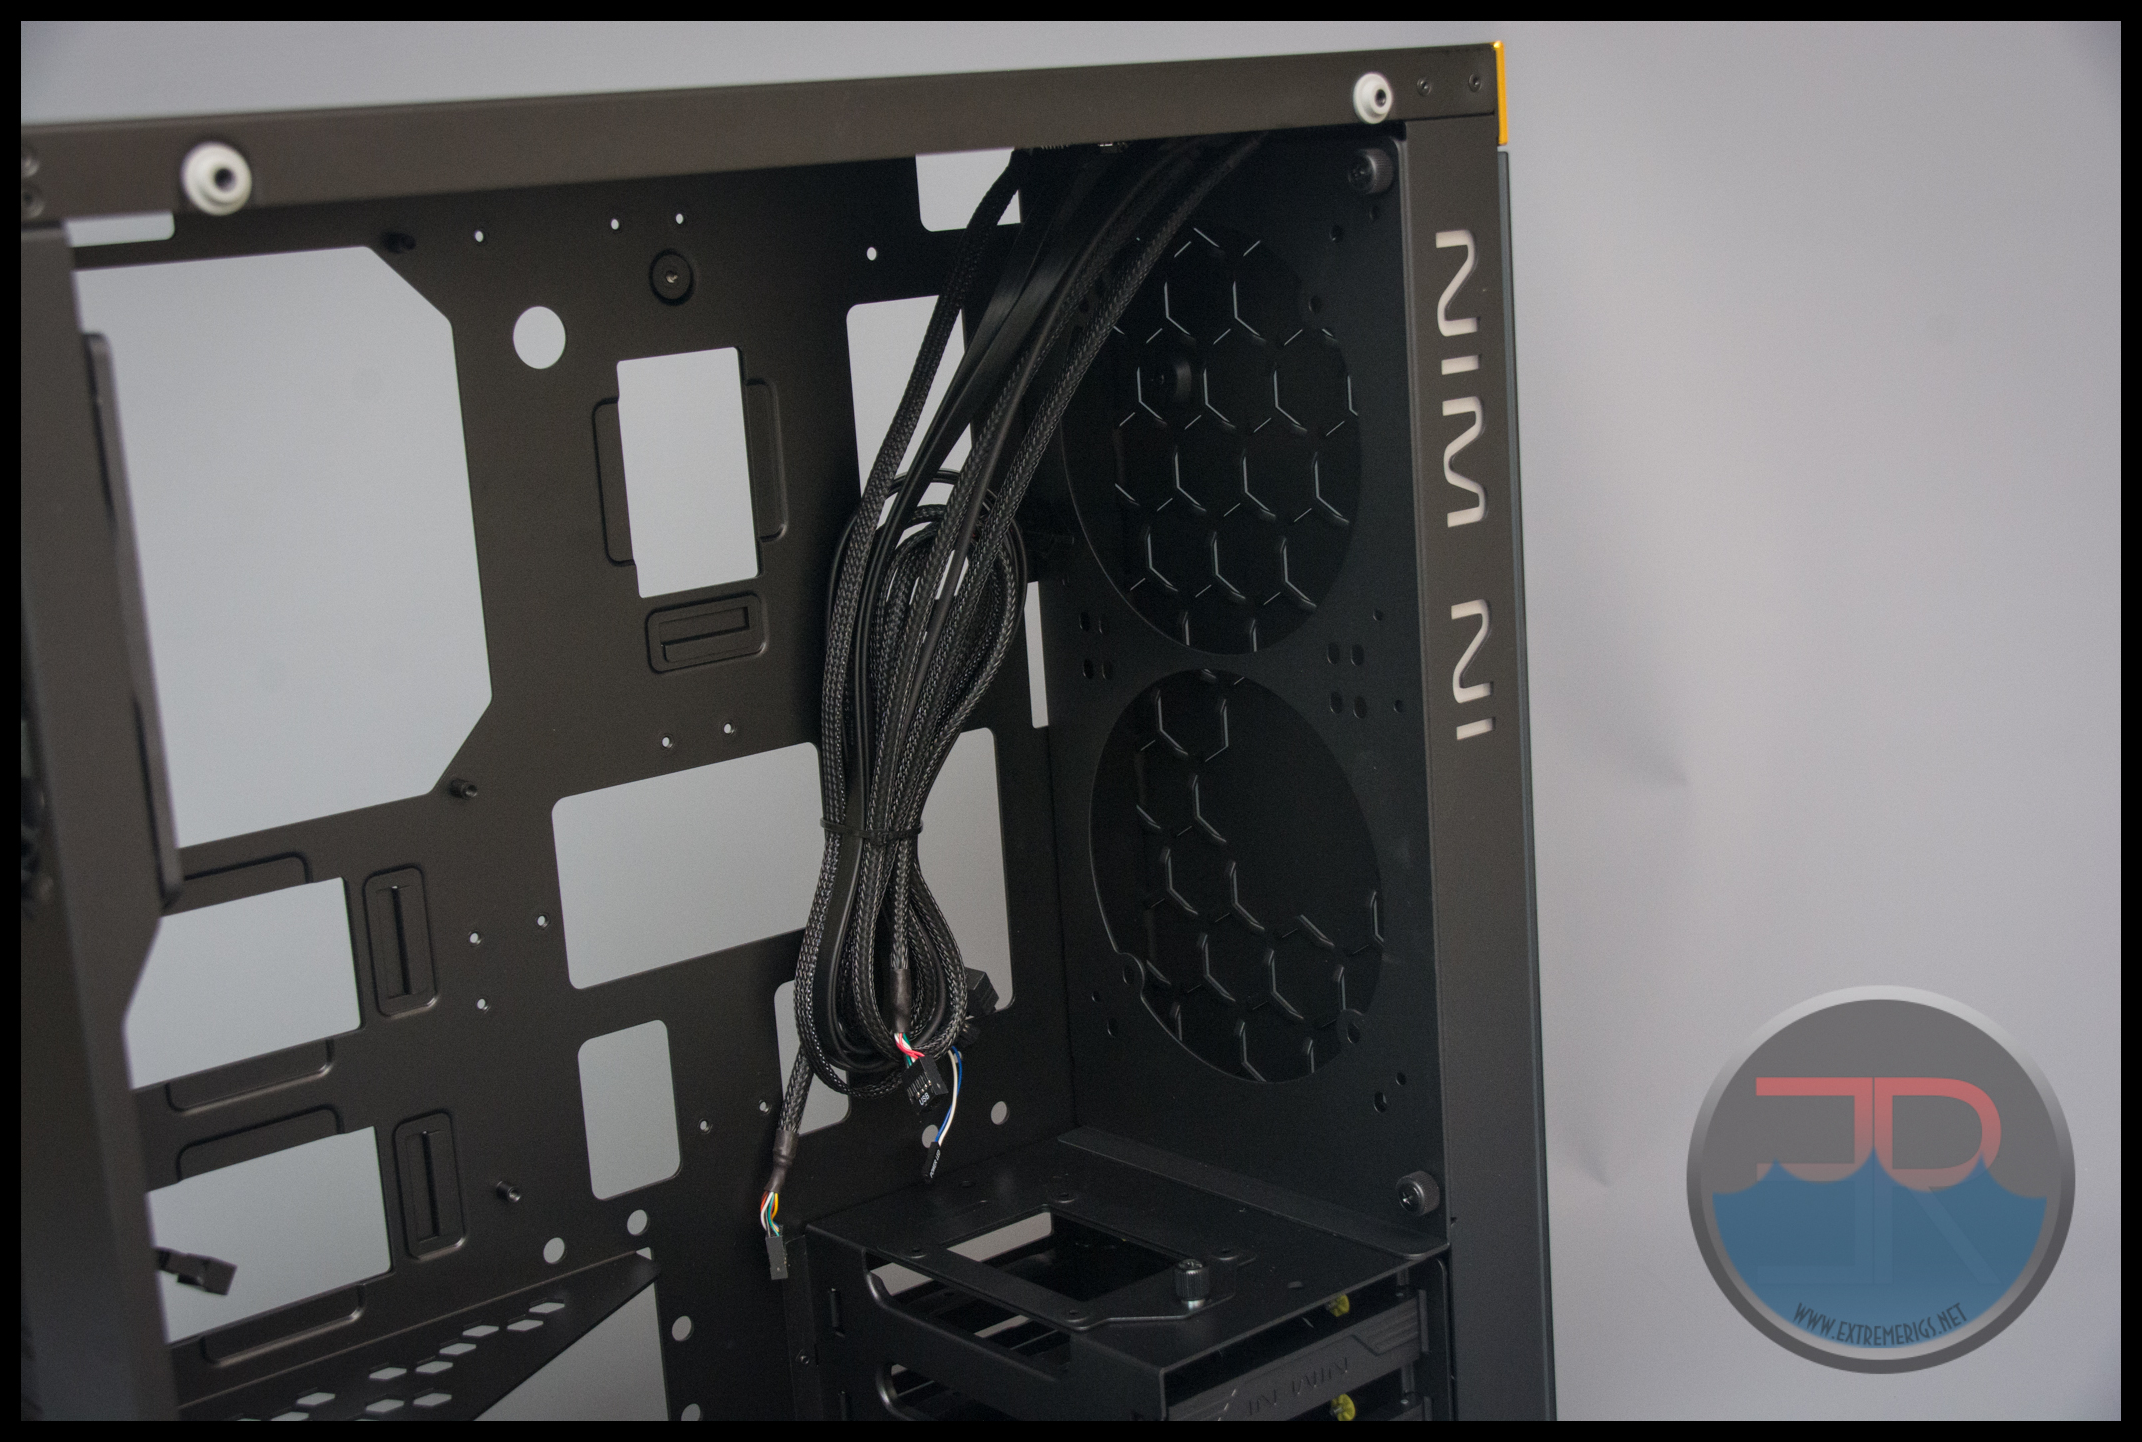
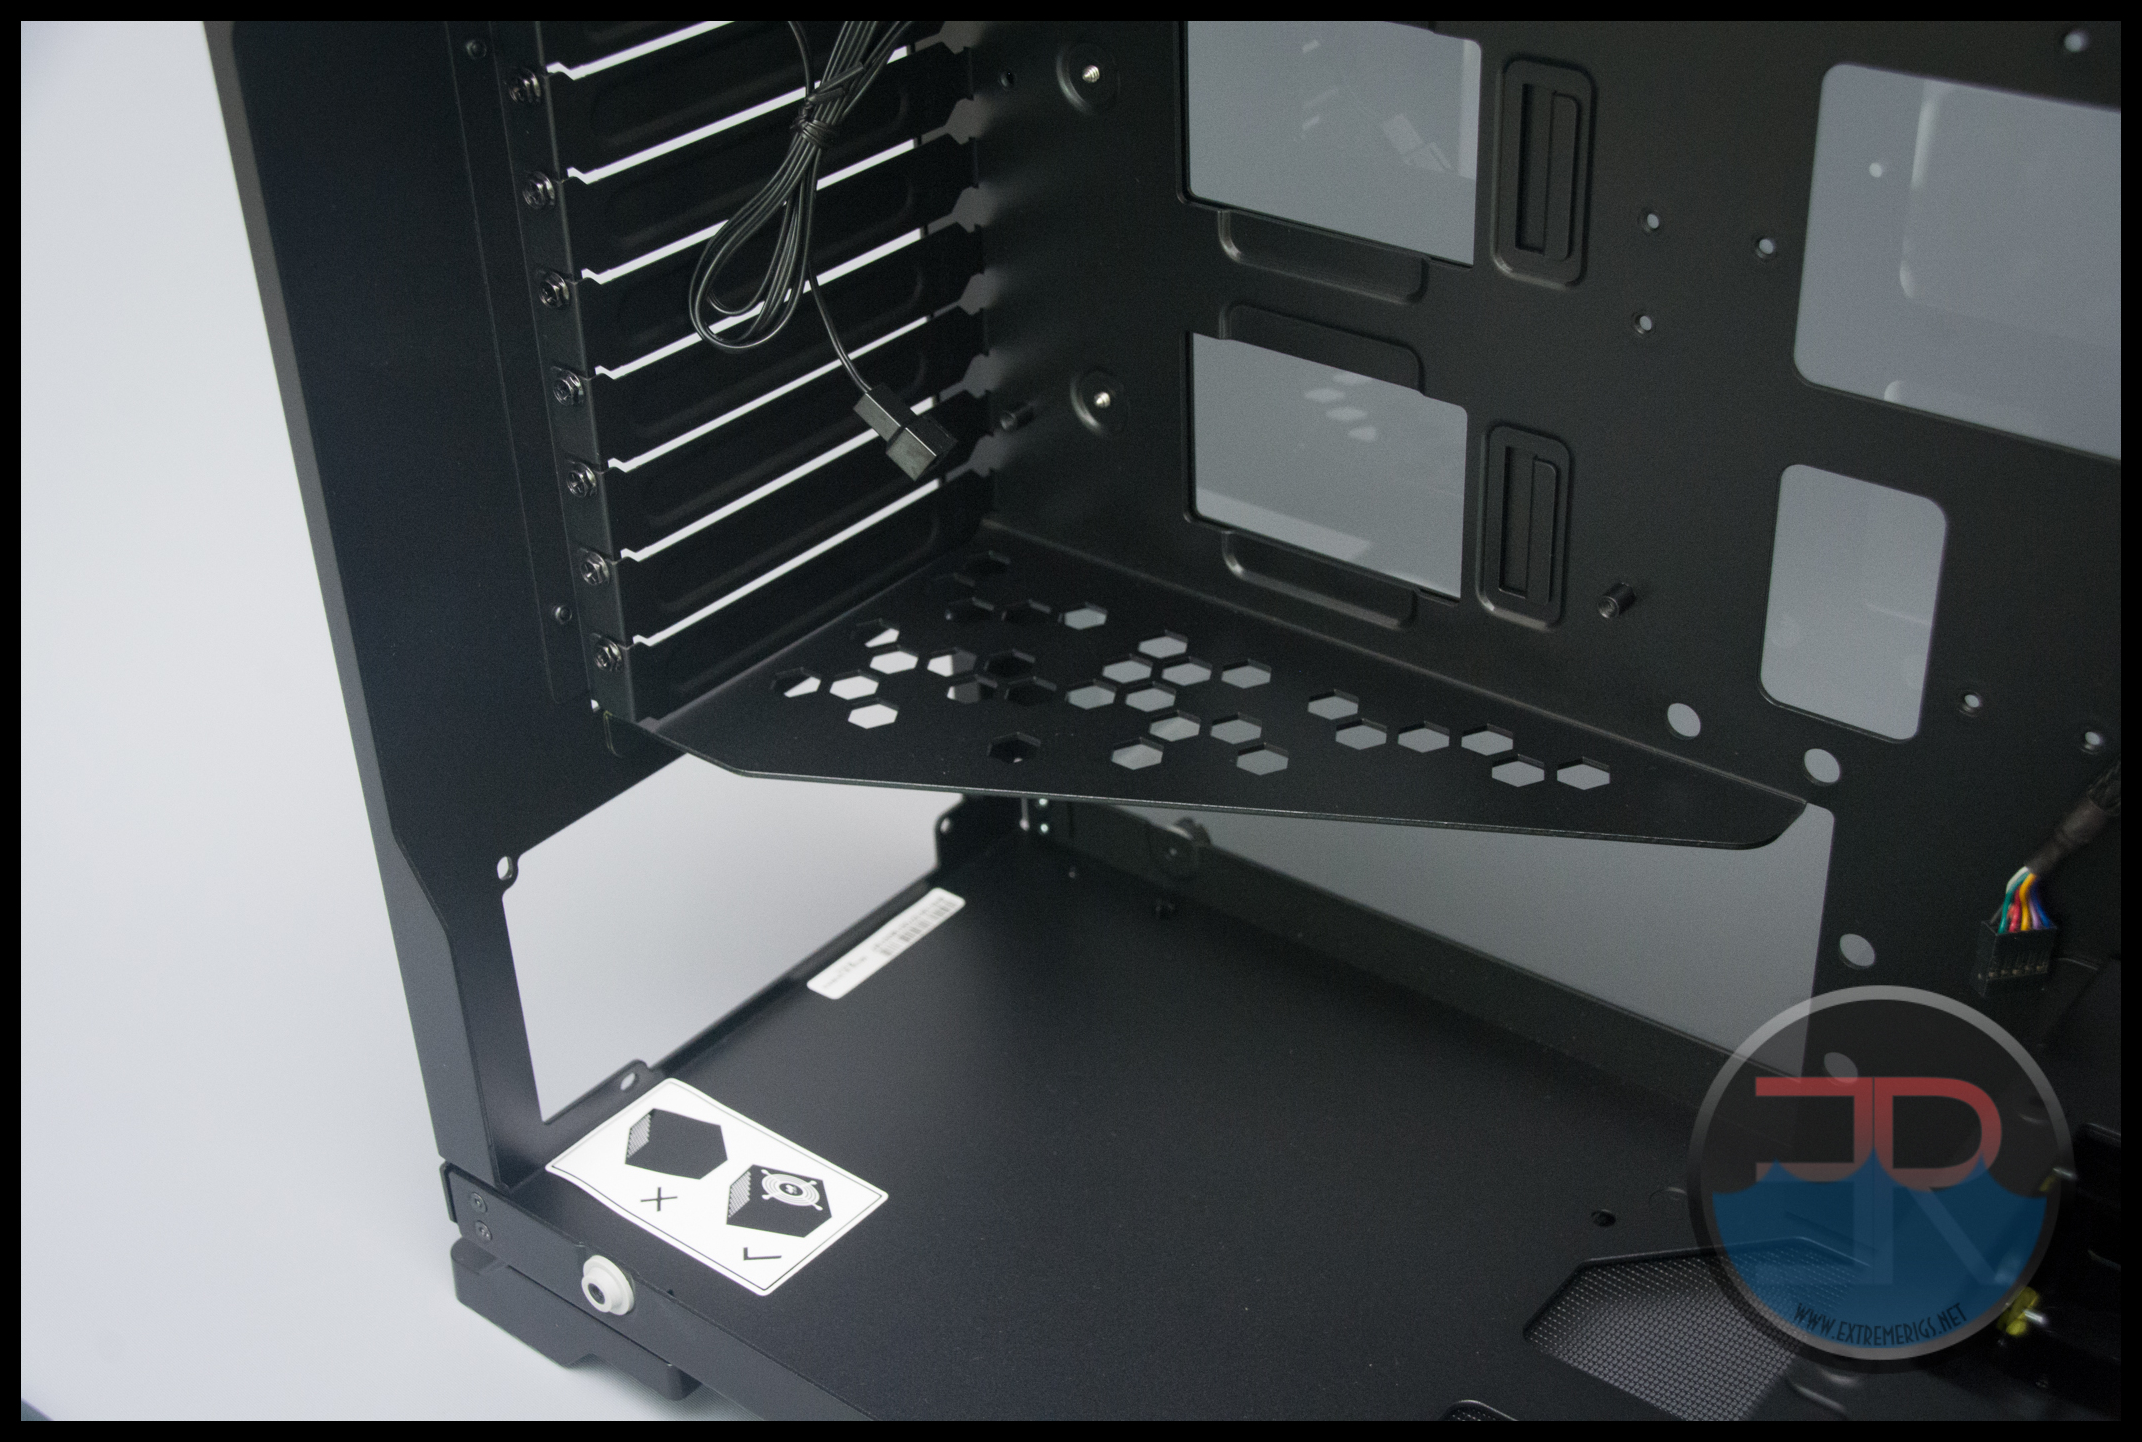
The In Win logo on the side of the case also lights up via a molex cable – we would have preferred a 3 pin header so that the brightness could be controlled via a fan header. Looking at the inside of the case we see a PSU shroud that continues the honeycomb theme:
There is also a warning sticker as to mount the power supply so it can breathe. In Win could have made this optional, but because of the design of the case it really needs the PSU airflow to remove heat from inside the case:
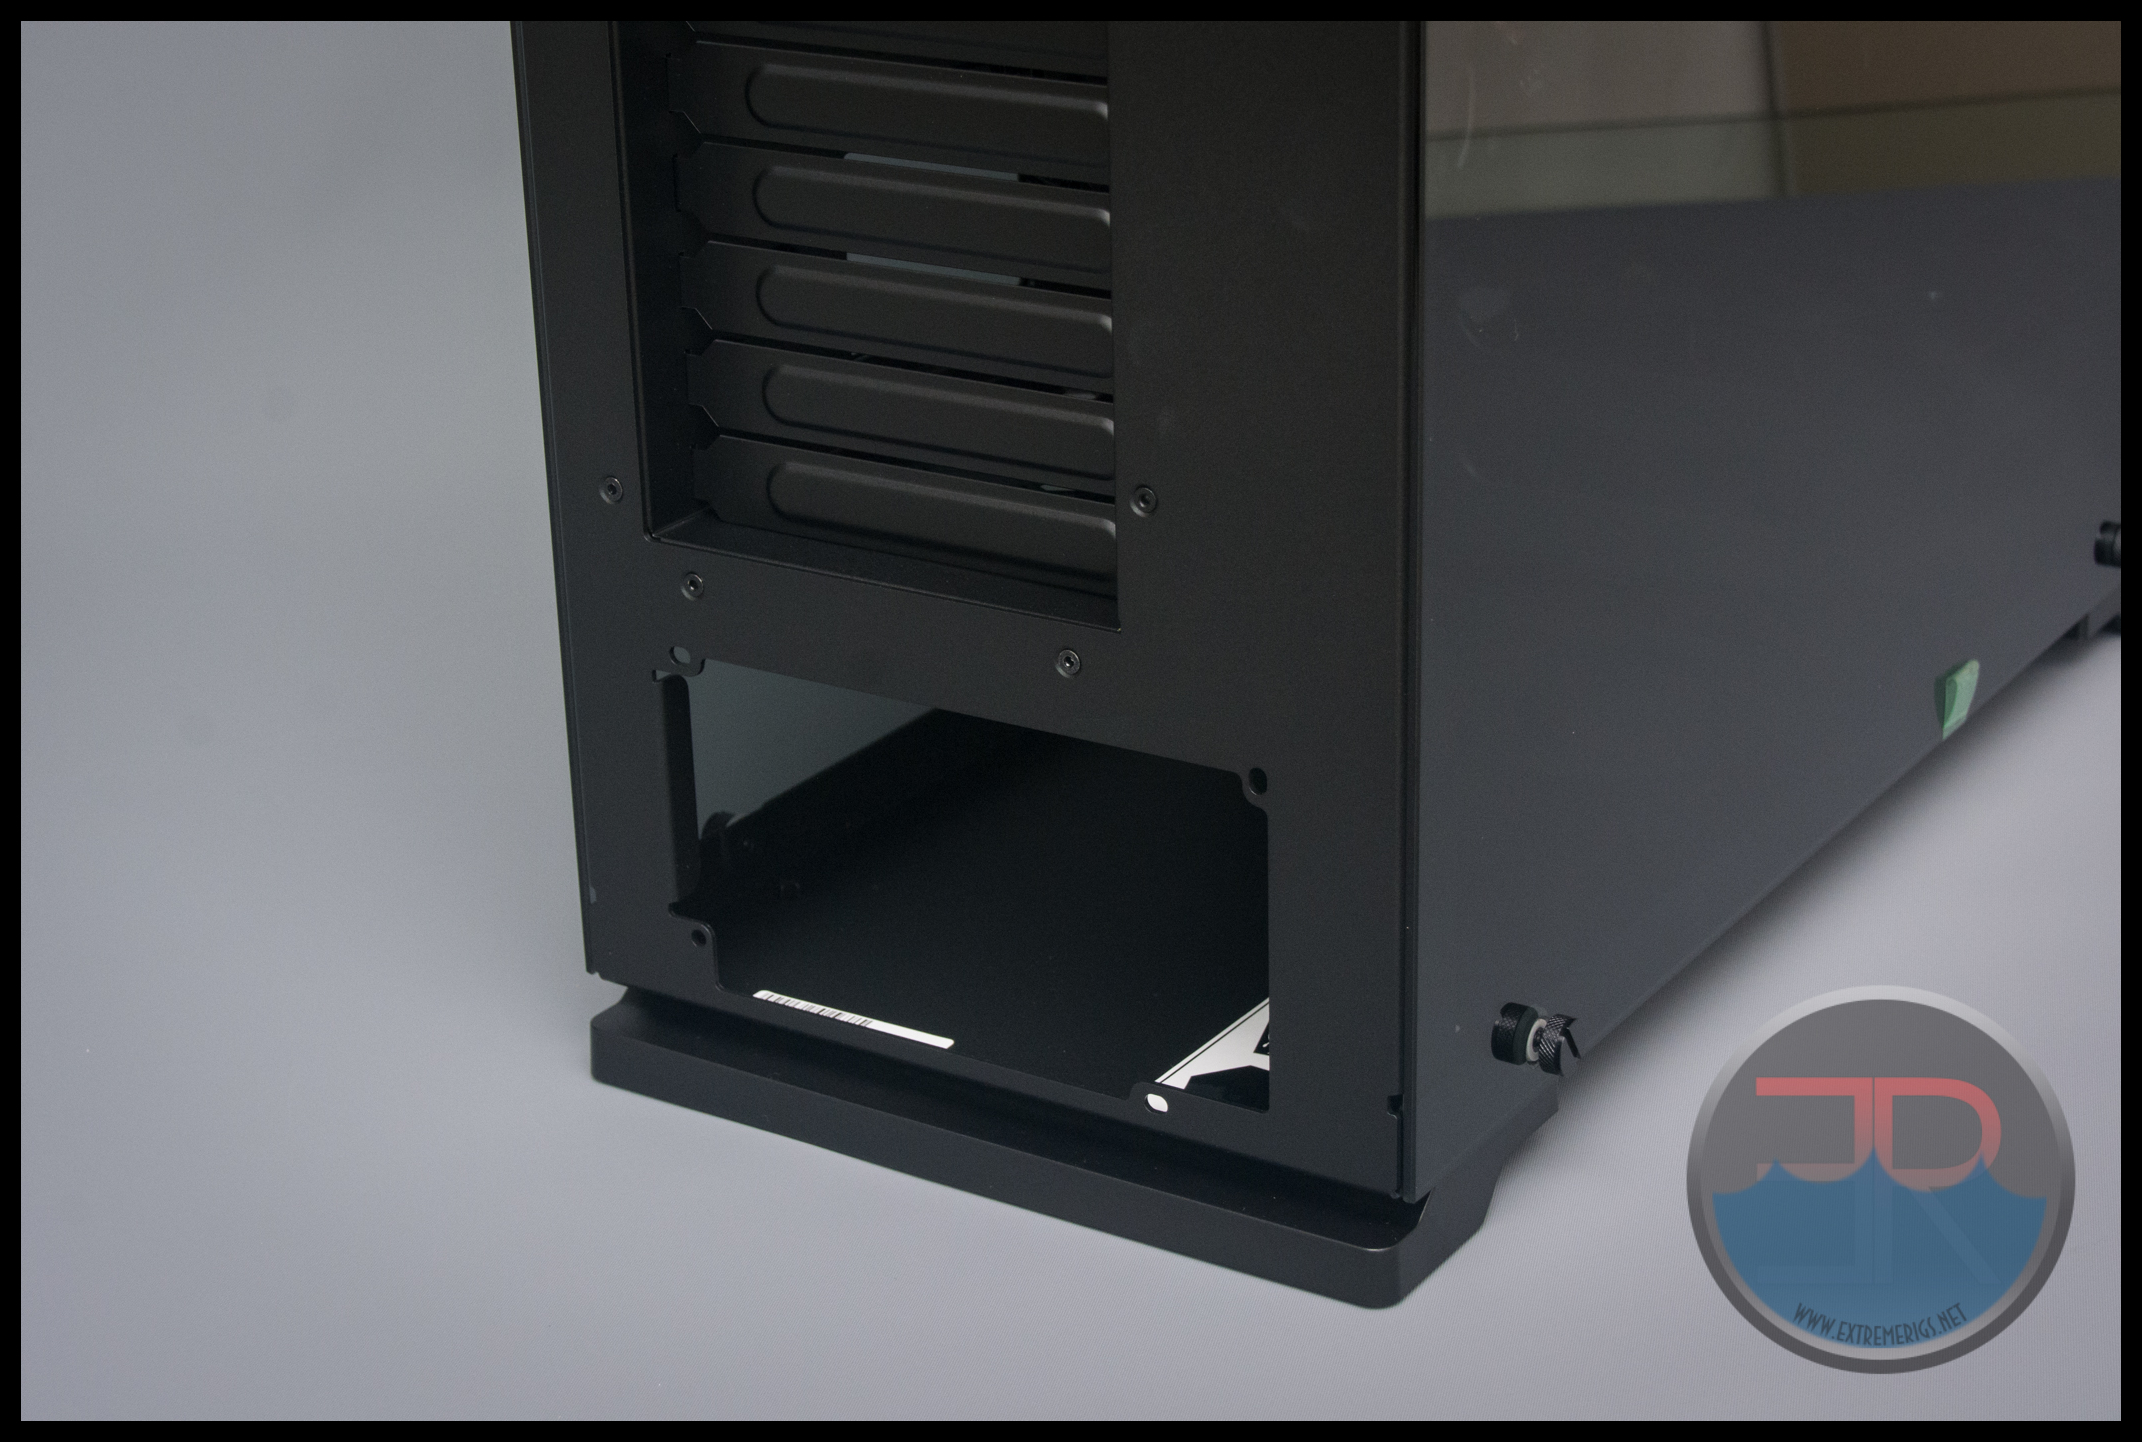
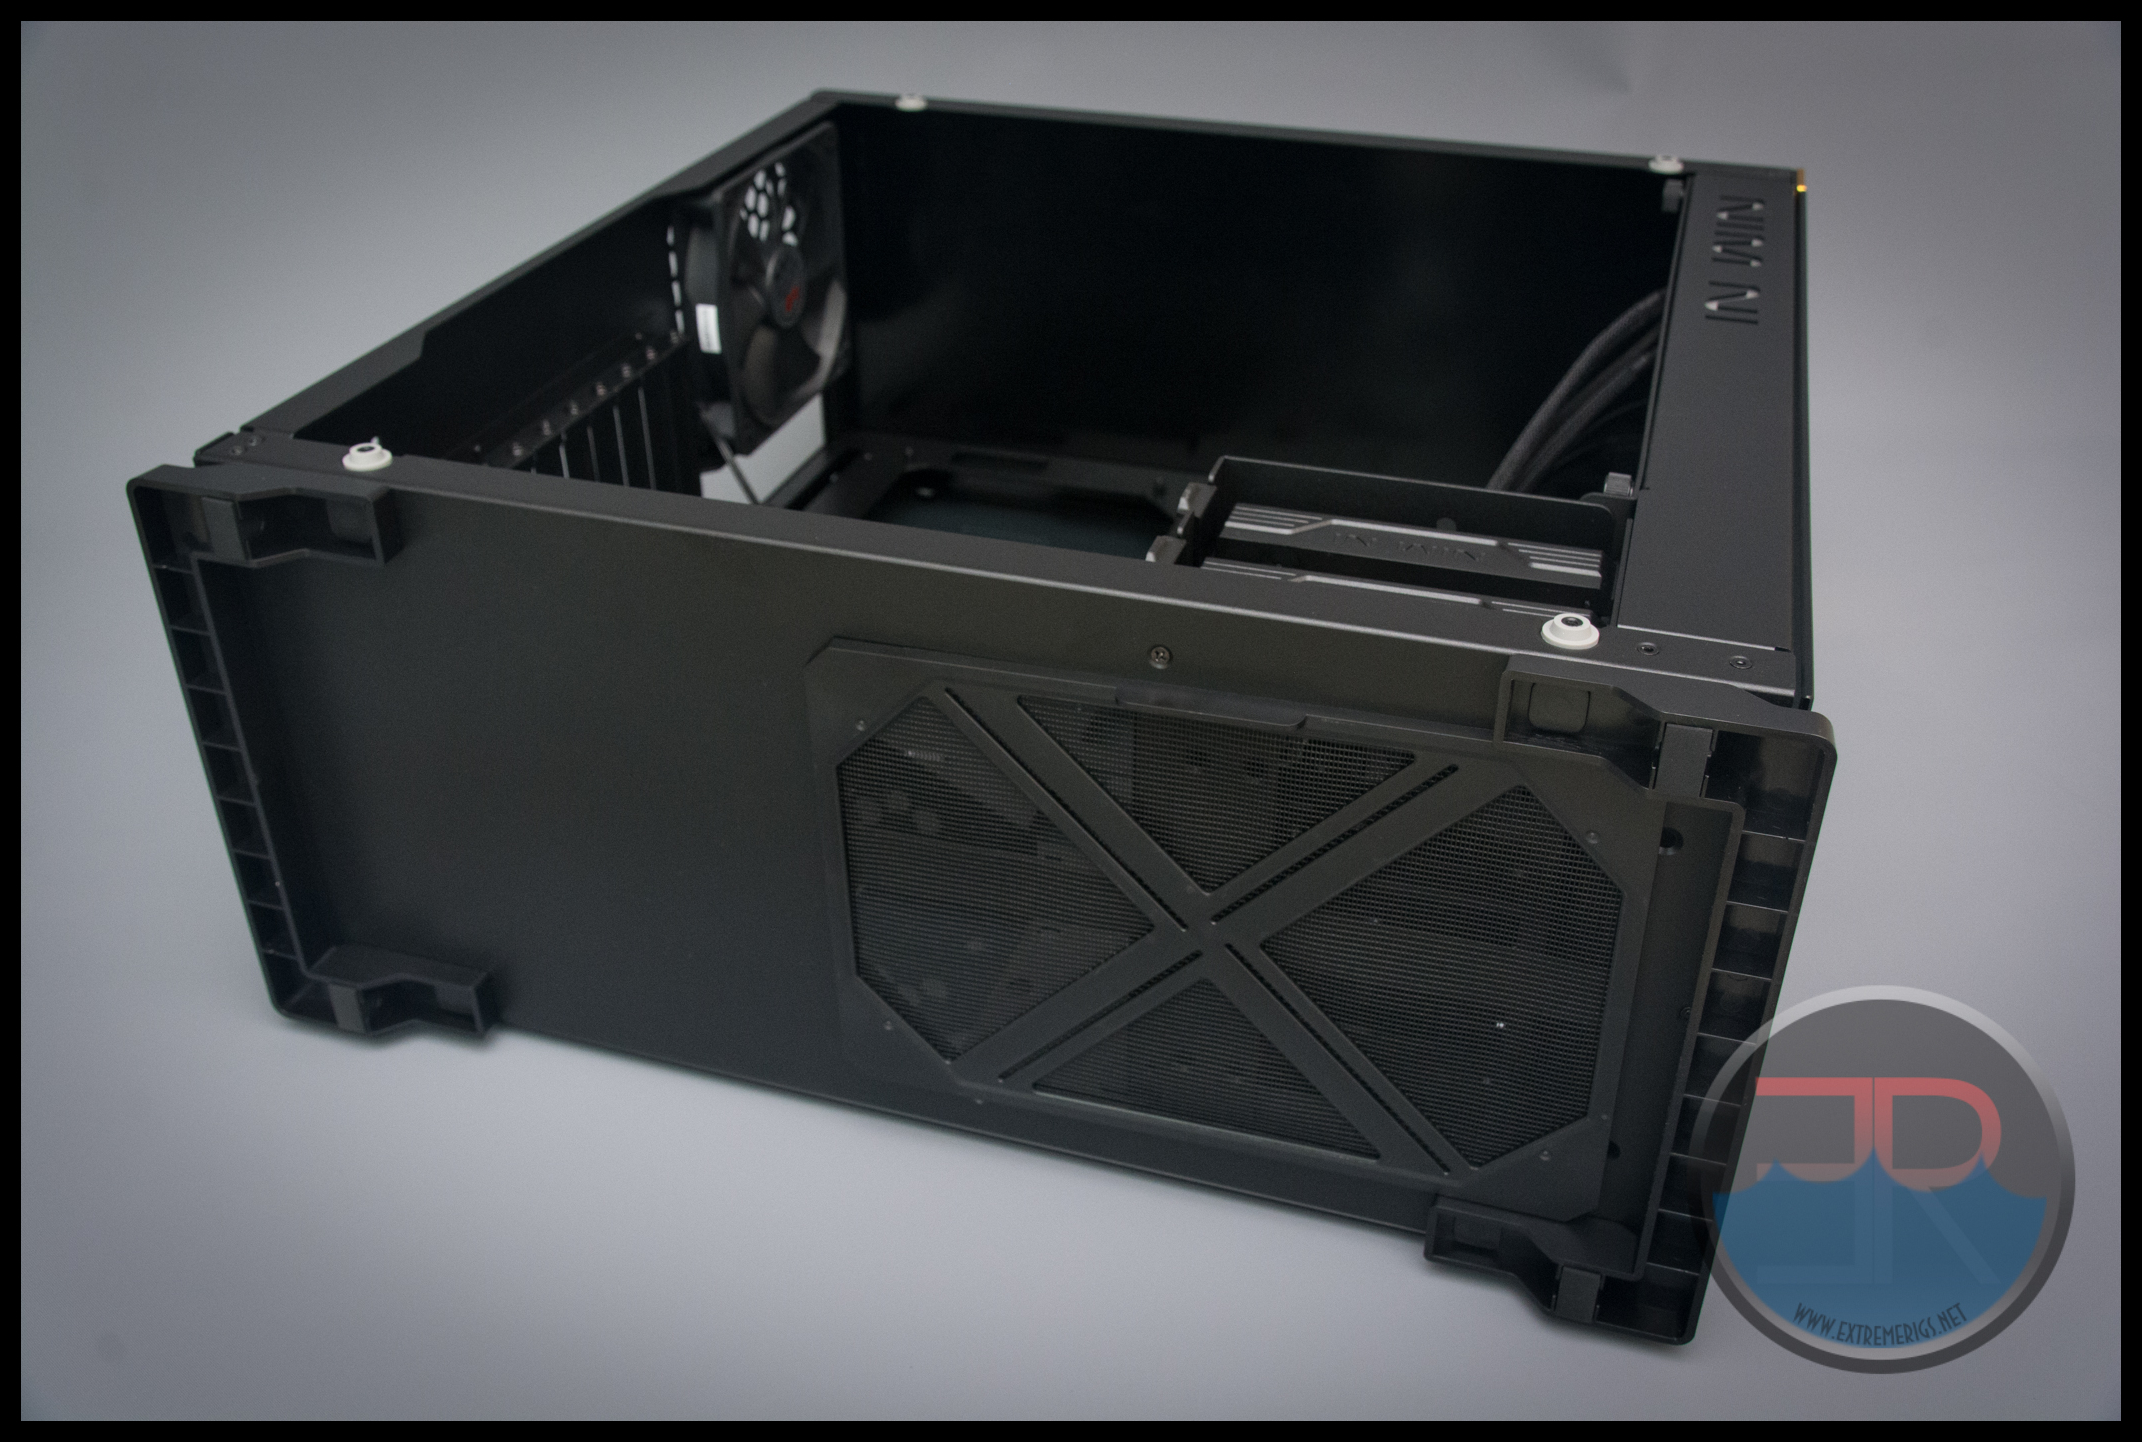
Yes that’s right – in case you hadn’t figured it out yet – only two panels are left with any possible airflow. Therefore the rear is setup to exhaust and the base as an intake. Luckily the PSU mount only has screws to enable the correct orientation anyway:
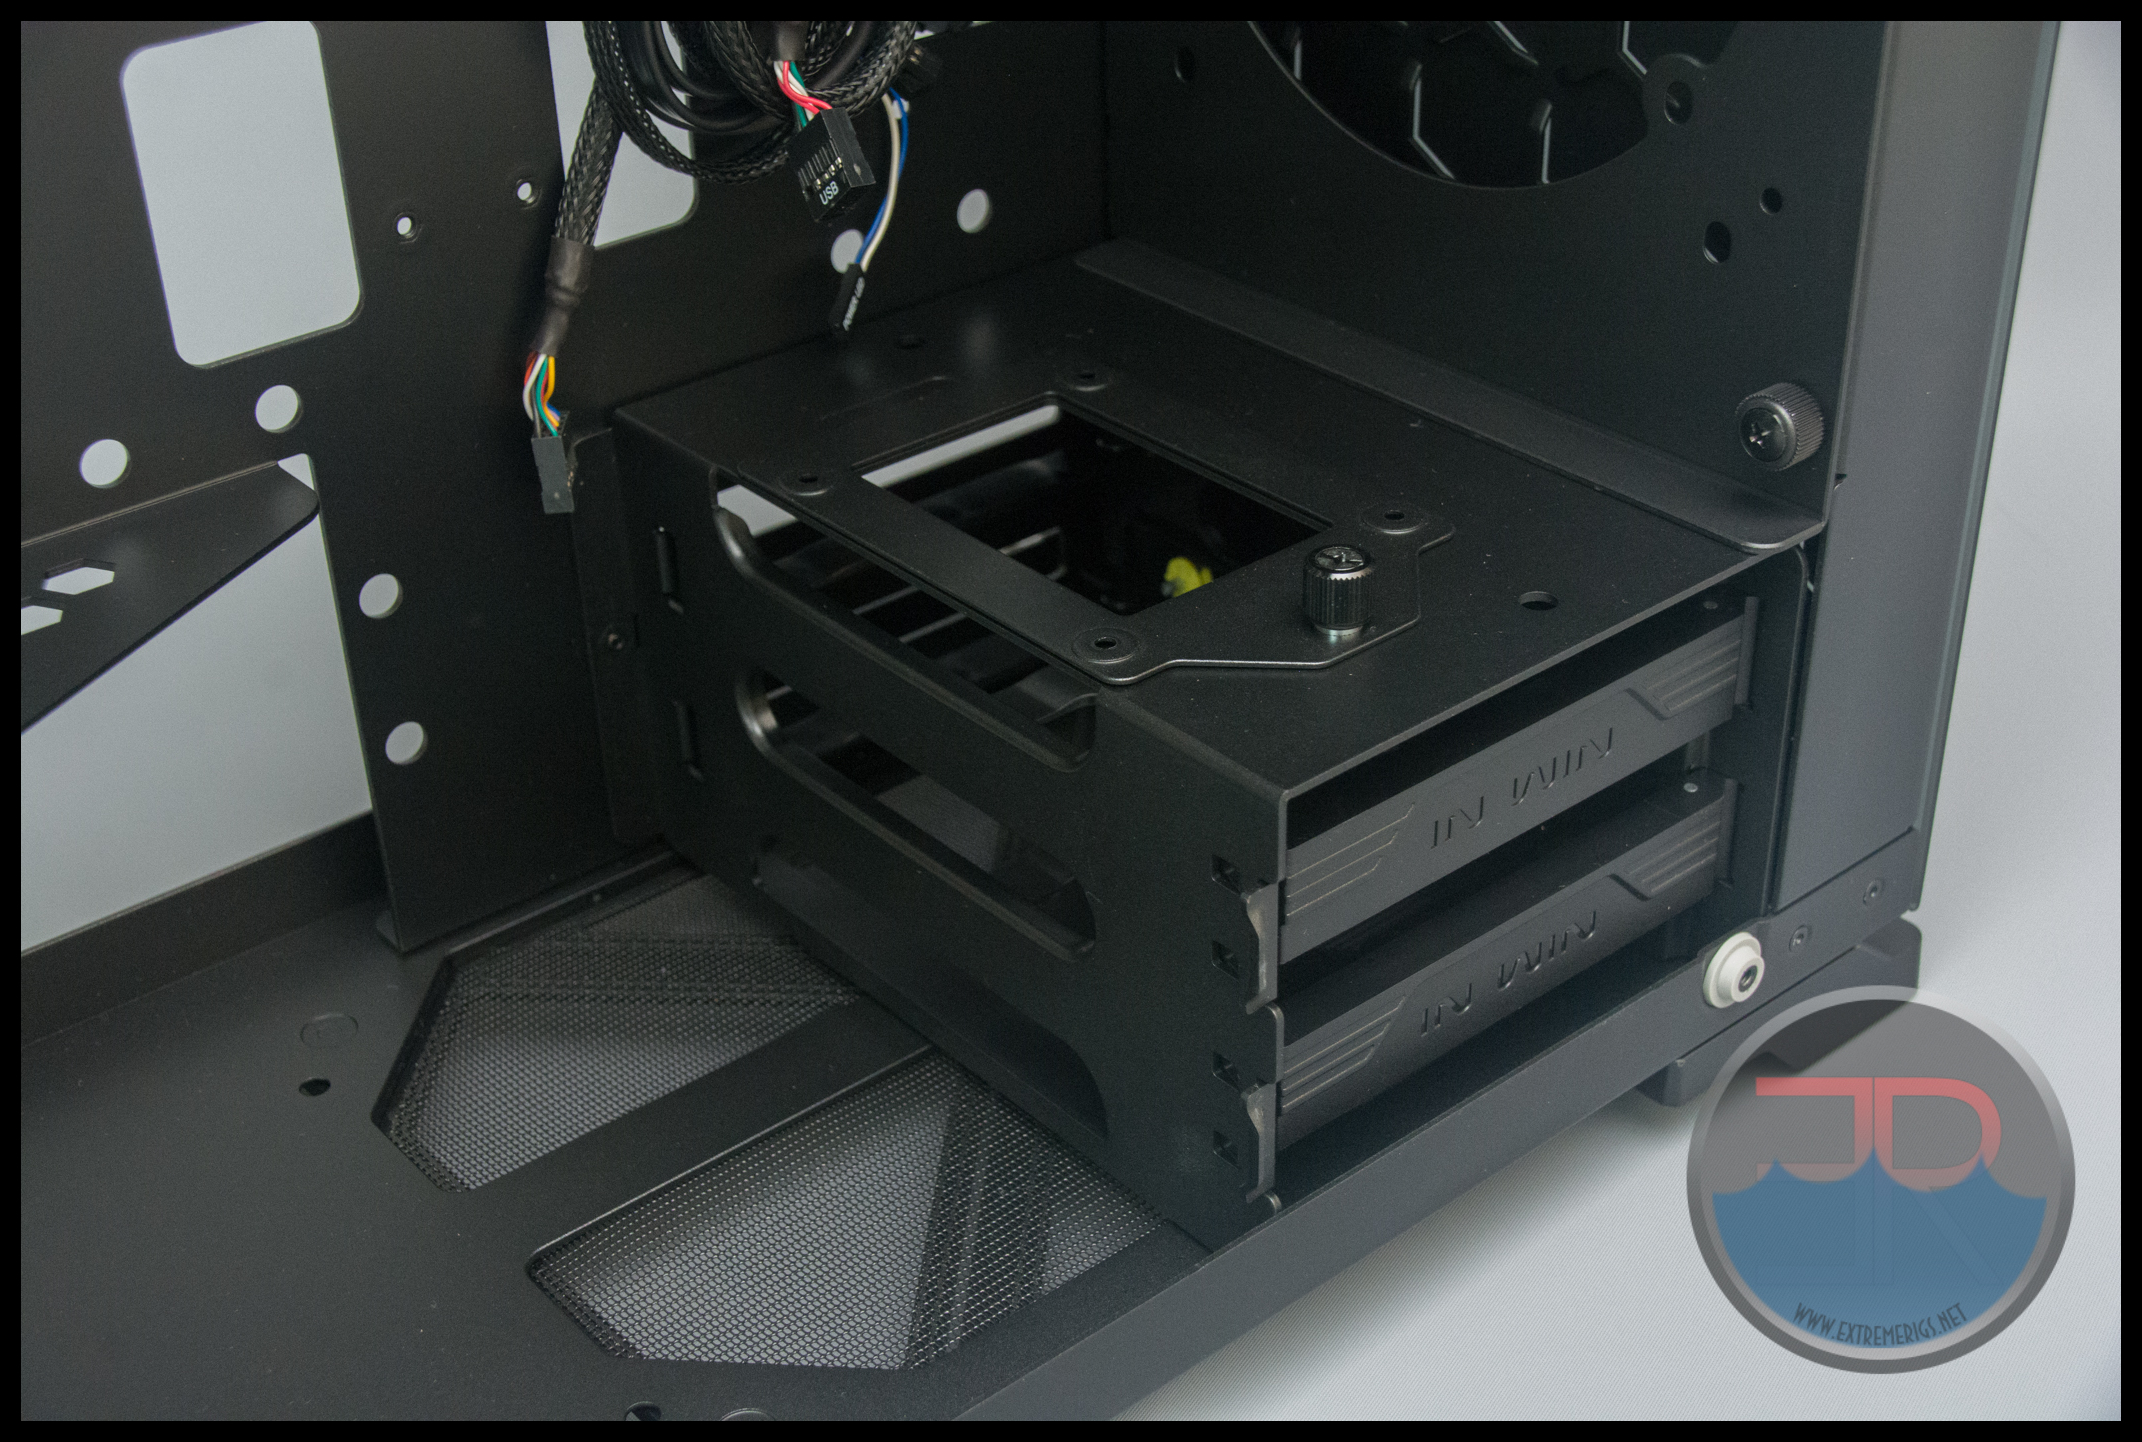
At the front of the case near the base are two 3.5″ HDD caddies:
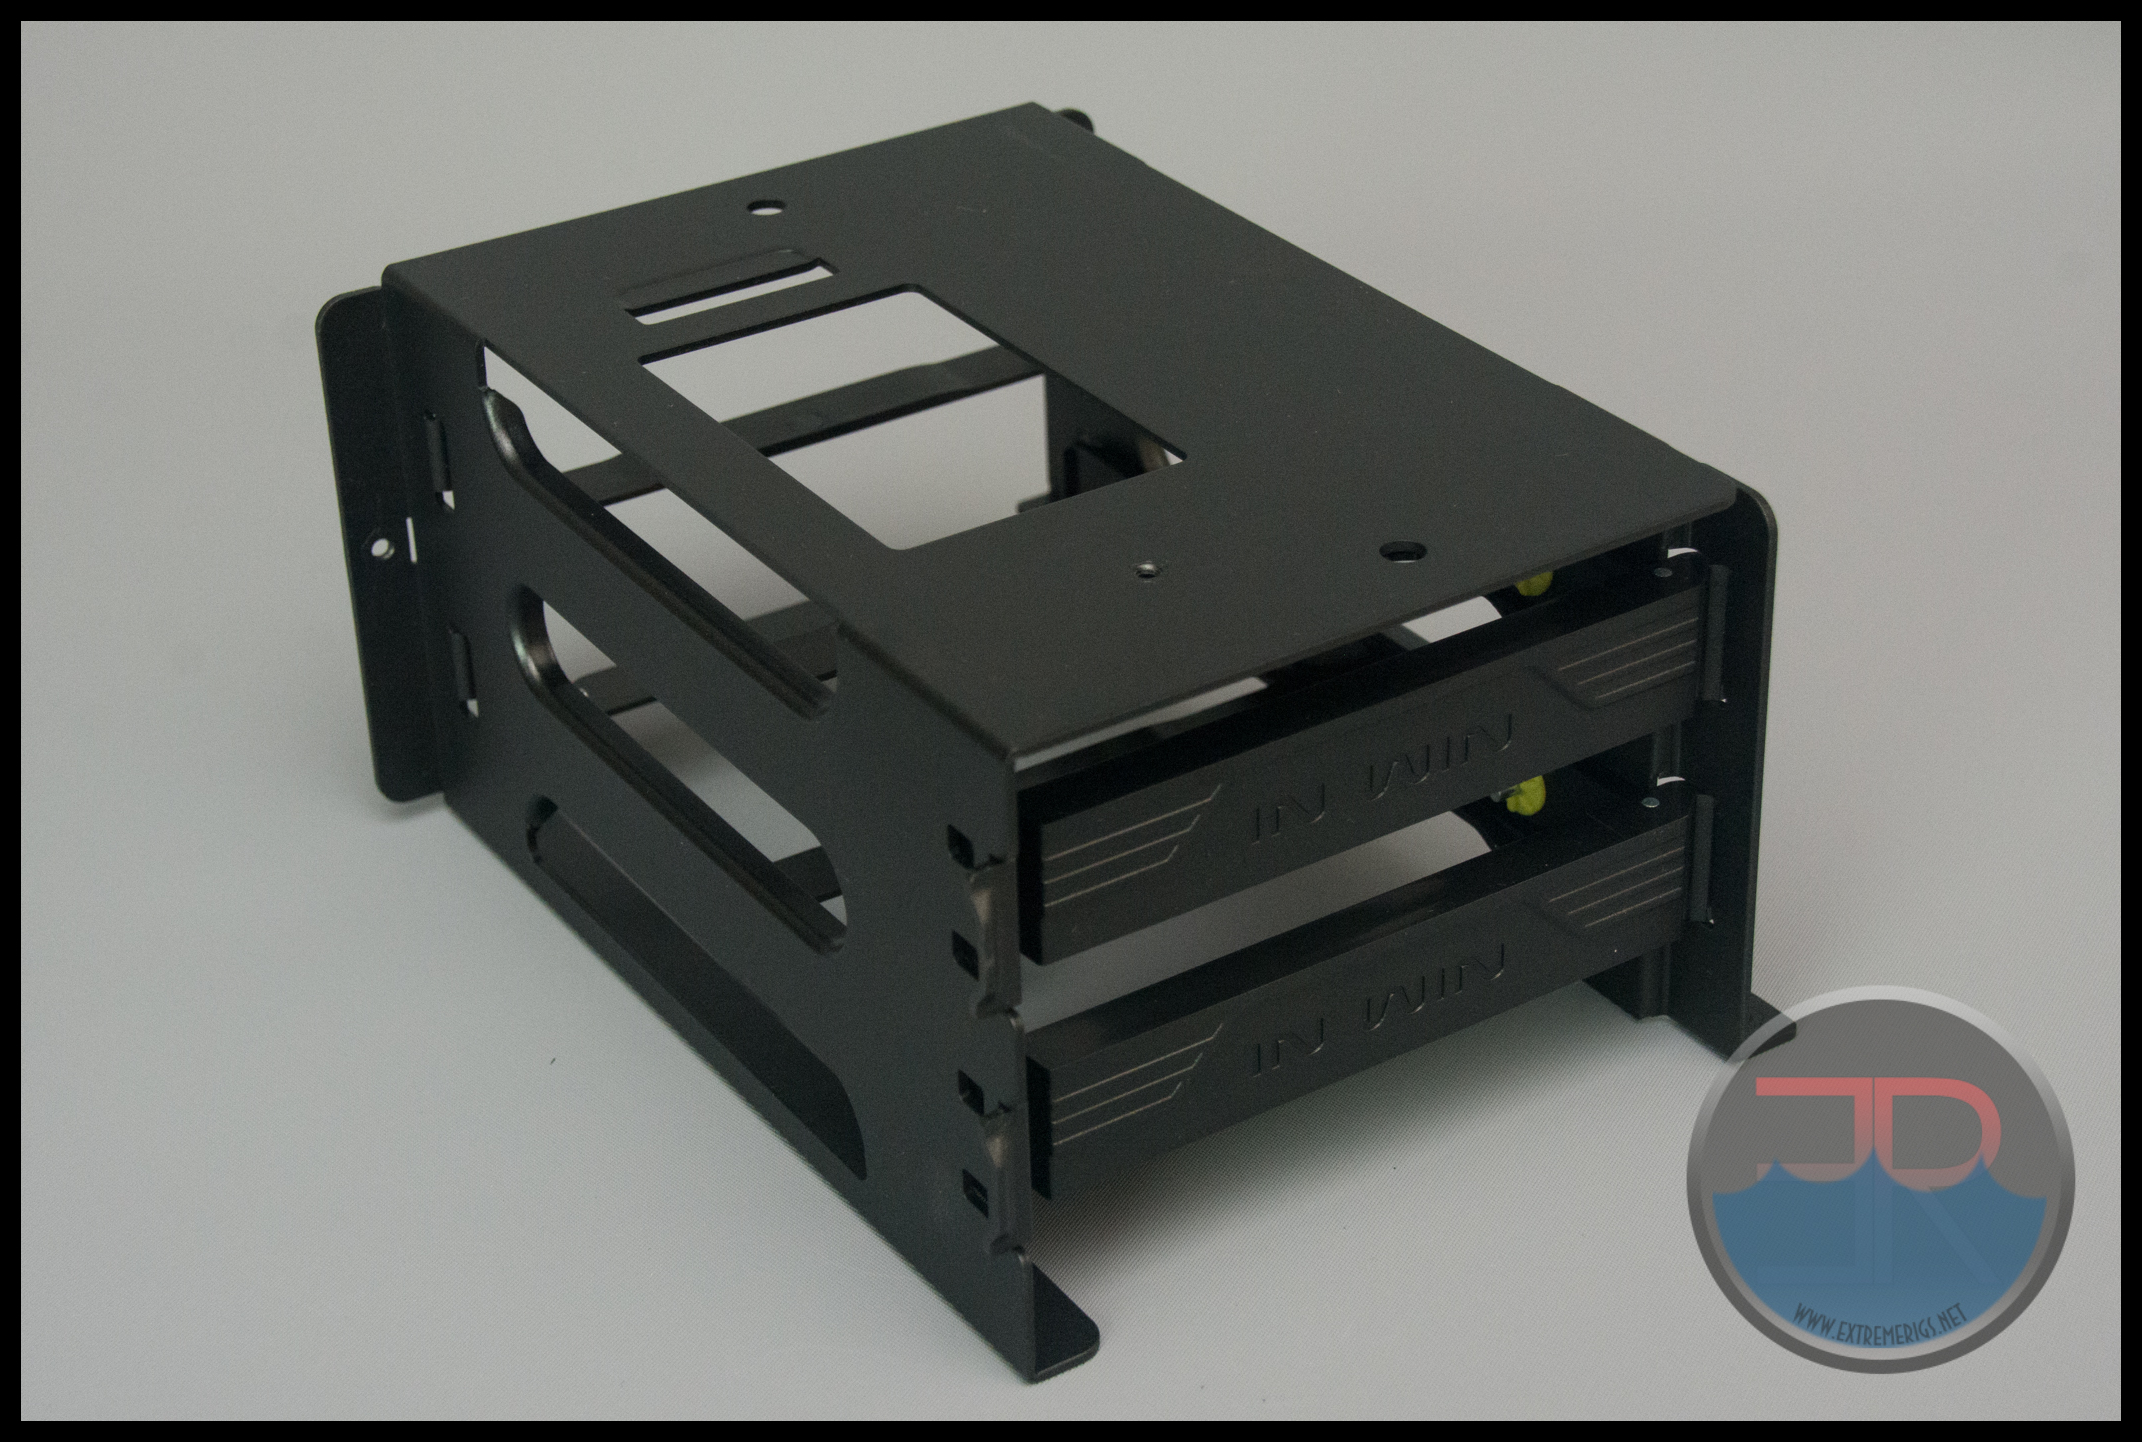
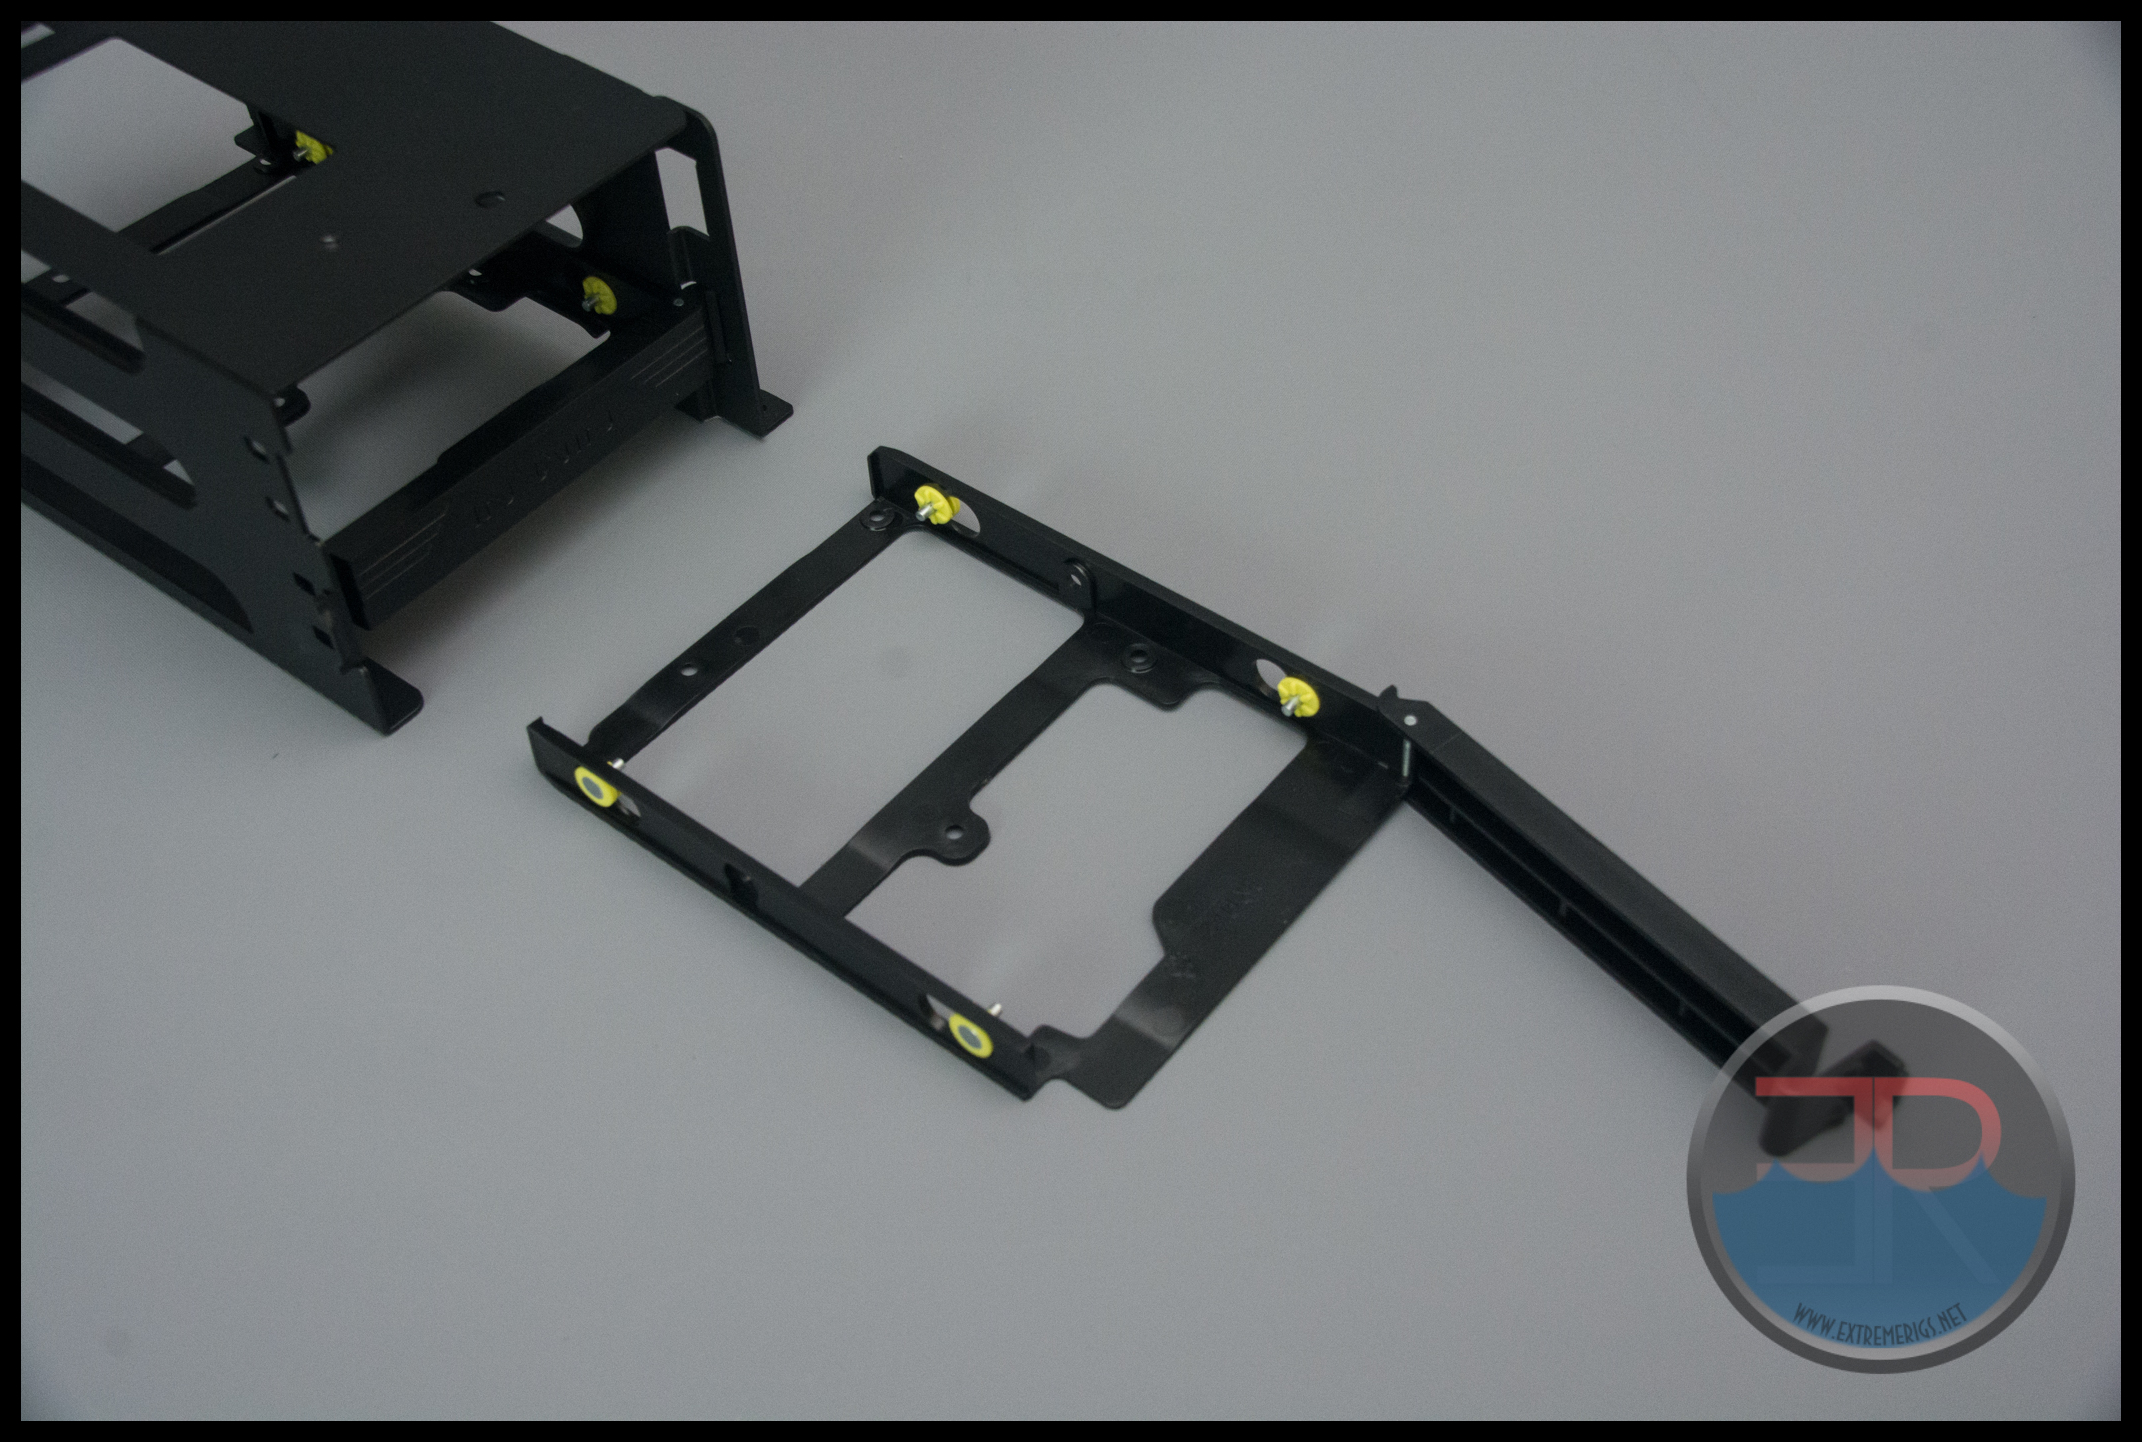
These are removable:
These 3.5″ drive bays are also usable for 2.5″ drives as well. In addition on top of the HDD caddy there is another 2.5″ SSD mount.
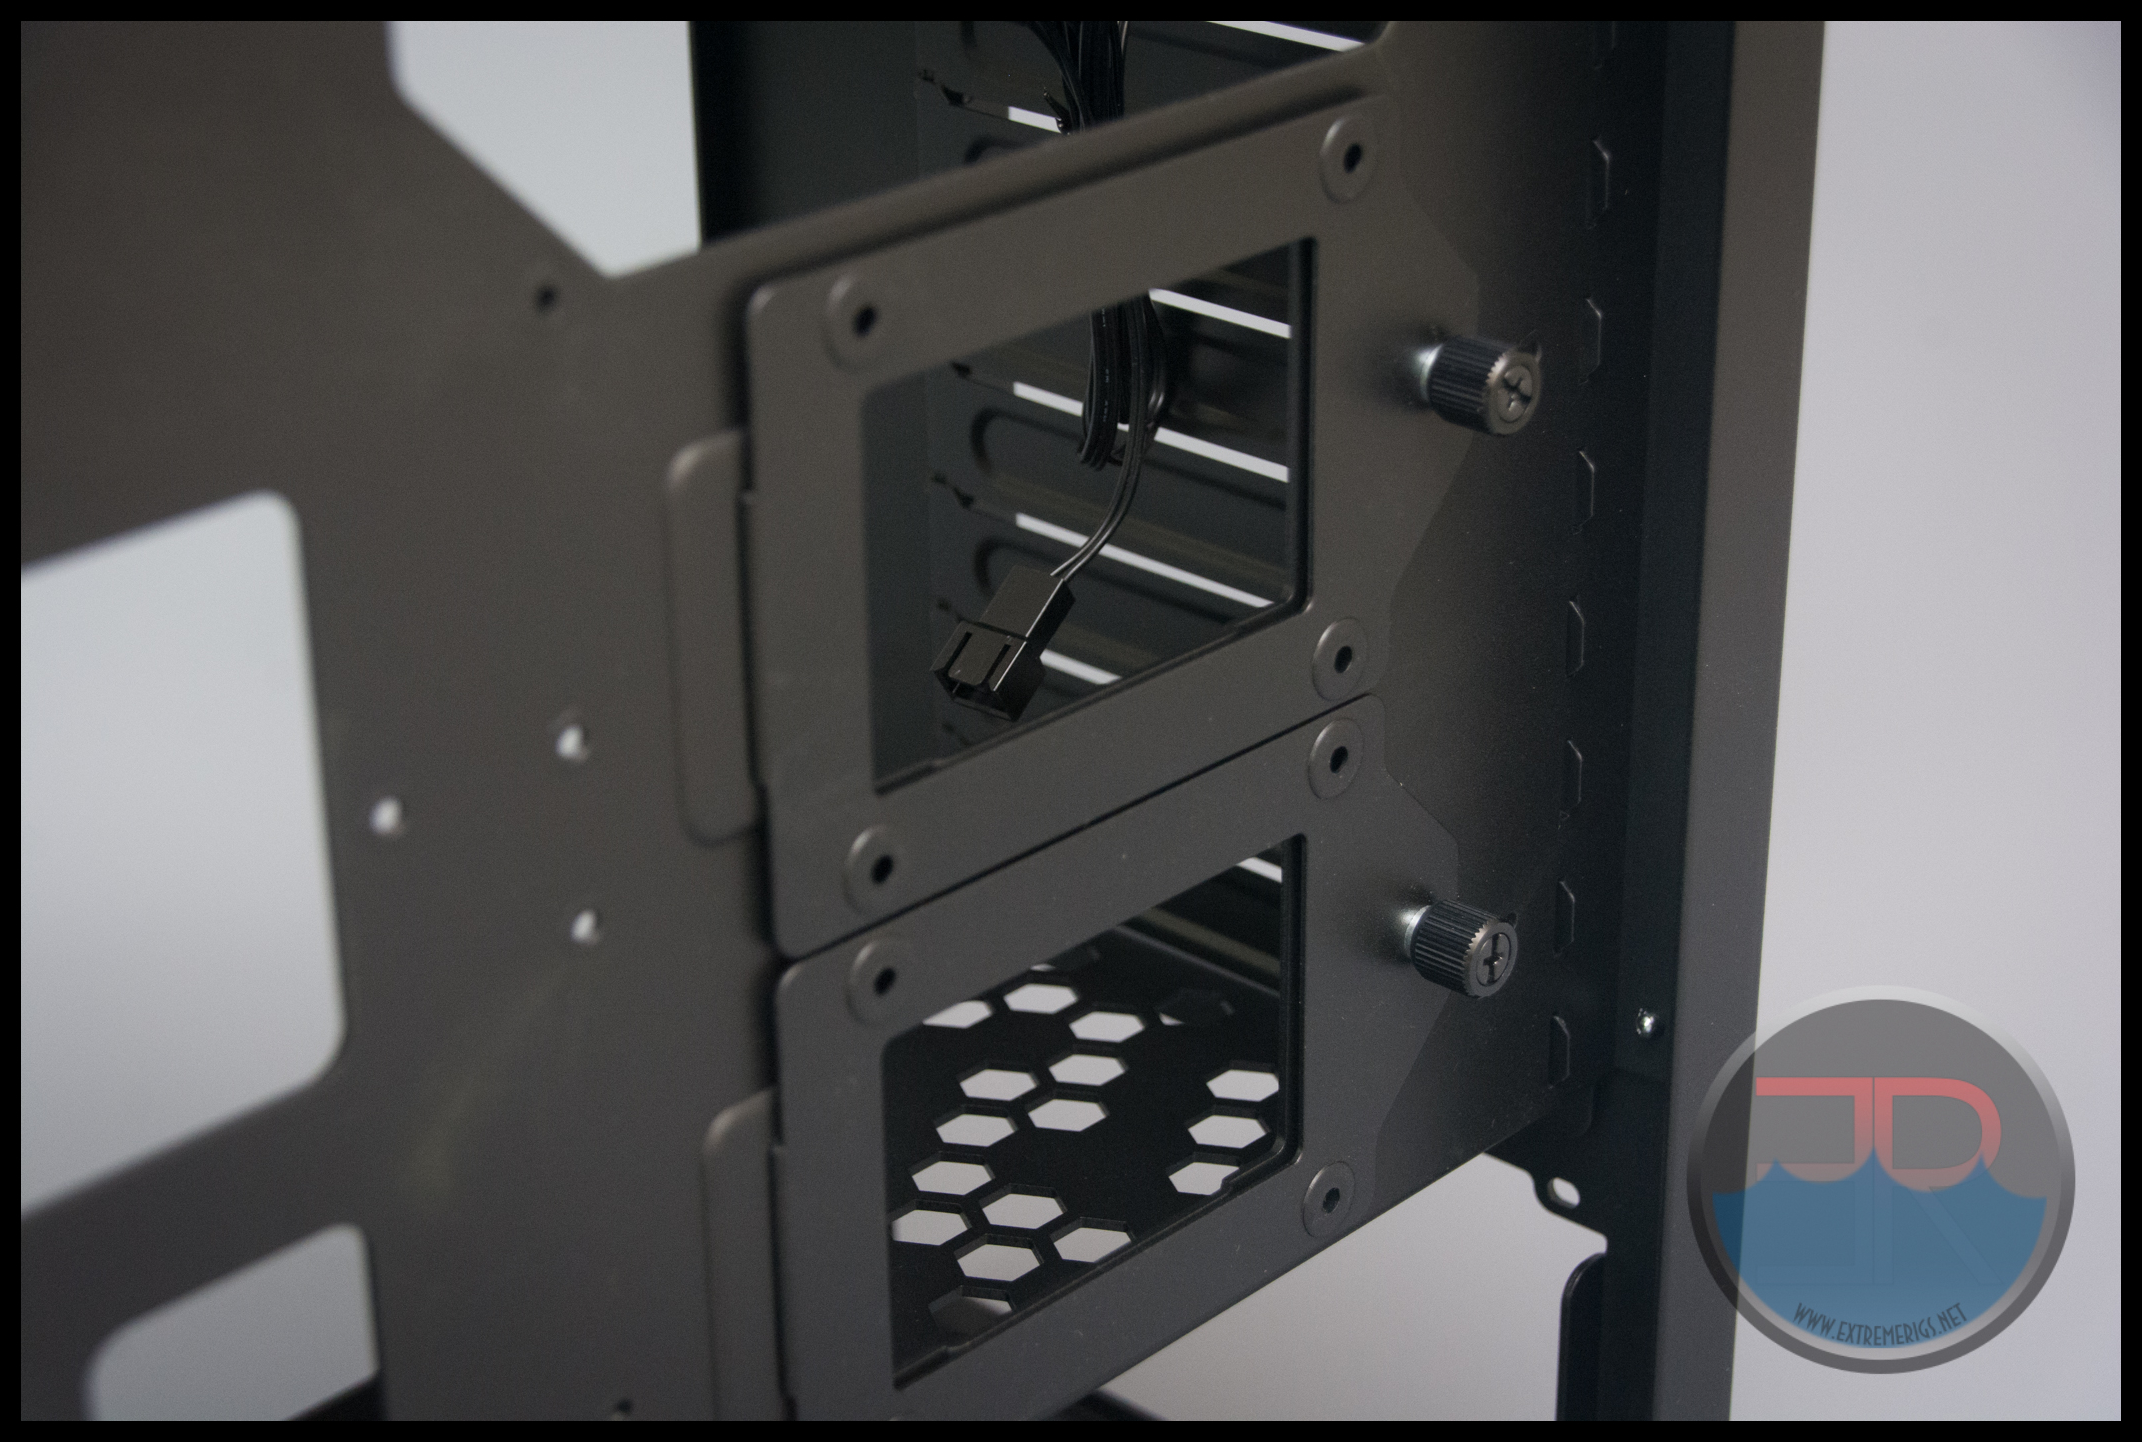
In addition there are three more of these behind the motherboard tray:
We love this idea. We first saw this idea on the CaseLabs STH10 and the ability to stealth mount these slim drives out the way can make for a really clean build.
The intake at the base has a filter attached:
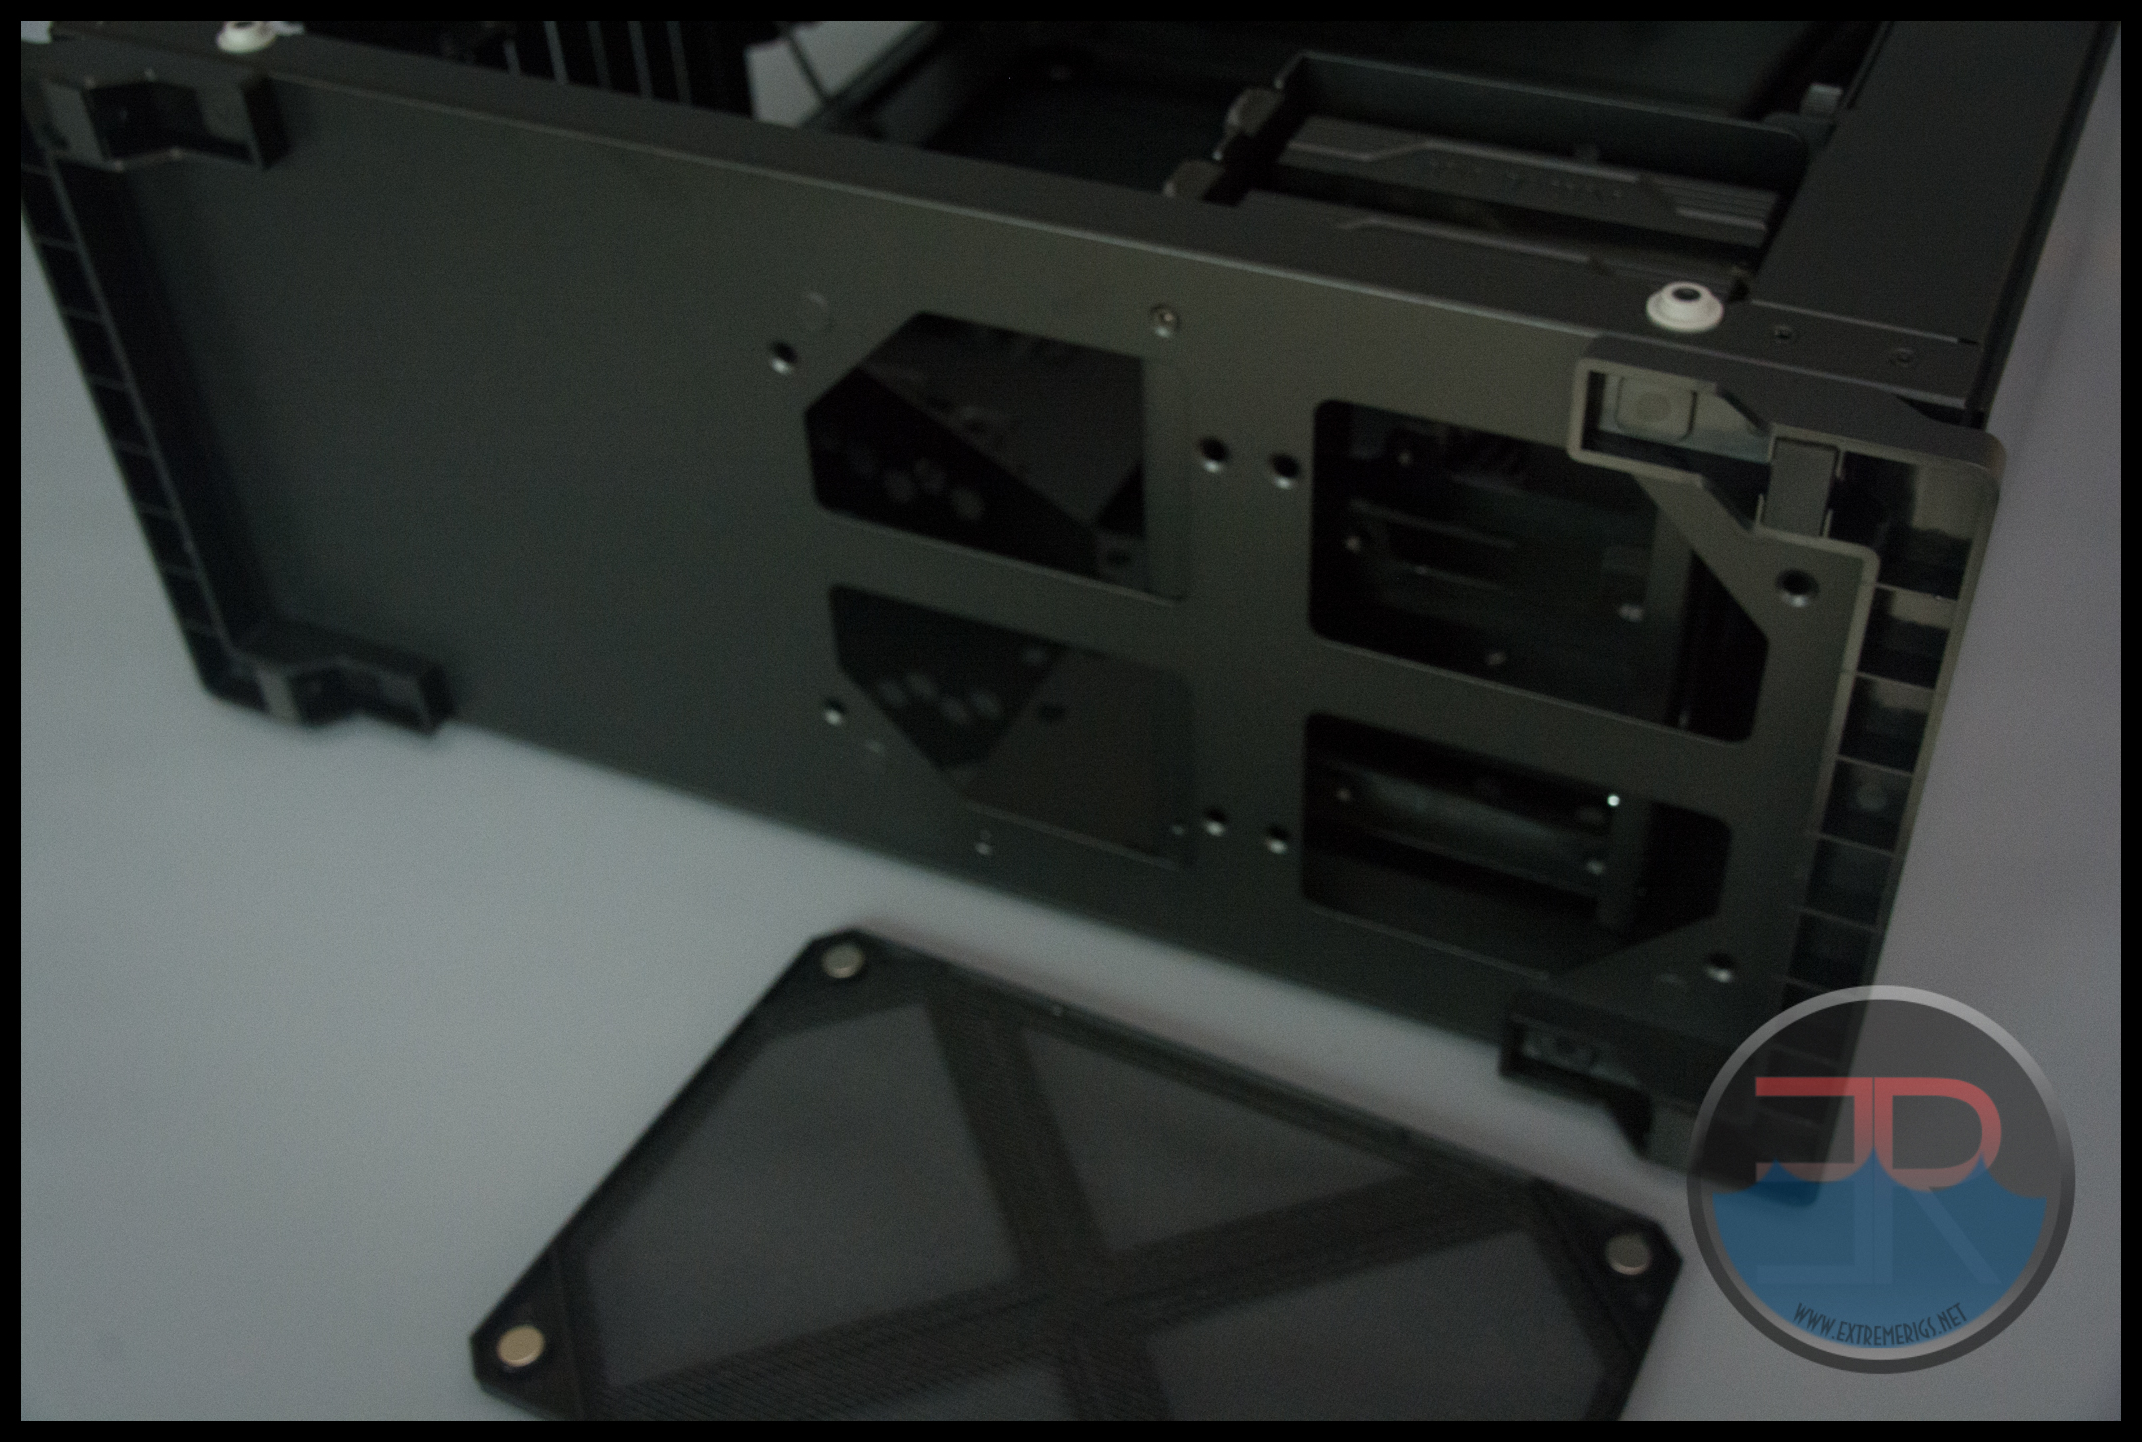
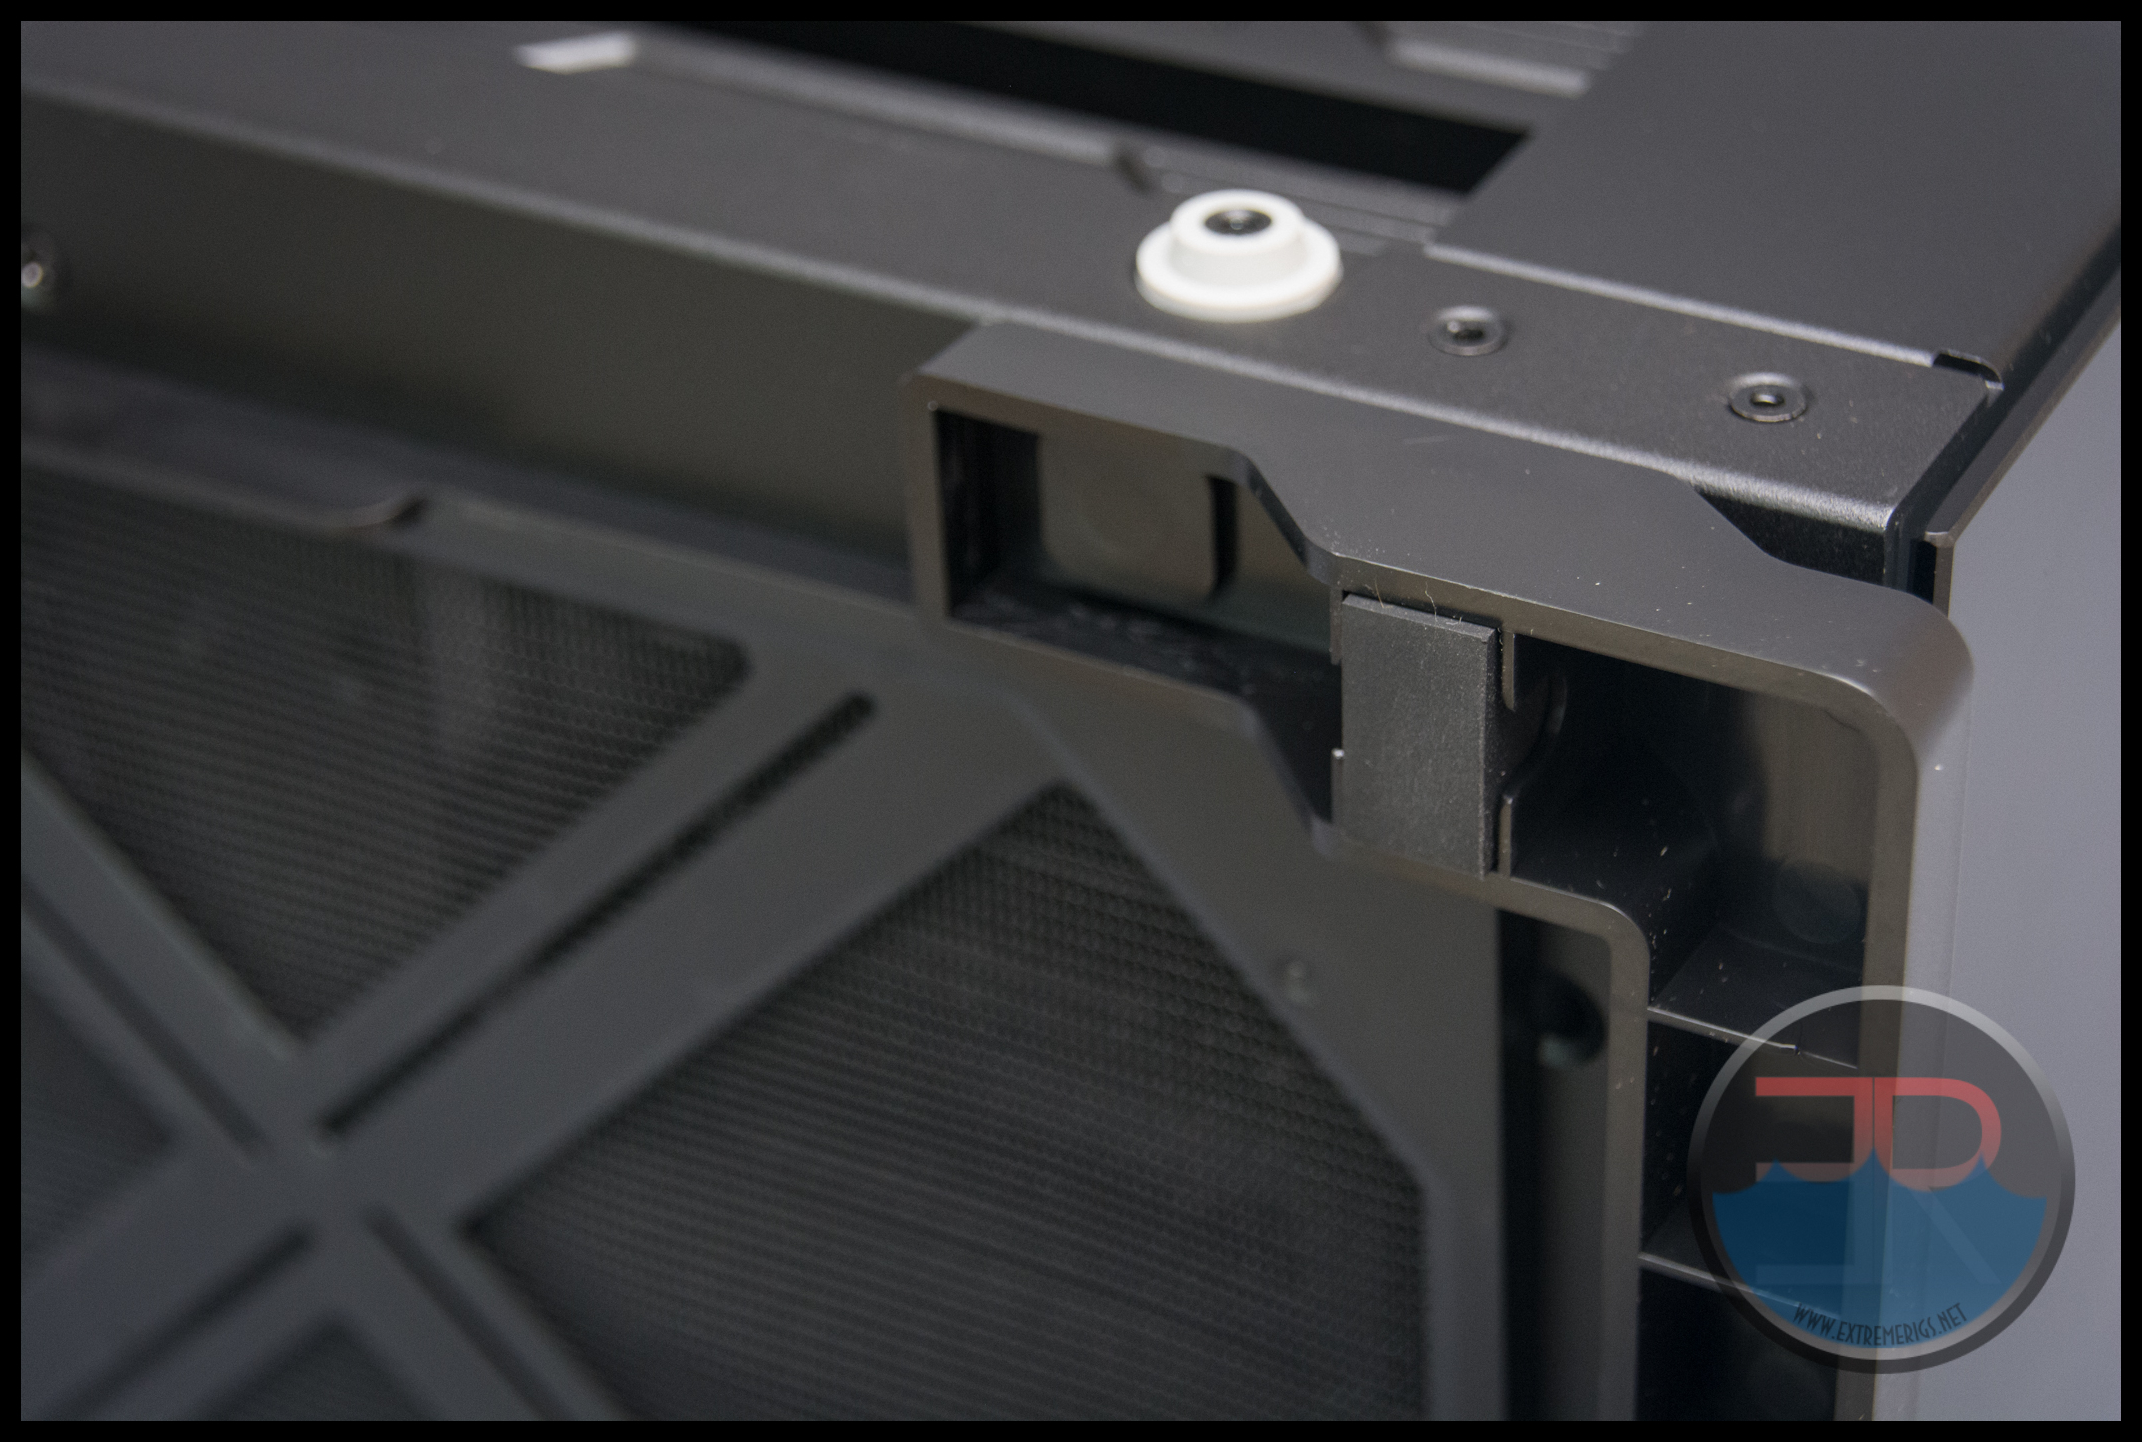
This is a magnetic filter:
Some of you may have noticed that aluminum isn’t magnetic and In Win have built in some magnets into the aluminum base so that it works. It grips firmly, but not so firm that its hard to remove.
The case itself is raised up on plastic feet:
The feet have a rubber anti vibration insert in each corner. This also hides the screws that attach the feet to the chassis.
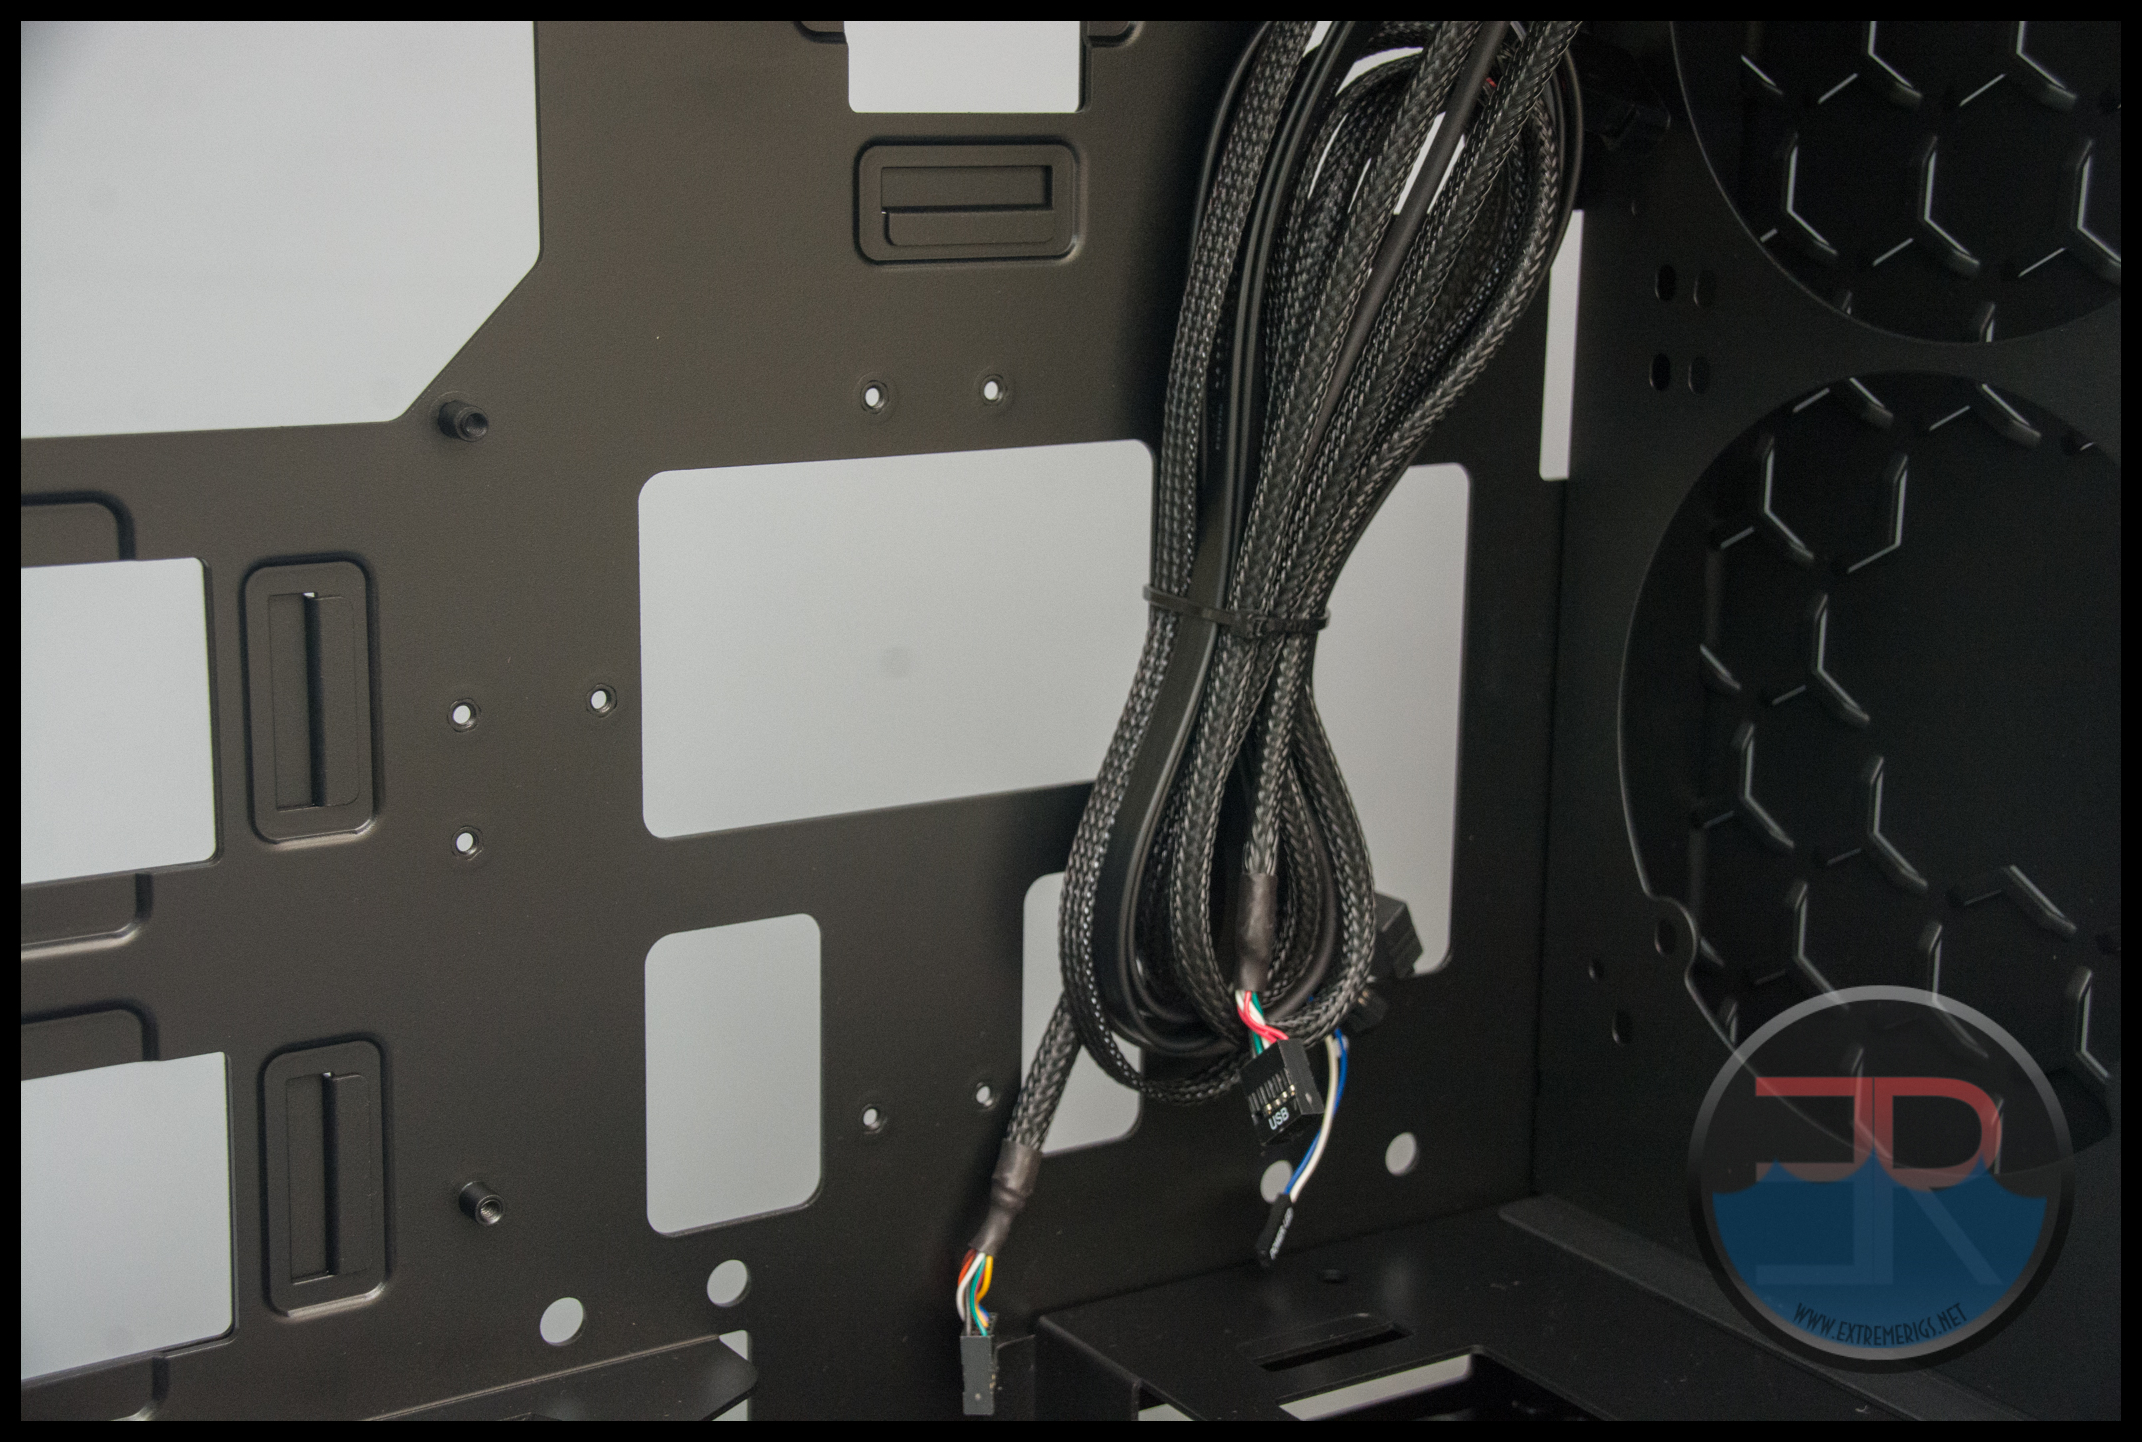
In Win have taken care to sleeve the wires black. The weave is good, though I do also wish the individual wires were also black:
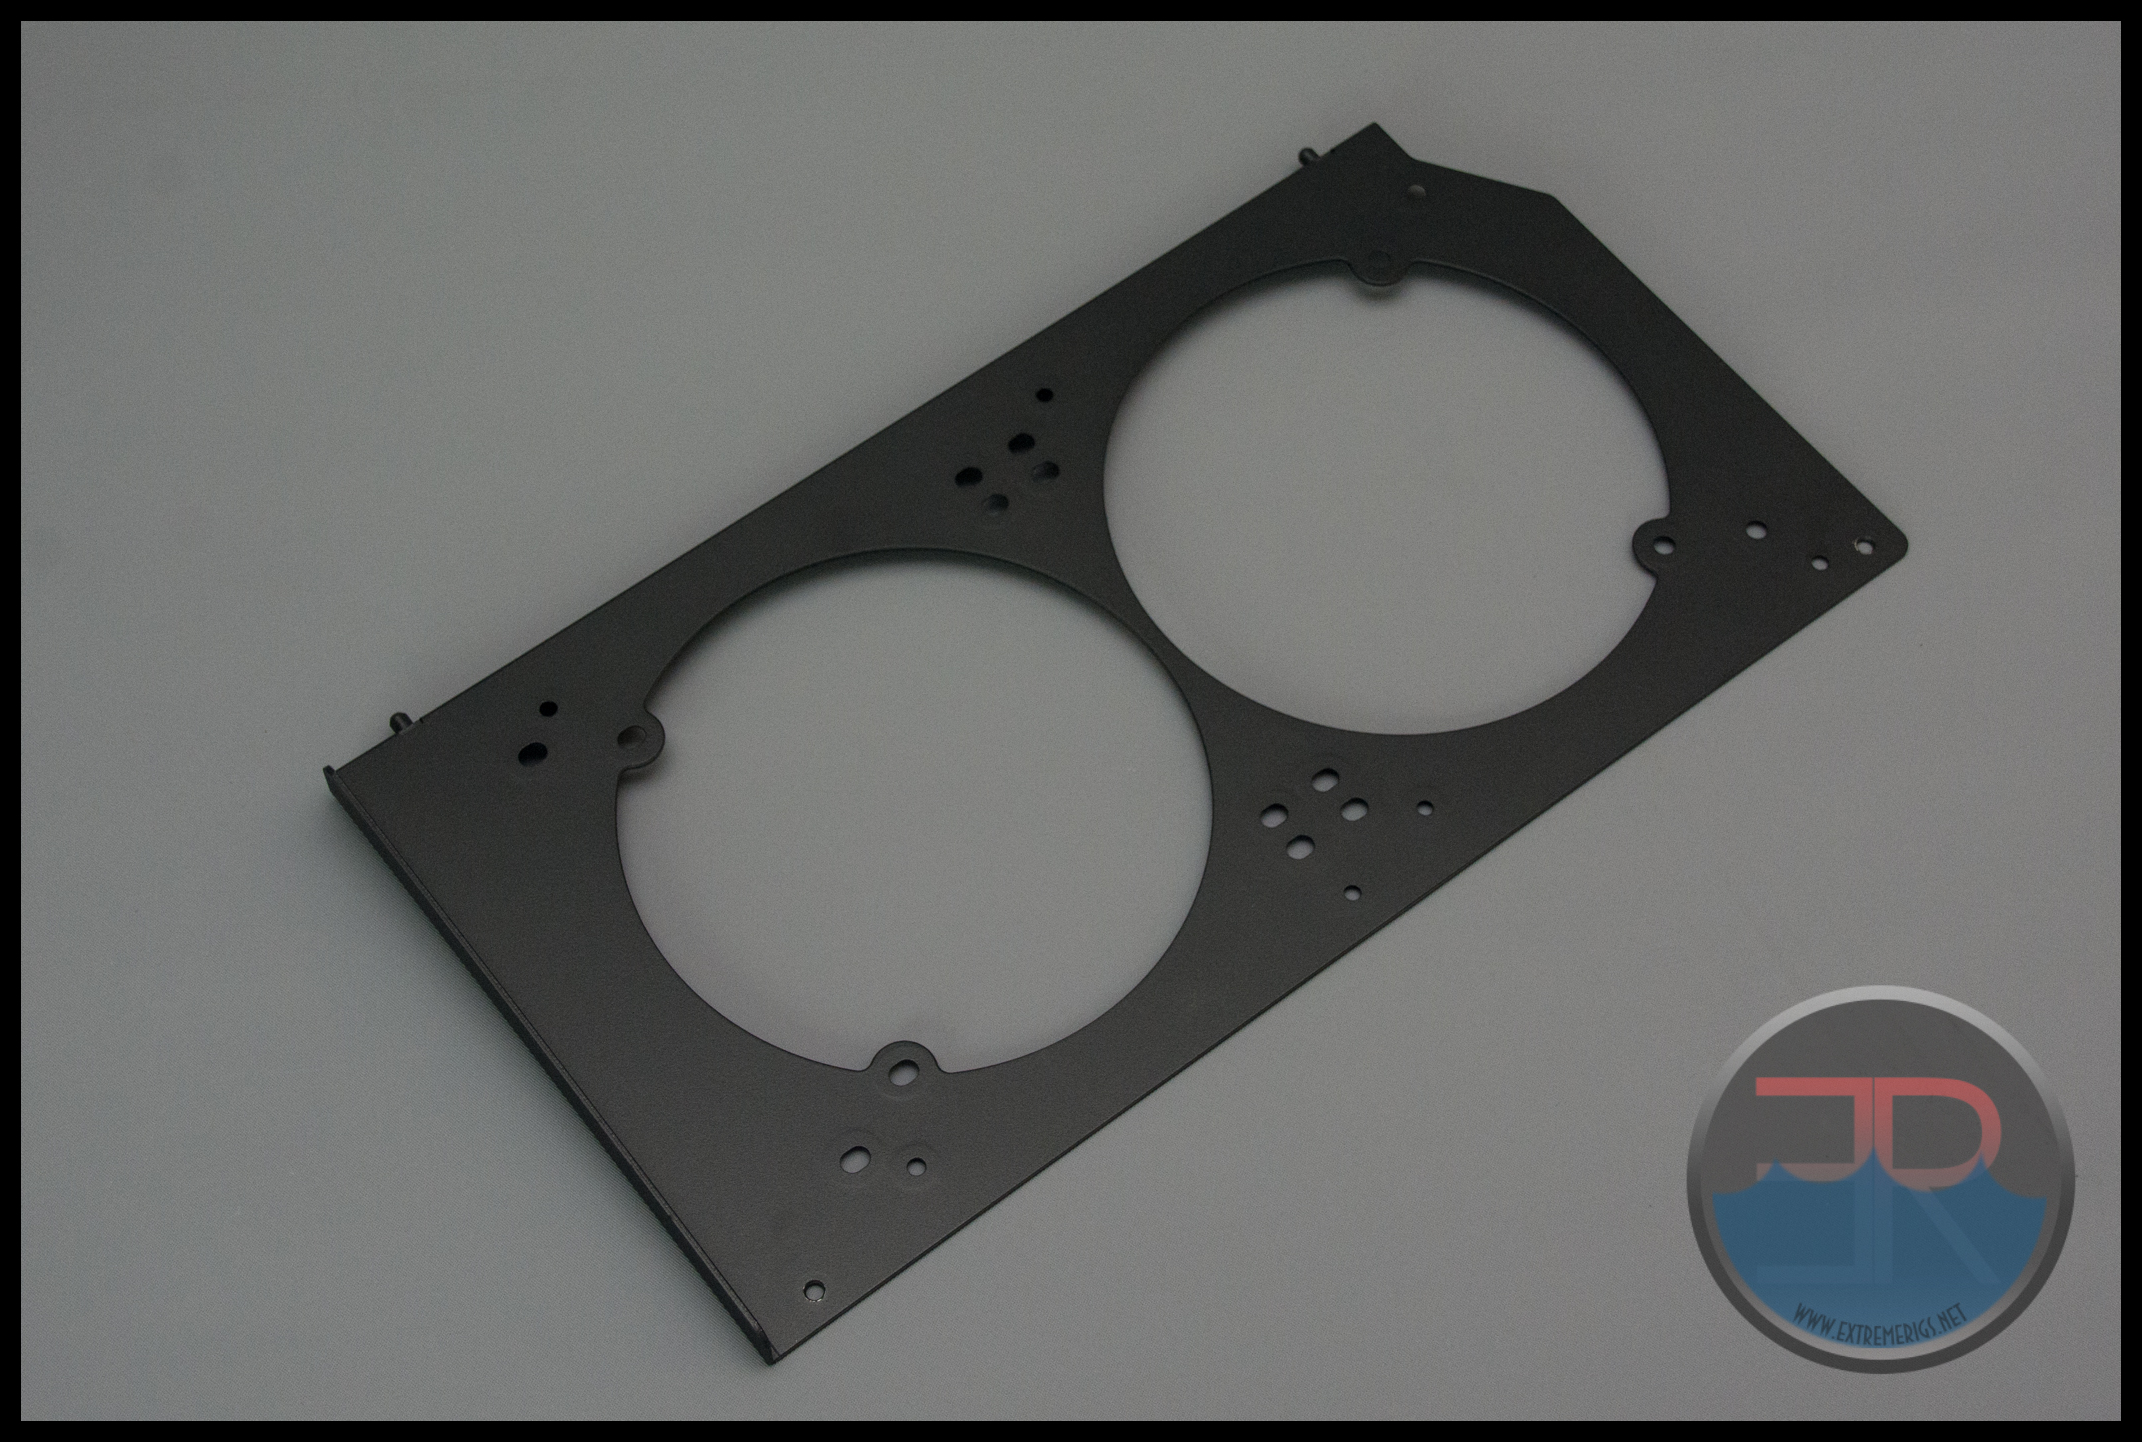
Lastly there is the radiator mount. This is a nice quick release mount secured by two thumbscrews. This is great – another idea that we first saw on CaseLabs is becoming more mainstream now:
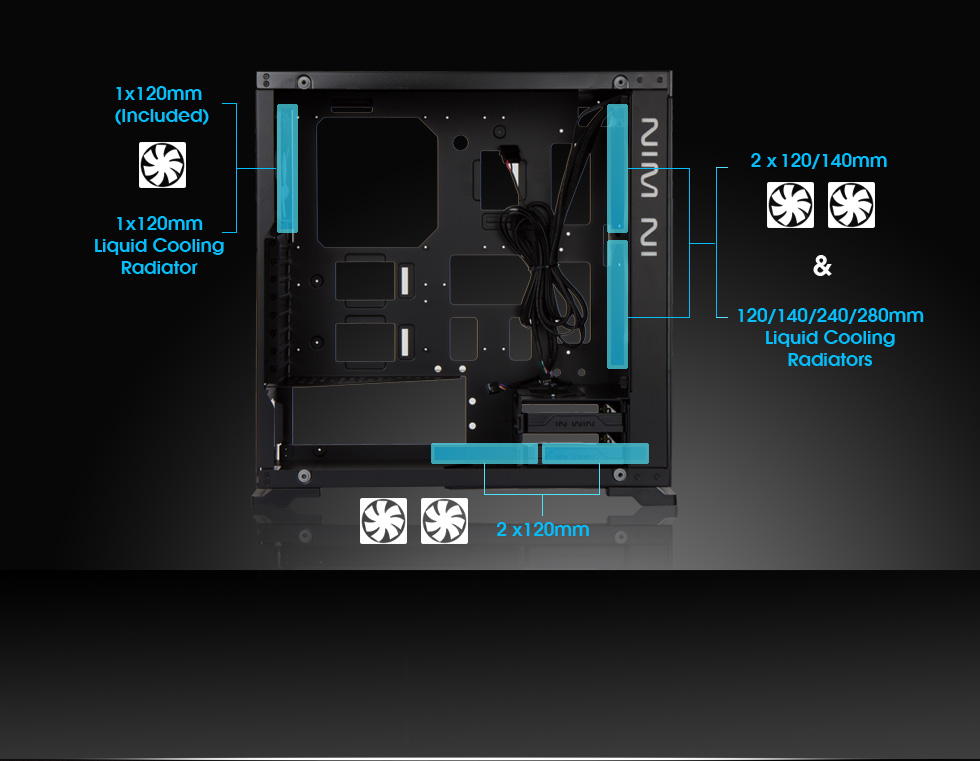
The mount can be used for a 240 or 280 radiator:
While the marketing blurb suggest a rear mount 120 will fit you should remember that it will be using hot air from inside the case to cool the coolant and so will not be very effective at all.
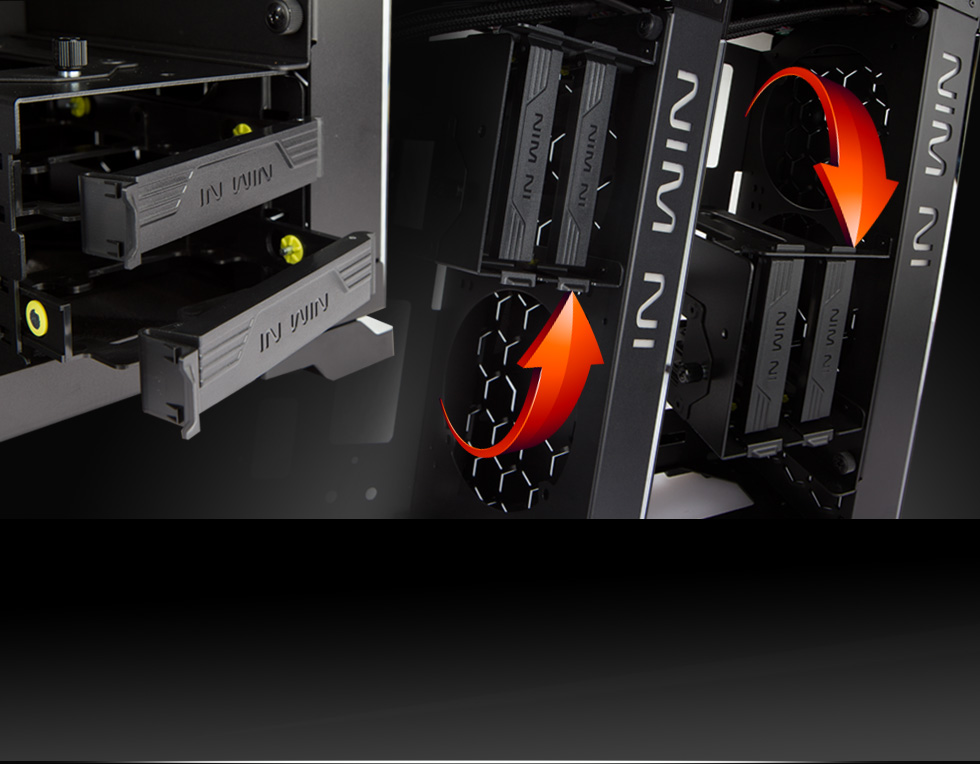
The HDD cage can also be mounted to 240/280 radiator mount if desired:
The problem with the radiator mount of course is that it’s not drawing in fresh air from the outside directly. Instead the radiator is essentially using circulated air inside the case and relies on the exhaust/intake fans to keep the internal air temperatures in check. We’ll have to test a loop under load to see if this is really a problem or not. A solution to this would have been to have made the glass sides slightly smaller and to have side vents on the front panel.
Now of course if the HDD caddy isn’t being used then there is more room in the front and so if you’re willing to mod then you could of course fit a 360 radiator in the front. This is not as unlikely as you might think. Afterall SSDs are getting larger and cheaper all the time. My personal three main rigs all use only a single 1TB ssd. Larger storage is instead provided by a central NAS.
A more tempting modding proposition would be to relocate the PSU and bottom mount a 360 instead so that it gets fresh air. At 476mm high it’s unlikely that a 420 radiator could fit.
The back of the case has plenty of cutouts for wire management – the downside of course to having glass sides to both sides of the case of course it that your cable management better be spot on! There are four spots on the rear side for the four SSD mounts – although by default only three of them are used.
So we have a very sexy mid tower case with an interesting airflow setup. Let’s see what we can build inside it!






[…] In Win 805 Case Review […]
I’m having the same issues with this case, the air flow is absolutely shocking. I had to underclock my i5 4670k from 4.6Ghz down to 4.2Ghz to get acceptable temperatures. I don’t know why In Win didn’t bother putting any airflow under the PSU as all it does is exhaust into the GPU, causing it to run hot also. Also with the HDD bays, they could have designed the case with more clearance underneath the bays so that you could still run 2 fans of the bottom of the case, or atleast even 1 fan with the bays still in. If you want to run 2 fans on the bottom of the case then you must remove the HDD bays, which means you can’t mount any HDDs. I just don’t get it, why bother making a case look so amazing but then skipping out on the design performance wise. I’m thinking I will add ventilation under the PSU then drill holes so that it can be mounted the right way up. But creating ventilation to the front of the case will be hard as I’m not willing to mess around with the glass at all.
I have a 4670k @ 4.5 ghz running at 61c after 4 hrs. full load paired with gtx 770. These temps are more than acceptable. also the fan on the psu is exauhst not intake (not blowing anything on on your gpu. I use rear mounted push pull corsair h80i for cpu cooling and titanx reference cooler on gpu. Two 140mm fans mounted in front of case for circulation, no bottom intake fans. granted this is a low power rig, but the case is not as bad as you make out. If your worried about the cost of a few fans to add in, you should not have purchased a 200 dollar case.
PSU acts as a second rear exhaust fan, it extracts air out of the case! Corsair CPU water cooler H105 240 mm radiator/fan assembly mounted at front of case sucks air up from large filtered intake at bottom. EVGA water cooled GTX 980Ti Hybrid radiator/fan replaces rear top fan. This configuration keeps everything super cool …
You can put 4 rubber spacers 1/8 between the case and the glass front panel (front panel is held in with 4 screws). That way the front fans will suck in fresh air, its a small gap but a gap none the less. Without that small mod you really need to place atleast 1 fan in the bottom of the case. Also just mod a little so you can mount the bottom fans with the hdd case. Yes i agree its a shame but if you take the extra time you will have a case like no one else!.
PSU acts as a second rear exhaust fan, it extracts air out of the case! Corsair CPU water cooler H105 240 mm radiator/fan assembly mounted at front of case sucks air up from large filtered intake at bottom. EVGA water cooled GTX 980Ti Hybrid radiator/fan replaces rear top fan. This configuration keeps everything super cool …
Hey, this was a sweet review. I am wondering what parts you used for the cooling system? I am planning on copying your cooling setup. Let me know, thanks.
Awesome review! What are all of the parts you used for the cooling? I want to copy your cooling on my build with the In Win 805.
On the 805 I used an EK Supremacy MX cpu block, EK’s 3/8 x 5/8 compression fittings and their clear tube, an EK DDC 140 reservoir pump combo and an EK PE radiator. It’s very similar to this kit: https://www.ekwb.com/shop/ek-kit-l240-1 with the exception that I’m using a 140 res vs a 100 and I’m also using the universal mount to mount the pump to the radiator
If you are only doing a cpu loop then an AIO like the EK predator or Swiftech H220x might be a good choice also for the 805.
What did you do for setting up the loop on this build with the kit you used besides the small changes?
Last question, where did you get the universal mount for mounting the pump to the radiator?
Sweet, thanks for listing the parts and similar kits. Also thanks for the reply too.
Comments are closed.