Today we will be reviewing the XPSC Raystorm Pro CPU water block. First off a big thank you to XSPC for sending the sample to review.
This is an update to XSPC’s popular Raystorm block which has been a stalwart of the community for about five years now. While the original Raystorm was a fantastic block back in 2011/2012 there have been significant gains in performance with newer designs over the years. It’s no surprise then that XSPC have released a new design. The old Raystorm will continue to be sold at a $50 price point in comparison to the $67 for the Pro.
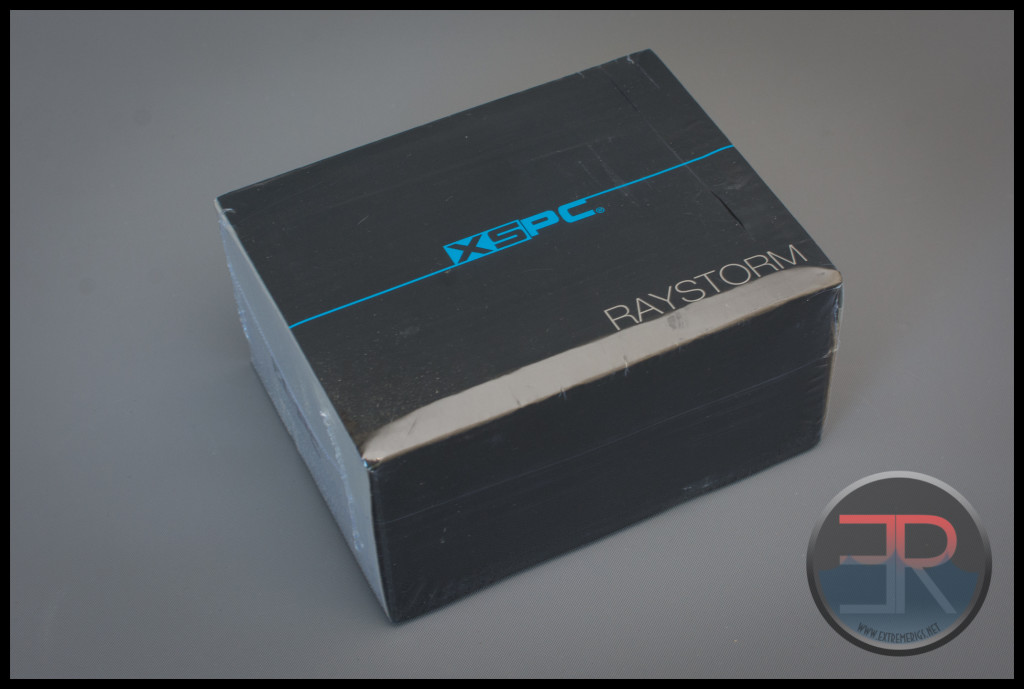
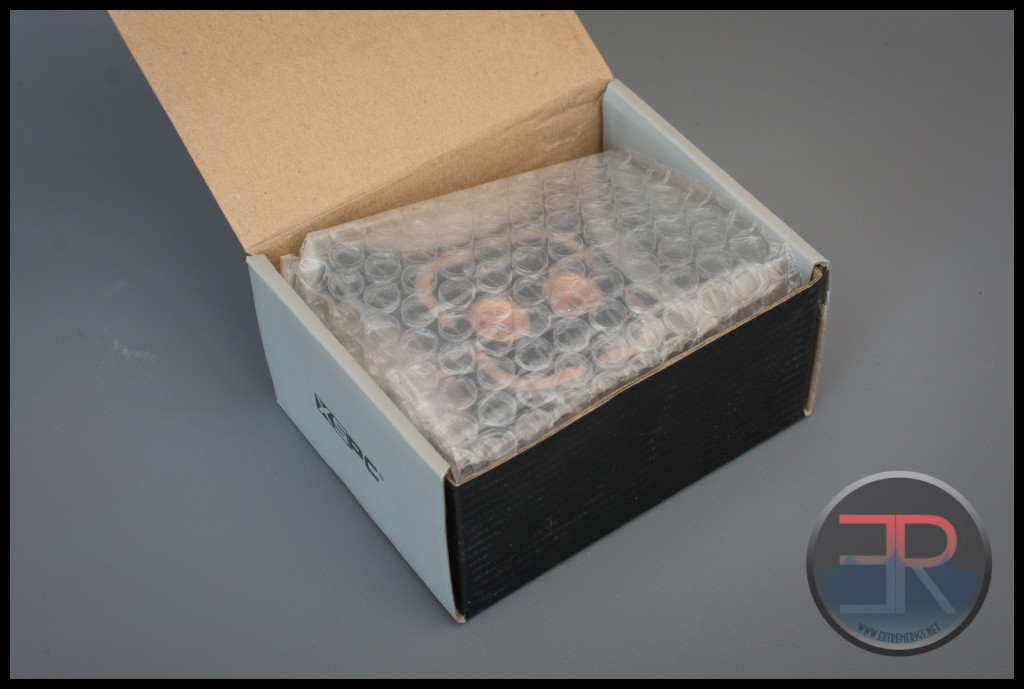
The box is as usual sealed with cellophane so that you know it’s untouched:
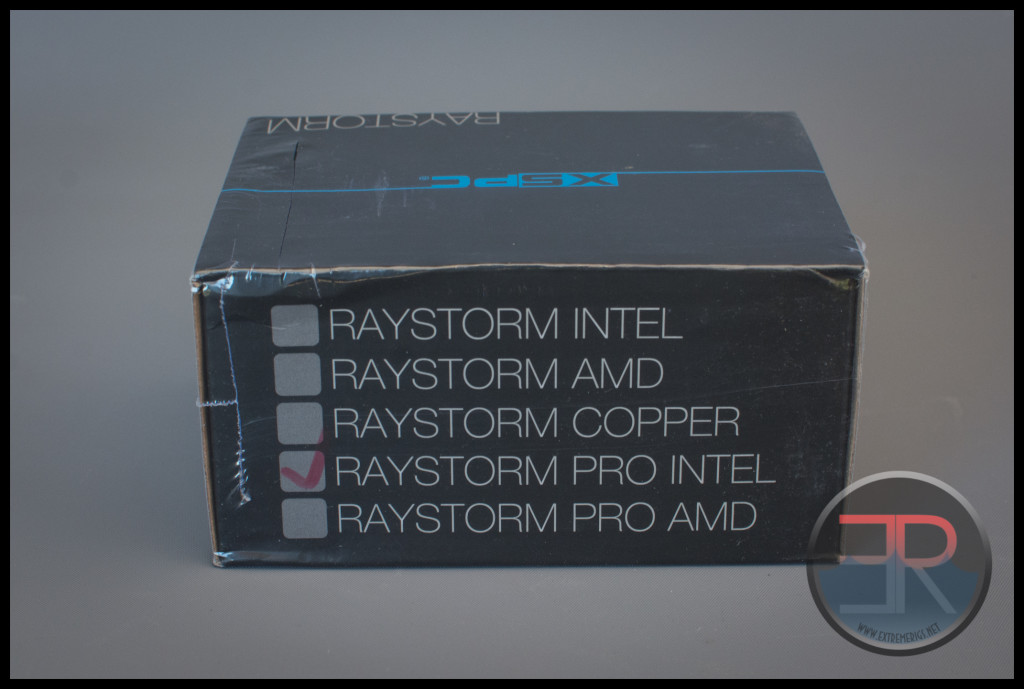
The box is the same as used for the vanilla Raystorm so there is handy identifier on the back to make sure you get the right one without having to open the box.
Alright, let’s get it unwrapped:
The CPU block is wrapped in two layers of protection – the first is a bubble wrap bag:
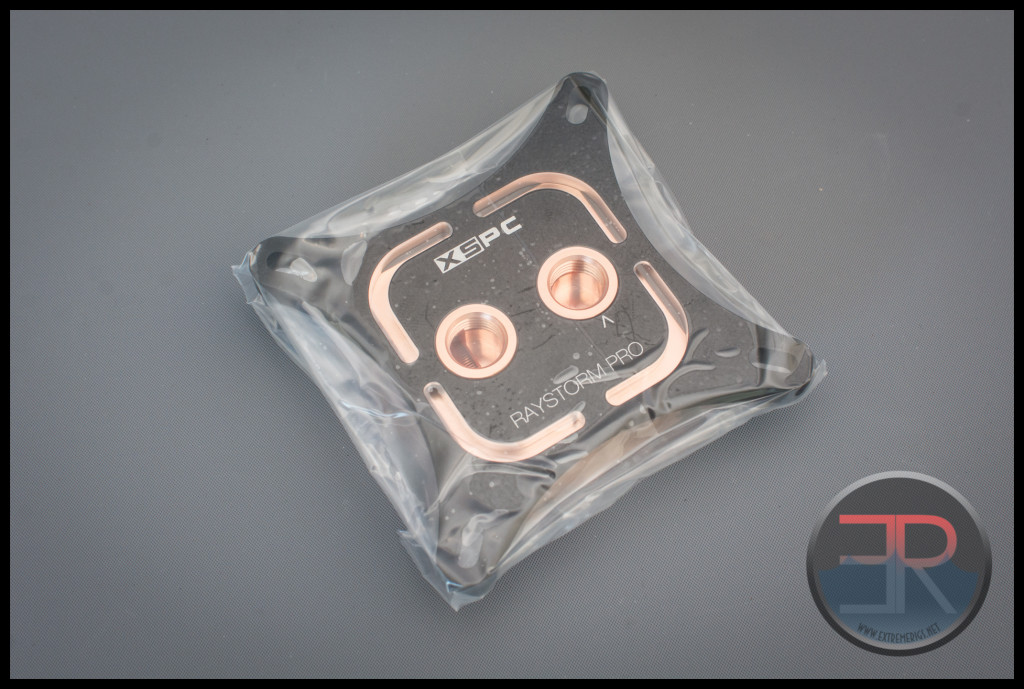
The second is a plastic wrapper to keep out any dust or moisture:
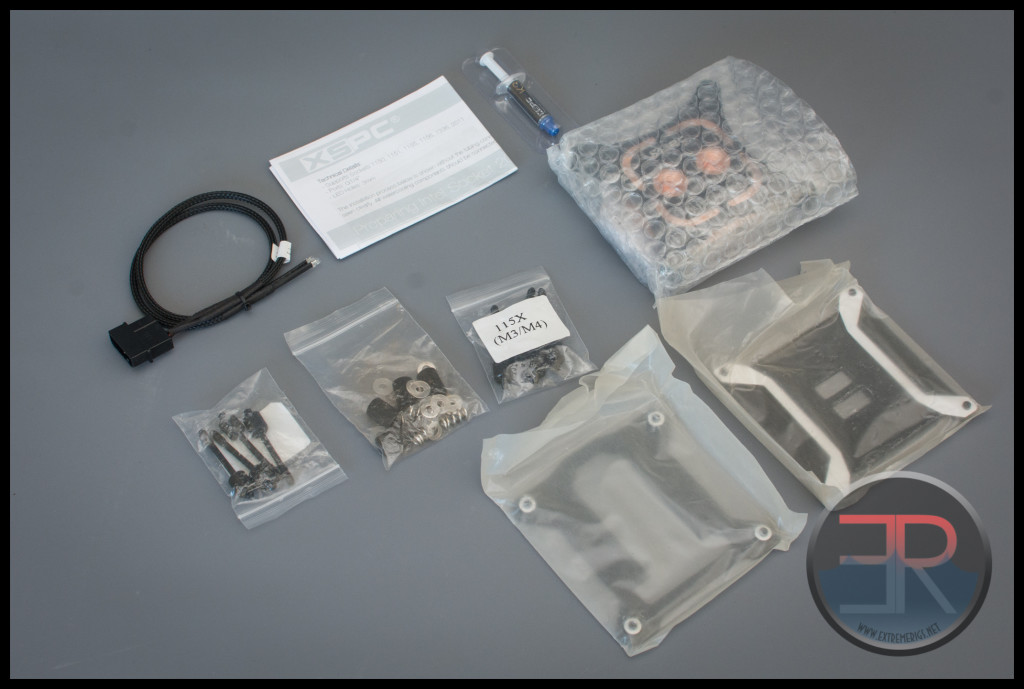
Let’s first take a look at what else is in the box:
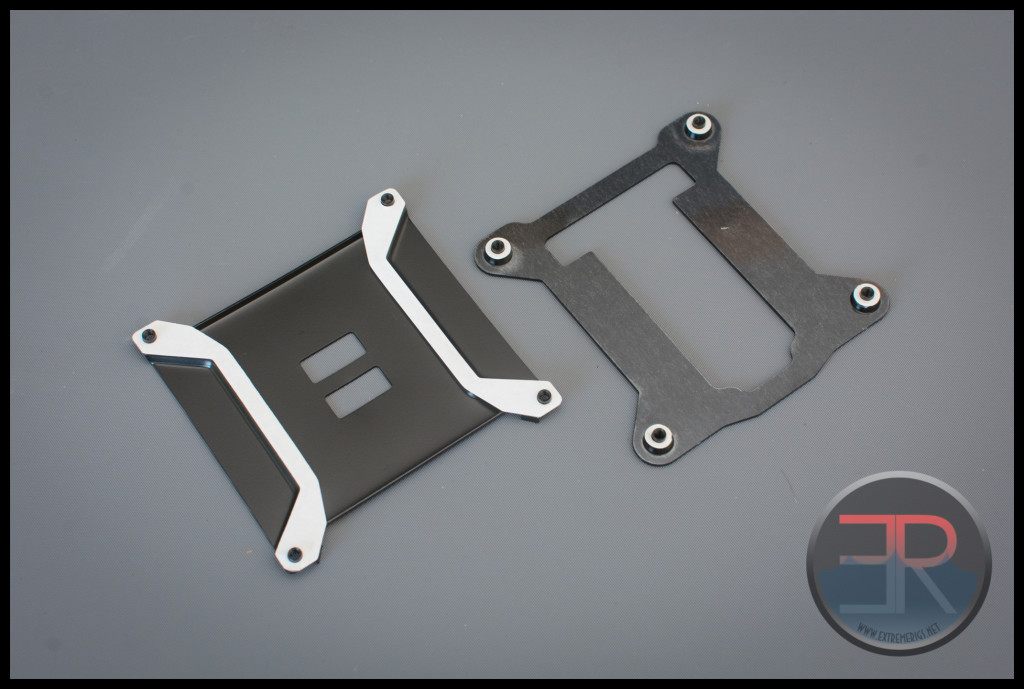
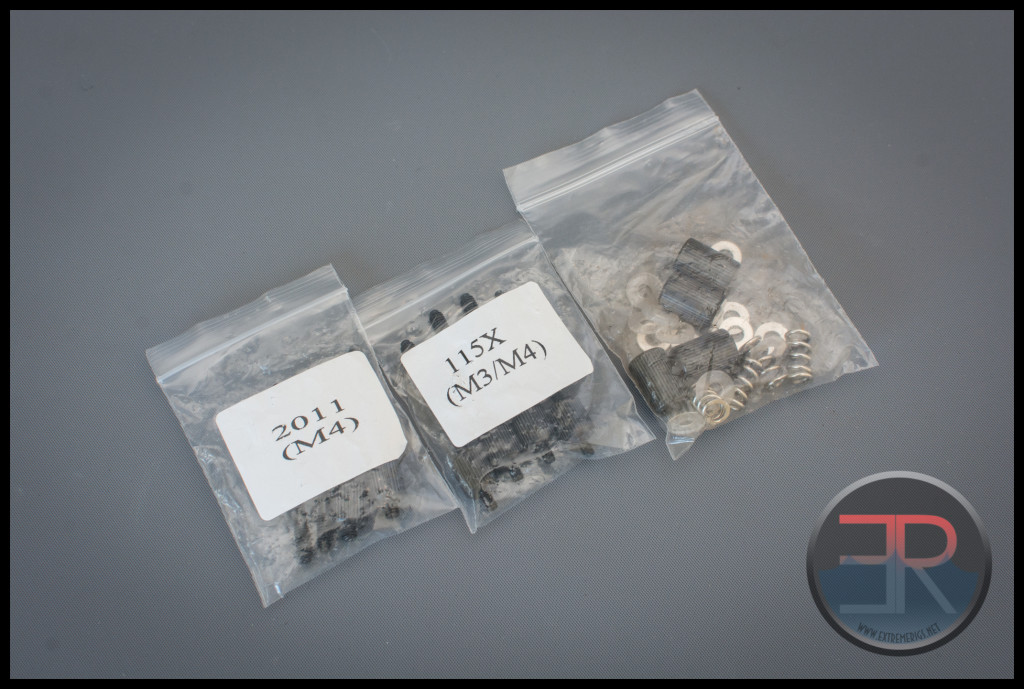
Lots of things – let’s divide it up – firstly the backplates:
There are two backplates – both are for intel sockets – 115X and 1366. There is no AMD support with this version of the Raystorm Pro – instead a separate AMD version is available. Of course for Intel sockets 2011 and 2011-3 the backplate is built into the motherboard, so there is no need to include one.
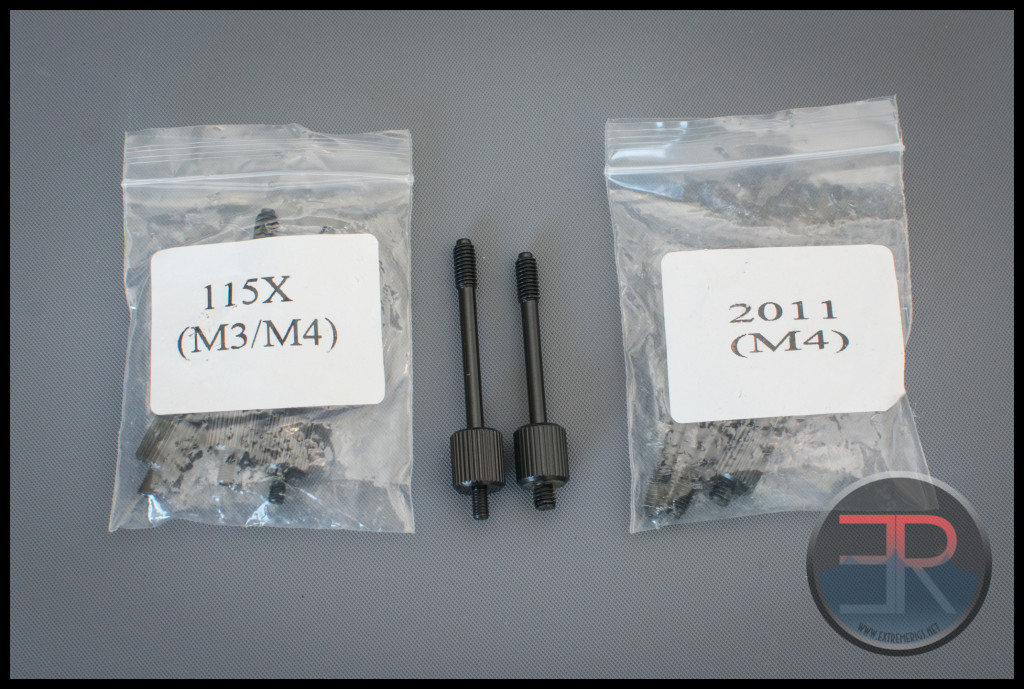
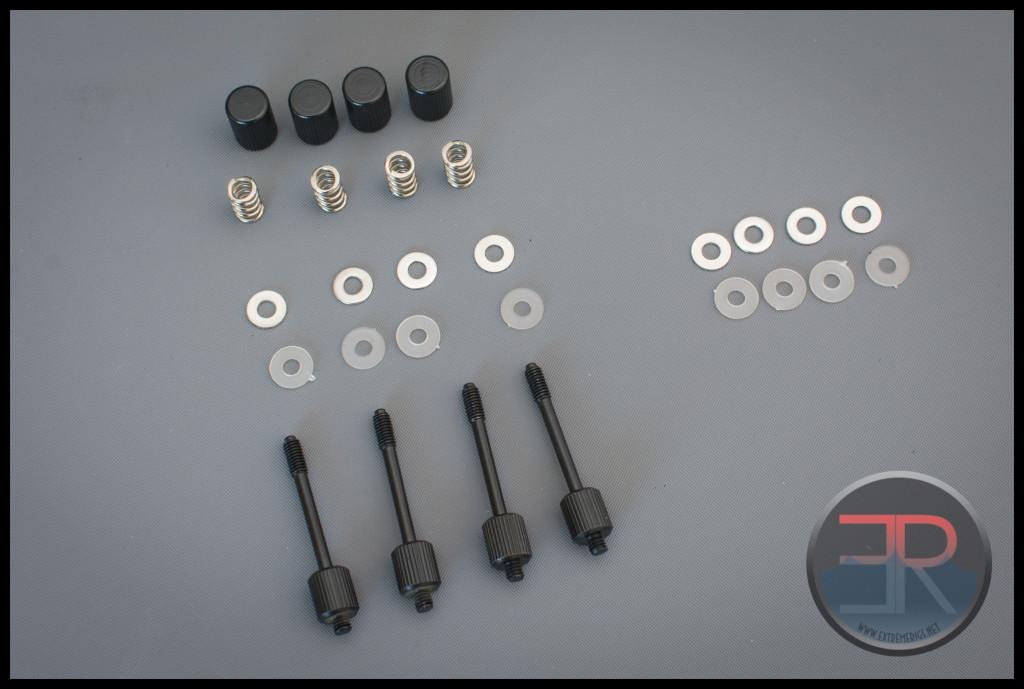
There are two sets of mount screws and one set of thumb nuts, washers and springs:
The thumbscrews are very similar, the only difference is the total length and the length of thread which is adjusted because of the 2011 socket. The end result does apparantly end up giving socket 2011 more pressure than socket 115x which is a good thing.
Two full sets of washers are included so you have plenty of spares. We do wish the washers were black like the rest of the mounting hardware. There are no spare thumb nuts, screws or springs:
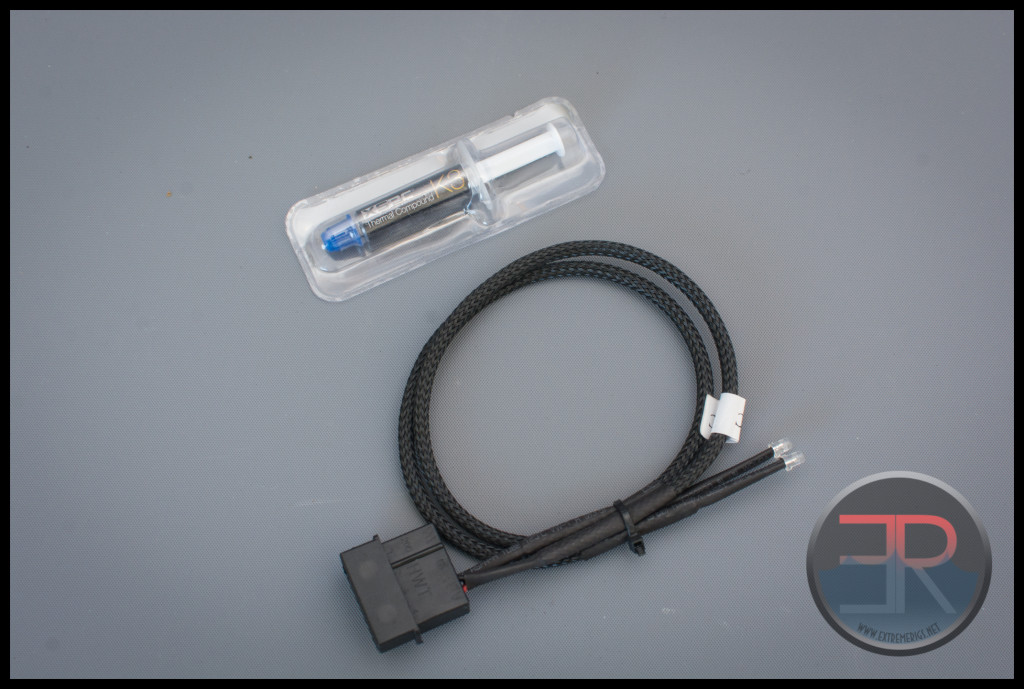
XSPC also include a tube of their own TIM – for our testing however we use our standard MX2 TIM for ease of thermal testing. Also included is a sleeved dual LED – this was all standard for the old raystorm so it’s not a surprise. However it’s worth noting that even other manufacturer’s like EK who include holes for LEDs on the Supremacy blocks do not include an LED in the package. The only other manufacturer including LEDs are Swiftech who build them into the body of their Apogee XL.
Having the LEDs is great even if they have to be installed by the user. We do however wish the molex power terminal was swapped for a 3 pin fan header. Even better it would be nice to make the LED’s RGB controllable and have a standard 4 pin RGB header to connect to a controller (some ROG motherboards now have this controller built in to the board).
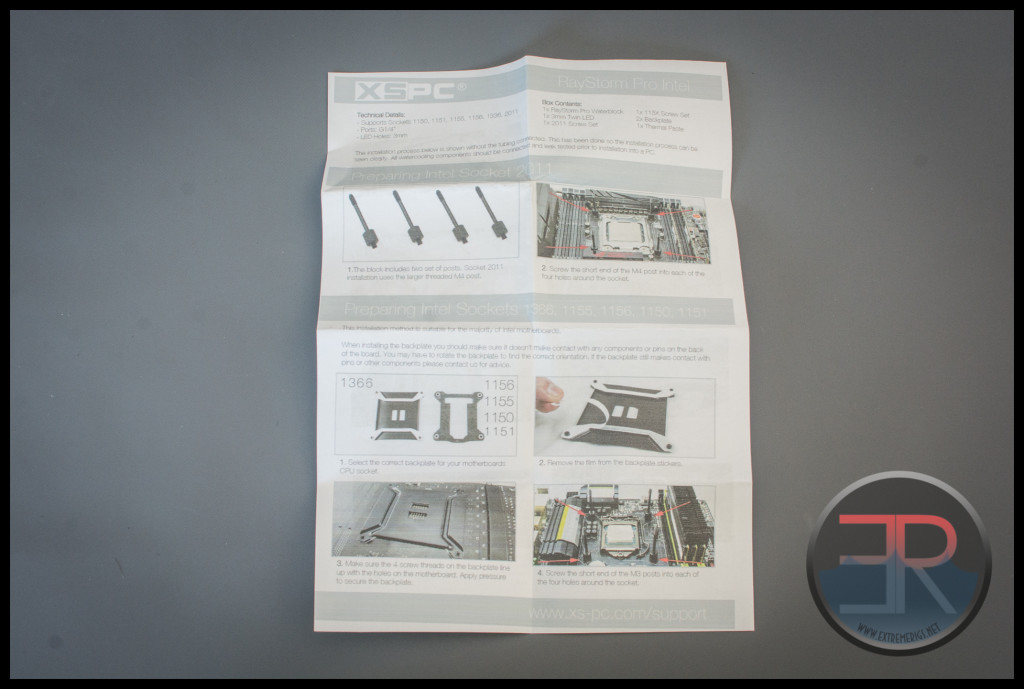
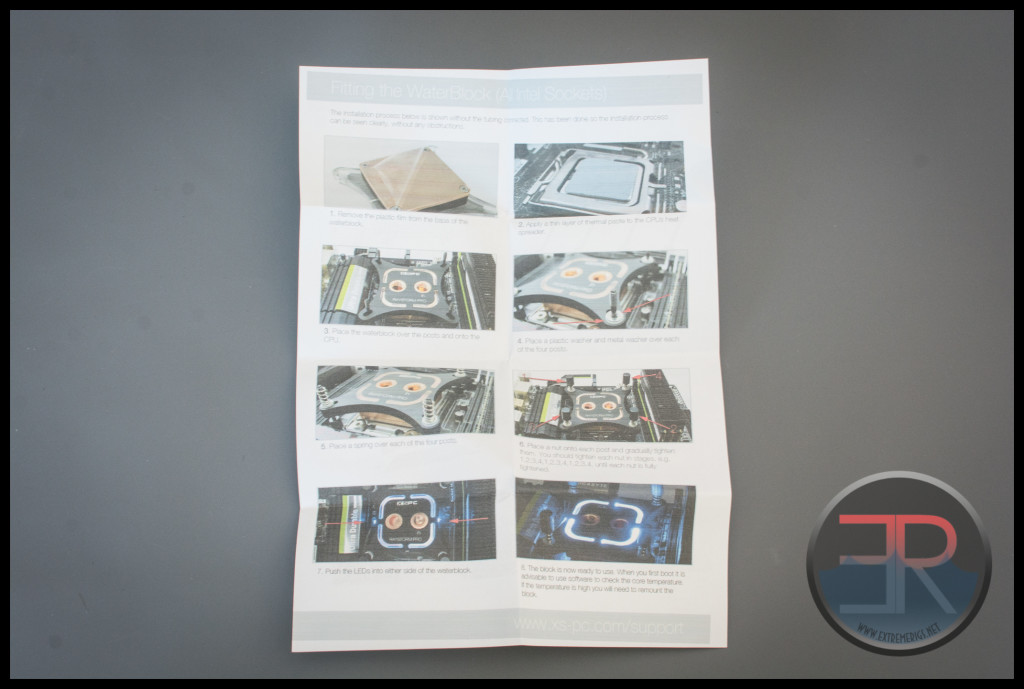
Lastly there are some instructions:
If the 2 sided piece of paper looks faded, well that’s because it’s a pretty poor photocopy. Disappointing but not problematic.
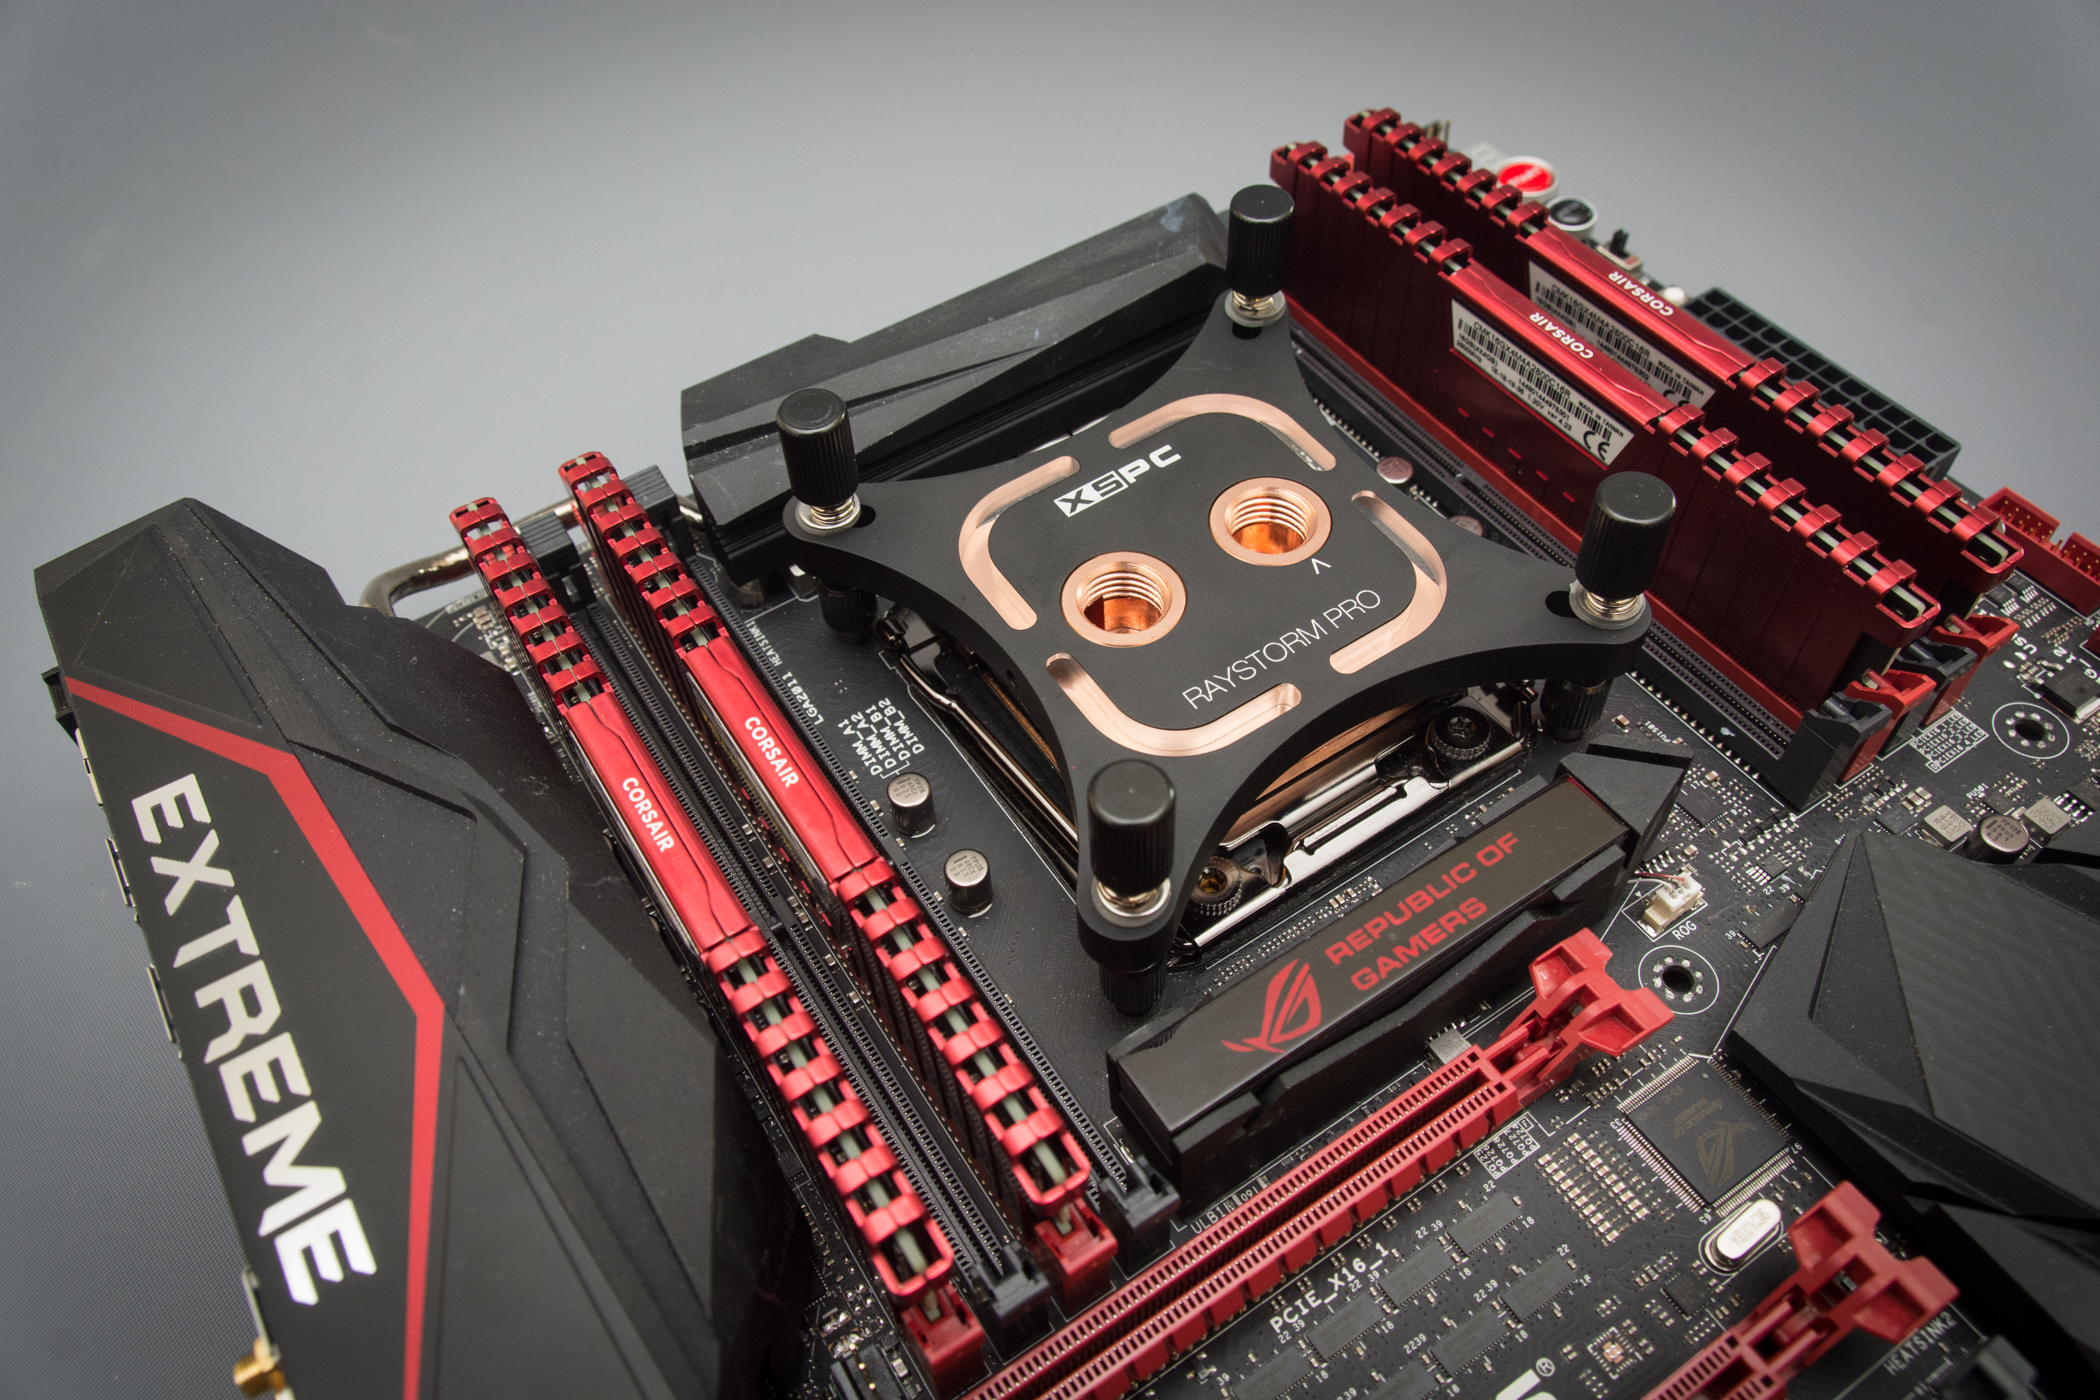
Ok enough focus on the accessories – let’s take a look at the block itself





Hi,
first, thanks for the great review and tests you made. I´ve got one question because i dont understand really what to do.
What you mean with regular and goofy? The Innerplate (silver) turning? Or do you mean the whole CPU cooler turn about 90 degrees?
Hope you could help me.
Regards Chris
Hi Chris – normally I mean the entire block rotating 90 degrees. In the case of XSPC the outer aluminum bracket orientation doesn’t matter. So yes if you want you can just rotate the inner copper block where all the cooling is done. It’s all about lining up the microchannels of the block and the bow of the block in the best possible way with the CPU.
So it’s a microchannel… will this mean that we’re restricted in some way on where the I/O tubings will end up at?
Not sure exactly what you mean. The micro channels and jetplate in the block are fairly typical for any modern cpu block, as are the port locations?
So goofy is better with this block on x99?
Thanks
Comments are closed.