Cutting To Length
With your glass tube ordered and your fittings selected NOW is the time to start considering how you are going to cut usable lengths of the tube to suit your loop flow path. As I discovered cutting glass tube is not a simple process, contrary to how easy it looks on the Mayhems video which demonstrates the score and snap method.
We’ve embedded Mayhems video on scoring and snapping here for you guys to watch first and then we’ll discuss how our experience went with cutting the glass tube.
Mayhems Mick made scoring and snapping the glass tube look easy, so I purchased a dual wheel cutter similar to the one which is used in the video. It has dual tungsten carbide wheels and is made specifically for cutting glass, tiles Terrazzo ect.
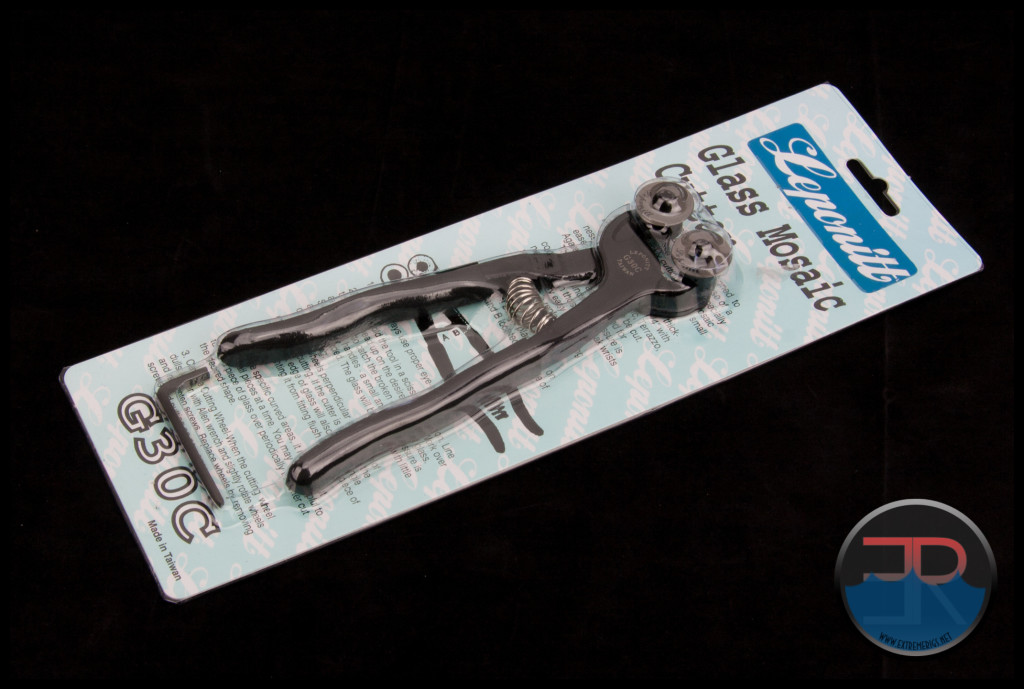
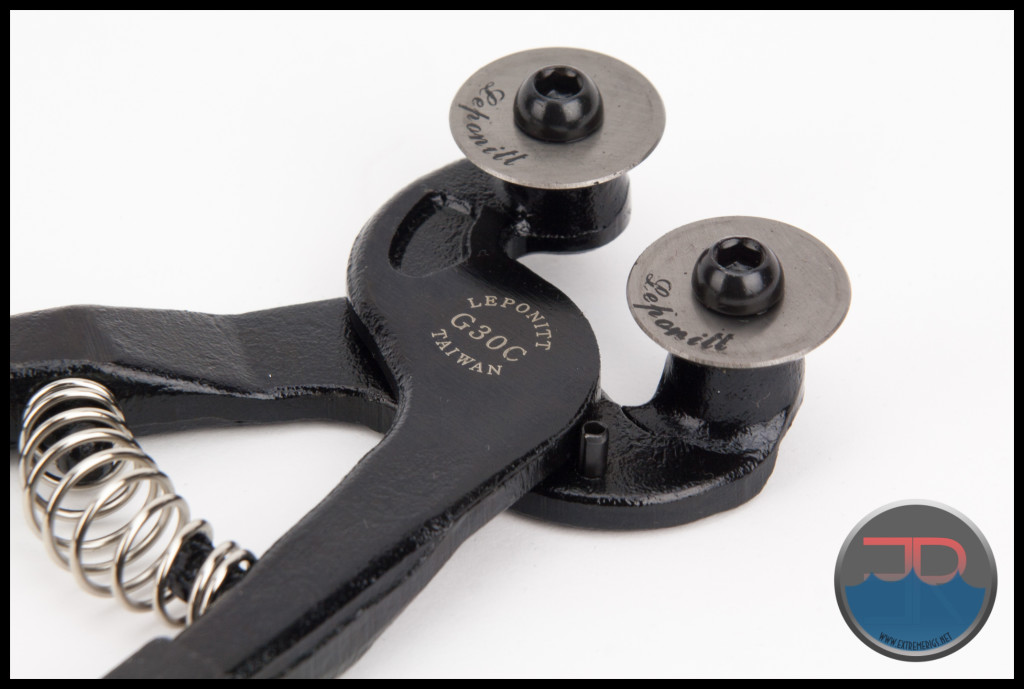 I used the tool in pretty much the same way as in the Mayhems video, however I was unable to snap the 16mm tube after scoring. I was attempting to “cut” a short length from the end of the tube such as might be used for an SLI connection so there was not much flex in the tube. The force I was exerting felt too great and to me feel unsafe to try any harder, so I abandoned the attempt.
Knowing that Borosilicate Glass has a high thermal shock level I knew that a high temperature variation would be required to try and assist the snap with a bit of thermal shock, but without a way to control the hot temperature I didn’t want to try using a heat gun or other high temperature source. I felt compelled to try something though, so in a rather pathetic attempt at a thermal shock assisted snap at the score line I used boiling water and an over-sized ice cube.
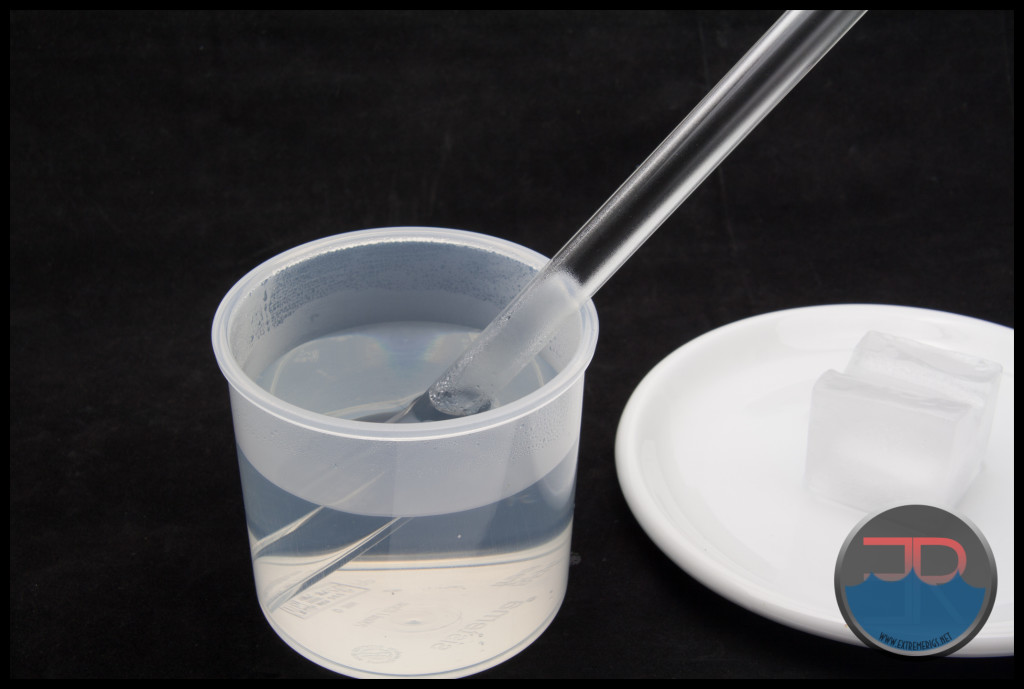
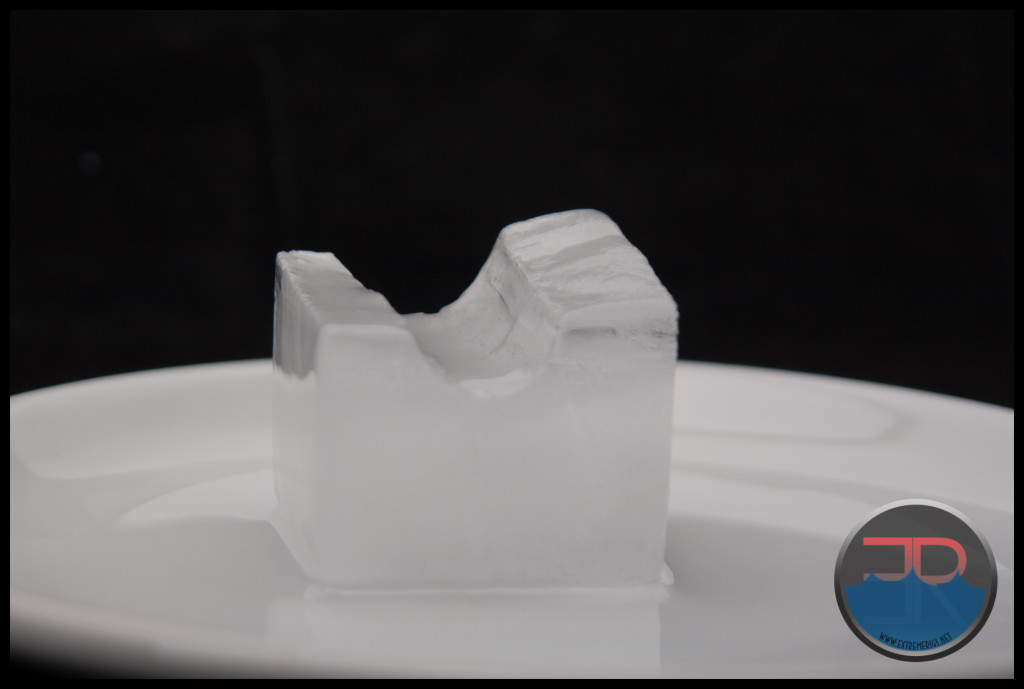 As anticipated this did not help me in snapping the tube at all and the 16mm tube remained in tact with the score line in place.
I tried the 16mm tube first specifically because it had a thicker wall than the 12mm and 13mm glass tubes and should have been the hardest to “cut” using the score and snap method.
Moving onto the 12mm tube I again wanted to cut a small section off the end where there was little to no flex in the glass tube. After scoring the 12mm tube, it snapped very easily. Unfortunately on my first attempt the tube was left with an unusable end because the glass had chipped during the snapping process.
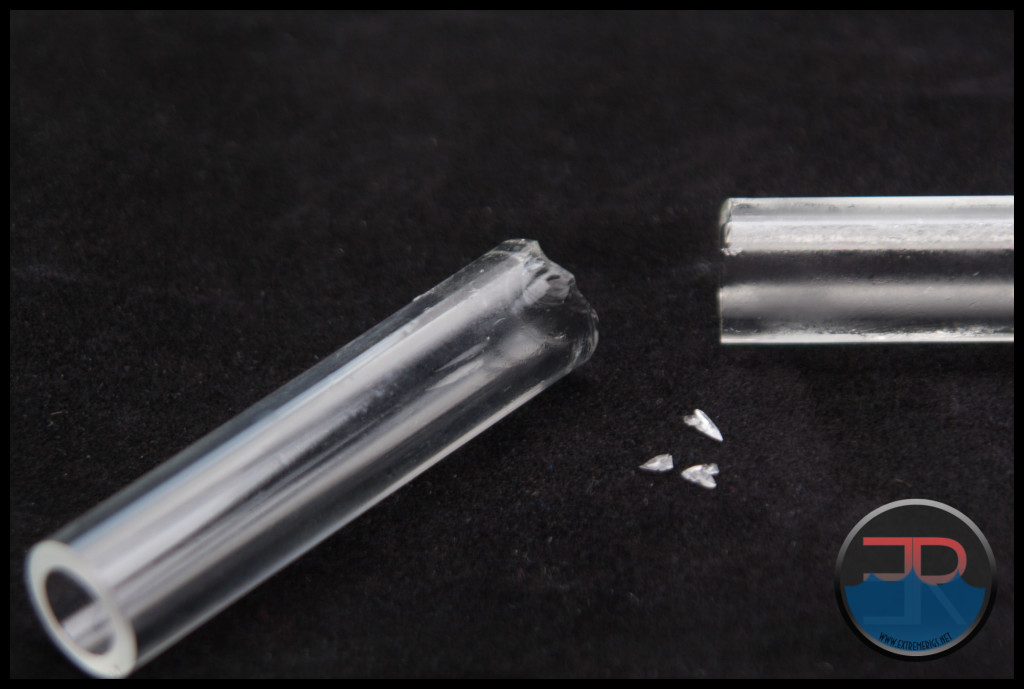 At this point I was starting to have serious doubts about the score and snap method of cutting glass tubing to length.
My second attempt did produce a clear break which was perfectly usable after a quick clean up of the ends, however the end broke into pieces when trying to insert into a very tight 12mm fitting.
My 3rd attempt of the score and snap method produced another chipped end very similar as to first one.
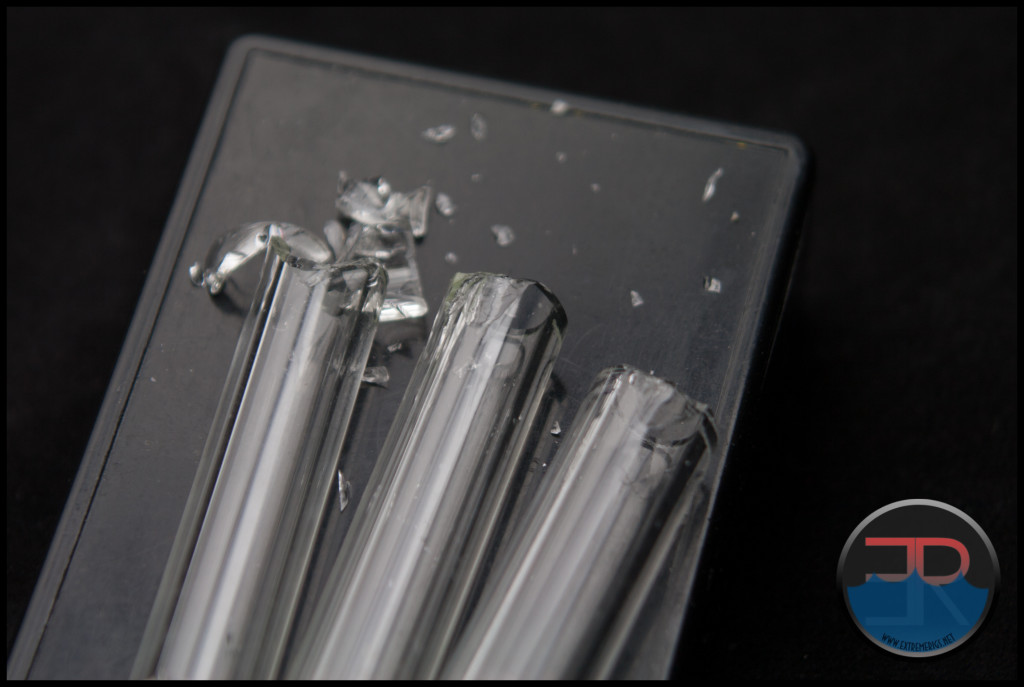
If this review was to ever going to get published with some cut lengths of glass tubing I had to try another method. To keep on hoping for the best using the score and snap method just doesn’t make sense.
So I bought the overpriced Dremel Diamond Cutting Wheel and Flexible Extension for my Dremel and set about building a cutting bench for the glass tube. I found a design for a glass cutter I liked and made a valiant attempt to replicate it (in principle) with home workshop tools and materials I already had, with the exception of the Twin Puller which I purchased – Toledo – Twin Pull Puller Kit – Small 225000.
Glass tubing can not be cut though with a drop saw type cut because of it’s hardness. It must be cut through in increments by turning the tube while moving into the blade. To achieve this a sliding system must be used and to keep the tube level and straight a V is cut into the top of the sliding mechanism, hence we call this a Sliding V-Block.
The Twin Puller at the heart of the Sliding V-Block turned out to be overkill for the job, but it is effective and certainly does the job. I added springs to keep tension against both sides which assists in the block sliding easily when turning the adjustment screw. Cutting glass tube with a diamond wheel requires water to keep the disc cool, so a reservoir and drip system was set up over the blade and tube being cut.
Basically the cutting bench consists of the following components:
• Rotary tool with a diamond cutting disc.
• Water Reservoir and drip system for cooling the cutting disc (and controlling glass dust).
• Sliding V-Block.
• Sliding back-Stop for glass tube – cut to length measuring.
The result at the end of a day in the back shed machining the acrylic blocks, making sure things were running straight and even and smoothly.
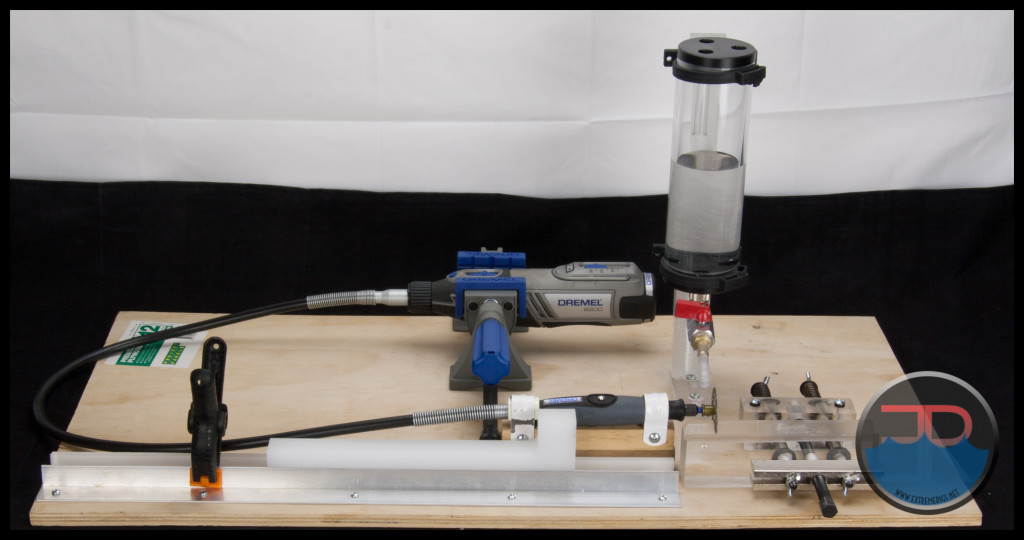
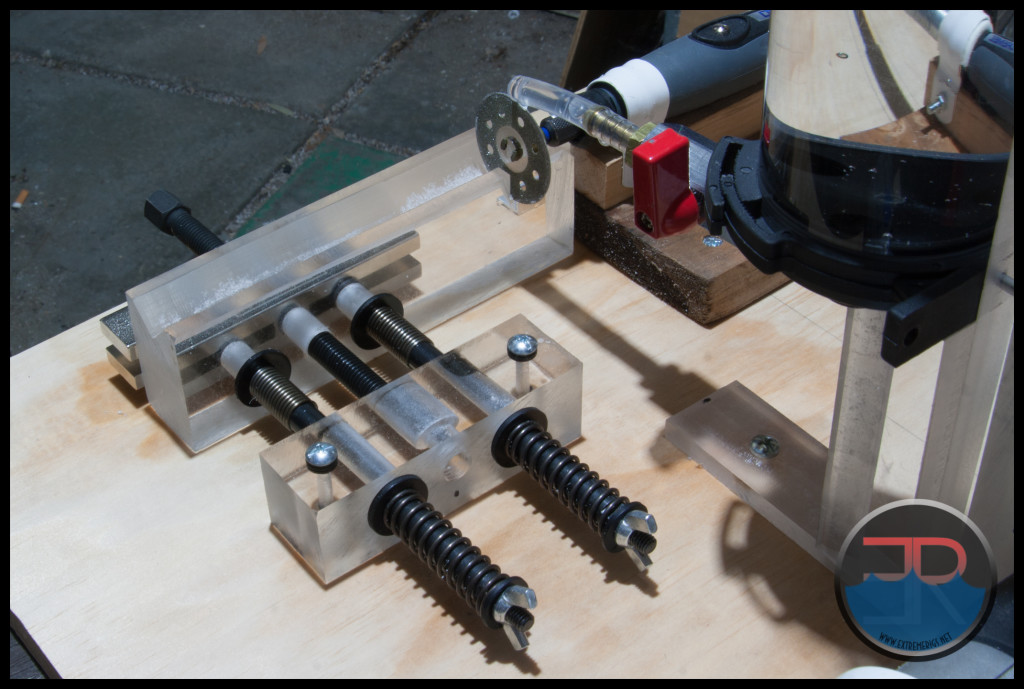 With hindsight a wooden deck may not have been the best material to have under the sliding V-block as water does go everywhere during the cut and I imagine over time the wood will expand making it harder for the sliding V-block to operate smoothly. For the time being it is working like a charm:
Note: Silica Dust is very hazardous, so even though our water drip feed is suppressing some dust from the cutting process, a Dust Mask should be worn during the cutting and for cleaning up after.
Safety Glasses should also be worn during any cutting operation.
The result is a beautiful clean cut through the glass tube:
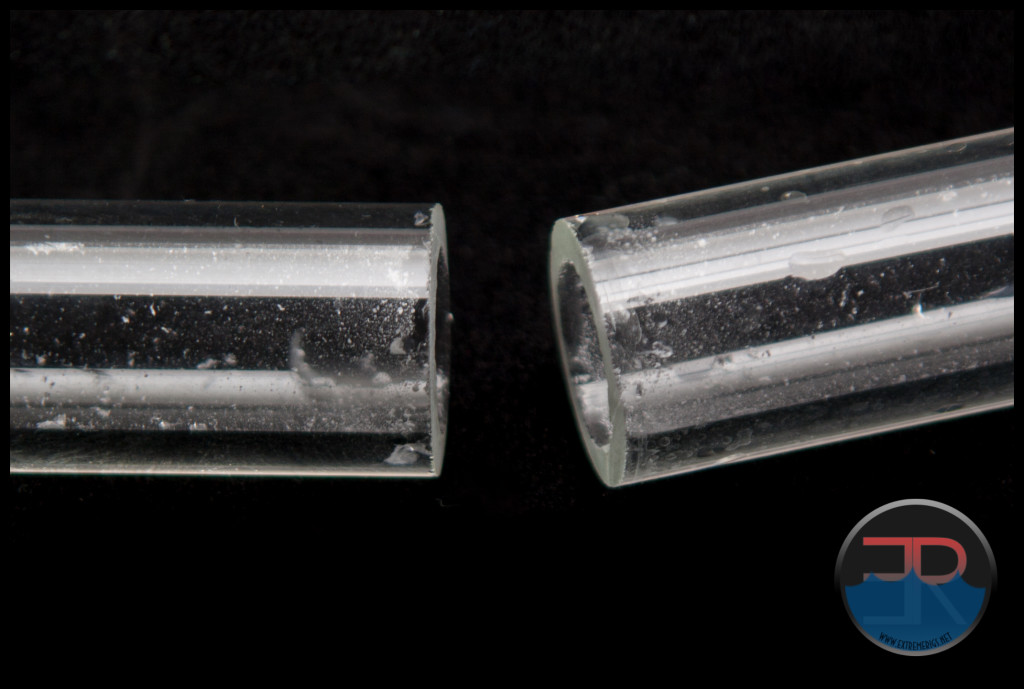
I highly advise cleaning out both pieces of the cut tube under running water as soon as possible after completing the cut before the dust and fragments dry and become more hazardous and much more difficult to clean out.
With a clean cut tube which is the correct length there is one more step to complete before the tube is ready for use. Now let’s take a look at chamfering the ends.



[…] Mayhems Borosilicate Glass Tube Review […]
Well, after reading and watching the Dremel Jig Setup vid, I thought of a few things…
1) I see no difference in using glass over PETG or Acrylic.
2) PETG or Acrylic is much cheaper and EASIER to cut than glass. (Even if it wasn’t cheaper, it’s glass is STILL much harder to cut)
3) Bending PETG or Acrylic (obviously) is much easier than trying to bend glass (and that’s if you have the $$$ to buy one and the skills to bend glass using a kiln). PETG or Acrylic is very easy by comparison.
4) As you can see glass tubing is easily subject to chipping and cracking if it’s not cut right (over PETG or Acrylic)
5) If you decide to use Glass instead of PETG or Acrylic, you’re going to have to spend $$$ getting a Dremel Jig Setup going. I have the Dremel 4000 and that unit (kit) cost me $98.00 at the time and although it’s a great unit to use for someone doing a one time build (or even continual builds), it’s still way too much $$$ over simply using a hand saw to cut your PETG or Acrylic tubing. Then you have to set up and build that Dremel Jig Setup. That’s too much time to make happen.
6) In some of the pics, even the reviewer/writer stated that he saw that the Acrylic tubing was even cleaner (at certain angles) to peer through than glass tubing, so right there, what real difference does it make to choose glass tubing over Acrylic (or even PETG for that matter)? – NONE!
Thank you for this review, but you should have entitled this:
“Mayhems Glass Tube Review… You Gotta Be On Crack!!!”
I already knew that I would have to face this expensive and arduous process, when all you have to do is use a basic PETG/Acrylic bender kit, that uses a heat gun and hand saw. It’s much easier to use those items than buying and building a Dremel Jig Setup (which would take hours). Then purchasing and having the skill set to learn how to use a Kiln?!?! Yeah, right!!! I know that I’m not going to waste my time with all of that. Thank you for proving this point with your detailed review (as I already knew this). I’m sticking with PETG to showcase my build(s). Later… 🙂
Look at these videso by JayzTwoCents and you will understand why glass tubing is better.
https://www.youtube.com/watch?v=6VMtJEjiMxA
https://www.youtube.com/watch?v=9kFBjm6BdhI
Very cool article (pun intended).
FYI, borosilicate glass does not contain crystalline silica which is what causes silicosis. It is amorphous. No problem with being safe though.
Comments are closed.